The Perfect Icing Recipe for Every Celebration
There’s something truly magical about the moment a cake or batch of cookies meets its perfect match—smooth, sweet, and just the right consistency to hold delicate swirls or intricate piping. That’s where this beloved Icing Recipe comes in. I’ve spent years tweaking, tasting, and sharing this formula with friends, family, and even nervous brides-to-be who needed their wedding cupcakes to look as stunning as they tasted. Whether you’re decorating a birthday cake, topping holiday sugar cookies, or just adding a little flair to your afternoon muffins, this icing delivers every time. It’s not too sweet, not too stiff, and it dries beautifully without cracking. Best of all? It uses simple ingredients you probably already have in your pantry. So grab your whisk and let’s make something sweet together—because baking is better when it’s shared.
Thank you for reading this post, don't forget to subscribe!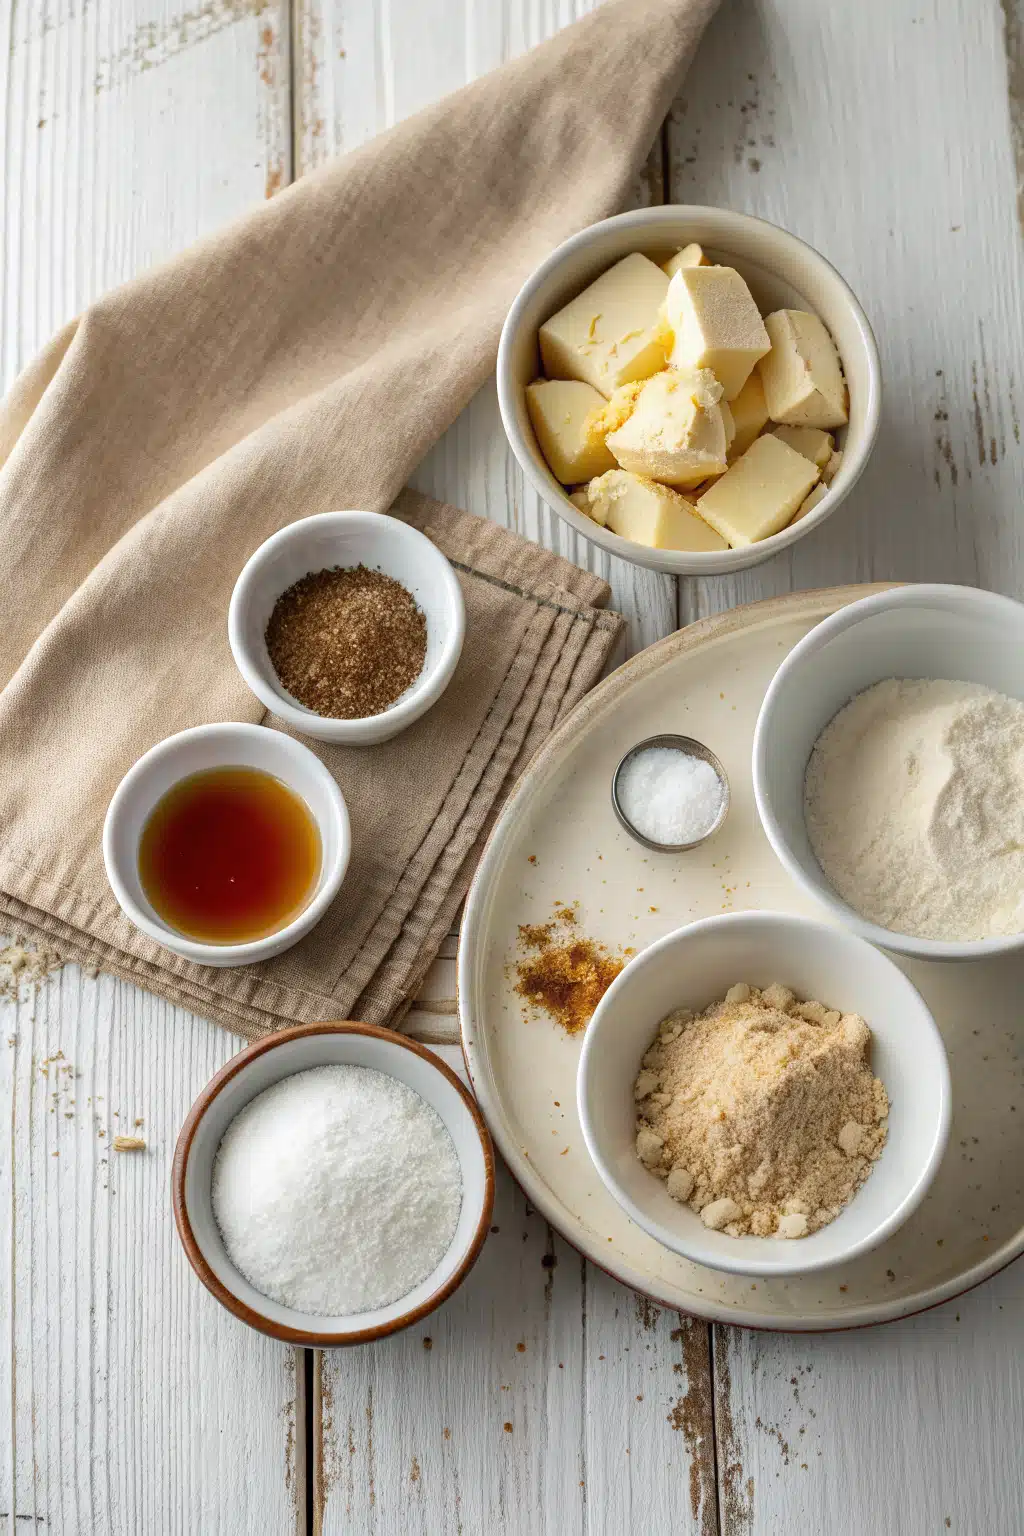
What Is This Icing Recipe?
This is a classic royal icing—light, glossy, and incredibly versatile. Unlike buttercream, which is rich and creamy, royal icing dries hard and smooth, making it ideal for detailed cookie decorating, intricate cake borders, or even edible wedding favors. It’s made with just three core ingredients: powdered sugar, egg whites (or meringue powder for safety and convenience), and a splash of flavoring like vanilla or lemon zest. The result? A silky-smooth icing that holds its shape beautifully and adds a professional finish to any baked good. I first learned this recipe from my grandmother, who used it to decorate her famous Christmas Sugar Cookies every year. Over time, I’ve adapted it to be sturdier for piping and less finicky to work with—especially if you’re new to decorating. Whether you’re writing names on Easter eggs or creating snowflake patterns on gingerbread men, this icing won’t let you down.
Why You’ll Love This Recipe
Let me tell you—this icing has saved me more times than I can count. Need last-minute holiday treats? This recipe comes together in under 10 minutes. Want to impress guests at a baby shower? Pipe delicate flowers onto cupcakes and watch everyone swoon. What I love most is how forgiving it is. If it gets too thick, a few drops of water bring it back to life. Too thin? A little extra powdered sugar firms it up. Plus, it’s naturally gluten-free and can easily be made dairy-free (just skip any butter-based add-ins). The texture is luxuriously smooth—no grittiness, no lumps—and it sets with a beautiful matte finish that’s perfect for writing messages or layering colors. And honestly? There’s nothing quite like the joy of seeing someone’s face light up when they bite into a cookie that looks like a tiny work of art. This icing makes that possible, without requiring hours of practice or fancy tools. It’s the kind of recipe you’ll keep stashed in your back pocket for every celebration, big or small.
How to Make This Icing Recipe
Quick Overview
This royal icing recipe takes just 5 minutes to mix and requires only 3 main ingredients. It’s perfect for beginners but reliable enough for seasoned decorators. You’ll whisk together powdered sugar, meringue powder (or fresh egg whites), and water until smooth, then add flavorings or food coloring as desired. The icing can be used immediately for flooding cookies or piped into borders and details. It dries completely within 1–2 hours, depending on thickness, and stores well for up to a week in the fridge. Whether you’re covering a dozen cookies or an entire three-tier cake, this recipe scales beautifully and always delivers that crisp, elegant finish.
Ingredients
You’ll need: 4 cups (about 1 pound) powdered sugar, sifted; 3 tablespoons meringue powder (or 2 large egg whites, if using fresh); 5–6 tablespoons warm water; ½ teaspoon vanilla extract or almond extract (optional, for flavor); and gel food coloring (optional). That’s it! No butter, no Cream Cheese—just pure, clean sweetness that lets your creativity shine.
“New family favorite! This Royal Icing Recipe was so flavorful and ridiculously easy. Crowd-pleaser for sure.”
Step-by-Step Instructions
Step 1: Combine Dry Ingredients
In a large mixing bowl, whisk together the sifted powdered sugar and meringue powder until well combined. Sifting the sugar prevents lumps and ensures a silky-smooth finish—don’t skip this step!
Step 2: Add Liquid & Mix
Add 5 tablespoons of warm water and the vanilla extract (if using). Using a hand mixer or stand mixer on low speed, beat until the mixture starts to thicken—about 2 minutes. If the icing seems too thick, add more water, ½ teaspoon at a time, until it reaches a “10-second consistency” (meaning when you drizzle a bit back into the bowl, the ribbon holds its shape for about 10 seconds before disappearing).
Step 3: Color & Use
Divide the icing into smaller bowls if desired, then stir in gel food coloring until evenly distributed. Transfer to piping bags fitted with small round tips for details, or use a squeeze bottle for flooding cookies. Let decorated items dry uncovered at room temperature until fully hardened—usually 1–2 hours for thin layers, longer for thicker applications.
What to Serve It With
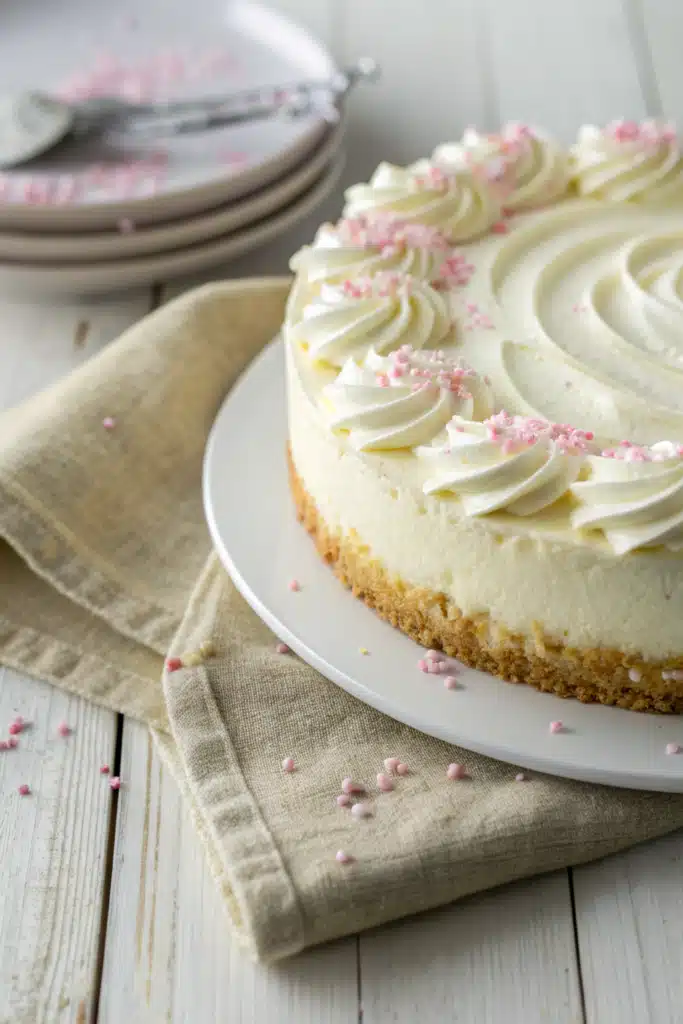
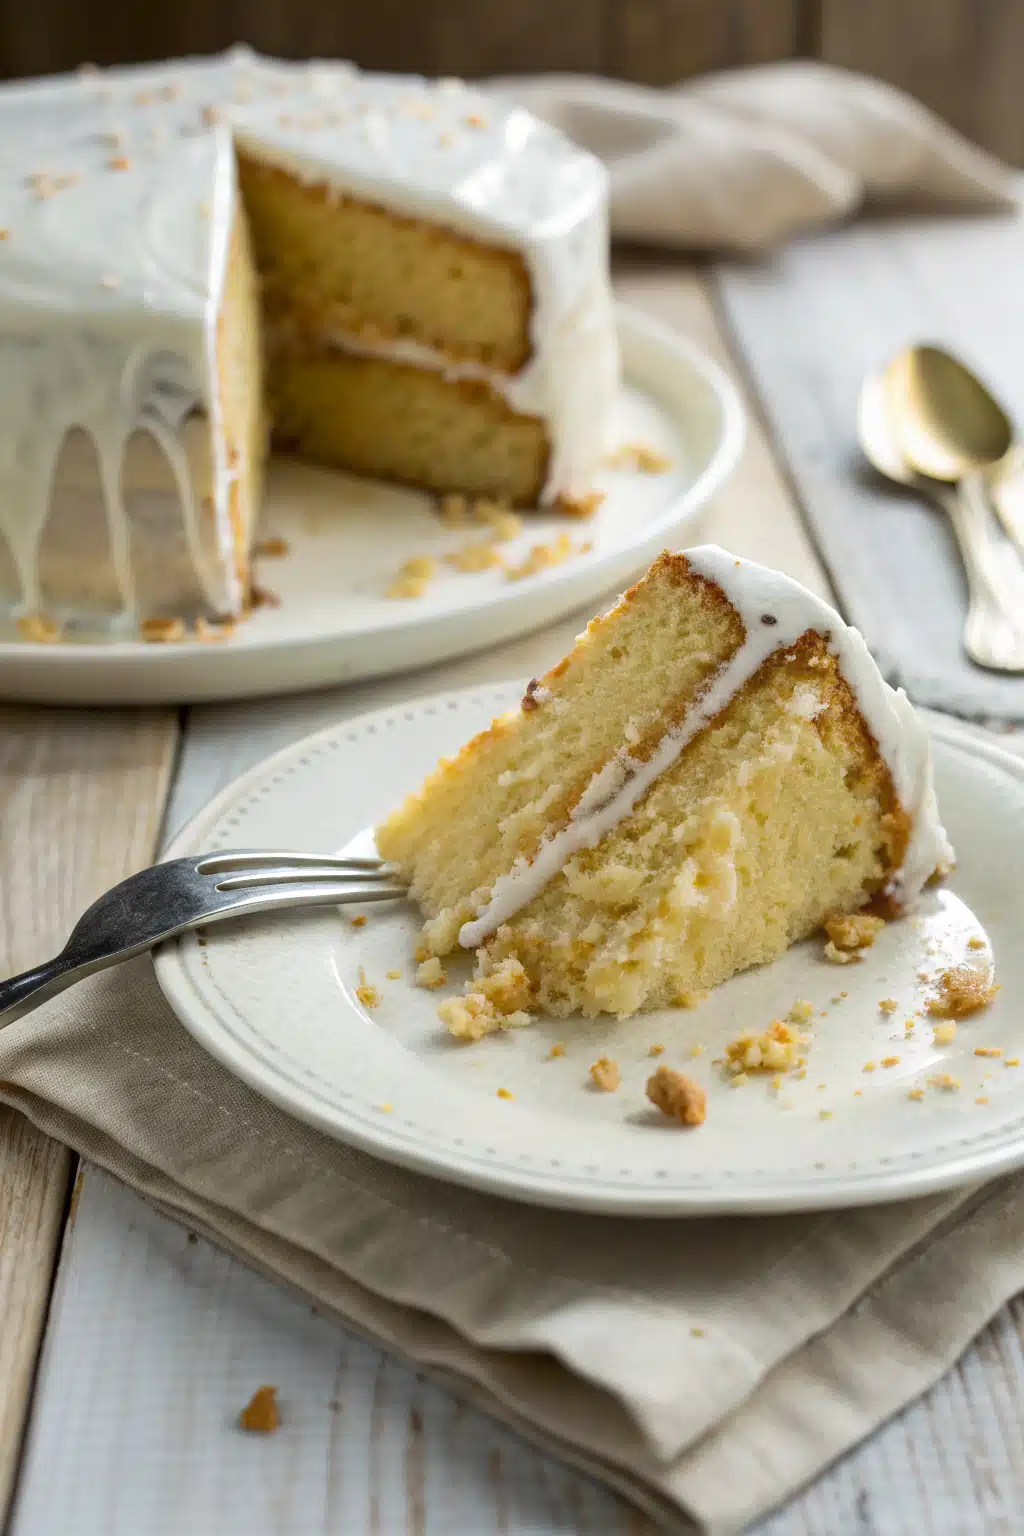
This icing pairs beautifully with sugar cookies (especially during the holidays), gingerbread houses, shortbread, Pound Cake, or even plain vanilla cupcakes when you want a crisp, elegant topping instead of buttercream. I also love using it to decorate fruit tarts or as a glue for assembling edible centerpieces like cookie bouquets. It’s also fantastic on cinnamon rolls if you prefer a firmer glaze that doesn’t melt under warm frosting. Honestly, once you start using this icing, you’ll find excuses to put it on everything!
Top Tips for Perfecting Your Icing Recipe
First, always sift your powdered sugar—it makes all the difference in texture. Second, use gel food coloring, not liquid—it won’t thin out your icing. Third, cover your icing with a damp cloth while working to prevent a skin from forming on top. If you’re decorating cookies, start with outline borders using a thicker consistency, then flood the center with slightly thinner icing. And don’t stress if it’s not perfect the first time! Even slightly uneven designs have charm—especially when made with love.
Storing and Reheating Tips
Store leftover icing in an airtight container in the refrigerator for up to 1 week. Stir well before reusing—it may separate slightly. If it thickens too much, add a few drops of water and mix until smooth. Never leave royal icing at room temperature for more than a few hours, as it can develop bacteria (especially if using raw egg whites). For best results, make small batches as needed.
Frequently Asked Questions
“Packed with flavor and so simple. Exactly what I wanted from this Royal Icing Recipe!”
Final Thoughts
This icing recipe has been a quiet hero in my kitchen for years—simple, reliable, and full of possibility. Whether I’m making cookies with my niece or prepping desserts for a dinner party, it never fails to deliver joy (and compliments!). I hope it becomes one of those trusted recipes you turn to again and again, not just for special occasions, but for the everyday magic that happens when we slow down, bake with love, and share something sweet with someone we care about. Happy decorating!
Royal Icing Recipe
Ingredients
Main Ingredients
- 3 cups powdered sugar (confectioners' sugar), sifted
- 2 tablespoons meringue powder
- 4 tablespoons warm water plus up to 2 more tablespoons as needed
- 0.5 teaspoon food-grade glycerin optional, for flexibility
- 0.25 teaspoon cream of tartar optional, for stability
Instructions
Preparation Steps
- In a large mixing bowl, combine the sifted powdered sugar and meringue powder. Whisk together until well blended.
- Add 4 tablespoons of warm water, glycerin (if using), and cream of tartar (if using) to the dry ingredients.
- Using a hand mixer or stand mixer fitted with the whisk attachment, beat on low speed until moistened, then increase to medium-high speed and beat for 5 to 7 minutes, or until the icing is thick, glossy, and forms stiff peaks.
- If the icing is too thick, add additional warm water, 1 teaspoon at a time, until desired consistency is reached. For flooding cookies, use a thinner consistency; for piping outlines, keep it thicker.
- Use immediately or cover tightly with plastic wrap pressed directly onto the surface of the icing to prevent drying. Store at room temperature for up to 2 days.


