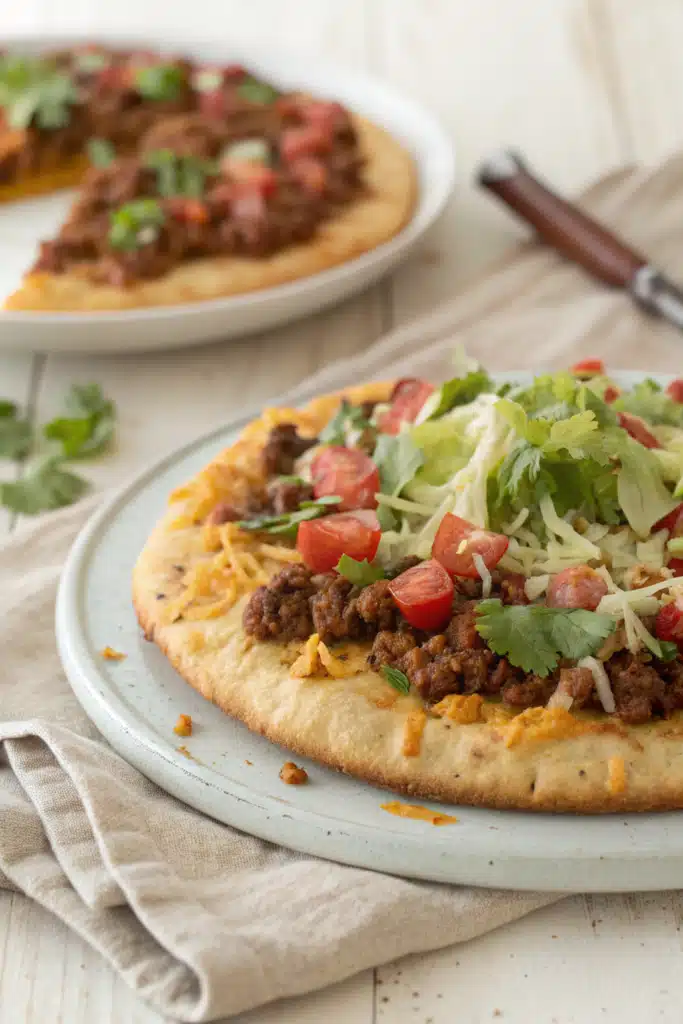
Taco Pizza: A Fun Twist on Your Favorite Comfort Food
Picture this: it’s a lazy weekend afternoon, the sun is shining through your kitchen window, and you’re craving something bold, cheesy, and absolutely delicious. That’s when I pull out my secret weapon—TACO PIZZA. It’s one of those genius culinary mashups that feels both familiar and excitingly new. Imagine the zesty kick of taco seasoning meeting gooey melted cheese and crunchy toppings atop a perfectly baked pizza crust. This recipe isn’t just dinner; it’s a party for your taste buds. Whether you’re hosting friends or treating yourself after a long week, this dish never fails to impress. Plus, it’s endlessly customizable, so you can make it your own with extra jalapeños, black olives, or even a fried egg on top!
Thank you for reading this post, don't forget to subscribe!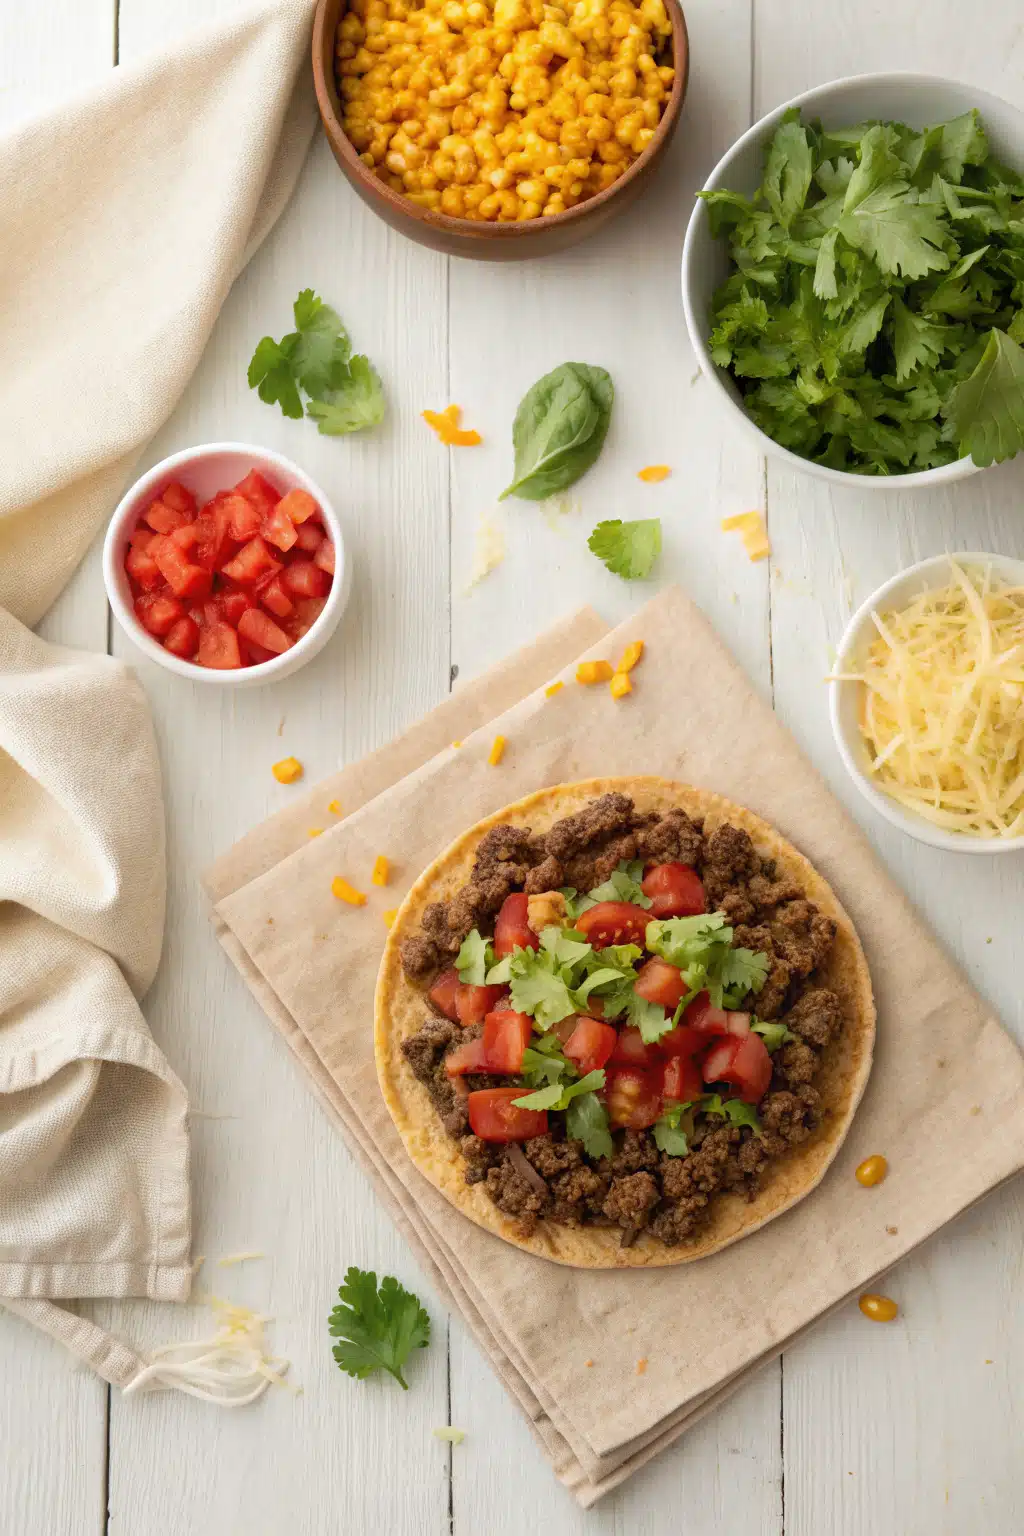
What Is Taco Pizza?
Taco Pizza is essentially a fusion of two beloved classics—pizza and tacos—crafted into one handheld masterpiece. Think of it as pizza night reimagined with Mexican flavors. The base is usually a regular or thin-crust pizza dough, spread with a flavorful layer of refried beans or seasoned Ground Beef (or both!), then topped generously with melted cheese, diced tomatoes, lettuce, onions, cilantro, and a drizzle of sour cream or guacamole. The magic happens when you bake it until the crust is golden and the cheese bubbles, creating a warm, melty, slightly crispy experience in every bite. It’s hearty enough for a family meal but playful enough to spark conversation at any gathering. Best part? You get the best of both worlds without having to choose between pizza or tacos—you get them both, all in one pan.
Why You’ll Love This Recipe
This Taco Pizza recipe has become a household favorite for so many reasons. First off, it’s incredibly easy to throw together—no fancy techniques required. Just preheat your oven, assemble your ingredients, and let the magic happen. Second, it’s packed with flavor. Every component contributes to a symphony of tastes: the savory richness of seasoned meat, the freshness of crisp vegetables, and the creamy tang of Sour Cream all come together beautifully. Third, it’s super versatile! Vegetarians can skip the meat and load up on black beans and corn. Spicy lovers can add hot sauce or sliced jalapeños. And since everyone loves pizza, this dish is a guaranteed crowd-pleaser whether you’re feeding kids or adults.
Another reason to adore this recipe? Cleanup is minimal. One baking sheet, one spatula, and voila—dinner served. Plus, leftovers are just as good, if not better, the next day (if they last that long). Oh, and let’s not forget how satisfying it is to see that perfect golden-brown crust with a little char around the edges. That little bit of texture elevates the whole experience. Honestly, there’s nothing quite like sinking your fork into a slice of warm, gooey Taco Pizza with a side of cool Ranch Dressing for dipping. Trust me, once you try it, you’ll wonder how you ever lived without it.
How to Make Taco Pizza
Quick Overview
Making Taco Pizza is straightforward and takes less than 30 minutes from start to finish. Start by preheating your oven to 425°F (220°C) and preparing your crust. Spread a layer of refried beans or seasoned Ground Beef over the dough, then top with shredded cheese, diced tomatoes, lettuce, red onion, and cilantro. Bake until the cheese is bubbly and the crust turns golden brown. Finish with a dollop of sour cream or guacamole before serving. It’s quick, easy, and absolutely delicious!
Ingredients
- 1 pre-made pizza dough ball (or store-bought crust)
- 1/2 cup refried beans (optional)
- 1/2 lb ground beef or turkey (optional)
- 1 tsp taco seasoning
- 1 cup shredded cheddar cheese
- 1/2 cup shredded lettuce
- 1/4 cup diced tomatoes
- 2 tbsp finely chopped red onion
- 2 tbsp fresh cilantro, chopped
- 2 tbsp sour cream or guacamole
Step-by-Step Instructions
Step 1: Preheat & Prep Pan
Preheat your oven to 425°F (220°C). If using a baking sheet, line it with parchment paper for easy cleanup. Roll out your pizza dough on a floured surface until it’s about 1/8-inch thick. Transfer it to the prepared pan and gently press the edges up slightly to form a crust border. Set aside while you prep the toppings.
“Made the Mexican pizza tonight and wow — perfect weeknight dinner. Will definitely make again!”
Step 2: Add Base Layer
If using refried beans, spread a thin layer evenly over the dough. For meat lovers, cook your ground beef in a skillet until fully browned, drain excess fat, sprinkle with taco seasoning, and mix well. Spread this mixture over the crust or beans.
Step 3: Assemble Toppings
Sprinkle shredded cheese over the meat or bean layer. Then add diced tomatoes, chopped red onion, and fresh cilantro. Don’t skimp on the veggies—they add crunch and brightness!
Step 4: Bake
Bake in the preheated oven for 12–15 minutes, or until the cheese is melted and bubbly, and the crust is lightly golden. Keep an eye on it to avoid burning.
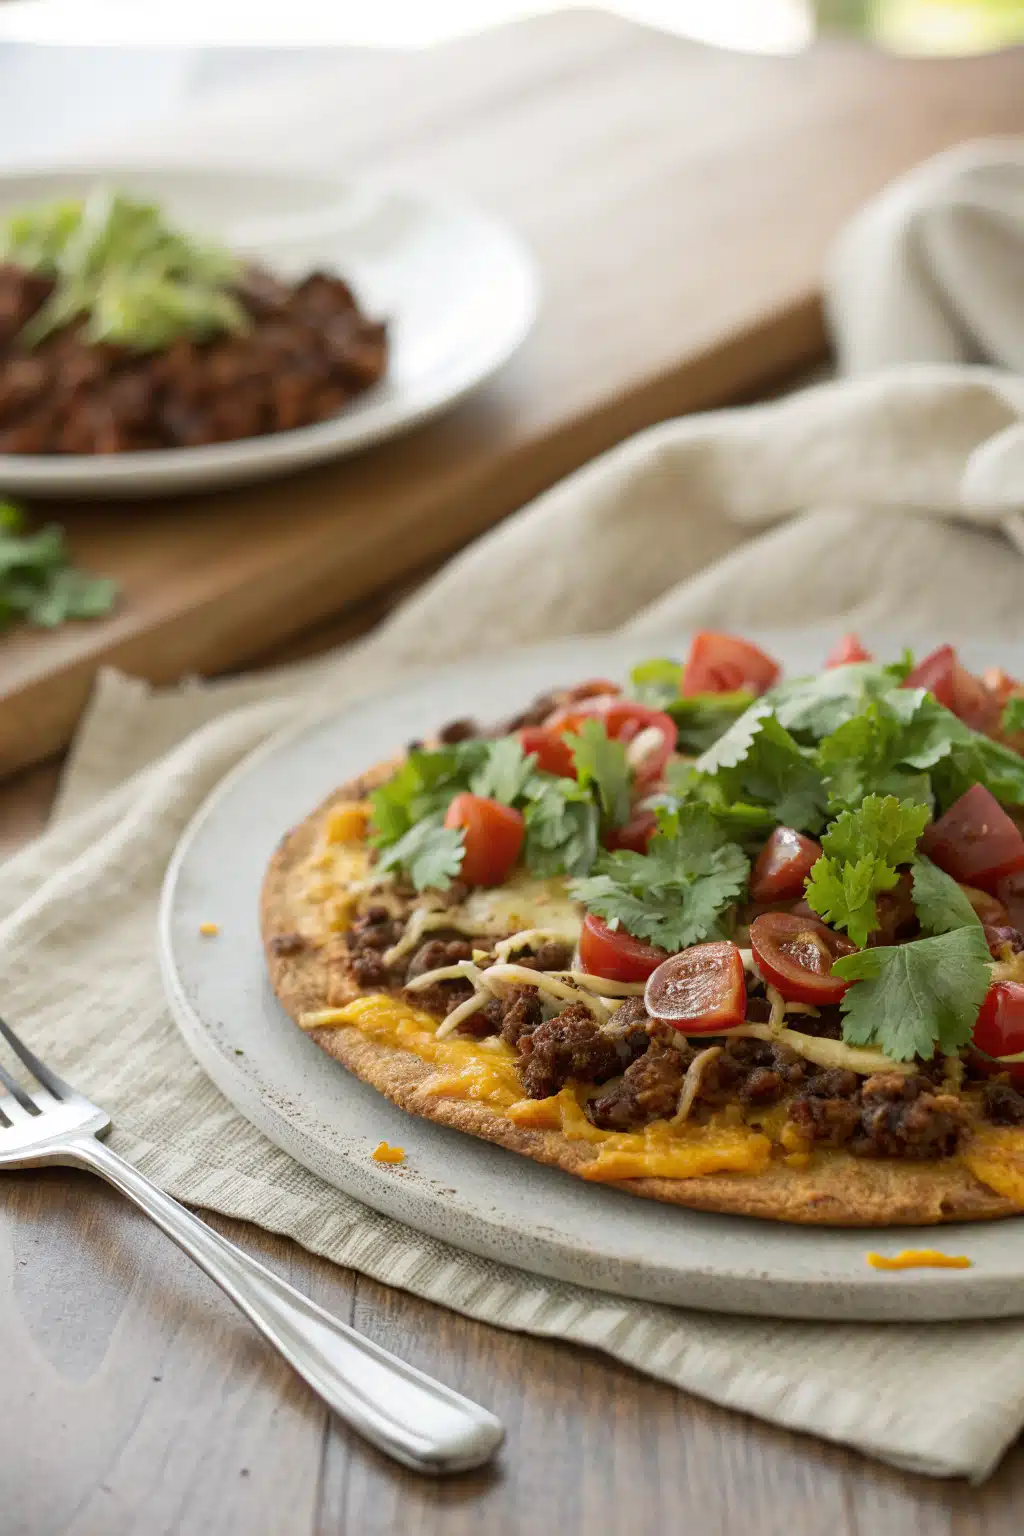
Step 5: Finish & Serve
Remove from oven and let cool for 2–3 minutes. Drizzle with sour cream or guacamole and add a handful of shredded lettuce on top. Slice into wedges and serve immediately.
What to Serve It With
Taco Pizza pairs wonderfully with simple sides that complement its bold flavors. A crisp green salad with lime vinaigrette cuts through the richness, while a bowl of tortilla chips and salsa makes a great appetizer. If you want something heartier, try serving it with Spanish rice or a side of refried beans. For drinks, cold Mexican lager or sparkling water with lime are refreshing choices. And don’t forget dessert—maybe some churros or chocolate-dipped strawberries to round out the meal.
Top Tips for Perfecting Your Taco Pizza
Want to take your Taco Pizza to the next level? Here are my pro tips:
- Don’t overload the toppings: Too many ingredients can make the crust soggy. Stick to a balanced mix of cheese, protein, and veggies.
- Use high-quality taco seasoning: Store-bought mixes vary in flavor. Look for brands with no added sugar, or make your own blend for fresher results.
- Let it rest before slicing: Allow the pizza to cool slightly after baking. This helps the toppings set and makes cutting cleaner.
- Customize freely: Swap ground beef for black beans, add avocado slices, or sprinkle crumbled feta for a twist.
- Toast the crust first: Briefly bake the crust alone before adding toppings to ensure it stays crisp.
These small tweaks make a big difference in texture and taste!
Storing and Reheating Tips
Got leftovers? Fantastic! Store any uneaten slices in an airtight container in the refrigerator for up to 3 days. To reheat, place the pizza slice on a microwave-safe plate and cover with a damp paper towel—microwave for 30 seconds or until warm. Alternatively, pop it in a toaster oven for a few minutes to revive the crust’s crispness. Avoid microwaving without covering, as it can make the crust chewy. Note: fresh lettuce and sour cream should be added after reheating for best results.
Frequently Asked Questions
“I don’t know if I’ve ever eaten a better Mexican pizza. The rub alone is wonderful, but the sauce??? Over the top!”
Final Thoughts
There you have it—a recipe that’s equal parts comfort food and creative joy. Taco Pizza isn’t just about layers of flavor; it’s about bringing people together around the table, sharing stories, and enjoying moments that feel special. Whether you’re cooking for one or feeding a crowd, this dish delivers satisfaction with every bite. So go ahead, grab your apron, gather your favorite toppings, and turn ordinary Tuesday into something extraordinary. After all, life’s too short for boring dinners. Now, who’s ready for seconds?

Mexican Pizza
Ingredients
Main Ingredients
- 2 large flour tortillas (10-inch)
- 1 lb ground beef
- 1 packet taco seasoning
- 0.5 cup water
- 1 can black beans, drained and rinsed 15 oz
- 2 cup shredded cheddar cheese
- 1 cup shredded Monterey Jack cheese
- 1 cup salsa
- 0.5 cup sour cream
- 1 cup chopped romaine lettuce
- 1 medium tomato, diced
- 0.25 cup sliced black olives optional
- 0.25 cup green onions, sliced
Instructions
Preparation Steps
- Preheat oven to 400°F (200°C). Lightly grease a baking sheet or line it with parchment paper.
- In a skillet over medium heat, cook ground beef until browned. Drain excess fat. Stir in taco seasoning and water; simmer for 2 minutes. Remove from heat.
- Place one tortilla on the prepared baking sheet. Spread half of the cooked beef mixture evenly over the tortilla, followed by half of the black beans, 1 cup cheddar, and 1/2 cup Monterey Jack.
- Top with another tortilla. Repeat layers with remaining beef, beans, and cheeses.
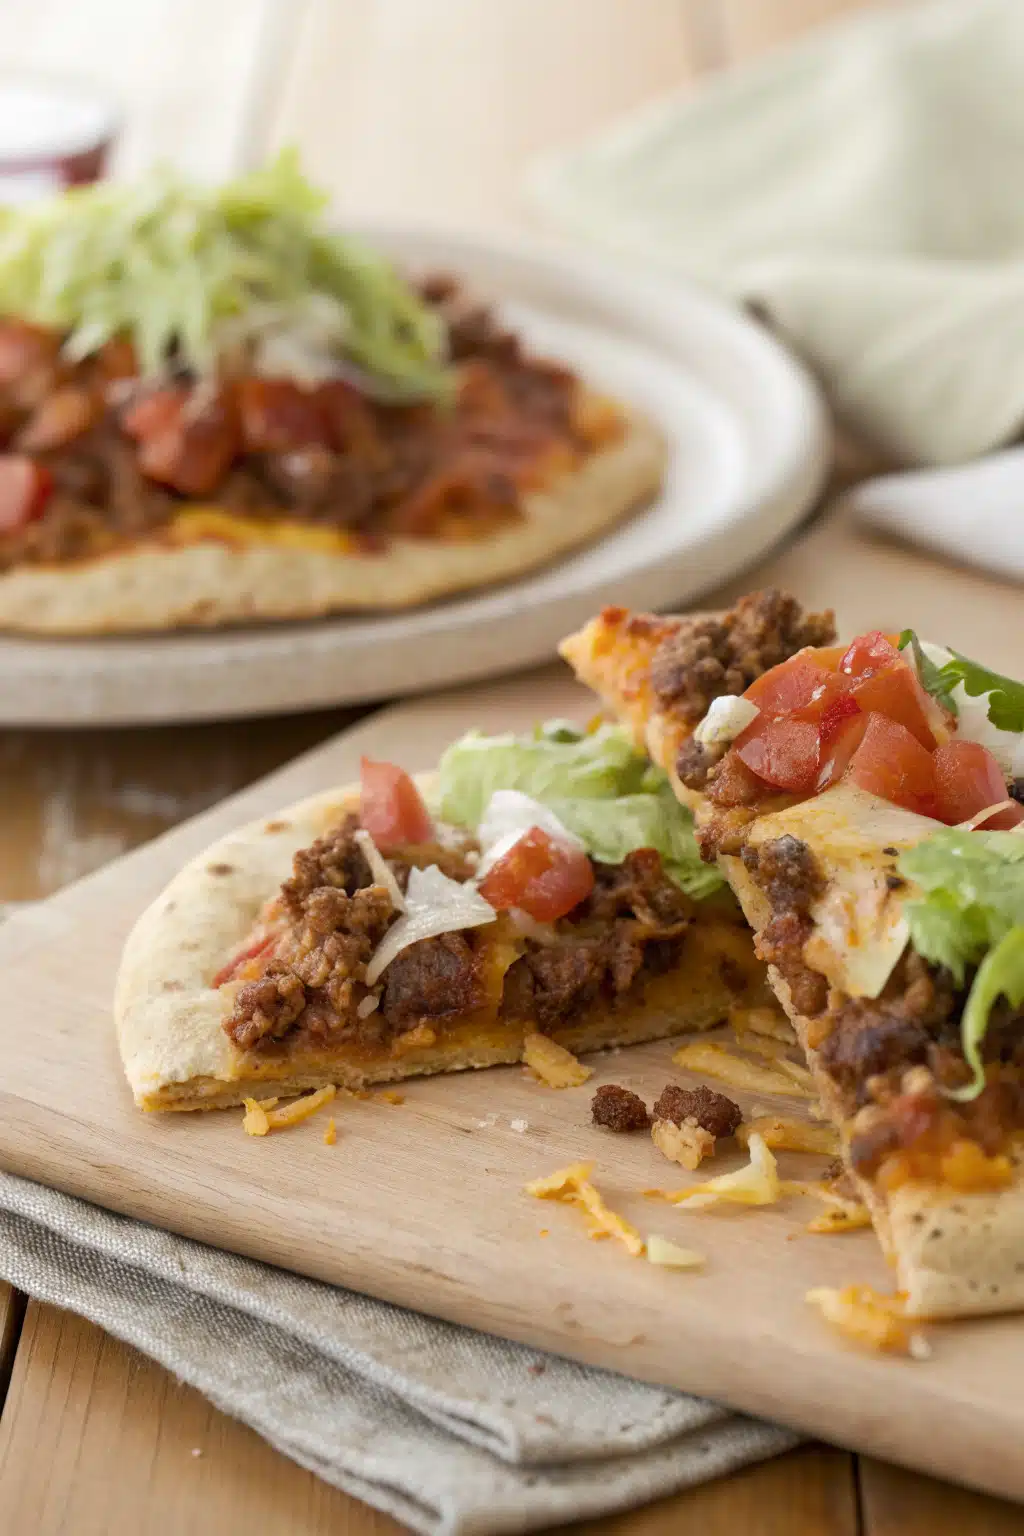
- Bake in preheated oven for 12–15 minutes, or until the tortillas are golden and the cheese is melted and bubbly.
- Remove from oven and let cool for 5 minutes. Slice into wedges.
- Serve warm with salsa, sour cream, lettuce, tomatoes, black olives, and green onions on the side.


