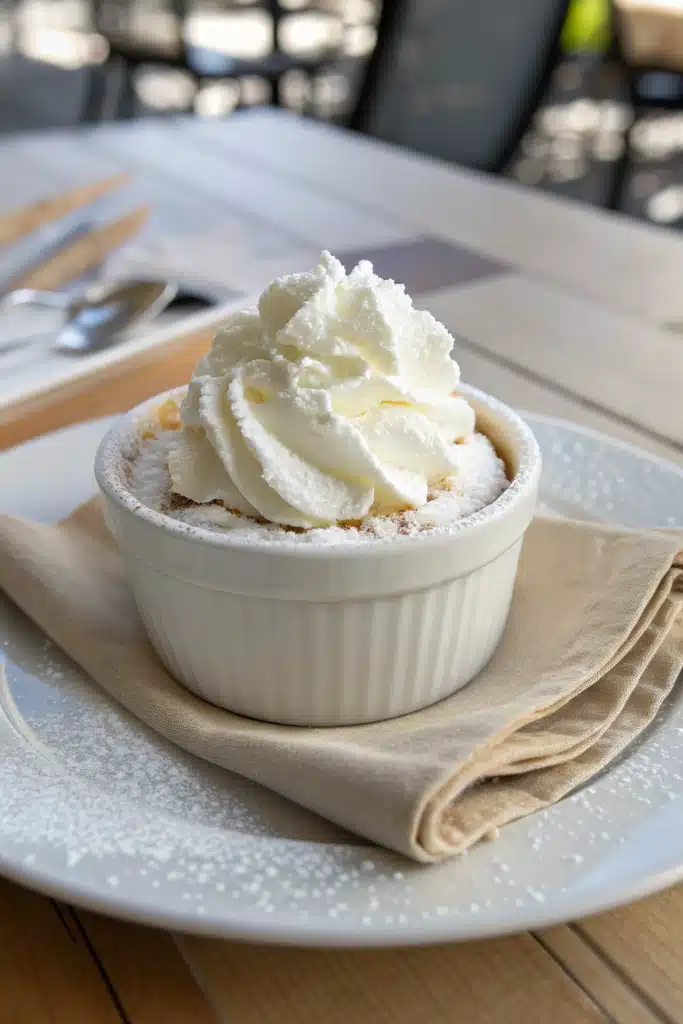
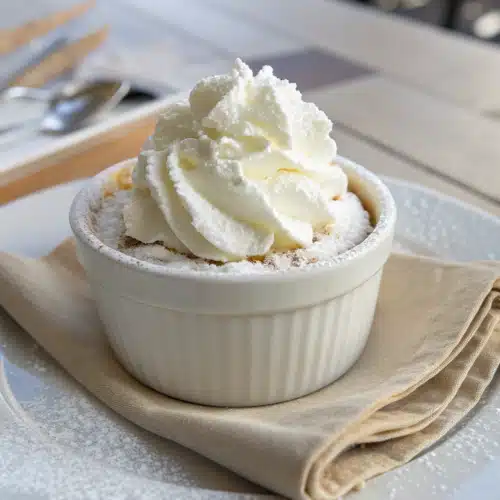
Homemade Whipped Cream: Light, Fluffy, and Made Just for You
You know that moment when you take a spoonful of something sweet—maybe warm apple pie or fresh strawberries—and you think, “This would be perfect with just a little cloud of whipped cream on top”? That’s the magic I’m talking about. There’s nothing quite like homemade whipped cream: it’s lighter, fresher, and way more satisfying than anything from a can. And honestly? It’s so simple to make, you’ll wonder why you ever bought it pre-made. All you need are a few good ingredients, a little bit of patience, and maybe your favorite music playing in the background while you whisk. Today, I’m sharing my go-to method for making silky, dreamy whipped cream that holds its shape without being stiff, tastes rich but not heavy, and makes everything it touches feel a little more special. Whether you’re topping desserts, stirring into coffee, or just eating it straight off the spoon (no judgment here!), this recipe is your new best friend.
Thank you for reading this post, don't forget to subscribe!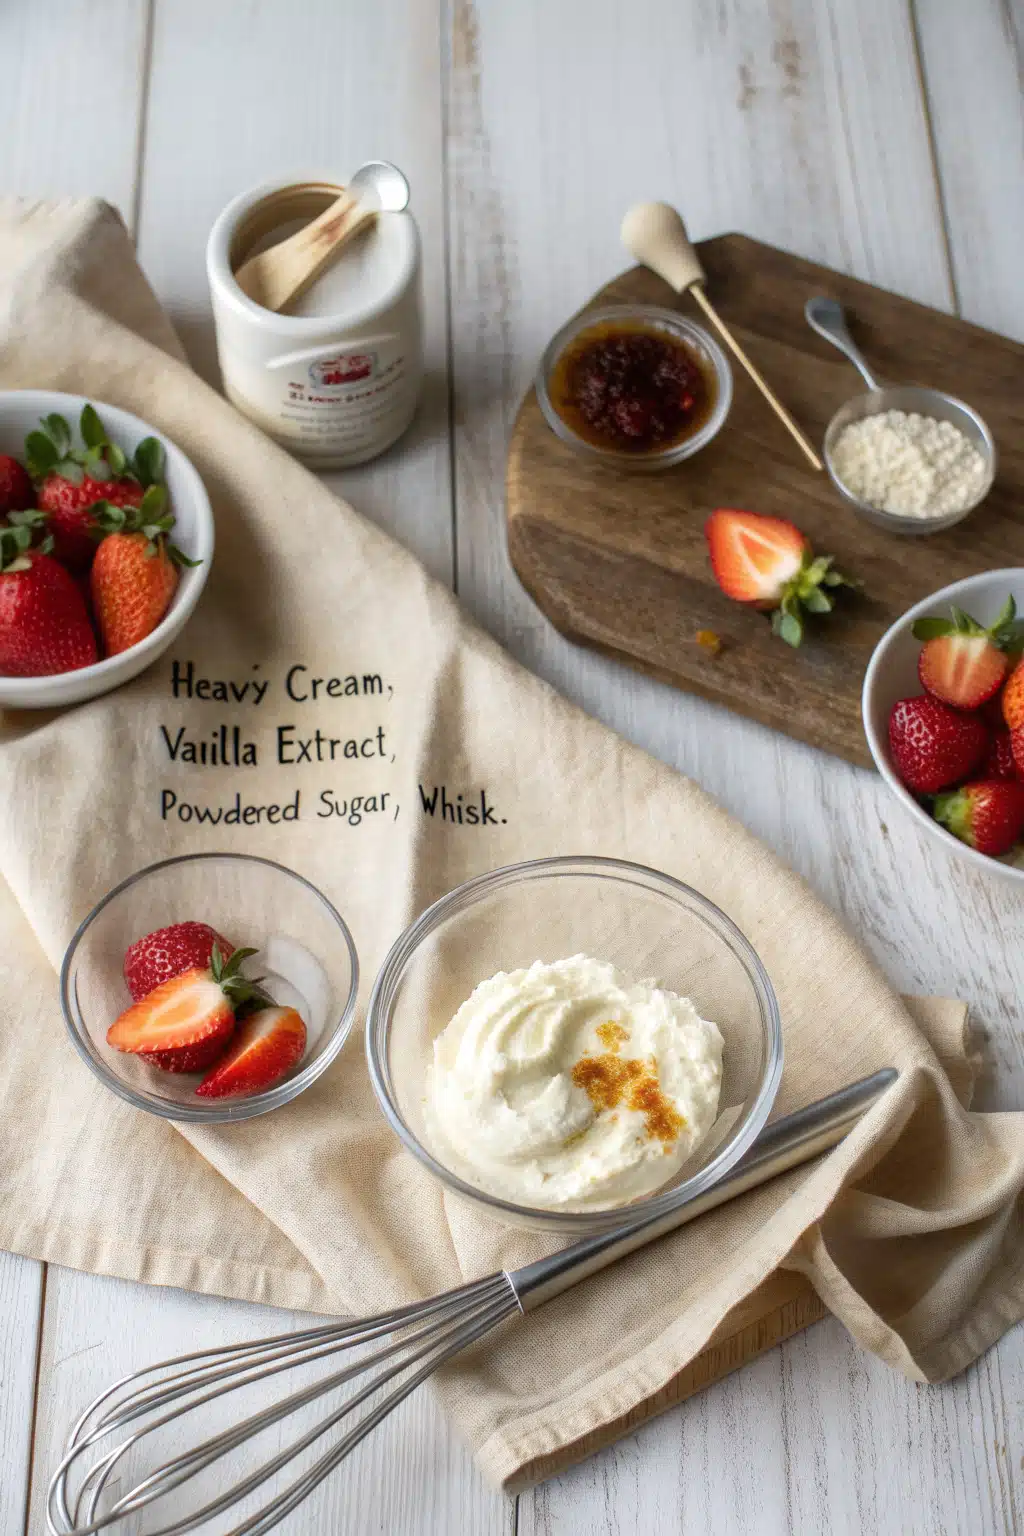
What Is Homemade Whipped Cream?
At its core, Whipped Cream is just heavy cream that’s been aerated until it becomes light, fluffy, and voluminous. But homemade whipped cream? That’s something entirely different from the store-bought kind. It’s made with real cream—no stabilizers, no artificial flavors, no weird aftertaste. Just pure dairy goodness whipped to perfection. The result is a texture that’s smooth and billowy, with soft peaks that melt gently on your tongue. Unlike canned whipped topping, which can be overly sweet and artificially thick, homemade whipped cream has a delicate balance of richness and airiness. It’s the kind of thing that elevates a simple bowl of berries or a slice of cake into something truly celebratory. Plus, because you control the ingredients, you can adjust the sweetness to your liking—or leave it unsweetened if you prefer. It’s versatile, elegant, and surprisingly easy once you get the hang of it.
Why You’ll Love This Recipe
This isn’t just another Whipped Cream recipe—it’s the one you’ll come back to again and again. First, it’s incredibly forgiving. Even if you’ve never made whipped cream before, this method works every time. Second, it uses only three ingredients (yes, really!), so there’s no guesswork or trips to specialty stores. Third, it whips up in under five minutes with either a hand mixer or a stand mixer—no fancy equipment needed. But what truly sets this apart is the flavor. Because we’re using high-quality heavy cream and just a touch of vanilla and sugar, the taste is clean, creamy, and deeply satisfying. It doesn’t overpower your dessert; it enhances it. Whether you’re serving it at a holiday dinner, adding it to your morning hot chocolate, or gifting it alongside a homemade pie, this whipped cream feels thoughtful and luxurious. And let’s be real—there’s something deeply comforting about making something by hand, especially when it turns out this beautifully. Once you try it, you’ll never look at dessert the same way again.
How to Make Homemade Whipped Cream
Quick Overview
Making whipped cream is one of those kitchen tasks that sounds fancy but is actually super straightforward. You start with cold heavy cream—this is key!—and whip it until it thickens and forms soft peaks. A splash of vanilla and a bit of sugar add flavor without making it cloying. The whole process takes less than 10 minutes, and the result is a cloud-like topping that’s miles better than anything from a carton. Just remember: don’t overwhip, or you’ll end up with butter (which, okay, is still delicious—but not what we’re going for here!).
Ingredients
You only need three simple ingredients:
- 1 cup cold heavy cream (also called heavy whipping cream—make sure it’s full fat!)
- 1–2 tablespoons powdered sugar (adjust to taste; powdered sugar blends smoother than granulated)
- ½ teaspoon pure vanilla extract (or vanilla bean paste for extra specks and flavor)

“New family favorite! This whipped cream was so flavorful and ridiculously easy. Crowd-pleaser for sure.”
Step-by-Step Instructions
Step 1: Chill Everything
Pop your mixing bowl and beaters (or whisk attachment) into the freezer for 10–15 minutes before starting. Cold tools help the cream whip faster and hold its structure better.
Step 2: Combine Cream and Flavorings
Pour the cold heavy cream into your chilled bowl. Add the powdered sugar and vanilla extract. Stir gently with a spoon to combine—this prevents splattering when you start mixing.
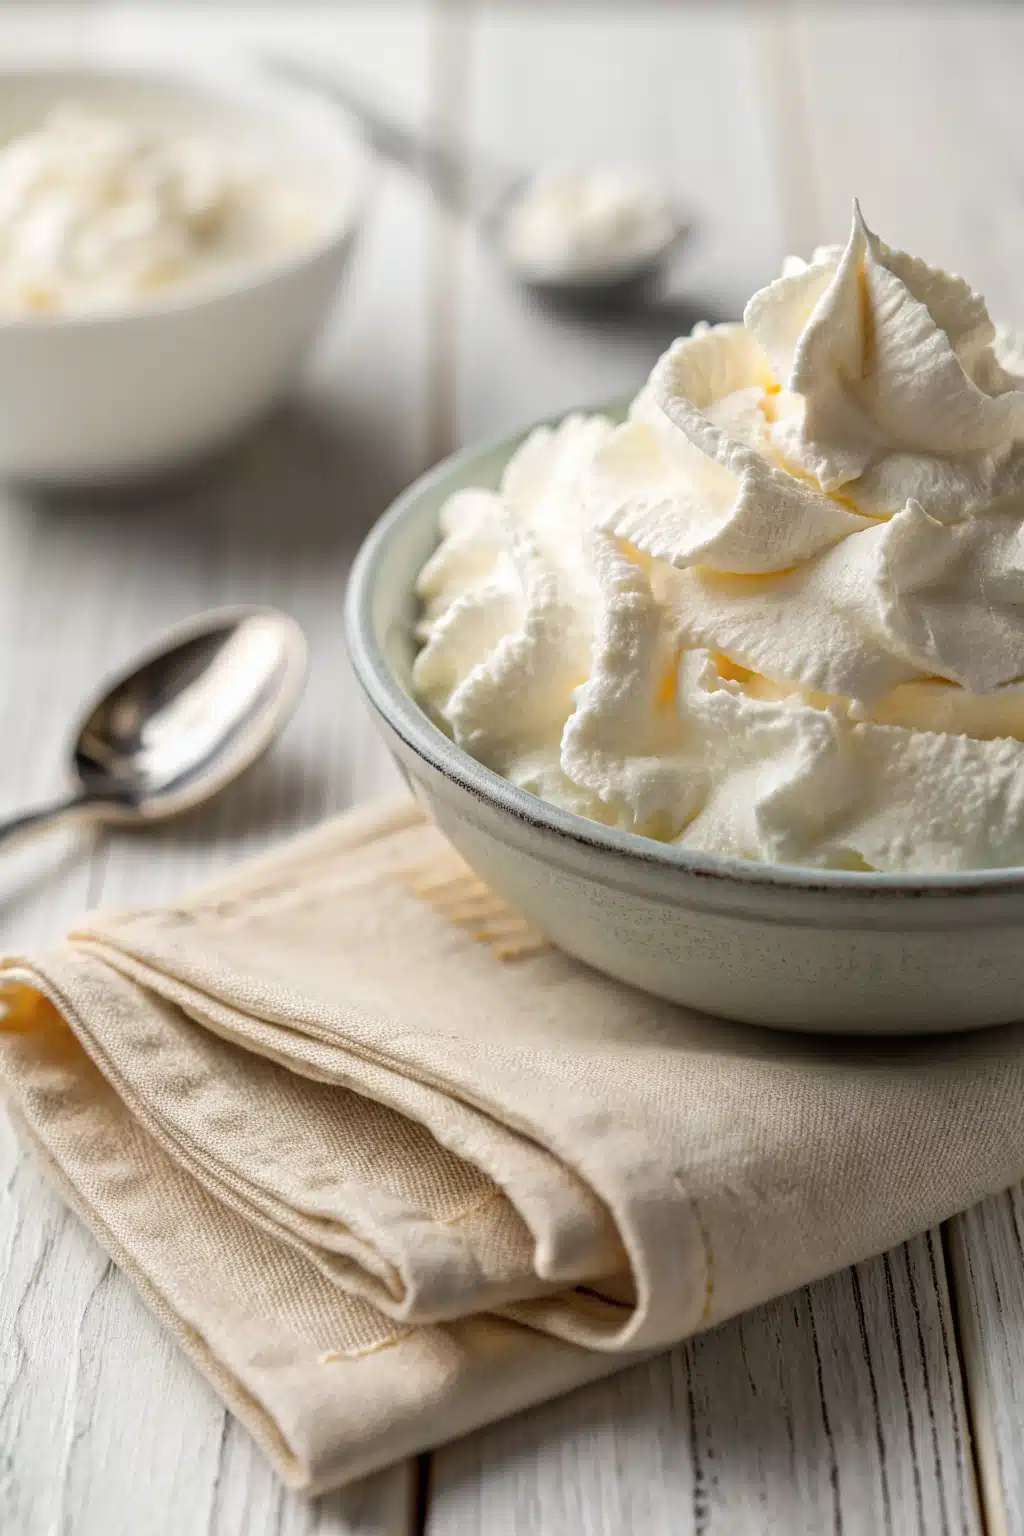
Step 3: Whip Until Soft Peaks Form
Using a hand mixer or stand mixer on medium-high speed, whip the cream for 1–2 minutes. You’ll see it thicken gradually. Stop when soft peaks form—that means when you lift the beaters, the cream holds its shape but the tip curls slightly. Be careful not to go further, or you’ll risk overwhipping.
Step 4: Serve or Store
Use immediately, or cover and refrigerate for up to 24 hours. If it loosens a bit in the fridge, just give it a quick whisk before serving.
What to Serve It With
This whipped cream is ridiculously versatile. Dollop it onto fresh fruit, swirl it into hot cocoa, crown a slice of Pumpkin Pie, or layer it in parfaits. It’s also amazing with pancakes, waffles, or even spooned over warm bread pudding. For a fancy touch, pipe it onto cakes or use it as a filling for crepes. And don’t forget drinks—it pairs beautifully with coffee, mochas, or even spiked hot chocolate on a cold night.
Top Tips for Perfecting Your Whipped Cream
Always use cold cream and cold tools—this is the #1 secret to success. Powdered sugar dissolves better than granulated and gives a smoother texture. Taste as you go; some days you might want it sweeter, other days more subtle. If you accidentally overwhip, don’t panic! Stir in a tablespoon of fresh cream and gently fold to rescue it. For extra stability (great for piping), add a teaspoon of cornstarch with the sugar. And finally—enjoy the process! Whipping cream is one of those small joys in the kitchen that reminds us how good simple things can be.
Storing and Reheating Tips
Store leftover whipped cream in an airtight container in the refrigerator for up to 24 hours. It may lose a bit of volume, but a quick whisk will bring it back to life. Do not freeze—it will separate and won’t regain its texture. This cream is best served cold and fresh, so plan accordingly!
Frequently Asked Questions
“I don’t know if I’ve ever eaten a better whipped cream. The rub alone is wonderful, but the sauce??? Over the top!”
Final Thoughts
There’s something so joyful about making whipped cream from scratch. It’s quick, it’s easy, and it transforms ordinary moments into something special. Whether you’re hosting friends or just treating yourself, this little cloud of cream adds a touch of homemade love to everything it touches. So next time you’re reaching for that can, pause—and whip up a batch of this instead. Your taste buds (and your desserts) will thank you.
Whipped Cream
Ingredients
Main Ingredients
- 1 cup heavy whipping cream, cold
- 2 tablespoons powdered sugar
- 0.5 teaspoon vanilla extract
Instructions
Preparation Steps
- Chill a mixing bowl and beaters or whisk in the freezer for 10 minutes before starting.
- Pour the cold heavy cream into the chilled bowl.
- Using a hand mixer or stand mixer, beat the cream on medium-high speed until soft peaks begin to form, about 2-3 minutes.
- Add the powdered sugar and vanilla extract.
- Continue beating until stiff peaks form, about 1-2 more minutes. Be careful not to overbeat, or the cream will turn into butter.
- Use immediately or store in the refrigerator for up to 24 hours.


