Homemade Whipped Cream: The Secret to Restaurant-Quality Desserts
There’s something truly magical about a cloud of homemade Whipped Cream. It’s not just a sweet topping—it’s the finishing touch that transforms an ordinary dessert into something extraordinary. When I first learned how to make it properly, my world changed forever. No more store-bought tubs with weird preservatives or lumpy, under-whipped batches from my old mixer. Now, every time I whip up this simple recipe, I feel like I’ve unlocked a little piece of culinary magic.
Thank you for reading this post, don't forget to subscribe!What Is Homemade Whipped Cream?
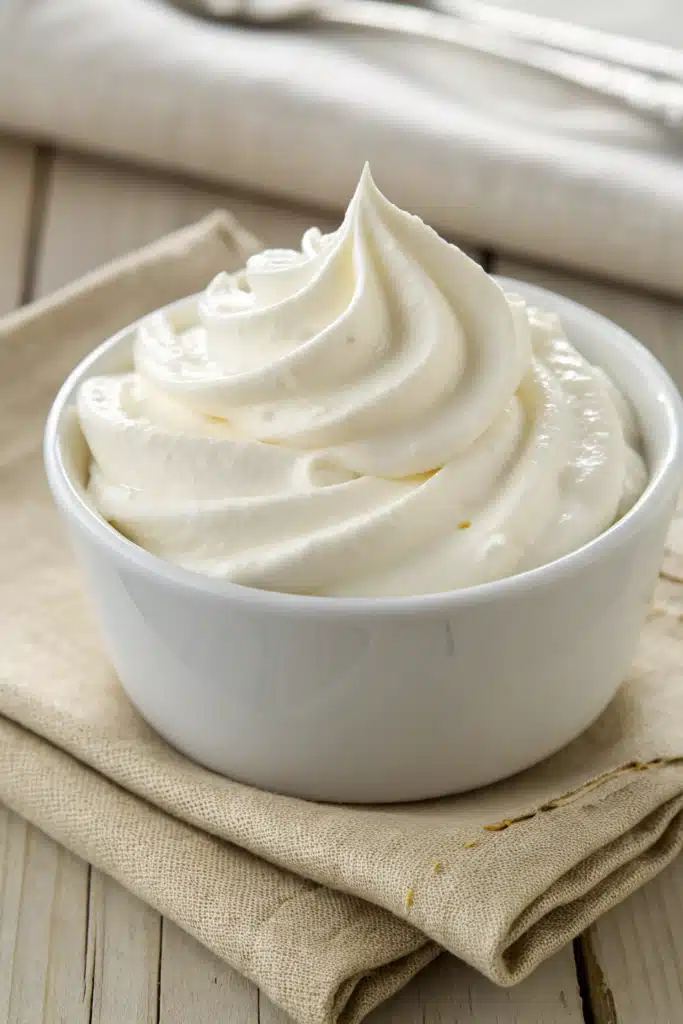
Homemade Whipped Cream is simply heavy cream (or heavy whipping cream) that’s been beaten until it reaches soft or stiff peaks. Unlike instant versions, this real deal develops its own structure through air incorporation and fat stabilization, giving you that ethereally light texture with just the right amount of sweetness. The beauty lies in its purity—just cream, sugar, and vanilla (sometimes a splash of liqueur), yet the result feels luxurious beyond belief.
Why You’ll Love This Recipe
This isn’t just another whipped cream tutorial—it’s your new kitchen secret weapon. First off, the flavor? Absolutely divine. There’s no chemical aftertaste here, just clean dairy richness balanced with subtle sweetness. Second, control. You decide how sweet, how thick, even whether to add a hint of citrus zest for brightness. And third—the texture! Store-bought never compares to fresh-made clouds that hold their shape beautifully but melt gloriously on warm berries or Hot Chocolate. Plus, making it takes less than 10 minutes once you get the hang of it. Honestly, if you’ve ever wanted to impress guests without breaking a sweat, this is your golden ticket.
How to Make Homemade Whipped Cream
Quick Overview
Making perfect whipped cream is shockingly easy when you know the tricks. Chill everything first—cold tools help trap air better. Use high-fat cream (at least 36%) for stability. Sweeten to taste, usually 1–2 tablespoons of powdered sugar per cup of cream. A splash of vanilla extract adds depth. Beat slowly at first, then faster as peaks form. Stop before overbeating, or you’ll lose volume and end up with butter. Done right, you’ll have pillowy perfection in under 15 minutes.
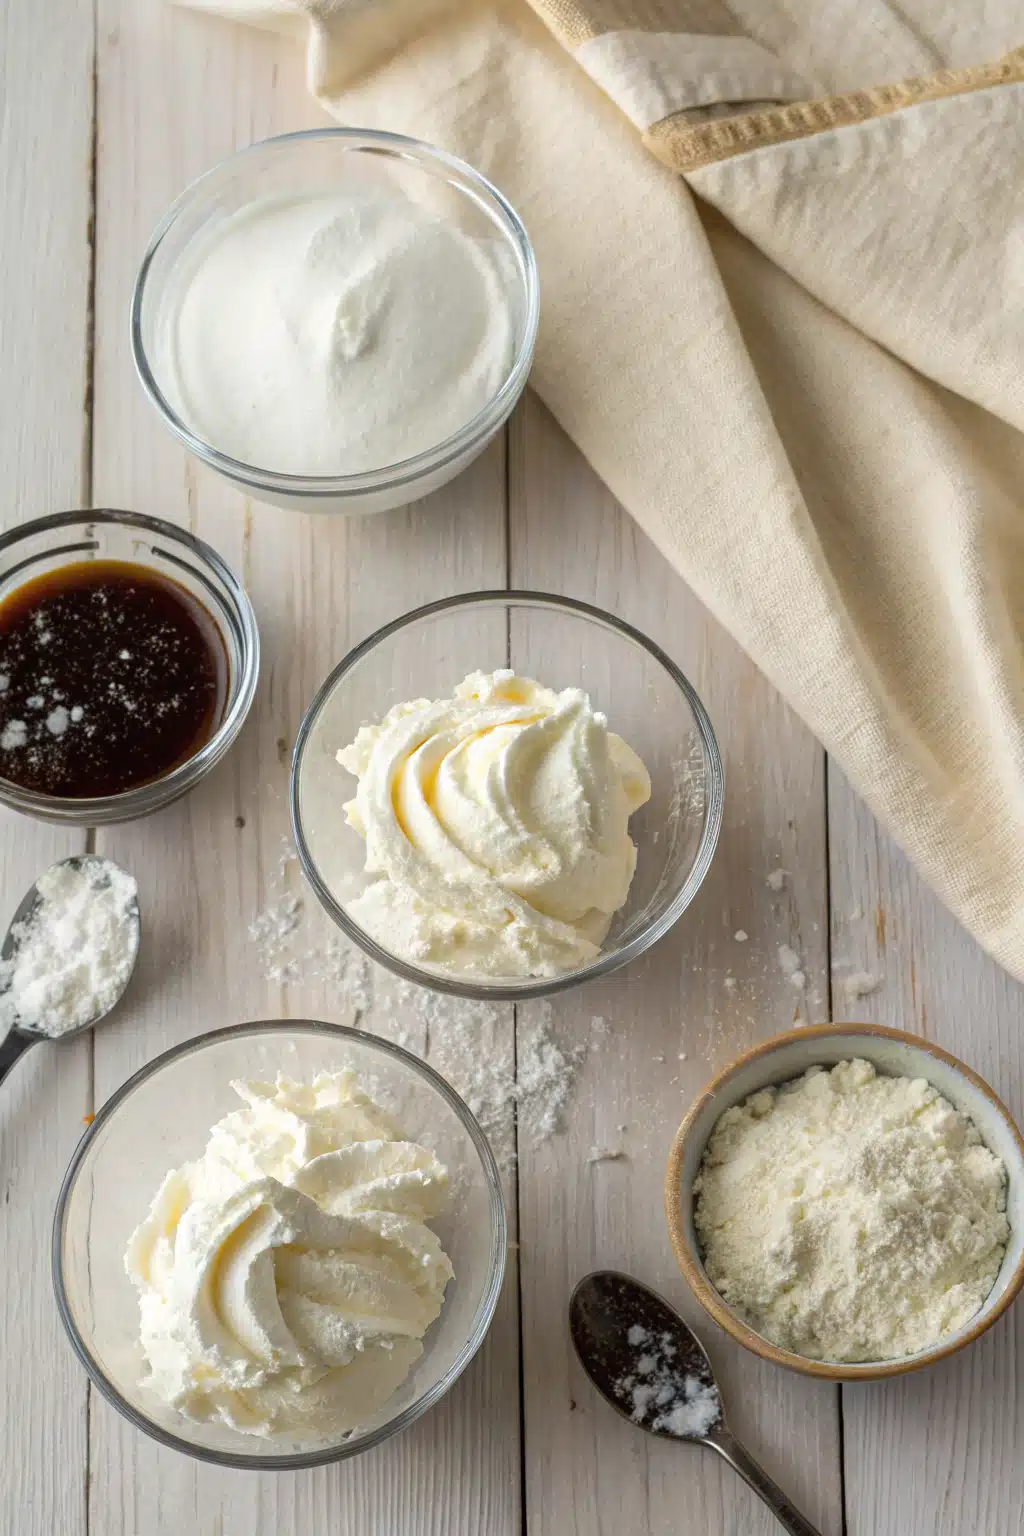
Ingredients
- 1½ cups heavy cream (cold)
- 2 tablespoons powdered sugar (adjust to taste)
- 1 teaspoon pure vanilla extract
- Optional: pinch of salt, or ¼ tsp vanilla bean paste for extra luxury
Step-by-Step Instructions
Step 1: Preheat & Prep Pan
Start by chilling all components: place the mixing bowl, whisk attachment, and any utensils in the freezer for 10–15 minutes. Cold equipment is non-negotiable for stiff peaks. Pour cold heavy cream into the chilled bowl. Add powdered sugar and vanilla extract. If using, sprinkle in a pinch of salt to enhance flavor complexity.
“The homemade whipped cream turned out amazing. My kids asked for seconds. Saving this one!”
Step 2: Begin Beating
Attach the whisk to your stand mixer (or use a hand mixer). Start on low speed to dissolve sugar evenly. Increase to medium-high once sugar is mostly incorporated. Watch closely—this is where patience pays off. The cream will go from liquid to foamy in about 30 seconds, then begin forming soft peaks around 1 minute.
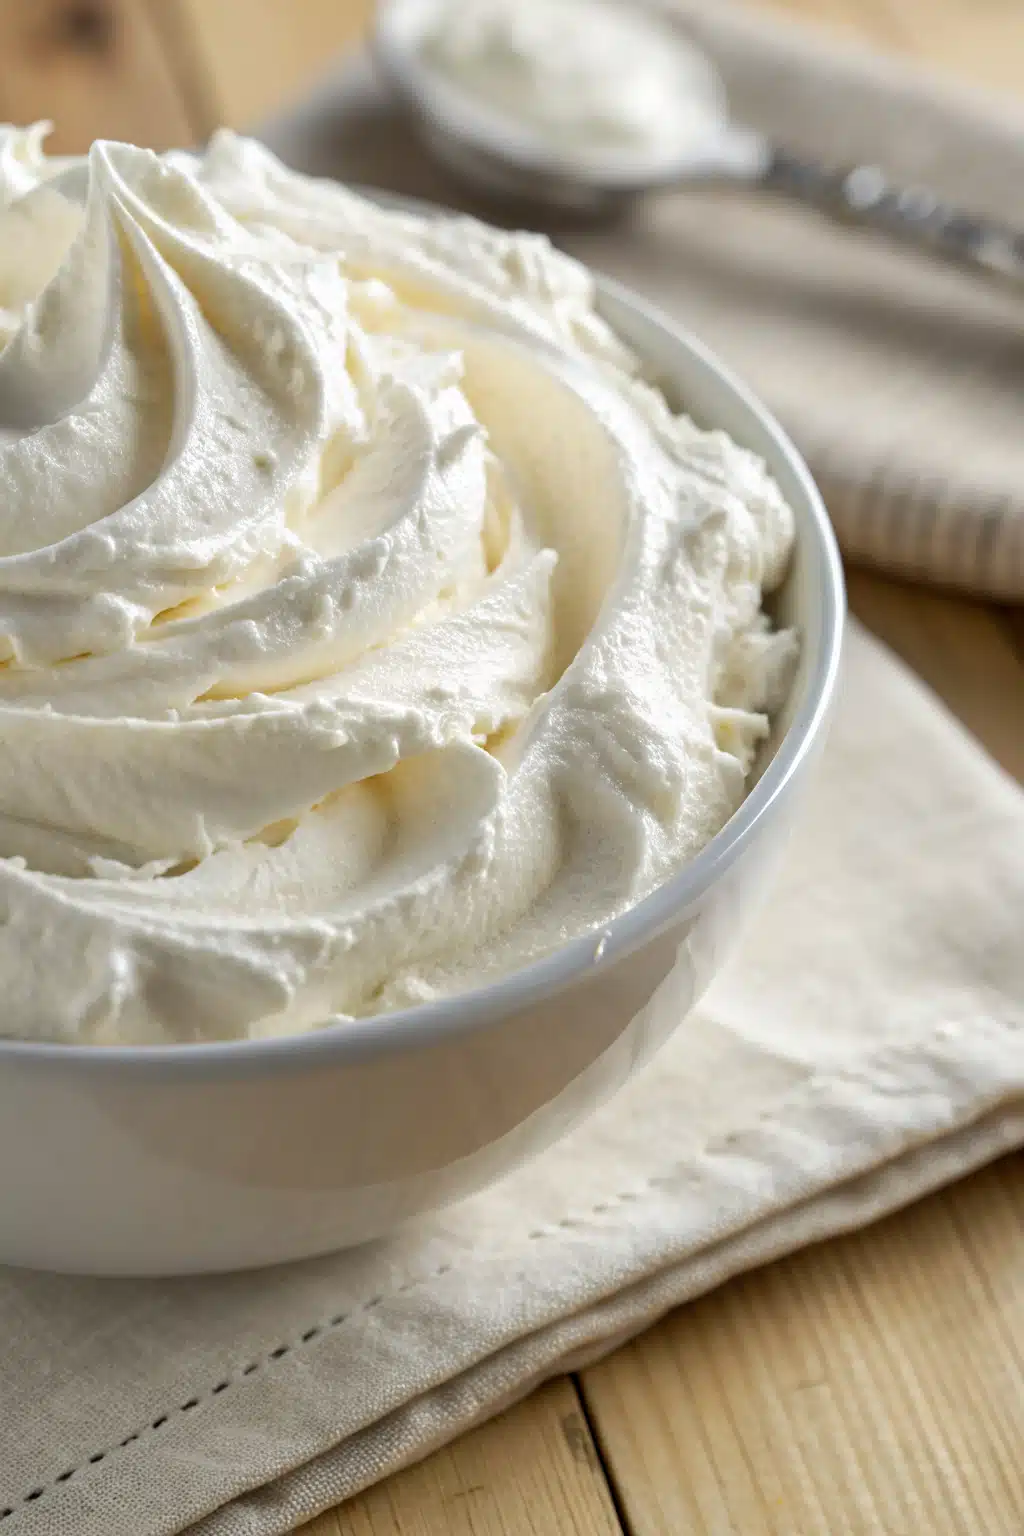
Step 3: Check Texture
Stop beating periodically to check consistency. Soft peaks curl gently over themselves; stiff peaks hold sharp corners but still spring back slightly. For most desserts, soft peaks work best—they’re forgiving and melt nicely. Overbeating leads to grainy butter, which nobody wants. Aim for smooth, glossy peaks.
Step 4: Final Touches
Once desired texture is reached, immediately transfer to a piping bag (if decorating) or storage container. Cover surface with plastic wrap directly touching the cream to prevent skin formation. Refrigerate until ready to serve—it keeps beautifully for up to 2 days.
What to Serve It With
This whipped cream shines brightest atop classic combos: strawberry shortcake gets next-level elegance, hot chocolate becomes decadent, and apple pie tastes like grandma’s best. But don’t stop there! Try it folded into ice cream bases for homemade sundaes, piped onto fruit skewers, or dolloped over warm brownies. Its versatility is endless. For savory surprises, swap vanilla for herbs like mint or basil and pair with grilled peaches. Even soups benefit from a swirl—think Roasted tomato soup with basil-infused cream. The possibilities are truly limitless.
Top Tips for Perfecting Your Homemade Whipped Cream
- Temperature matters: Always use cold cream and tools. Warm cream won’t whip properly.
- Fat content counts: Heavy cream with 36%+ fat whips best. Light cream fails miserably.
- Powdered sugar > granulated: It dissolves instantly, leaving no gritty bits. Granulated sugar needs longer mixing and risks overbeating.
- Vanilla quality: Use real extract, not imitation. One teaspoon can elevate everything.
- Don’t overdo it: Overbeating = sad, oily butter. Soft peaks are usually ideal.
- Stabilizers optional: Adding 1 tbsp cornstarch helps stabilize in humid climates, but isn’t necessary otherwise.
Storing and Reheating Tips
Proper storage keeps your whipped cream fresh and fluffy. After whipping, press plastic wrap directly onto the surface to eliminate air exposure (which causes crusting). Store in an airtight container in the fridge for up to 2 days. Never microwave it—it’ll weep and lose volume. If you notice separation, gently re-whip for 10 seconds. For long-term storage, pipe into molds, freeze solid, and thaw 10 minutes at room temp before serving. Frozen whipped cream works surprisingly well for mousses and frozen yogurt toppings!
Frequently Asked Questions
“I don’t know if I’ve ever eaten a better homemade whipped cream. The rub alone is wonderful, but the sauce??? Over the top!”
Final Thoughts
There you have it—your new go-to for cloud-like, restaurant-worthy whipped cream. This recipe isn’t just about technique; it’s about joy. Every time you fold those last few strokes, you’re creating moments of sweetness. Whether you’re topping a birthday cake, brightening up plain yogurt, or simply indulging in a spoonful straight from the bowl, remember: real whipped cream tastes infinitely better than anything bought in a tub. So grab your chilled bowl, mix up a batch, and let the magic begin. Your taste buds will thank you, and so will everyone lucky enough to taste it.
Homemade Whipped Cream
Ingredients
Main Ingredients
- 1 cup heavy whipping cream (cold)
- 2 tablespoon granulated sugar
- 0.5 teaspoon pure vanilla extract
Instructions
Preparation Steps
- Chill a mixing bowl and whisk attachment in the freezer for at least 10 minutes before starting.
- Pour cold heavy cream into the chilled bowl and begin whisking with the chilled whisk until soft peaks form.
- Gradually add sugar and vanilla extract while continuing to whisk.
- Continue whisking until stiff peaks form. Do not overwhip or the cream will turn into butter.


