You know those moments? The ones where you’ve whipped up a perfect pie, baked a batch of irresistible cookies, or even just craving something sweet without the fuss of a whole dessert? That’s exactly when a dollop of truly exceptional Whipped Cream saves the day. I’m not talking about the stuff from a can that’s mostly air and sugar; I mean the real deal, the kind that’s cloud-like, decadent, and tastes like pure happiness. This recipe for homemade whipped cream is my absolute go-to. It’s the magical finishing touch that elevates everything, and honestly, it’s so ridiculously easy, I almost feel guilty sharing it. But then again, sharing joy is what cooking is all about, right? It’s my secret weapon for making everyday treats feel like a special occasion, and it’s the only way I’ll make whipped cream now.
Thank you for reading this post, don't forget to subscribe!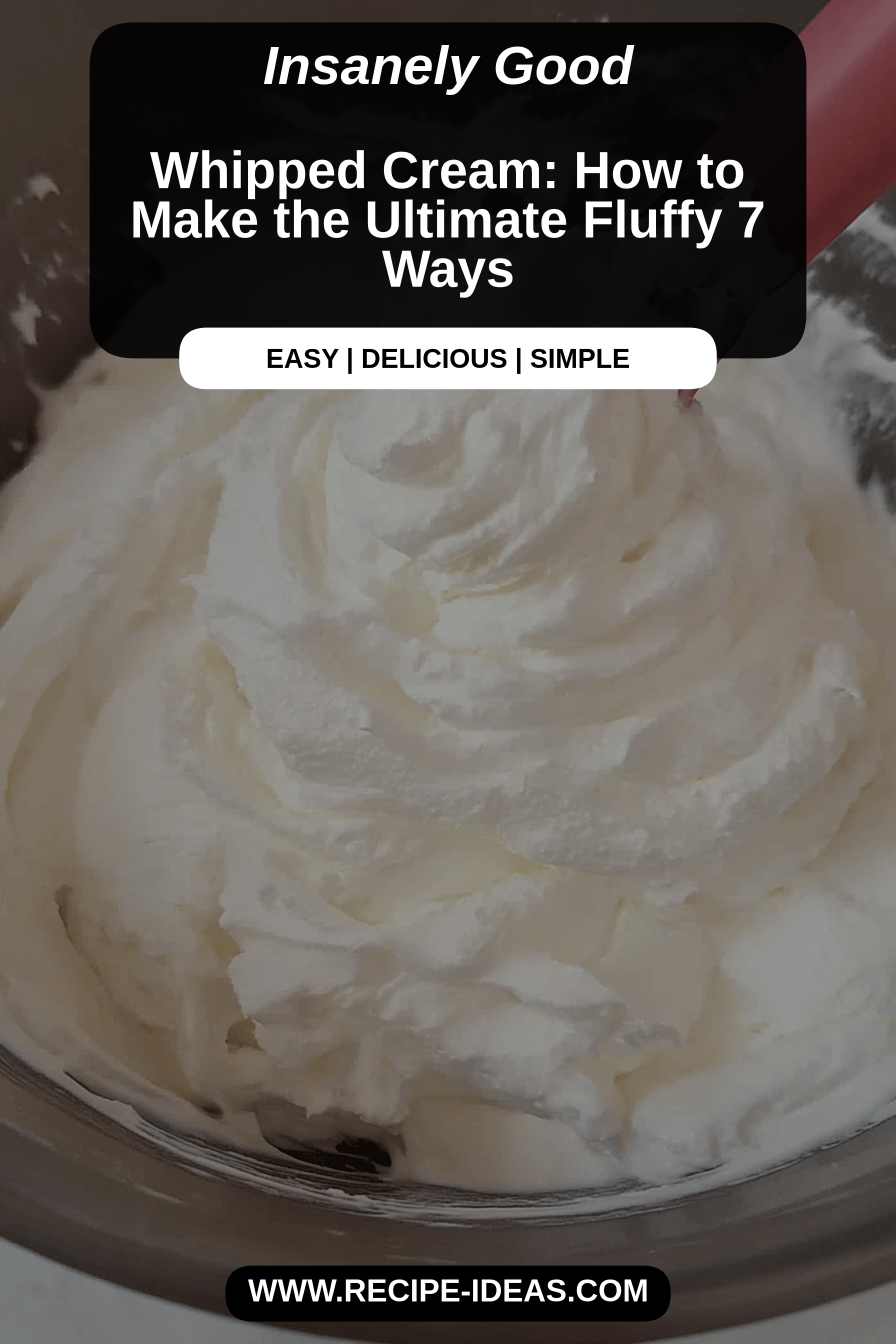
What is Dreamy Whipped Cream?
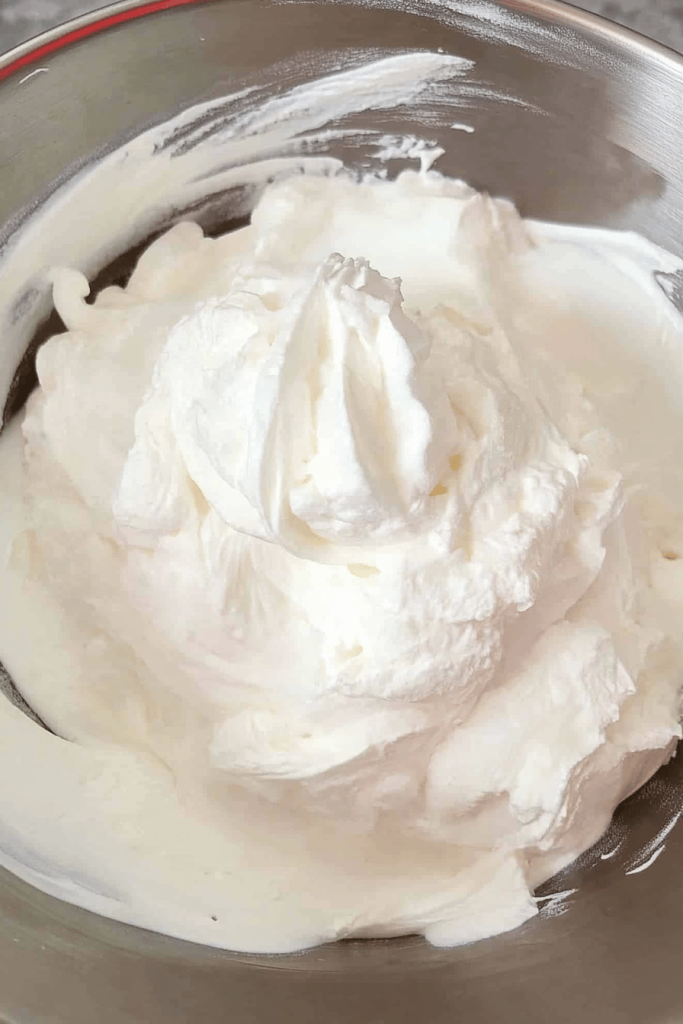
So, what exactly *is* this magical concoction I keep raving about? Think of it as the simplest, most elegant transformation of heavy cream into pure, fluffy bliss. It’s essentially heavy cream that’s been whipped vigorously until it holds its shape, infused with just a touch of sweetness and a whisper of vanilla. The “dreamy” part comes from its texture – it’s impossibly light and airy, yet rich and satisfying. It’s not a complicated cake or a fussy custard; it’s the ultimate crowd-pleaser that requires just a few ingredients and a little bit of arm power (or the help of a mixer!). It’s the classic, old-fashioned way of making Whipped Cream, the kind your grandma might have made, and it’s a fundamental building block for so many desserts.
Why you’ll love this recipe?
Honestly, where do I even begin? The sheer delight this simple recipe brings is why I make it time and time again. First off, the flavor is just out of this world. It’s pure, clean dairy goodness with a subtle sweetness that’s never cloying. You can actually taste the cream itself, which is something you rarely get with store-bought versions. Then there’s the simplicity – it truly takes minutes. I can whip up a batch while my coffee is brewing. And the cost-efficiency! Heavy cream is relatively inexpensive, and a carton goes a long way, especially when you’re making something so versatile. Speaking of versatility, that’s another huge win. This whipped cream is perfect for topping pies, cakes, fruit, Hot Chocolate, pancakes, waffles, or even just eating with a spoon when you need a quick sweet fix. What I love most about this is how it makes even the simplest dessert feel gourmet. It’s a testament to how a few quality ingredients can create something truly spectacular. It’s miles beyond anything you’ll find pre-made, and it’s so rewarding to make your own.
How do I make homemade whipped cream?
Quick Overview
This couldn’t be easier! You’ll chill your bowl and whisk, then whip cold heavy cream with a touch of sugar and vanilla until it’s beautifully fluffy and holds soft peaks. It’s the speed and purity of flavor that make this method a winner. No fancy techniques, just pure, simple magic that takes less time than it takes to run to the store for the canned stuff.
Ingredients
What is the creamy base?
2 cups (475ml) Heavy Whipping Cream, very cold. This is non-negotiable! The colder, the better. I’ve tried other creams, but heavy whipping cream with at least 36% milk fat is what you need for perfect stability and richness. Make sure it’s been in the fridge for at least 24 hours.
For Sweetness & Flavor:
1/4 cup (50g) Powdered Sugar (also known as confectioners’ sugar or icing sugar). This dissolves so easily and gives a smooth sweetness. You can adjust this to your taste, but I find this amount perfect for a balanced sweetness.
1 teaspoon Pure Vanilla Extract. Don’t skimp on the quality here! A good vanilla extract makes a world of difference. You can also use a vanilla bean paste for those beautiful little speckles and an even more intense vanilla flavor.
“Made the whipped cream tonight and wow — perfect weeknight dinner. Will definitely make again!”

Step-by-Step Instructions
Step 1: Chill Everything
This is arguably the most crucial step for success! Pop your mixing bowl (I prefer metal or glass) and your whisk attachment (from a stand mixer or hand mixer) into the freezer for at least 15-20 minutes. You want everything as cold as possible. This helps the fat molecules in the cream whip up faster and create that lovely structure.
Step 2: Pour the Cream
Once everything is nice and frosty, pour your very cold heavy whipping cream into the chilled bowl. Make sure there’s nothing else in the bowl – just the cream. This ensures you have plenty of room for it to expand as it whips.
Step 3: Start Whipping
Begin whipping the cream on a low speed. As it starts to froth slightly, gradually increase the speed to medium-high. You’ll see it start to thicken and turn opaque. This usually takes about 2-3 minutes.
Step 4: Add Sweetener and Vanilla
Once the cream has thickened to the point where it’s leaving trails from the whisk but isn’t holding its shape yet (this is often called “soft peaks” stage), it’s time to add your powdered sugar and vanilla extract. Sprinkle the sugar in gradually, and drizzle in the vanilla. This prevents the sugar from making a mess and ensures it incorporates smoothly.
Step 5: Whip to Stiff Peaks
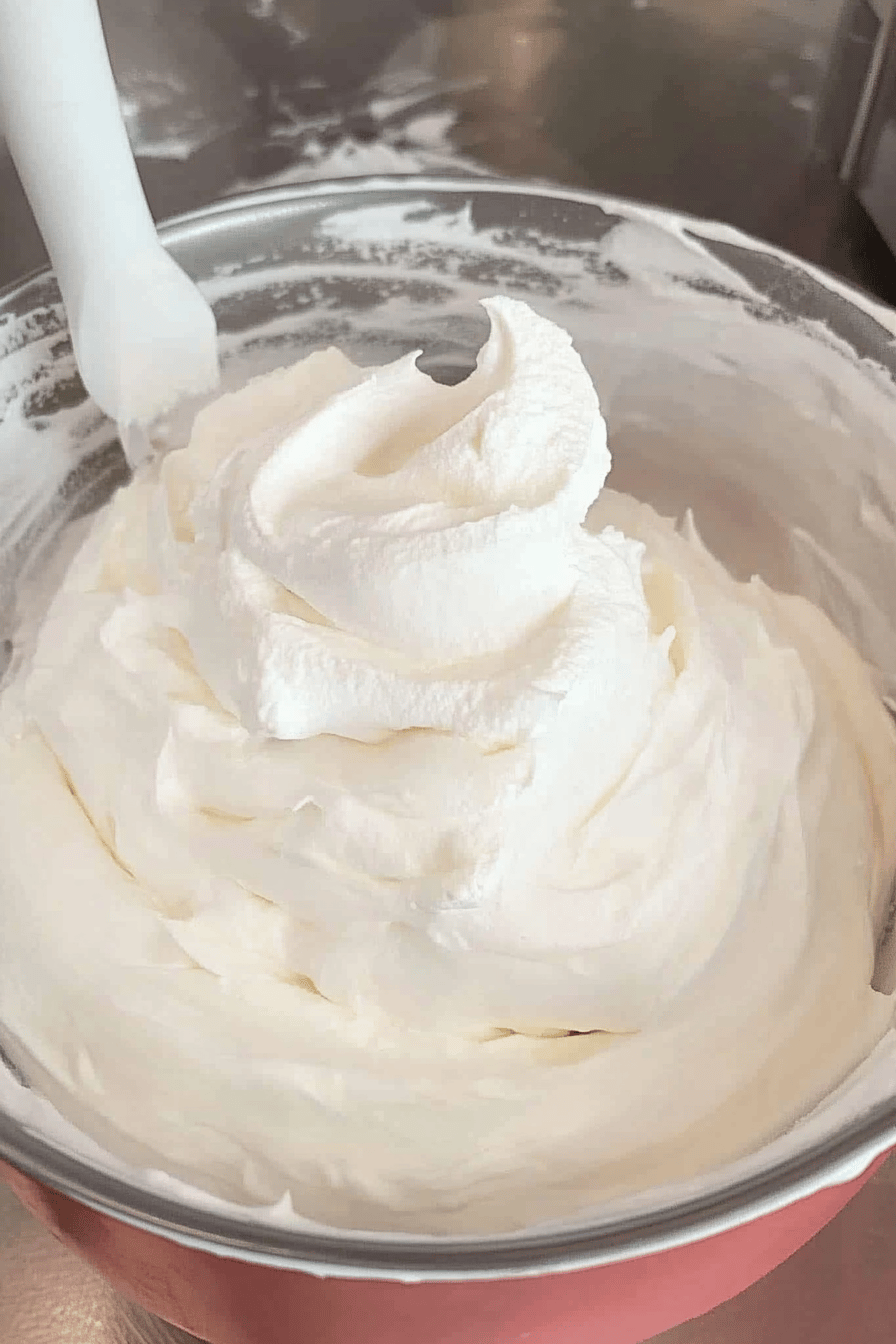
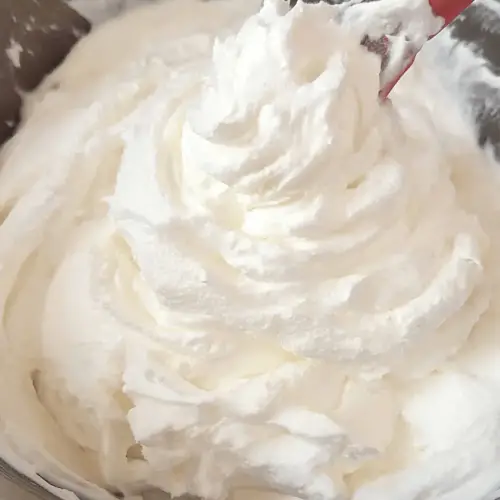
Continue whipping on medium-high speed. Watch it carefully! It will go from soft peaks to medium peaks, and then finally to stiff peaks. Stiff peaks mean that when you lift the whisk out, the cream stands straight up and doesn’t curl over. Be careful not to over-whip, or you’ll end up with butter!
Step 6: Check for Perfection
You’re looking for a consistency that’s billowy, holds its shape beautifully, and doesn’t weep. If you gently tilt the bowl, it should stay put. If it looks like it’s starting to get a grainy texture, stop immediately – you’ve gone just a touch too far. A little over-whipped is still delicious, just not as visually stunning.
Step 7: Serve Immediately or Chill
Your dreamy whipped cream is ready! For the best texture and flavor, serve it right away. If you need to make it ahead, you can cover it gently with plastic wrap (press it directly onto the surface to prevent a skin from forming) and keep it in the refrigerator for a few hours. It might firm up a bit more, so you may need to give it a quick whisk before serving.
Step 8: Enjoy the Magic
Spoon it generously onto your favorite desserts, drinks, or just enjoy a small bowl with a spoon! The satisfaction of creating something so delightful from such simple ingredients is immense.
“I don’t know if I’ve ever eaten a better whipped cream. The rub alone is wonderful, but the sauce??? Over the top!”
What to Serve It With
This whipped cream is like the best supporting actor in the culinary world; it makes everything else shine brighter! For breakfast, it’s an absolute revelation piled high on fluffy pancakes or warm waffles, especially alongside fresh berries. A spoonful next to a slice of morning toast can make it feel like a special occasion. For brunch, imagine it gracing a beautiful fruit salad or dolloped on top of a decadent French Toast Casserole. It adds a touch of elegance that’s incredibly inviting. As dessert, well, the possibilities are endless! It’s classic with strawberry shortcake, a dream on apple pie or pumpkin pie, and utterly divine over brownies or a warm chocolate lava cake. And for those cozy snack moments? A mug of rich hot chocolate or a bowl of fresh strawberries wouldn’t be complete without a generous swirl. My kids absolutely adore it on simple baked apples; it’s comfort in a bowl. Honestly, if a dessert calls for something creamy and sweet, this whipped cream is the answer.
Top Tips for Perfecting Your Whipped Cream
I’ve learned a few tricks over the years of making this, and they really make a difference. First, about that cream: make sure it’s *heavy* whipping cream, and ensure it’s properly chilled. I can’t stress that enough. If your cream is even slightly warm, it just won’t whip up properly. Using a chilled bowl and whisk is the next big secret; it really helps kickstart the process and achieve that light, airy texture faster. When you start whipping, begin on low speed. This prevents a cream explosion all over your kitchen! Gradually increase the speed. Listen to your mixer and watch the cream; it changes texture quickly. The moment you see trails forming, switch to adding the sugar and vanilla. Adding them too early can weigh the cream down, and too late might mean they don’t fully dissolve. When it comes to knowing when it’s ready – the stiff peak stage – it’s all about observation. You want it to stand tall and hold its shape firmly. If you can see it looking a little grainy or starting to separate, you’ve gone too far, and it’s on its way to becoming butter. Don’t panic if that happens; sometimes a gentle whisk can bring it back, or you can just embrace your new (delicious) butter-like spread! I’ve also experimented with flavor swaps. A tiny pinch of cinnamon or a drop of almond extract can be lovely additions. And if you’re really going for it, using a vanilla bean scraped right into the cream before whipping? Pure luxury! Just remember to whisk until it’s fluffy but not grainy. Trust me on this one; taking the time to chill and watch carefully will give you the most beautiful, stable whipped cream every single time.
Storing and Reheating Tips
This homemade whipped cream is best enjoyed fresh, but life happens, and sometimes you need to store it! If you have any leftovers, the best way to store it is in an airtight container in the refrigerator. I like to gently press a piece of plastic wrap directly onto the surface of the whipped cream before putting the lid on. This really helps prevent a skin from forming and keeps it from absorbing odors from other foods. It should stay wonderfully fresh in the fridge for about 2 to 3 days. It might deflate slightly or firm up more over time, but a quick whisk with a fork or a few seconds with a hand mixer will usually bring it back to its fluffy glory. I haven’t had much luck freezing whipped cream; it tends to weep and separate quite a bit upon thawing, losing that lovely cloud-like texture. So, my recommendation is to enjoy it within a few days. For glaze timing advice, I generally add the glaze (if I’m using one for a dessert) *after* the whipped cream has been applied to the dessert, rather than mixing it in, to maintain the best texture. If you do make it ahead, just give it a good stir before spooning or piping.
Frequently Asked Questions
Final Thoughts
There you have it – my go-to recipe for the most wonderfully dreamy homemade whipped cream. It’s truly one of those simple pleasures that can transform an ordinary dessert into something extraordinary, and it’s so incredibly satisfying to make it yourself. It’s the perfect example of how a few quality ingredients, treated with a little care, can create pure magic in the kitchen. If you loved this recipe and are looking for more ways to elevate your desserts, be sure to check out my recipes for [Link to a related dessert recipe, e.g., ‘Classic Chocolate Mousse‘] or my tips for [Link to a related baking technique, e.g., ‘Perfect Pie Crusts’]. I can’t wait to hear how your whipped cream turns out! Let me know in the comments below if you give it a try, what you serve it with, or any fun variations you experiment with. Happy whipping!
whipped cream
Ingredients
Main Ingredients
- 2 cup heavy cream
- 0.25 cup powdered sugar or to taste
- 1 teaspoon vanilla extract
Instructions
Preparation Steps
- In a chilled bowl, combine the heavy cream, powdered sugar, and vanilla extract.
- Using an electric mixer or a whisk, beat the mixture on medium-high speed until stiff peaks form.
- Be careful not to overbeat, or the cream will turn into butter.
- Serve immediately or refrigerate until ready to use.


