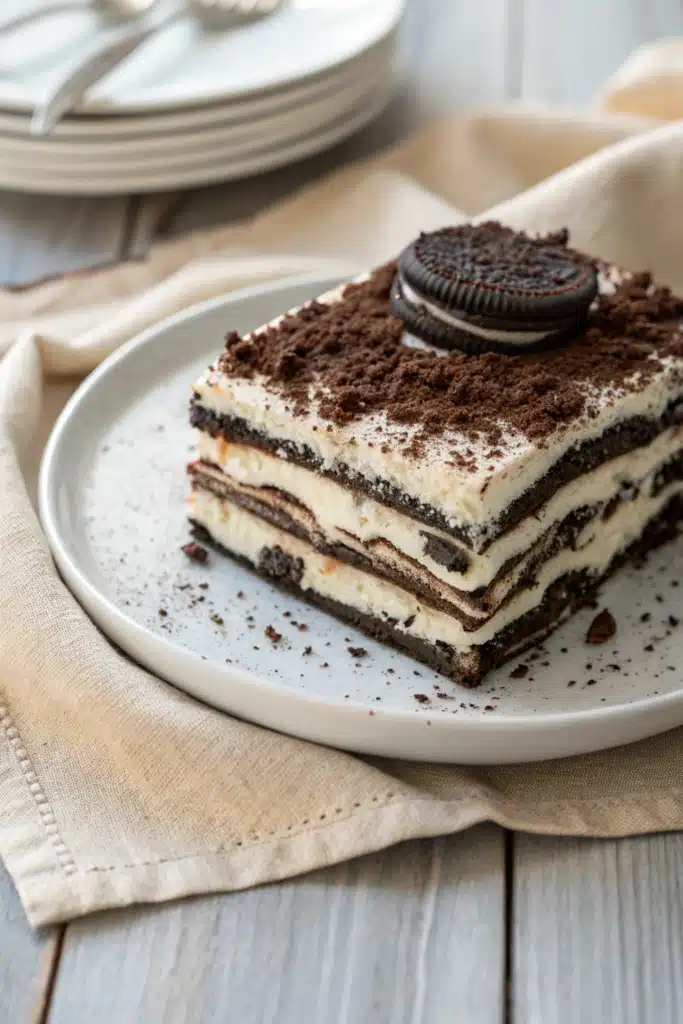
Oreo Icebox Cake: The No-Bake Dessert That’s Seriously Addictive
If you’ve ever craved something sweet, creamy, and utterly irresistible without turning on the oven, you’re in for a treat. Meet the Oreo Icebox Cake—a dreamy no-bake dessert that’s as easy to make as it is impossible to put down. Picture this: layers of crushed Oreos nestled between silky whipped cream, all chilled to perfection until every bite feels like a cool, crunchy hug. It’s one of those desserts that feels fancy but practically makes itself, making it perfect for potlucks, last-minute guests, or treating yourself after a long day.
Thank you for reading this post, don't forget to subscribe!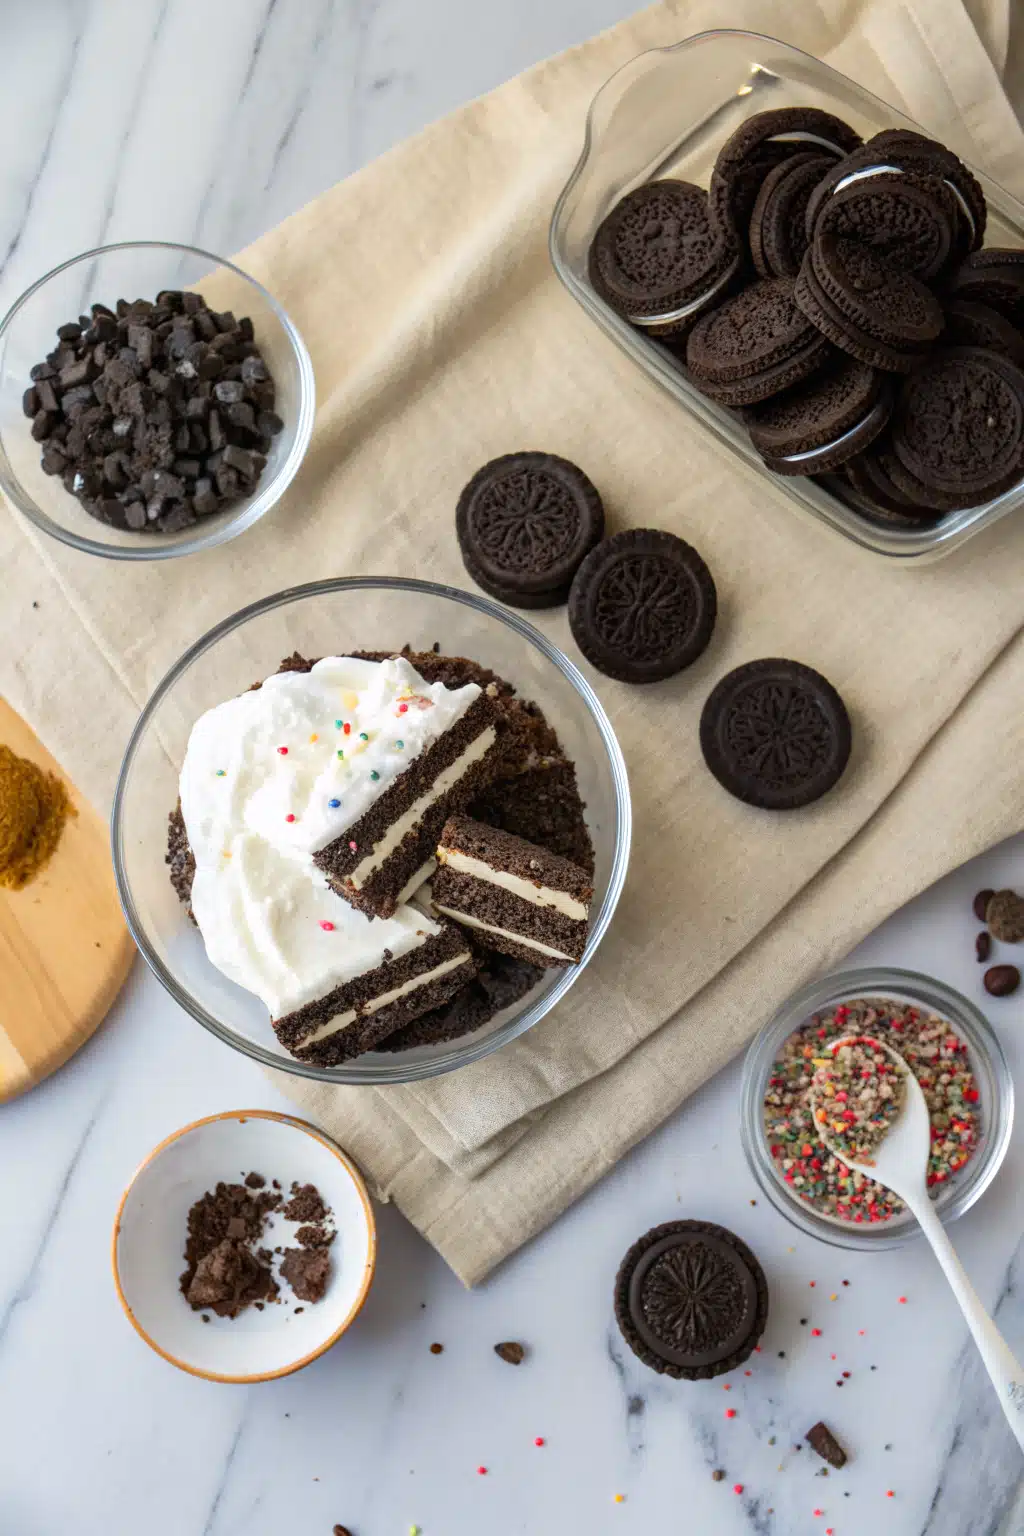
What Is Oreo Icebox Cake?
The Oreo Icebox Cake isn’t just cake—it’s a textural masterpiece born from simplicity and genius. Essentially, it’s built by layering crushed Oreos with thickened cream (or even Condensed Milk for extra richness), then letting it chill in the fridge. Over time, the cookies soften slightly while absorbing moisture from the cream, creating a dense yet melt-in-your-mouth experience. Unlike traditional cakes, this dessert doesn’t require baking—hence “icebox”—but its name comes from the old-fashioned practice of chilling dough in the icebox before baking. Today, we use it metaphorically to describe desserts that set slowly in the refrigerator.
This version leans heavily on everyone’s favorite sandwich cookie, Oreos, blending their chocolatey crunch with smooth dairy goodness. You can customize it too—try adding vanilla extract, a splash of liqueur, or even mix-ins like chopped nuts or fresh berries. But honestly? Sometimes the classic works best. And because it sets overnight (or at least 4–6 hours), you can prep it ahead of time and serve when you need a showstopper.
Why You’ll Love This Recipe
Let’s be real: life gets busy. Between work, kids, and trying to keep up with household chaos, who has time to bake elaborate desserts? That’s where the magic of the Oreo Icebox Cake shines. With only five ingredients and zero oven required, it’s a stress-free way to deliver major dessert points. Plus, it travels well—perfect for picnics, parties, or taking to a friend’s house when they’re sick.
I first made this during a last-minute dinner party panic and was shocked how much my guests raved about it. One even asked if I bought it at a bakery! The truth? I had it ready in under 15 minutes of active prep. Another perk? Leftovers last up to five days in the fridge, so you’re not stuck eating it all at once. (Though, let’s be honest, that might not be an issue.)
It’s also incredibly forgiving. Missed the mark on crushing? Doesn’t matter—you’ll still get creamy bites. Used slightly stale Oreos? Even better! They’ll absorb more liquid and become even more fudgy. This recipe embraces imperfection because, frankly, perfection isn’t always possible when you’re juggling life.
And let’s talk flavor. There’s something nostalgic about Oreos—they remind me of childhood afternoons spent building forts and sneaking snacks from the cookie jar. When I make this cake, I feel like I’m sharing a piece of that joy with others. Whether you’re serving it at a baby shower, a birthday, or just because Tuesday deserves celebration, this dessert brings smiles without any fuss.
“I don’t know if I’ve ever eaten a better Oreo Icebox Cake. The rub alone is wonderful, but the sauce??? Over the top!”
How to Make Oreo Icebox Cake
Quick Overview
Ready in just 10 minutes of prep, then 4–6 hours (or overnight) chilling time, this dessert is ridiculously simple. Just crush your cookies, whip up some heavy cream (or use condensed milk for a sweeter option), layer everything in a dish, and let the fridge do the rest. No mixer? No problem—hand-whipping gives you more control over texture.
Ingredients
- 24 full-size Oreo cookies (plus a few extra for garnish)
- 2 cups cold heavy whipping cream
- 1 teaspoon pure vanilla extract
- 1/4 cup granulated sugar (optional, if using plain cream)
- 1 tablespoon milk (optional, for smoother frosting)
- Extra Oreos for topping (optional)
Step-by-Step Instructions
Step 1: Preheat & Prep Pan
Skip preheating—this is a no-Bake Recipe! Instead, gather your 8×8-inch baking dish and line it with parchment paper for easy removal later. If you don’t have parchment, lightly grease it with non-stick spray.
Step 2: Crush the Cookies
Place Oreos in a sealed plastic bag and gently crush them with a rolling pin until you achieve a mix of fine crumbs and small chunks. Aim for a texture similar to Graham Cracker crumbs—some people prefer it ultra-smooth, but I love the contrast of textures. Set aside about 1 cup of crushed cookies for the top layer.
Step 3: Whip the Cream
In a large bowl, combine cold heavy cream, vanilla extract, and sugar (if using). Using a hand mixer or stand mixer fitted with a whisk attachment, beat on medium-high speed until stiff peaks form. If the mixture seems too stiff, add a tablespoon of milk to loosen it slightly. Be careful not to overbeat!
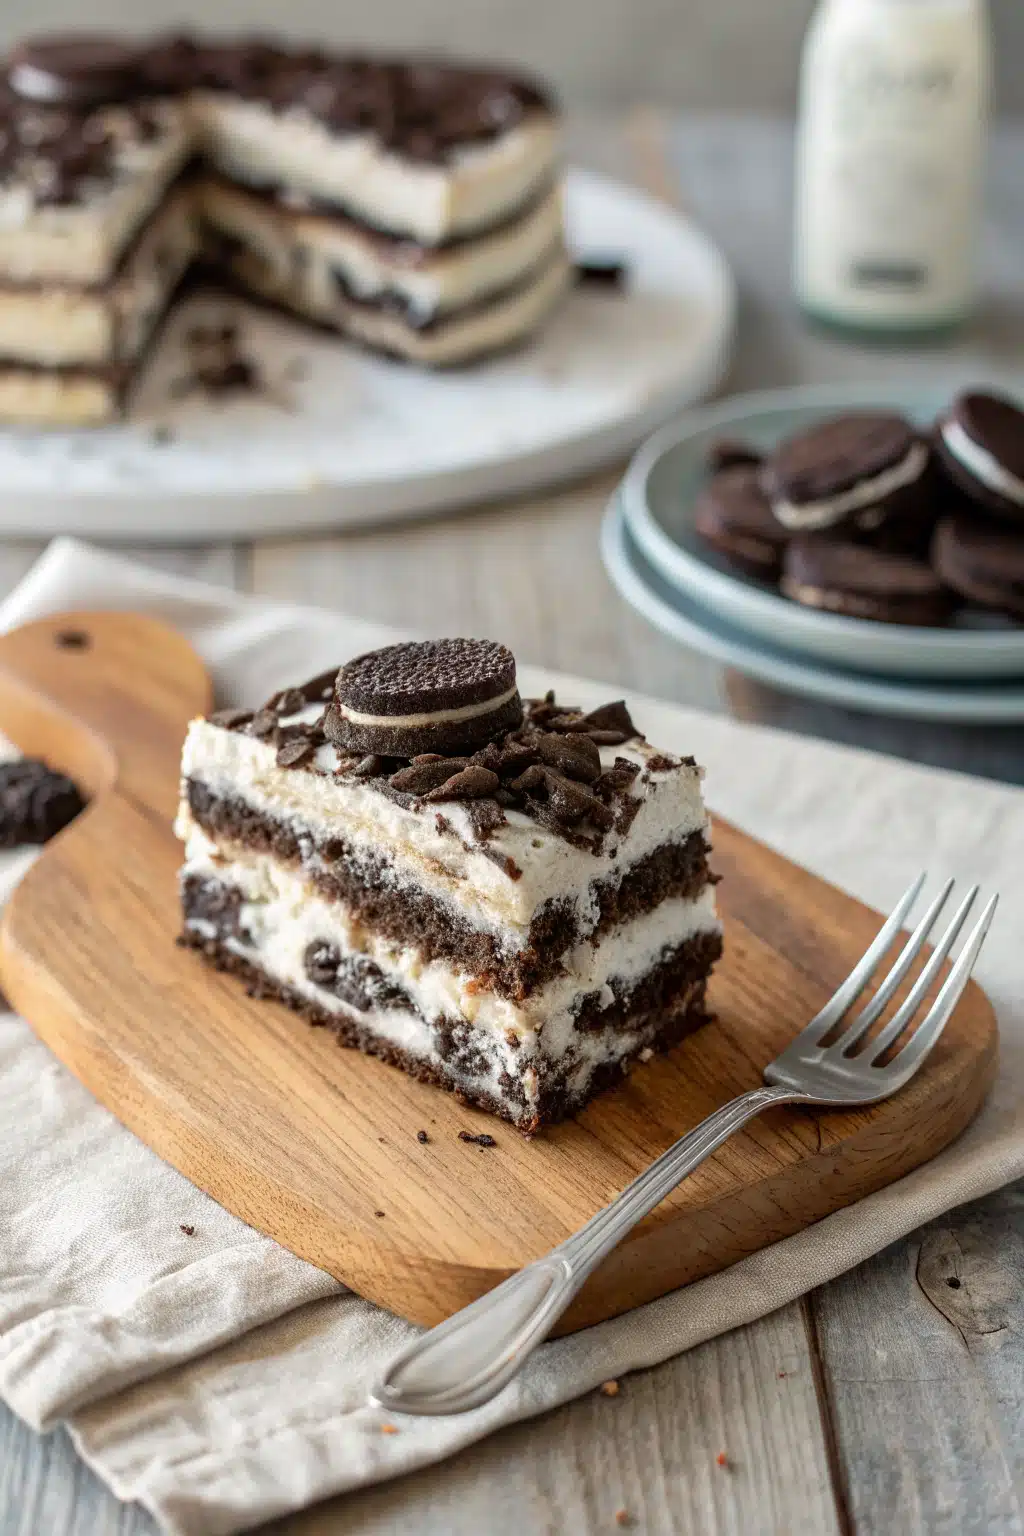
Step 4: Assemble the Layers
Spread half of the crushed Oreos evenly across the bottom of your prepared pan. Dollop half of the whipped cream on top and gently swirl it into the cookie layer with a spatula—don’t worry about making it neat, it’ll look rustic and delicious. Repeat with the remaining cookies and cream. Smooth the top with a spatula, then sprinkle reserved crushed cookies over the surface.
Step 5: Chill & Set
Cover the dish tightly with plastic wrap and refrigerate for at least 4–6 hours, preferably overnight. This allows the cookies to soften and the flavors to meld. For best results, avoid opening the fridge too often during this time—temperature fluctuations can cause condensation.
What to Serve It With
This cake pairs wonderfully with coffee or cold milk—just like eating Oreos straight from the pack! For a grown-up twist, serve with a splash of Baileys or Kahlúa drizzled over the top before slicing. If you’re hosting a crowd, pair it with a fruit salad or berry compote to cut through the sweetness. And if you’re feeling fancy, dust the top with cocoa powder or grated chocolate just before serving.
Top Tips for Perfecting Your Oreo Icebox Cake
- Use Cold Ingredients: Always start with cold cream—it whips up better and holds its shape longer.
- Don’t Skip the Chill Time: Rushing the setting process leads to a soggy mess. Patience pays off!
- Customize It: Swap Oreos for other cookies like Nutter Butters, Double Stuf, or even gluten-free options.
- Layer Alternately: Try alternating layers of cream and cookies for a marbled effect—it looks Instagram-worthy.
- Make It Dairy-Free: Use coconut cream instead of heavy cream and vegan Oreos if needed.
Storing and Reheating Tips
Store leftover cake in an airtight container in the refrigerator for up to 5 days. Do not freeze, as freezing alters the texture—the cookies lose their crunch and the cream becomes icy. To serve, let it sit at room temperature for 10 minutes if it’s been super chilled. Never microwave it—this dessert thrives cold, and heating it defeats the purpose!
Frequently Asked Questions
“Made the Oreo Icebox Cake tonight and wow — perfect weeknight dinner. Will definitely make again!”
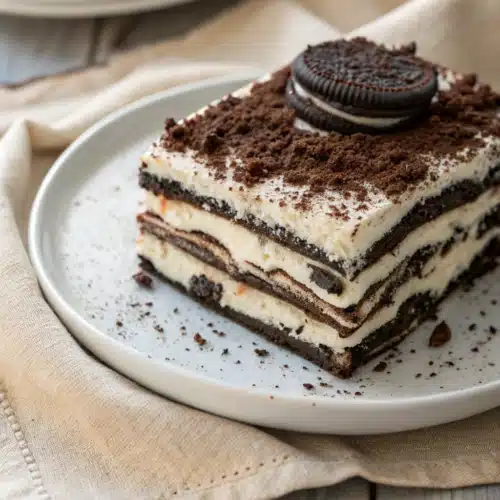
Final Thoughts

There’s something magical about a dessert that requires almost no effort but delivers maximum joy. The Oreo Icebox Cake is more than just a sweet treat—it’s proof that sometimes the simplest ideas yield the most memorable results. Whether you’re new to baking or just looking for a foolproof recipe to impress friends, this one checks every box.
Go ahead—crush those cookies, whip that cream, and let the fridge work its magic. Then dig in, share with someone you love, and savor every creamy, crunchy bite. Because really, what’s better than dessert that feels like happiness in a dish?
Oreo Icebox Cake
Ingredients
Main Ingredients
- 24 cookies Oreo cookies (regular or double-stuffed)
- 8 oz cream cheese, softened
- 1 cup heavy whipping cream
- 0.25 cup granulated sugar
- 1 tsp vanilla extract
- 0.5 cup chocolate chips (optional, for topping)
Instructions
Preparation Steps
- In a large bowl, beat the softened cream cheese until smooth.
- In another bowl, whip the heavy cream, sugar, and vanilla extract until stiff peaks form.
- Gently fold the whipped cream into the cream cheese mixture until fully combined.
- Line the bottom of an 8x8-inch baking dish with a single layer of Oreo cookies, pressing down lightly to adhere.
- Spread half of the cream cheese mixture over the cookie layer and top with another layer of Oreos.
- Repeat with the remaining cream cheese mixture and Oreos, finishing with a final layer of cookies on top.
- Cover the dish with plastic wrap and refrigerate for at least 6 hours or overnight until firm.
- Before serving, sprinkle chocolate chips on top if desired and cut into squares.


