
Okay, friends, let’s talk about breadsticks. Specifically, breadOlive Garden Breadsticks: What are. You know, those warm, pillowy, garlicky clouds of deliciousness that seem to magically appear on your table before you even order? I swear, those breadsticks are half the reason I go to Olive Garden! I’ve tried so many copycat recipes over the years, and honestly, most of them were… disappointing. They just didn’t quite capture that perfect balance of soft, chewy, and utterly addictive. But after countless attempts (and a whole lot of breadstick eating!), I’ve finally cracked the code. This recipe gives you *exactly* that Olive Garden flavor, right in your own kitchen. Forget those hard, dry imitations you might have tried before. This one’s a game changer. It’s even easier than making a batch of Chocolate Chip Cookies!
Thank you for reading this post, don't forget to subscribe!
What are olive garden breadsticks?
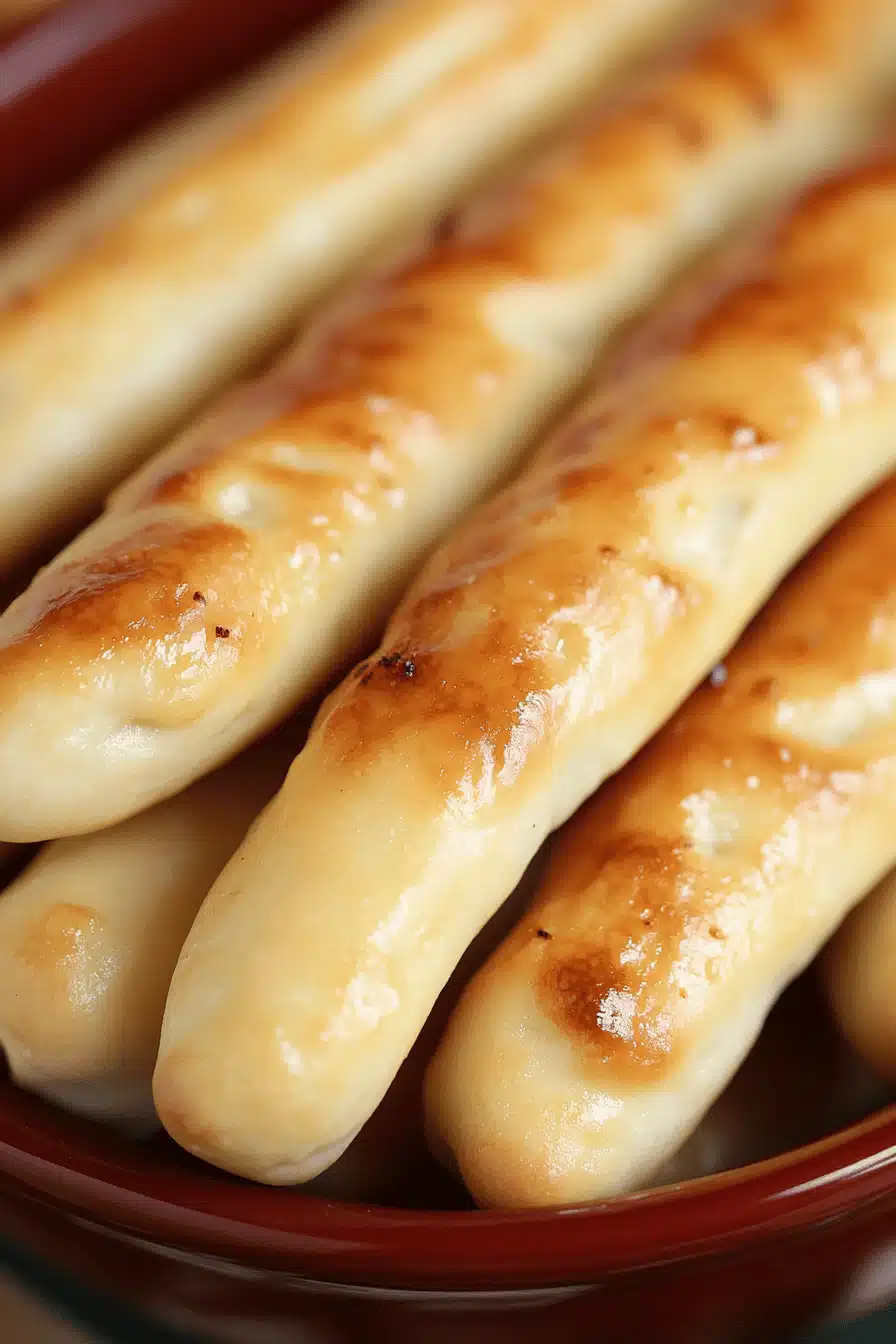
Think of Olive Garden Breadsticks as the ultimate comfort food side. They’re soft, chewy, and brushed with a generous layer of Garlic Butter. It’s basically a blank canvas of deliciousness, ready to soak up all that extra marinara sauce or creamy Alfredo. As far as I understand it, the recipe is a closely guarded secret by the restaurant chain. The basic concept is a simple yeast dough, proofed to fluffy perfection, baked until golden, and then slathered in that irresistible garlic butter. They’re the perfect accompaniment to pasta, soup, or even just a simple salad. Honestly, sometimes I just make a batch of these and call it dinner (don’t judge!).
Why you’ll love this recipe?
What are some good olive garden breadstick recipes? What are imitations? What I love most is how authentic they taste. They have that signature soft, slightly chewy texture and irresistible Garlic Butter flavor. Isn’t it like having dinner with my family?
Why do you become obsessed with something?
• Flavor:Is there a flavor to this drink? What is that perfect blend of buttery, garlicky, and just a hint of salt? Is it a flavor explosion in every bite?
• Simplicity:Don’t let yeast bread intimidate you. Is this recipe easy to follow? If you can do it, I can! I’ve streamlined the process to make it as foolproof as possible.
• Cost-Is it cheaper to make a batch of these at home than ordering them from Olive Garden? I have a big family to feed. Do you have all the ingredients in your pantry?
• Versatility: While they’re amazing on their own, these breadsticks are also fantastic for dipping in soups, sauces, or even just plain olive oil. They’re a perfect addition to any meal. Plus, you can easily customize the flavors by adding different herbs or spices to the dough or the garlic butter. Sometimes I add a sprinkle of parmesan cheese to the topping for a little extra zing. If you love the ease of making your own bread, but want something a little sweeter, try my Cinnamon Roll recipe!
How do you make olive garden breadsticks?
Quick Overview
This Olive Garden Breadsticks Recipe starts with a simple yeast dough that’s incredibly easy to make. We’ll let it rise until it’s nice and fluffy, then shape it into those iconic breadsticks. A quick bake in the oven, followed by a generous brushing of Garlic Butter, and you’re done! The best part? The whole process takes less than two hours, start to finish. It’s the perfect way to impress your family and friends without spending all day in the kitchen.
Ingredients
For the Dough:
• 1 12 cups warm water (about 105-115°F) – This temperature is crucial for activating the yeast. Too hot, and you’ll kill the yeast. Too cold and it won’t activate properly.
• 2 14 teaspoons active dry yeast (1 packet) – Make sure your yeast is fresh! Old yeast won’t rise as well. I always buy a new jar every few months.
• 1 tablespoon granulated sugar – The sugar feeds the yeast and helps it rise.
• 1 12 teaspoons salt – Salt adds flavor and controls the yeast’s activity.
• 3 ¾ – 4 cups all-purpose flour, plus more for dusting – The amount of flour will vary depending on the humidity. Start with 3 ¾ cups and add more as needed until the dough is smooth and elastic. I always use unbleached all-purpose flour for the best flavor.
• 2 tablespoons olive oil – This adds flavor and helps the breadsticks stay soft.
What is the recipe for Garlic Butter?
• 12 cup (1 stick) unsalted butter, melted – Use good quality butter for the best flavor.
• 2 cloves garlic, minced – Fresh garlic is a must! Don’t use the pre-minced stuff in a jar.
• ¼ teaspoon garlic powder – This enhances the garlic flavor.
• 14 teaspoon salt – Adds flavor and balances the sweetness.
• 14 teaspoon dried parsley – Adds a pop of color and tastiness.
What are the steps to
Step 1: Proof the Yeast
In a large bowl, combine the warm water, yeast, and sugar. Let it stand for 5-10 minutes, or until foamy. This means the yeast is active and ready to go. If it doesn’t foam, your yeast might be old, and you’ll need to start over with fresh yeast.
“Packed with flavor and so simple. Exactly what I wanted from this Olive Garden Breadsticks Recipe!”
Step 2: Make the Dough
Add the salt and olive oil to the yeast mixture. Gradually add the flour, mixing with a wooden spoon or dough hook until a soft dough forms. It should be slightly sticky, but not too wet. If it’s too sticky, add a little more flour, a tablespoon at a time. I always add the flour gradually because adding too much at once can make the dough tough.
Step 3: Knead the Dough
How do you knead dough for 5 minutes? Alternatively, you can knead the dough in a stand mixer for 4-5 minutes. I prefer to knead by hand because I find it more relaxing but the stand mixer works great too.
Step 4: Let the Dough Rise
Place dough in a lightly oiled bowl, turning to coat. Cover with plastic wrap or a clean kitchen towel and let rise for 1 hour, or until thick. Is it true that the size of I usually put my dough in a slightly warmed oven (turned off, of course!) to rise. This creates a nice, consistent temperature.
Step 5: Shape the Breadsticks
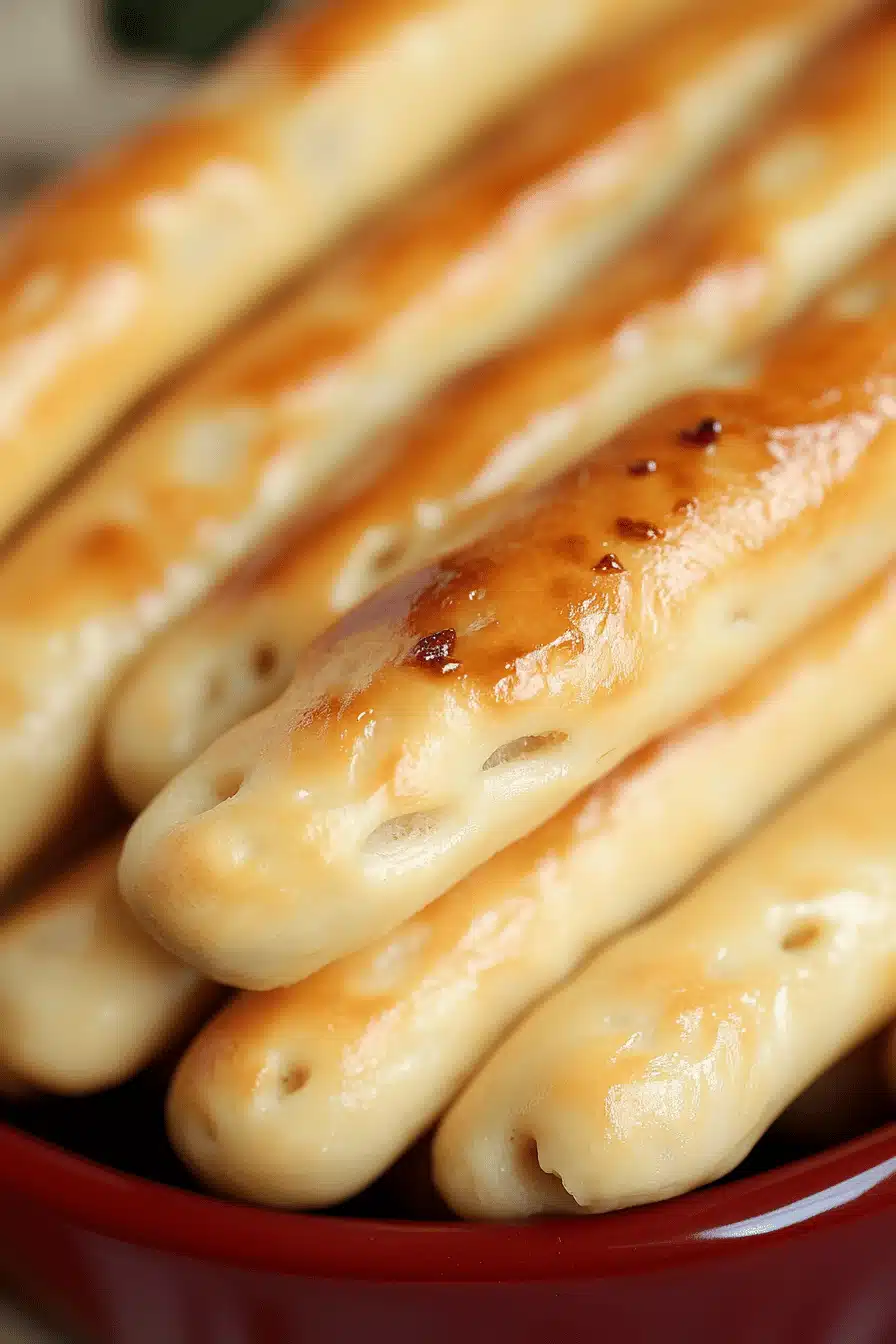
Preheat oven to 400°F (200°C). Line a baking sheet with parchment paper. What is the best way to release air in dough? Roll each piece into a long, thin rope, about 8-10 inches long. Place the breadsticks on the prepared baking sheet, spacing them about 1 inch apart. I like to make mine a little thicker than the Olive Garden ones because I want softer texture.
Step 6: Bake the Breadsticks
Bake for 12-15 minutes, or until golden brown. Keep a close eye on them, as they can burn easily. How long does it take to bake a cake? I usually rotate the baking sheet halfway through to ensure even baking.
Step 7: Make the Garlic Butter
While breadsticks are baking, prepare Garlic Butter. In a small bowl, combine the melted butter, minced garlic, garlic powder, salt, and parsley. Set aside. What is the magic of garlic?
Step 8: Brush with Garlic Butter
As soon as the breadsticks come out of the oven, brush them generously with the Garlic Butter. I like to use a silicone pastry brush for this, but any brush will do. Be sure to get every nook and cranny!
Step 9: Serve and Enjoy!
What are some olive garden breadsticks? What are some good ways to serve them fresh out of the oven? I sometimes make a double batch so I can have leftovers.
What should I serve it with?
What are breadsticks?
What is the best Italian meal? Serve them alongside your favorite pasta dish, like spaghetti and meatballs, lasagna, or creamy Alfredo. They’re perfect for soaking up all that delicious sauce.
For Soup and Salad: Enjoy them with a warm bowl of tomato soup, minestrone, or a hearty salad. They add a nice touch of warmth and flavor to any light meal.
As an Appetizer: Serve them with a side of marinara sauce, pesto, or even just plain olive oil for dipping. They’re a great way to start any meal.
For a Cozy Snack: Sometimes I just crave these breadsticks as a snack! I’ll warm them up and enjoy them with a glass of milk or a cup of coffee. They’re the perfect comfort food. They are also divine paired with a charcuterie board!
Top Tips for Perfecting Your Olive Garden Breadsticks
Okay, here are a few of my best tips for making these breadsticks absolutely perfect:
Yeast is Key: Make sure your yeast is fresh and active. If it doesn’t foam when you proof it, it’s probably old and won’t work properly. This is the most important step! I always check the expiration date on my yeast before using it.
Don’t Overknead: Overkneading the dough can make the breadsticks tough. Knead just until the dough is smooth and elastic. If you’re using a stand mixer, be careful not to overmix.
Warm Place for Rising: A warm place will help the dough rise faster and more evenly. I usually put my dough in a slightly warmed oven (turned off) or a sunny spot on the counter.
“I don’t know if I’ve ever eaten a better Olive Garden Breadsticks Recipe. The rub alone is wonderful, but the sauce??? Over the top!”
Garlic Butter Generously: Don’t be shy with the garlic butter! The more the better, in my opinion. Be sure to brush it on while the breadsticks are still hot so it soaks in nicely.
Experiment with Flavors: Feel free to experiment with different flavors in the garlic butter. Add a sprinkle of parmesan cheese, some Italian seasoning, or even a pinch of red pepper flakes for a little kick. I’ve even tried adding a little bit of rosemary, it tasted divine!
Freshly Minced Garlic: Make sure to use fresh garlic. Pre-minced garlic just does not taste the same!
Storing and Reheating Tips
These Olive Garden Breadsticks are best enjoyed fresh, but if you have leftovers, here’s how to store and reheat them:
Room Temperature: Store the breadsticks in an airtight container at room temperature for up to 2 days.
Refrigerator Storage: For longer storage, store them in an airtight container in the refrigerator for up to 5 days. I wrap each breadstick individually in plastic wrap to prevent them from drying out.
Freezer Instructions: To freeze, wrap the breadsticks individually in plastic wrap and then place them in a freezer-safe bag or container. They can be frozen for up to 2 months. Let them thaw at room temperature before reheating.
Reheating: To reheat, wrap the breadsticks in foil and bake in a preheated oven at 350°F (175°C) for 5-10 minutes, or until heated through. You can also microwave them for a few seconds, but they might become a little chewy. Brushing them with a little extra garlic butter before reheating will help to restore their flavor and moisture.
Frequently Asked Questions
Final Thoughts
So there you have it – my foolproof Olive Garden Breadsticks Recipe! I truly believe these are the closest you’ll get to the real thing without actually going to Olive Garden. They’re soft, chewy, garlicky, and utterly addictive. Plus, they’re so easy to make! I can’t wait for you to try them and see for yourself. If you’re a bread lover like me, you might also enjoy my easy pizza dough recipe! Happy baking, friends! And don’t forget to leave a comment below and let me know how yours turned out! I’d love to hear your feedback and any variations you tried.

Homemade Herb-Infused Dinner Rolls: A Fluffy Delight!
Ingredients
Main Ingredients
- 2.25 teaspoons active dry yeast ensure the yeast is fresh
- 4 cups warm water around 110°F
- 8 cups all-purpose flour plus more for dusting
- 5 tablespoons unsalted butter softened
- 3 tablespoons granulated sugar
- 1.5 tablespoons fine salt
- 2 teaspoons olive oil for greasing
- 1 tablespoon dried rosemary optional, for herb infusion
Instructions
Preparation Steps
- In a large bowl, dissolve yeast in warm water and let it sit for 5 minutes until foamy.
- Add softened butter, sugar, and fine salt to the yeast mixture. Gradually mix in the flour until a soft dough forms.
- Turn the dough onto a floured surface and knead for 6 minutes until smooth, adding extra flour if necessary.
- Grease a large bowl with olive oil, place the dough in the bowl, cover with a towel, and let rise in a warm area for 45 minutes.
- Preheat the oven to 375°F (190°C). Divide the dough into 16 pieces and shape each into a ball.
- Place rolls on a parchment-lined baking sheet, let them rest for 15 minutes.
- Bake the rolls for 18–20 minutes until golden brown.
- Optionally brush with melted butter and sprinkle with dried rosemary before serving.


