Key Lime Pie Bars That Taste Like Summer in Every Bite
There’s something about the perfect Key Lime Pie that just makes you feel like you’ve stumbled into a slice of pure sunshine. The tangy, zesty flavor of fresh key limes paired with that creamy, dreamy filling—it’s an instant mood booster wrapped up in dessert form. But let me tell you, there’s even better news: you don’t need to make a full pie crust or wait for a special occasion to enjoy this iconic treat. Enter Key Lime Pie Bars—a brilliant mashup of convenience and crave-worthy flavor that somehow tastes more decadent than its pie counterpart while being easier to slice, serve, and devour (no fork required!).
Thank you for reading this post, don't forget to subscribe!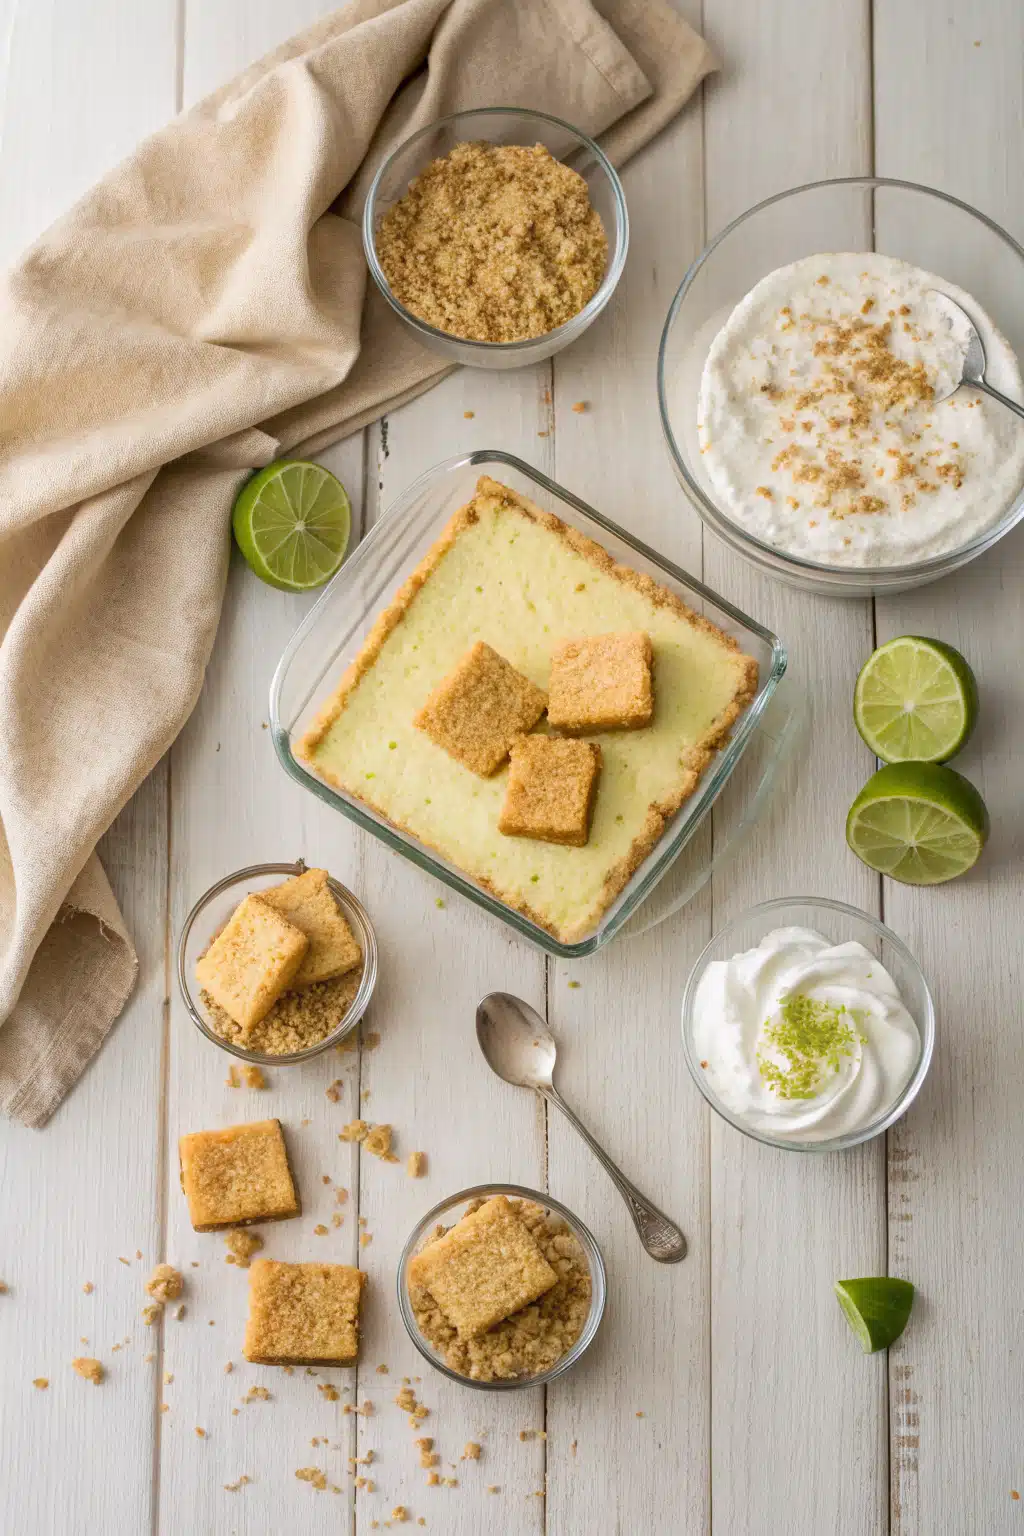
What Is Key Lime Pie Bars?
If you’ve ever craved the unmistakable taste of classic key lime pie but aren’t quite ready to commit to rolling, chilling, and baking a traditional pie crust, then Key Lime Pie Bars are your new best friend. These bars combine the beloved flavors of Key Lime Pie—bright lime juice, rich condensed milk, and a hint of zest—with a buttery graham cracker base that’s baked into a sturdy, cookie-like foundation. The result? A no-fuss, slice-and-serve dessert that delivers all the nostalgic joy of pie in portable, handheld form.
What sets these bars apart isn’t just their simplicity—it’s how they capture the essence of summer in every bite. Whether you’re hosting a backyard BBQ, packing lunchboxes, or simply treating yourself after a long day, these bars bring a burst of citrusy freshness that feels both indulgent and refreshingly light. And honestly? They disappear faster than you can say “just one more piece.”
Why You’ll Love This Recipe
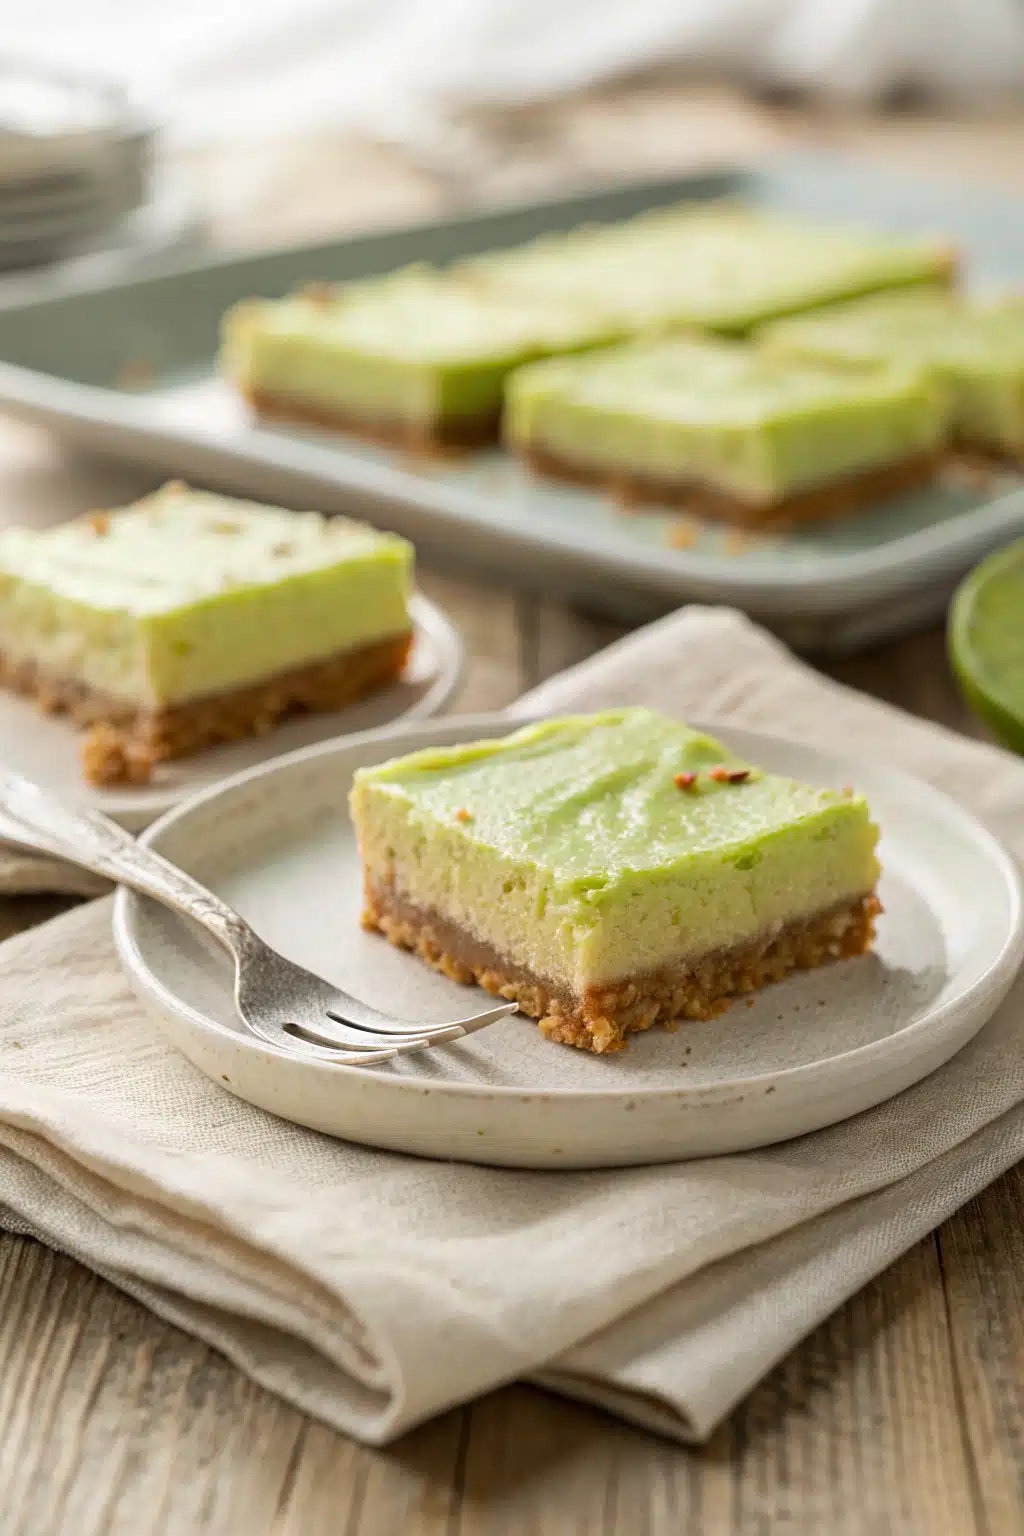
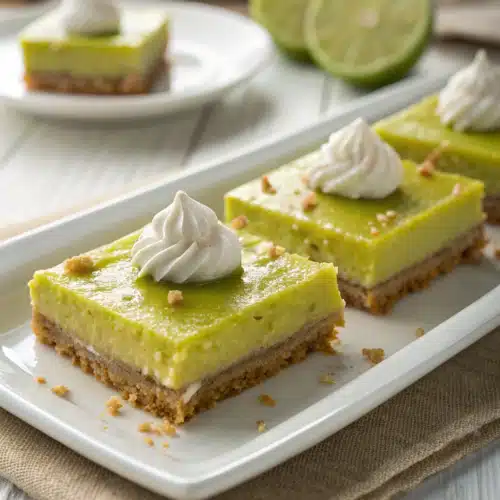
First off, let’s talk time. No prepping crusts, no wrestling with pie weights, no waiting 2 hours for it to chill. Just mix, bake, cool, and go. In under an hour, you’ll have golden-brown bars oozing with vibrant green filling and topped with Whipped Cream. That’s right—this recipe is as fast as it is delicious, making it ideal for busy weeknights or spontaneous sweet cravings.
Then there’s the texture. While traditional pies can be either too soft or too crumbly depending on the crust, these bars strike the perfect balance: crisp on top from the baked crust, slightly chewy underneath, and luxuriously smooth in the middle. Add a dollop of homemade or store-bought Whipped Cream, and you’ve got layers of contrast that make every forkful exciting.
And oh, the flavor! Fresh key lime juice (not bottled!) gives each bar a tangy kick that wakes up your taste buds. Combined with Sweetened Condensed Milk, which caramelizes slightly during baking, the filling has this incredible depth that’s neither too sour nor too sweet—just right. Plus, they travel well, so if you’re heading to a potluck or picnic, these won’t weep or lose their shape. Trust me, they’re practically foolproof.
How to Make Key Lime Pie Bars
Quick Overview
Ready to whip up some Key Lime Pie Bars? Here’s the quick rundown: First, you’ll press a simple graham cracker crust into a baking pan and bake it until golden. Then, you’ll whisk together key lime juice, zest, condensed milk, and eggs to create a silky filling. Pour it over the crust, back into the oven for about 20 minutes, then chill until firm. Top with whipped cream and lime zest before slicing. It really is that easy.
Ingredients
- 1½ cups graham cracker crumbs (about 12 full sheets)
- ¼ cup granulated sugar
- 6 tablespoons unsalted butter, melted
- 3 large eggs, divided
- 1 (14 oz) can sweetened condensed milk
- ½ cup fresh key lime juice (about 8–10 limes)
- Zest of 2 key limes
- 1 teaspoon vanilla extract
- Whipped cream, for topping
- Additional lime zest, for garnish
“New family favorite! This Key Lime Pie Bars was so flavorful and ridiculously easy. Crowd-pleaser for sure.”
Step-by-Step Instructions
Step 1: Preheat & Prep Pan
Preheat your oven to 350°F (175°C). Line a 9×9-inch baking pan with parchment paper, leaving an overhang on two sides for easy removal later. This will save you from struggling to lift the bars out once they’re set.
Step 2: Make the Crust
In a medium bowl, mix together graham cracker crumbs, sugar, and melted butter until everything looks like wet sand. Press firmly into the bottom of your prepared pan—use the flat side of a measuring cup to get it evenly compacted. Bake for 12–15 minutes until lightly golden. Let cool completely while you prep the filling.
Step 3: Whisk the Filling
In a large bowl, whisk together condensed milk, key lime juice, lime zest, vanilla, and 2 beaten eggs until smooth. For the flakiest texture, make sure your lime juice is fresh—strain it briefly if you notice any pulp (optional but helpful). Pour this mixture over the cooled crust.
Step 4: Bake the Bars
Bake uncovered for 18–22 minutes, or until the center is almost set but still slightly jiggly. Don’t overbake! Transfer to a wire rack and chill in the fridge for at least 3 hours (preferably overnight) to allow the filling to firm up.
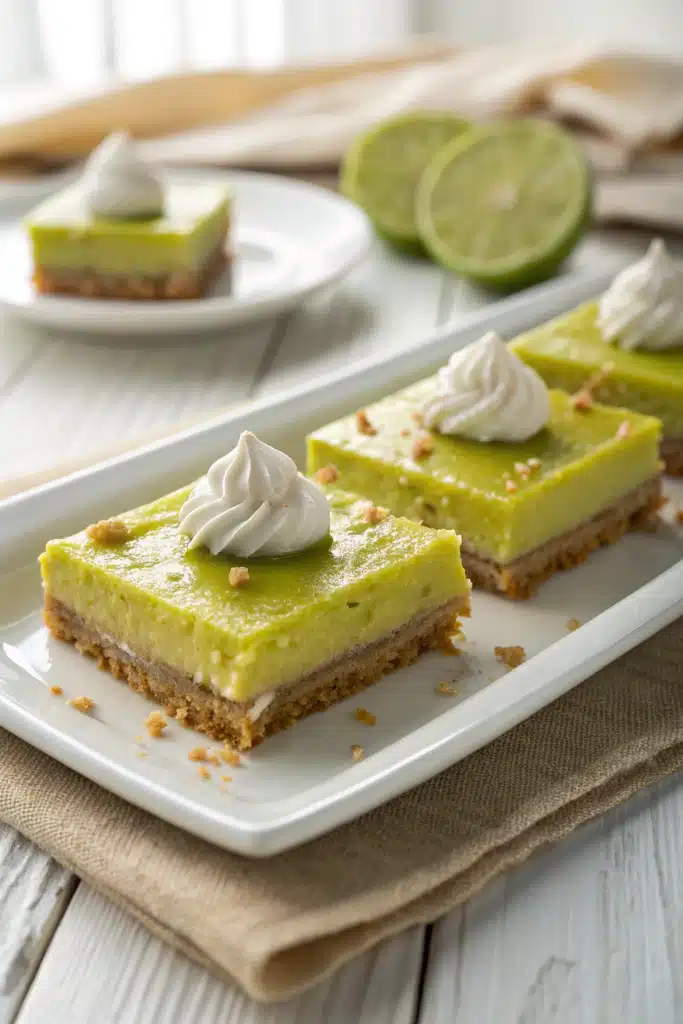
Step 5: Serve
Remove bars from pan using the parchment handles. Slice into squares and top each with a spoonful of whipped cream and a sprinkle of lime zest. Store leftovers (if any) in the fridge for up to 5 days.
What to Serve It With
These bars shine on their own—no accompaniment needed—but if you want to elevate the experience, pair them with a tall glass of cold lemonade or iced tea for a refreshing combo. At parties, serve alongside other tropical desserts like coconut macaroons or passionfruit panna cotta. And if you’re feeling fancy, dust the top with powdered sugar for a restaurant-style finish.
Top Tips for Perfecting Your Key Lime Pie Bars
- Use fresh key limes whenever possible: Bottled lime juice lacks the floral, complex notes that make key limes special. If you can only find regular limes, substitute half the amount of key lime zest for extra punch.
- Don’t skip the chilling step: Rushing this leads to messy slices. Patience here ensures clean cuts and firm texture.
- Customize the crust: Swap graham crackers for Oreos for a chocolate twist, or try crushed shortbread cookies for added richness.
- Make it boozy (optional): Add 1 tablespoon of rum or tequila to the filling for an adult-friendly upgrade.
Storing and Reheating Tips
Keep stored bars covered in the refrigerator for up to 5 days. For longer storage, wrap individual slices tightly in plastic and freeze for up to 1 month—just thaw at room temperature before serving. Never microwave them unless you’re okay with a soggy mess; instead, let them sit out for 10–15 minutes to soften naturally. If frozen, bring to room temperature first.
Frequently Asked Questions
“Packed with flavor and so simple. Exactly what I wanted from this Key Lime Pie Bars!”
Final Thoughts
Key Lime Pie Bars aren’t just another trendy dessert—they’re a celebration of simplicity, flavor, and joyful eating. Whether you’re a seasoned baker or someone who’s never cracked an egg without supervision, this recipe welcomes you with open arms. So go ahead: grab those limes, fire up your oven, and let the bright, zesty magic begin. Because life’s too short for boring desserts when something this good exists.
Key Lime Pie Bars
Ingredients
Main Ingredients
- 1.5 cups graham cracker crumbs
- 0.33333333333333 cup granulated sugar
- 0.25 cup unsalted butter, melted
- 8 oz cream cheese, softened
- 14 oz sweetened condensed milk
- 2 large egg yolks
- 1 tablespoon key lime zest
- 0.5 cup fresh key lime juice about 6–8 limes
Instructions
Preparation Steps
- Preheat oven to 350°F (175°C). Line an 8x8-inch baking pan with parchment paper, leaving overhang for easy removal.
- In a medium bowl, combine graham cracker crumbs, sugar, and melted butter. Press mixture firmly into the bottom of the prepared pan. Bake for 10 minutes, then remove and let cool slightly.
- In a large bowl, beat cream cheese until smooth. Add sweetened condensed milk and mix until fully incorporated.
- Add egg yolks, lime zest, and lime juice. Mix until smooth and well combined.
- Pour filling over the warm crust. Return to oven and bake for 20–25 minutes, or until edges are set but center still jiggles slightly.
- Let bars cool completely at room temperature, then refrigerate for at least 2 hours before slicing.
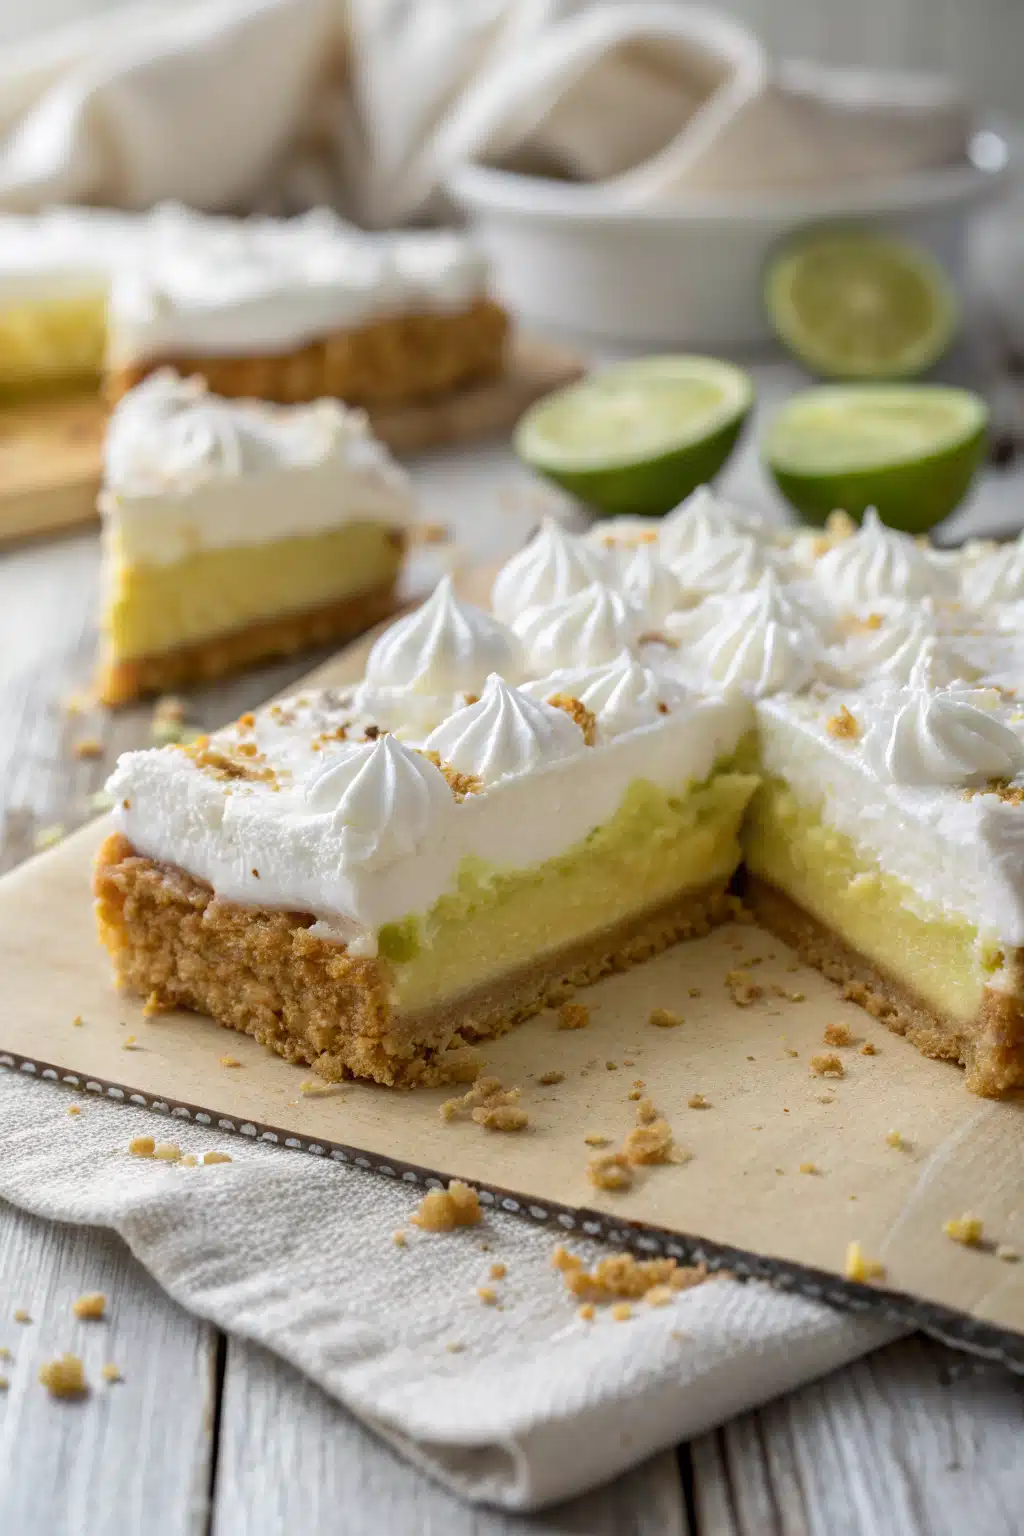
- Serve chilled, optionally topped with whipped cream or meringue.


