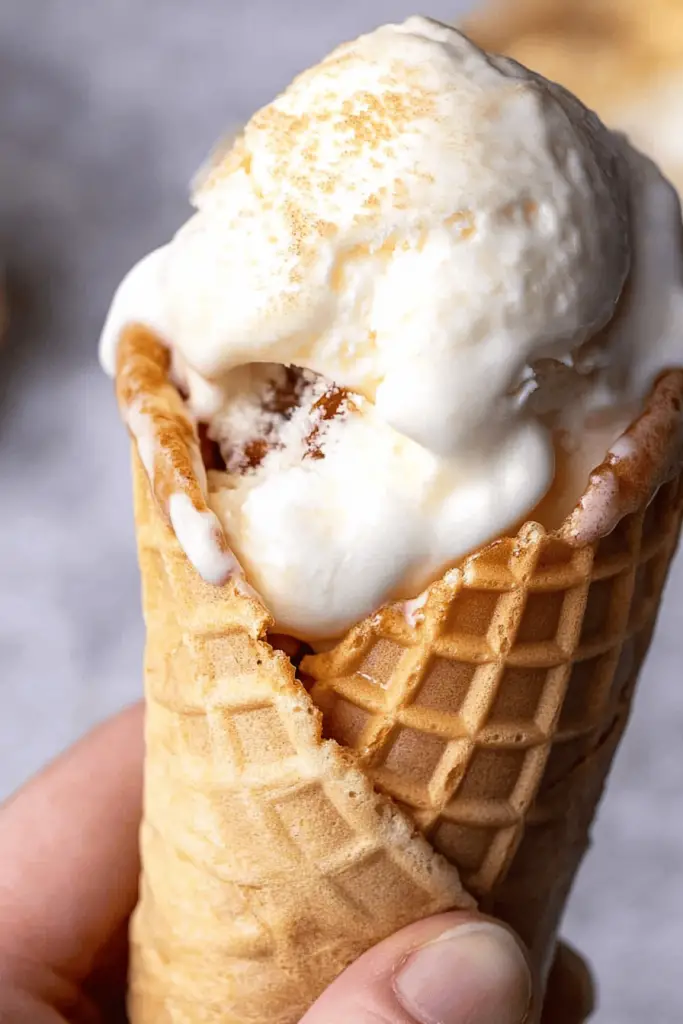
Okay, picture this: I’m It’s a hot summer afternoon, the kind where the air shimmers and all you crave is something cool and refreshing. I thought ice cream cones were out of the question because of gluten. But now I know it’s not. When a friend shared this recipe with me, my life changed!gluten-free ice cream cones.Are crispy, delicious, and hold up perfectly with even the most generous scoops of your favorite ice cream. Think of them as the gluten-free version of those classic waffle cones you loved as a kid, only with less sugar and more flavor. Is that even better? Is gluten bad for you?
Thank you for reading this post, don't forget to subscribe!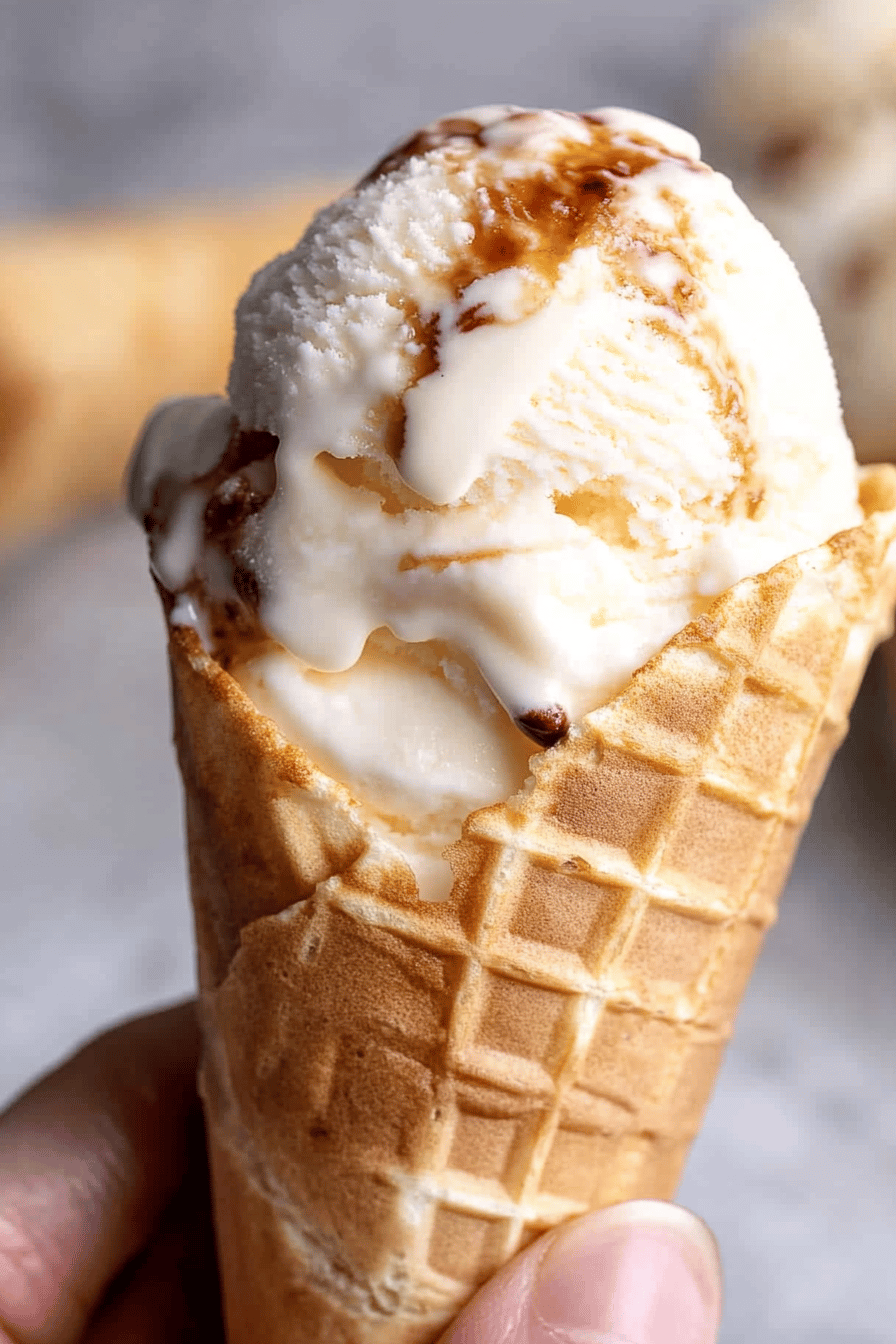
What is gluten free ice cream cones?
Gluten-free Ice Cream cones are, quite simply, made without gluten! What is gluten-free? What’s not to like about a crispy cone filled with ice cream? Think of it as a blank canvas for your favorite frozen desserts. What are some good gluten-free flours? What’s the difference between starch, sugar and fat? What are some of the easiest recipes to make at home?
Why you’ll love this recipe?
What is the best thing about this recipe?Gluten-free Ice Cream cones.Is it true that they taste like real ice cream cones? You know, that slightly sweet, wonderfully crispy goodness that you expect.
- Flavor:Is there a perfect balance of sweetness and vanilla flavor? What are some ways to add cinnamon to your recipe?
- Simplicity:What are some ingredients to make a delicious batter? No fancy equipment needed – just a hot griddle or skillet.
- Cost-Can you buy gluten-free cones at the store? How do you make a cone yourself?
- Versatility:Why are cones not just for ice cream? Can you fill them with yogurt, fruit, mousse, or even savory dips for a fun twist? My kids like them as snacks. Isn’t that a good thing?
I know there are a lot of gluten-free recipes out there, but this one is different. Is it reliable, tastes amazing, and it brings back all those happy childhood memories of summer. What are some of the best ways to enjoy Ice Cream cones? What is the best thing about a store bought cone?
How do I make gluten-free ice cream cones?
Quick Overview
How do you make gluten free cones? If you’re using a griddle or skillet to cook meat, you can whisk together some simple ingredients and pour into an oven. You’ll also whisk the batter together. When golden brown, fry until crispy. If the cone is still warm and pliable, you’ll quickly shape it into a cone using sandpaper. Then, while it’s still hot and smooth, the concave will be formed. What is the best way to use your hands (carefully, they’re hot!)? If your first book isn’t perfect, it’s a good one. I promise it will be. I think you’ll get the hang of it!
Ingredients
For gluten-free Ice Cream Cones:
What is gluten free flour?I usually use a blend that contains rice flour, tapioca starch, and potato starsch for the best results. I like to make my own blend. If your brand doesn’t have xanthan gum, add 1/2 tsp if you don’t use it.
1/2 cup Granulated Sugar: 1/4 cup.For sweetness and that classic cone flavor. Can you reduce this slightly if you prefer a less sweet cone?
1/4 cup Melted Butter: 1 cup melted butterThis adds richness and helps the cones crisp up nicely. Can you use coconut oil for a dairy free option?
1/2 cup Milk:Any kind of milk works – dairy, almond, soy, or oat.
1 teaspoon vanilla extract: 1 tablespoon nutmegFor that classic vanilla flavor. Don’t skip this! It makes a big difference
Pinch of Salt: To balance the sweetness and enhance the other flavors.
How do I get
Step 1: Preheat & Prep Pan
Preheat your griddle or skillet over medium heat. How do you get it nice and hot so the cones crisp up properly? Lightly grease the surface with butter or cooking spray to prevent sticking.
“Made the Gluten-Free Ice Cream Cones tonight and wow — perfect weeknight dinner. Will definitely make again!”
Step 2: Whisk Dry Ingredients
In a medium bowl, whisk together the Gluten-Free Flour, sugar, and salt. Set aside. What are some lumps in the flour?
Step 3: Mix Wet Ingredients
In a separate bowl, whisk together the melted butter, milk, and vanilla extract. Set aside. If the butter is too hot, it could cook the eggs (if the batter contained a lot of sugar). How do you make a weird texture with eggs, which this recipe does not)?
Step 4: Combine
Pour the wet ingredients into the dry ingredients and whisk until just combined. Do not overmix – a few small lumps are fine. If you overmix gluten in a flour (even Gluten-Free Flour can have some) it can make the flour mushy.
Step 5: Cook the Cones
How much batter should I pour onto a griddle or skillet? Use a spoon or spatula to spread the batter into an even circle, about 6-8 inches in diameter.
Step 6: Cook until Golden Brown
Cook for 1-2 minutes per side, or until the edges are golden brown and the center is set. Keep a close eye on them, as they can burn quickly.
Step 7: Shape the Cones
Working quickly, remove the cone from the griddle and immediately shape it into a cone using sandpaper. If you use your hands or roller, take care! If the cone starts to cool too much and becomes stiff, you can briefly return it to the griddle. Soften it up again.
Step 8: Cool and Harden
Place the shaped cone in a stand to harden. Can you use a specialized cone stand, or simply balance the cone in mugs?
Step 9: Repeat
Repeat steps 5-8 with the remaining batter. Store the cooled cones in an airtight container at room temperature for up to a week.
What should I serve it with?
Where is fun?gluten-free ice cream cones. are incredibly versatile.
For Breakfast: Fill them with yogurt and berries for a fun and healthy breakfast treat. Serve with a side of coffee or tea.
For Brunch: Create an Ice Cream sundae bar with different flavors of ice cream, toppings, and sauces. Serve with mimosas or sparkling cider.
As Dessert: Pair them with your favorite ice cream flavors, like vanilla, chocolate, strawberry, or mint Chocolate Chip. Top with whipped cream, sprinkles, and a cherry.
For Cozy Snacks: Enjoy them on their own as a crispy and slightly sweet snack. Or, fill them with a dollop of Peanut Butter or Nutella for an extra treat.
My family loves to make ice cream sundaes on Friday nights, and these cones are always a hit! We set out all sorts of toppings and let everyone create their own masterpiece. It’s a fun and delicious way to end the week.
Top Tips for Perfecting Your Gluten-Free Ice Cream Cones
Alright, let’s get down to the nitty-gritty. I’ve made these gluten-free ice cream cones countless times, and I’ve learned a few tricks along the way.
Flour Choice: Not all gluten-free flours are created equal. I’ve found that a blend containing rice flour, tapioca starch, and potato starch gives the best texture. Make sure your blend includes xanthan gum, or add it separately for better binding.
Batter Consistency: The batter should be thin enough to spread easily but not so thin that it’s watery. If it’s too thick, add a little more milk. If it’s too thin, add a little more flour.
Cooking Temperature: The temperature of your griddle or skillet is crucial. If it’s too hot, the cones will burn before they crisp up. If it’s too cold, they won’t get crispy enough. Experiment to find the sweet spot.
“I don’t know if I’ve ever eaten a better Gluten-Free Ice Cream Cones. The rub alone is wonderful, but the sauce??? Over the top!”
Shaping Technique: Shaping the cones quickly is key. If they cool too much, they’ll become brittle and difficult to shape. If you’re having trouble, try warming them up briefly on the griddle again.
Flavor Variations: Don’t be afraid to experiment with different flavors! Add a pinch of cinnamon, nutmeg, or almond extract to the batter for a unique twist. You can also add a tablespoon of cocoa powder for chocolate cones.
Troubleshooting: If your cones are sticking to the griddle, make sure it’s properly greased. If they’re not crispy enough, try cooking them a little longer or increasing the heat slightly. If they’re too brittle, reduce the amount of sugar in the batter.
I’ve definitely had my share of cone-making fails over the years, but I’ve learned from each one. The most important thing is to be patient and have fun! And don’t worry if your cones aren’t perfect – they’ll still taste delicious.
Storing and Reheating Tips
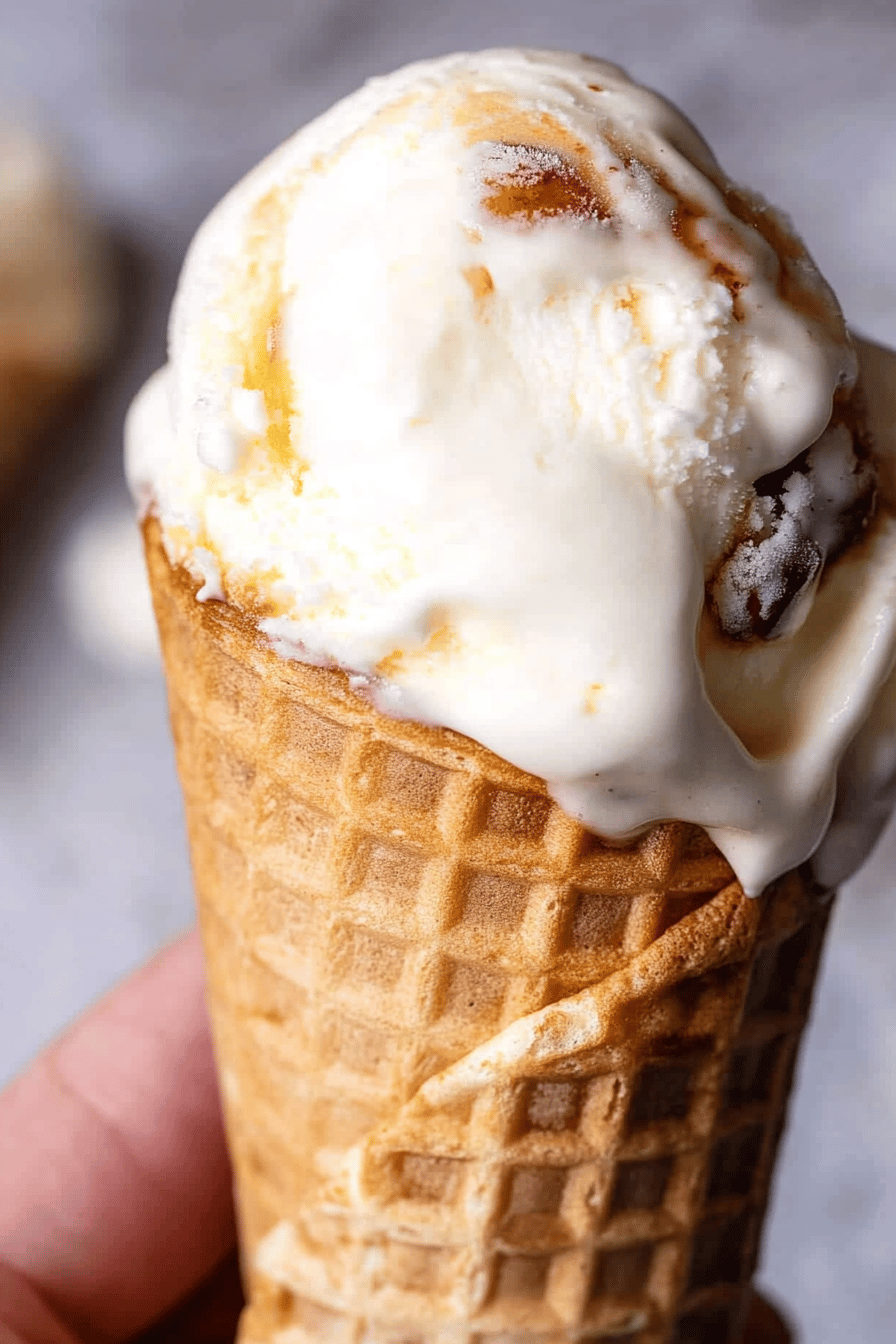
These gluten-free ice cream cones are best enjoyed fresh, but they can be stored for later use.
Room Temperature: Store the cooled cones in an airtight container at room temperature for up to a week. Make sure they’re completely cool before storing them, or they’ll become soggy.
Refrigerator Storage: I don’t recommend storing these cones in the refrigerator, as they’ll lose their crispness and become sticky.
Freezer Instructions: You can freeze the cones for longer storage, but they may become a little more fragile after thawing. Wrap them tightly in plastic wrap and then place them in a freezer-safe container. They can be frozen for up to 2 months.
To thaw frozen cones, simply remove them from the freezer and let them sit at room temperature for about 30 minutes. They may not be as crispy as fresh cones, but they’ll still be delicious.
Frequently Asked Questions
Final Thoughts
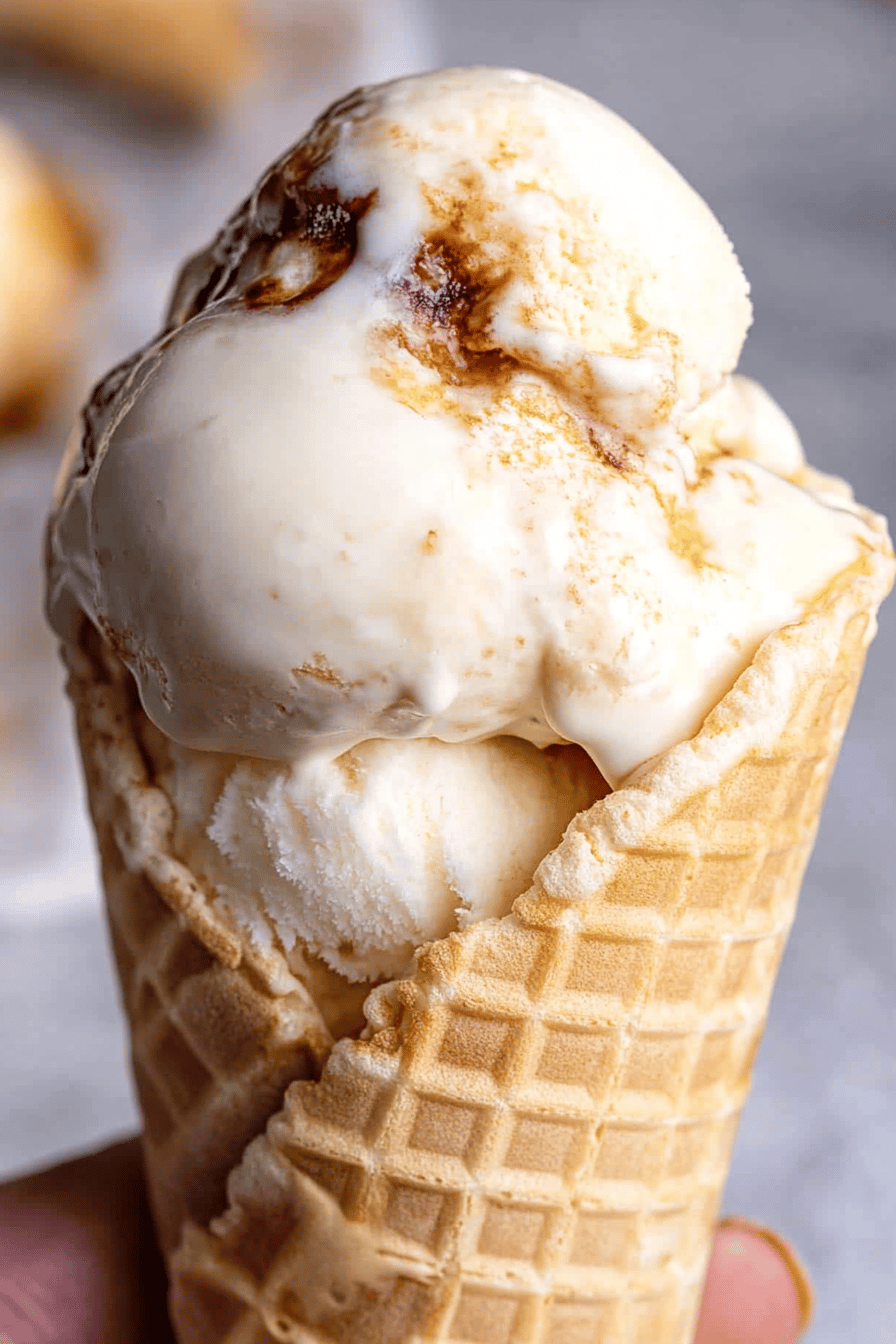
So, there you have it – my go-to recipe for dreamy gluten-free ice cream cones. I truly hope you’ll give it a try! Not only does it allow those of us with dietary restrictions to enjoy a classic summertime treat, but it’s also a fun and rewarding experience. If you enjoy this recipe, you might also love my gluten-free waffle recipe – it uses similar ingredients and is perfect for a weekend brunch. Happy baking (and ice cream eating)! And please, leave a comment below to let me know how yours turned out – I can’t wait to hear your stories and see your creations! If you loved this recipe, give it a rating and share it with your friends!
Gluten-Free Ice Cream Cones
Ingredients
Main Ingredients
- 1 cup Gluten-Free All-Purpose Flour
- 0.25 cup Sugar
- 0.25 cup Melted Butter
- 0.25 cup Milk
- 0.5 teaspoon Vanilla Extract
Instructions
Preparation Steps
- Preheat oven to 350°F (175°C).
- In a bowl, mix together flour, sugar, melted butter, milk, and vanilla extract until smooth.
- Drop a spoonful of batter onto a non-stick baking sheet. Spread into a thin circle.
- Bake for 4-5 minutes, or until golden brown.
- Immediately remove from baking sheet and shape into a cone. Let cool completely.


