There’s something magical about a bite-sized treat that’s both cute and delicious—kind of like a little piece of happiness on a stick. I remember the first time I made cake pops for my daughter’s birthday, and how everyone, including the adults, ended up sneaking seconds. It’s that perfect combination of a soft, moist cake center coated in a glossy chocolate shell. Honestly, I’ve tried making these with store-bought cake and frosting, and let me tell you, they’re a lifesaver on busy nights when a full cake just feels like too much. Plus, they’re the kind of treat that brings out your inner kid—fun to make, adorable to serve, and even better to eat. If you’re looking for a dessert that’s simple, customizable, and downright addictive, you’ve got to try my homemade cake pops. I promise, with a little bit of love and a sprinkle of patience, you’ll be surprised how easy and fun they are to whip up. Trust me, once you start, you’ll find yourself making these all the time!
Thank you for reading this post, don't forget to subscribe!What is cake pop?
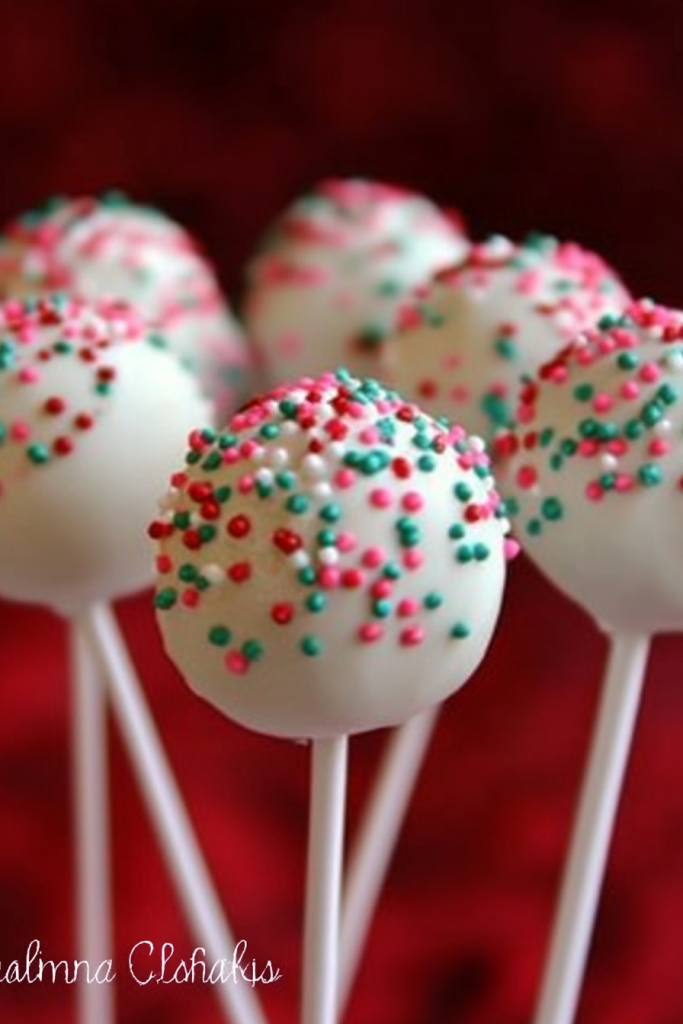
Think of cake pops as everything you loved about a slice of cake, just in a tiny, handheld form. They’re basically bite-sized cakes—crumble your favorite cake, mix it with just enough frosting to hold everything together, then roll that mixture into adorable little balls. These are then dipped in a glossy coating, usually chocolate, which sets into a shiny shell. The name “cake pops” probably comes from the fact that they’re cake on a stick—a clever, playful way to enjoy a sweet treat without the fuss of slicing or serving plates. It’s essentially a fun mash-up of cake and lollipop, perfect for parties, picnics, or whenever you need a sweet pick-me-up. What’s great about cake pops is how endlessly customizable they are—you can swap flavors, colors, and toppings to match any theme or mood. They’re my go-to when I want something sweet that’s easy to share and even easier to eat!
Why you’ll love this recipe?
Honestly, what I love most about these cake pops is how forgiving and adaptable they are. You don’t need any fancy ingredients or equipment—just a few pantry staples and a bit of patience. The flavor possibilities are endless; I’ve made chocolate chip, red velvet, funfetti, even classic vanilla with sprinkles, and they all turn out fantastic. Plus, they’re super budget-friendly—use up leftover cake, or bake a simple box mix, and you’re good to go. The best part? They’re an instant crowd-pleaser. My kids ask for these all the time because they’re just the right size for little hands, and my friends love how pretty they look on the dessert table. What I really love is how they bring out the creative side in me—you can get fancy with colors, add edible glitter, or top them with mini candies for a celebration-perfect look. This recipe is one of those life hacks I always keep handy—trust me, once you’ve made cake pops, they’ll become a staple in your treat repertoire.
How do I make a cake pop?
Quick Overview
This is honestly one of the easiest no-fuss desserts you’ll ever make. It starts with a simple crumbed cake—either baked from scratch or from a box—and mixes with frosting until it’s just scoopable. Then, scoop and roll into perfect little balls, chill until firm, and dip in melted chocolate. Finish with sprinkles or toppings of your choice. The magic is in how effortlessly you can customize flavors and decorations while still keeping things quick and fun. A tip? Keep the cake mixture cold—this makes rolling easier and prevents the balls from sticking to your hands. Once dipped and decorated, they’re good to set in the fridge or enjoy right away. This method isn’t just simple; it’s surprisingly flexible, letting you add your personal touch every time!
Ingredients
For the Main Batter:
– 1 box of cake mix (any flavor, I love chocolate or funfetti for colorful results)
– Ingredients called for on the box (oil, eggs, water), or bake from scratch if you’re feeling fancy
– 1/2 cup of milk (or alternative like almond milk — I tested this with almond milk and it made it even creamier!)
For the Filling:
– 1 to 1 1/2 cups of prepared frosting (store-bought or homemade; cream cheese or vanilla works beautifully)
– Optional: sprinkles, chopped nuts, or mini candies for texture
For the Glaze:
– 8 oz good-quality chocolate chips or melting wafers
– 1 teaspoon coconut oil or vegetable shortening (for glaze sheen and smoothness)
– Food coloring or flavor extracts for custom touches
“I don’t know if I’ve ever eaten a better Easy Cake Pops Recipe for Sweet Treats. The rub alone is wonderful, but the sauce??? Over the top!”
Step-by-Step Instructions
Step 1: Preheat & Prep Pan
Preheat your oven to the temperature on your cake box or your favorite scratch recipe—usually around 350°F (175°C). Grease your cake pan or line it with parchment paper. After the cake’s baked and cooled completely, crumble it into a large mixing bowl—this is where the magic begins.
Step 2: Mix Dry Ingredients
If you’re using a box mix, it’s pretty straightforward—just follow the instructions. If baking from scratch, combine your flour, sugar, baking powder, and a pinch of salt. The key is to have everything well mixed so the cake batter bakes evenly — a whisk or fork works just fine.
Step 3: Mix Wet Ingredients
In a separate bowl, whisk together your eggs, oil, water (or milk), and vanilla extract if you’re adding any flavorings. Don’t forget to check the temperature; if the eggs are cold, it’s no big deal, but warm ingredients can help with a smoother batter. For box mixes, just follow the directions on the box—they’ve nailed this part!
Step 4: Combine
Pour your wet into your dry, gently folding everything together until just combined. You don’t want to overmix—this keeps your cake moist and tender. The batter should be smooth but not runny. Now, pour into your prepared pan, bake, and wait for that fabulous smell to fill the house.
Step 5: Prepare Filling
Once cooled, crumble the cake into fine crumbs. Mix in your frosting gradually—it should be moist enough to roll into balls but not sticky. If it’s too soft, pop it in the fridge for 15 minutes. Want to switch it up? Add a handful of sprinkles or chopped candies to make each bite extra fun.
Step 6: Layer & Swirl
For a little extra flair, fill your cake ball with a surprise center—like a mini candy or a swirl of different colored frosting. Or just keep it simple and roll all your mixture into uniform balls—about the size of a golf ball or smaller if you prefer more bites. Chill the balls for at least an hour, so they stay intact during dipping.
Step 7: Bake
Oh wait—we don’t bake these! Instead, chill or freeze your balls until firm—this makes dipping so much neater. If you’re in a hurry, pop them in the freezer for 20 minutes, and they’re ready to go.
Step 8: Cool & Glaze
Melt your chocolate with the coconut oil or shortening until smooth—careful not to overheat! Dip each cake ball, twist gently, and set on parchment paper. Decorate immediately if you like, adding sprinkles, edible glitter, or drizzles. Let the glaze set for about 30 minutes at room temperature or pop them in the fridge for a faster finish.
“New family favorite! This Easy Cake Pops Recipe for Sweet Treats was so flavorful and ridiculously easy. Crowd-pleaser for sure.”
Step 9: Slice & Serve
If you want to serve sliced cake pops, wait until they’re fully set, then carefully cut if you like to show off those colorful layers inside. Otherwise, pop them into a cute box or serve directly on a platter for parties or family night. These are best enjoyed fresh but keep well in an airtight container for a few days — if they last that long!
What to Serve It With
Oh, the possibilities are endless! For breakfast, pair these with a hot cup of coffee or a glass of milk—they make for delightful, indulgent mornings. At brunch, serve them alongside fruit salad or mini sandwiches, especially if you want a dessert that everyone will love while still feeling fancy. As an after-dinner treat, a handful of these cake pops with a drizzle of caramel or berry compote creates a stunning final course. They’re also perfect for casual snacking—my family loves grabbing a few straight from the fridge, especially when they’re slightly chilled, giving that satisfying crunch to the coating. When it’s time for a celebration, I like to coordinate the colors of the sprinkles or icing to match themes—think pastel hues for spring or bold reds and blacks for Halloween. Honestly, I always keep a batch in the fridge—they disappear in minutes at my house—and I sneak one every time I pass by the kitchen—they’re just that addictive and fun!
Top Tips for Perfecting Your Cake Pops
This is a recipe I’ve tweaked over the years, and I’ve learned a few tricks along the way. First, always crumble your cake very finely; chunkier bits can cause uneven coating. I’ve also discovered that using a little extra frosting helps keep the mixture moist and easier to work with—just don’t go overboard or they’ll be too sticky. When dipping, tap off excess chocolate gently—you don’t want drips or globs. To get those perfect, Pinterest-worthy swirl designs, I like to use a toothpick or squeeze bag for fine detail. A tip I learned after many experiments: chill your dipped cake pops on a baking sheet lined with parchment, not a crowded plate—this prevents sticking. If you want to swap flavors, try adding a dash of peppermint extract or almond essence to your chocolate. For a dairy-free version, substitute chocolate chips with coconut or almond bark and use coconut oil for melting. Remember, I’ve made many mistakes—like rushing the chilling process or over-mixing—and I can tell you that patience really pays off. Once you nail the technique, these will become your go-to sweet treat for birthdays, holidays, or just because you deserve a little chocolate fix!
Storing and Reheating Tips
Storage is simple if you know the right tricks. If you want to enjoy them within a day or two, keep your cake pops in an airtight container at room temperature—just make sure they’re in a cool, dry spot away from direct sunlight. If it’s warm or humid, the coating might get a little shiny or sticky, so refrigeration is a good option. For longer storage, pop them in a sealed container in the fridge for up to a week—just bring them to room temperature before serving for the best flavor and texture. Want to make them ahead of a party? Freeze the uncoated cake balls, wrapped tightly in plastic wrap and then in foil, for up to 2 months. When ready to serve, thaw at room temperature, then dip in melted chocolate. As for glazing, if they’re stored in the fridge, reheat the chocolate coating gently over low heat or in short bursts in the microwave—just enough to melt it again. If you add the glaze right after dipping, it sets beautifully without melting back. My advice? Dip once, chill, and then add a second coat if needed for a thicker, more polished look. These little treats travel well too—perfect for taking to school, picnics, or sharing with friends!
Frequently Asked Questions
Final Thoughts
There’s honestly nothing quite like biting into a perfectly homemade cake pop. It’s not just about the sweet taste but the joy of crafting something charming and personalized. Whether you’re making them for a birthday party, a weekend treat, or just because you crave something bite-sized and indulgent, these cake pops never disappoint. I’ve learned over the years that the secret is patience—chilling the mixture well, dipping gently, and decorating with care—but it’s all so worth it when you see the smiles on everyone’s faces. If you give these a try, I’d love to hear how they turn out! Feel free to tweak flavors, colors, and toppings—I’ve yet to make a batch that wasn’t instantly gobbled up. Happy baking, friends—your sweet little masterpieces are waiting to be made and enjoyed!

cake pops
Ingredients
Main Ingredients
- 16.5 oz yellow cake mix
- 6 oz plain fat-free Greek yogurt (Chobani)
- 1 cup water
- 2 large egg whites
- 1 tsp vanilla extract
- 48 oz Baker's white chocolate
- 48 count lollipop sticks
- 1 styrofoam block styrofoam block
Instructions
Preparation Steps
- Preheat oven to 350°F.
- Lightly spray a the cake pop pan with baking spray.
- Combine all the cake ingredients in a large mixing bowl and beat until combined.
- Place the batter into a pastry bag or large ziplock bag with the tip cut off.
- Pipe the batter into the prepared cake pop pan and bake about 18 minutes.
- Let it rest 5 minutes before opening the pan.
- Place cake balls on a wire rack and repeat with remaining batter.
- Using a scissor, cut the seam off the balls.
- Refrigerate the cake balls for about 45 minutes, this helps the chocolate stick to the cake.
- Melt some of the chocolate in the microwave according to package directions, careful not to burn the chocolate.
- Insert the tip of the stick into the melted chocolate, then into the cake ball.
- In batches, melt remaining chocolate.
- Dip the cake pops into the chocolate, let the excess drip off then place stick on a styrofoam block about a minute, then add sprinkles on top if using.


