Oh, this Cheesy Ranch Chicken. If there’s one recipe that has saved my sanity on countless weeknights, this is it. It’s the kind of dish that smells absolutely incredible while it’s baking, drawing everyone from their rooms with just the faintest hint of garlic and tangy ranch wafting through the house. I remember the first time I made it, more out of desperation than anything else – I had hungry kids, a nearly empty fridge, and a craving for something comforting and familiar. It was a gamble, throwing together those few simple ingredients, but wow, did it pay off. It’s become an absolute staple, something I can whip up without even thinking, and it always, *always* disappears in minutes. It’s like my answer to those “what’s for dinner?” moments, but elevated. If you’ve ever loved a classic chicken casserole, imagine that, but with a zesty ranch kick and a blanket of perfectly melted cheese. It’s that good, trust me.
Thank you for reading this post, don't forget to subscribe!What Is Cheesy Ranch Chicken?
So, what exactly *is* this magical Cheesy Ranch Chicken? At its heart, it’s a super simple, incredibly satisfying Baked Chicken dish. Think of it as a warm hug in casserole form, but without all the fuss. We’re talking tender chicken pieces, usually baked right in a creamy, dreamy ranch-infused sauce, all topped off with a generous layer of melty, golden cheese. It’s not fancy, and it certainly doesn’t pretend to be. The beauty is in its honest, straightforward deliciousness. It’s the kind of meal that feels both familiar and excitingly flavorful all at once. It’s the ultimate comfort food, perfect for busy families, cozy nights in, or even when you just need a little bit of culinary sunshine. It’s the ultimate Cheesy Ranch Chicken that makes everyone happy, from the pickiest eaters to the most discerning palates.
Why you’ll love this recipe?
What are someflavor is just out of this world. That classic ranch tang, combined with the savory chicken and the rich, gooey cheese? It’s a combination that hits all the right notes. It’s savory, a little zesty, and incredibly satisfying. Then there’s the simplicity. Seriously, you can have this prepped and in the oven in about 15 minutes. It’s the kind of meal I whip up when I get home from soccer practice and my brain is fried. No complicated steps, no obscure ingredients. And speaking of ingredients, it’s surprisingly cost-efficient. Most of what you need is probably already in your pantry or fridge, and even if you need to grab a few things, it won’t break the bank. Plus, the versatility! I’ll get to that more later, but you can serve this with so many different things, making it a true chameleon in your meal rotation. What I love most about this dish is that it feels like a treat without being unhealthy or overly indulgent. It’s the perfect balance that makes it a regular in our home. It’s a lifesaver on busy nights, and my kids ask for this Cheesy Ranch Chicken all the time!
How to Make Cheesy Ranch Chicken
Quick Overview
Making this Cheesy Ranch Chicken is surprisingly straightforward. You’ll essentially be coating your chicken in a simple ranch-inspired sauce, layering it in a baking dish, and then topping it with cheese before baking it to golden perfection. It’s all about minimal effort for maximum flavor. The key is the creamy sauce that tenderizes the chicken as it bakes, ensuring every bite is moist and delicious. This method is a game-changer for busy cooks who still want a home-cooked meal that tastes amazing.
Ingredients
For the Main Dish:
1.5 lbs boneless, skinless Chicken Breasts or thighs, cut into bite-sized pieces. Chicken thighs are my favorite here because they stay incredibly moist, but breasts work great too. Just make sure they’re not too thick! I always trim any excess fat. I aim for pieces that are roughly 1-inch cubes so they cook evenly.
For the Creamy Ranch Sauce:
1 cup Sour Cream. This is the base of our creamy sauce. Full-fat gives the best texture, but I’ve tested this with reduced-fat and it’s still delicious. If you’re dairy-free, a good cashew-based sour cream substitute can work too, though the flavor profile might be slightly different.
1/2 cup mayonnaise. This might sound odd, but trust me, it adds an incredible richness and helps the sauce emulsify beautifully. It’s the secret to that ultra-creamy texture. Don’t skip it!
1 packet (about 1 ounce) dry ranch seasoning mix. This is where all the magic happens! You can use your favorite brand. If you’re feeling adventurous or want to control the sodium, you can absolutely make your own ranch seasoning from scratch with dried dill, parsley, chives, garlic powder, onion powder, and a pinch of salt and pepper.
1/4 cup milk (any kind). This helps thin out the sauce just enough so it coats the chicken beautifully. Whole milk makes it extra creamy, but almond milk or even oat milk works well. I’ve even used buttermilk in a pinch and it gave a lovely tang!
1 teaspoon garlic powder. Even with the ranch seasoning, a little extra garlic never hurt anyone, right? It adds a nice depth of flavor.
1/2 teaspoon onion powder. Similar to garlic, it boosts the savory notes.
Salt and freshly ground Black Pepper to taste. You’ll want to season this well, but be mindful of the salt in the ranch mix.
For the Cheesy Topping:
2 cups shredded cheddar cheese. A sharp cheddar gives a fantastic flavor, but a mix of cheddar and Monterey Jack is also incredible. Colby Jack is another great option. Make sure it’s shredded yourself from a block if you can – pre-shredded cheese has anti-caking agents that can make it melt a bit less smoothly. You want that glorious cheese pull!
Optional: A sprinkle of chopped fresh parsley or chives for garnish. It just adds a pop of color and freshness at the end. Totally optional, but pretty!
“Packed with flavor and so simple. Exactly what I wanted from this Cheesy Ranch Chicken!”
Step-by-Step Instructions
Step 1: Preheat & Prep Pan
First things first, let’s get that oven ready. Preheat your oven to 375°F (190°C). While the oven heats up, grab a 9×13 inch baking dish. You don’t need to grease it since the sauce will keep everything from sticking, but you can if you’re extra cautious. Just a quick spritz of cooking spray or a light rub of butter is fine. I like to have my dish ready to go so I can assemble everything quickly.
Step 2: Mix Dry Ingredients
In a medium bowl, go ahead and combine the dry ingredients for your ranch sauce: the dry ranch seasoning mix, garlic powder, and onion powder. Give them a good whisk to make sure everything is evenly distributed. This ensures you don’t get pockets of seasoning in your sauce. It’s a small step, but it really makes a difference in the overall flavor consistency.
Step 3: Mix Wet Ingredients
In a separate, larger bowl (this one needs to be big enough to hold the chicken too!), combine the sour cream and mayonnaise. Stir them together until they’re nice and smooth. Then, gradually whisk in the milk until you have a smooth, pourable consistency. Now, add your whisked dry ingredients into this wet mixture and stir everything together until it’s completely combined and looks wonderfully creamy. Taste it at this point and add salt and pepper as needed. Remember, the ranch mix has salt, so go easy at first!
Step 4: Combine
Add your cut chicken pieces to the bowl with the creamy ranch sauce. Use a spoon or your hands (my preferred method because it’s more fun!) to gently toss the chicken, ensuring every single piece is thoroughly coated in that delicious sauce. Make sure there are no dry spots! This is where the flavor really starts to soak into the chicken.
Step 5: Prepare Filling
This step is super simple as the “filling” is really just your sauced chicken. Ensure all the chicken is well-coated. If you notice any dry spots, just give it another stir. The goal is to have every piece of chicken swimming in that creamy goodness. This ensures moist, flavorful chicken every time.
Step 6: Layer & Swirl
Pour the chicken and sauce mixture evenly into your prepared baking dish. Spread it out so it forms a nice, even layer. Now comes the fun part: the cheese topping! Sprinkle the shredded cheddar cheese (or your chosen cheese blend) evenly over the top of the chicken mixture. Make sure you get it all the way to the edges so you get that beautiful, bubbly, golden crust. You want complete coverage for maximum cheesy goodness!
Step 7: Bake
Pop that dish into your preheated oven. Bake for about 25-30 minutes, or until the chicken is cooked through and the cheese is melted, bubbly, and starting to turn a beautiful golden brown. You can check if the chicken is done by inserting a thermometer into one of the larger pieces – it should read 165°F (74°C). The sauce should also be thick and bubbling around the edges. Ovens can be finicky, so keep an eye on it, especially towards the end of the baking time.
Step 8: Cool & Glaze
Once it’s out of the oven, resist the urge to dive in immediately! Let the Cheesy Ranch Chicken rest for about 5-10 minutes. This allows the sauce to thicken up a bit more and the juices to redistribute, making the chicken even more tender. If you’re using fresh parsley or chives for garnish, sprinkle them over the top now. It adds a lovely pop of freshness and color that really makes the dish sing.
Step 9: Slice & Serve
Now for the best part – serving! You can serve this directly from the baking dish. I usually just scoop it out with a big spoon, getting plenty of chicken and that delicious cheesy sauce with each serving. It’s hearty and satisfying on its own, but I’ll talk more about what to pair it with next! Enjoy that glorious, cheesy, ranchy goodness!
What to Serve It With
This Cheesy Ranch Chicken is so versatile, it’s a dream to pair with almost anything! It’s a complete meal on its own, but if you want to round it out, here are some of my favorite ways to serve it.
For Breakfast: I know, right? But hear me out! A small portion of this Cheesy Ranch Chicken is surprisingly good with some scrambled eggs. The creamy, savory notes work really well. I love having a little bit left over and warming it up with my morning eggs and maybe a side of toast. It feels indulgent without being too heavy for the morning. Coffee, of course, is a must!
For Brunch: This is where it really shines. Serve it as part of a larger brunch spread with some fluffy pancakes, fresh fruit salad, and maybe some crispy bacon. It adds a savory anchor to all the sweet treats. For a more elegant touch, I’ll sometimes spoon it into individual ramekins before baking and serve them that way. A mimosa or a nice sparkling cider is the perfect beverage pairing.
As Dessert: Okay, this one’s a bit more unconventional, but if you’re feeling daring and have a real craving for something cheesy and savory after your meal, a tiny bit of this can hit the spot. It’s definitely not a traditional dessert, but for those who love savory flavors, it can be surprisingly satisfying. It’s best served in a very small portion, maybe with a tiny side of something acidic like a pickled radish to cut through the richness.
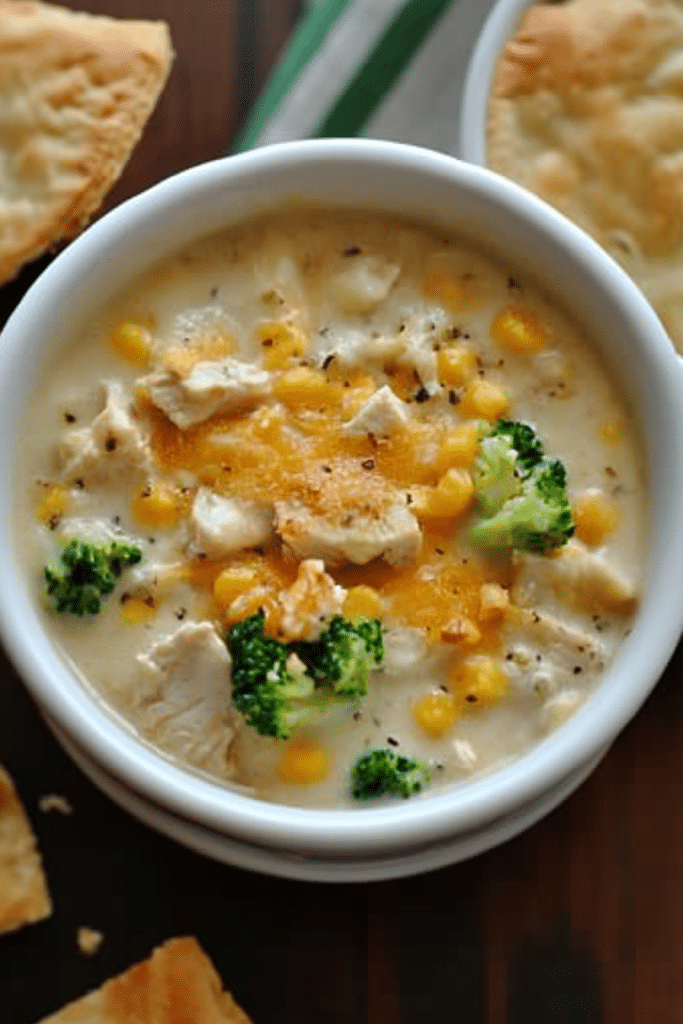
For Cozy Snacks: This is probably its most natural habitat. Serve it with some crusty bread for dipping into that incredible sauce. It’s also fantastic over rice – it makes a simple white rice feel so much more exciting. Steamed broccoli or green beans are always a good idea to add some veggies. A simple side salad with a light vinaigrette is also a great counterbalance to the richness. My family loves it with mashed potatoes too, creating a sort of ultimate comfort food mashup!
Top Tips for Perfecting Your Cheesy Ranch Chicken
I’ve made this Cheesy Ranch Chicken more times than I can count, and over the years, I’ve picked up a few tricks that make it even better. Here are my absolute favorite tips to help you nail it every time:
Chicken Prep: Don’t just throw whole chicken breasts in there! Cutting them into uniform, bite-sized pieces is crucial for even cooking. If you use chicken thighs, make sure to trim away any excess fat and sinew. You want about 1-inch pieces. If your chicken pieces are too large, they might be dry on the outside and undercooked on the inside. I learned this the hard way when I was rushing once!
Mixing Advice: When you’re mixing the chicken with the sauce, don’t be shy! Really get in there and coat every single piece. I often use my hands – it’s the best way to ensure full coverage and it’s surprisingly satisfying. If you’re using a spoon, make sure to scrape the bottom and sides of the bowl to get all that delicious saucy goodness incorporated. Overmixing the chicken itself isn’t really an issue here since it’s not a batter, but making sure the sauce is distributed evenly is key to flavor.
“Made the Cheesy Ranch Chicken tonight and wow — perfect weeknight dinner. Will definitely make again!”
Swirl Customization: While this recipe doesn’t inherently involve swirling, you can get creative with your cheese topping! Instead of just sprinkling it evenly, try layering half the cheese, then adding the chicken mixture, then topping with the remaining cheese. Or, try a mix of cheeses for more complex flavor. I sometimes add a sprinkle of smoked paprika over the cheese for a beautiful color and a hint of smokiness.
Ingredient Swaps: If you don’t have sour cream, Greek yogurt is a fantastic substitute – it adds a similar tang and creaminess, and often a bit more protein. For the mayo, if you’re really adverse to it, you could try using more sour cream or even some cream cheese thinned with milk, but the mayo is truly what makes the sauce so luscious. Feel free to experiment with different ranch seasoning blends – some are spicier than others, so adjust accordingly!
Baking Tips: Always preheat your oven properly. A consistent temperature is vital for even cooking. If your oven tends to run hot or cold, use an oven thermometer to check its accuracy. I usually bake this in the center of the oven. If the cheese is browning too quickly on top before the chicken is cooked through, you can loosely tent the dish with aluminum foil for the last 10-15 minutes of baking. For a crispier, more golden brown topping, you can pop it under the broiler for the last minute or two, but watch it *very* closely so it doesn’t burn!
Glaze Variations: This recipe doesn’t technically have a glaze, but if you wanted to add one, a drizzle of ranch dressing or even a slightly thinned honey mustard over the top *after* baking could be interesting. For a bit more zip, a squeeze of fresh lemon juice over the hot dish right before serving is lovely. Or, simply stick to the fresh herbs for that pop of color and flavor.
Storing and Reheating Tips
One of the best things about this Cheesy Ranch Chicken is how well it keeps. It’s fantastic as leftovers, and I often find myself looking forward to them! Here’s how I store and reheat it to keep it tasting its best.
Room Temperature: If you’re serving it for a casual meal or potluck and have leftovers that haven’t been sitting out for too long (no more than 2 hours, following food safety guidelines), you can let it cool slightly before transferring it to an airtight container. It’s generally best to refrigerate it relatively soon after it’s cooled down enough to handle.
Refrigerator Storage: Once completely cooled, transfer any leftovers to an airtight container or cover the baking dish tightly with plastic wrap or foil. It will stay delicious in the refrigerator for about 3-4 days. I’ve found that the flavors actually meld even more overnight, making it even tastier the next day!
Freezer Instructions: This Cheesy Ranch Chicken freezes surprisingly well, which makes it perfect for make-ahead meals. You can freeze the unbaked dish (just cover it tightly with plastic wrap and then a layer of foil) for up to 2-3 months. Or, freeze portions of the baked leftovers in freezer-safe containers or bags for up to 3 months. Thaw frozen dishes overnight in the refrigerator before reheating. For baked leftovers, just reheat directly from frozen by adding a few extra minutes to the cooking time.
Glaze Timing Advice: Since this recipe doesn’t have a traditional glaze applied during baking, this point isn’t directly applicable. However, if you were to add fresh herbs as a garnish after baking, wait until the dish has cooled slightly before sprinkling them on. For any other drizzled sauces or toppings, add them just before serving to ensure they retain their fresh flavor and texture.
Frequently Asked Questions
Final Thoughts
So there you have it – my absolute favorite Cheesy Ranch Chicken recipe. It’s more than just a meal; it’s a culinary hero in my house, a dish that brings smiles and empty plates every single time. It’s proof that you don’t need complicated ingredients or hours in the kitchen to create something truly delicious and comforting. The simplicity is part of its charm, and the flavor is just undeniable. It’s that perfect balance of creamy, cheesy, and zesty that makes it a crowd-pleaser for any occasion. If you’re looking for a new go-to weeknight dinner or a foolproof dish for a potluck, please, give this Cheesy Ranch Chicken a try. I promise you won’t regret it. I can’t wait to hear how yours turns out! Don’t forget to leave a comment below and share your own tips or any fun variations you tried. Happy baking!
Cheesy Ranch Chicken
Ingredients
Main Ingredients
- 1.5 pounds boneless, skinless chicken breasts
- 1 packet ranch seasoning mix
- 0.5 cup sour cream
- 0.5 cup cream cheese, softened
- 1 cup shredded cheddar cheese
- 0.5 cup shredded Monterey Jack cheese
Instructions
Preparation Steps
- Preheat oven to 375°F (190°C).
-
Place chicken breasts in a baking dish.1.5 pounds boneless, skinless chicken breasts
-
In a medium bowl, combine ranch seasoning mix, sour cream, and softened cream cheese. Mix until well combined.1.5 pounds boneless, skinless chicken breasts
- Spread the ranch mixture evenly over the chicken breasts.
-
Top with shredded cheddar and Monterey Jack cheeses.1.5 pounds boneless, skinless chicken breasts
- Bake for 25-30 minutes, or until chicken is cooked through and cheese is melted and bubbly.
- Let stand for a few minutes before serving.


