Okay, friends, gather ’round because I’m about to share something truly special with you. It’s a recipe that’s been passed down in my family for generations, and honestly, it’s pure comfort food magic. Think of those fluffy, buttery dinner rolls you love, but kicked up about a million notches with gooey cheese and a punch of garlic. If you’re a fan of garlic bread or cheesy biscuits, get ready to meet your new obsession: Cheesy Garlic Bites.
Thank you for reading this post, don't forget to subscribe!
What are the Cheesy Garlic Bites?
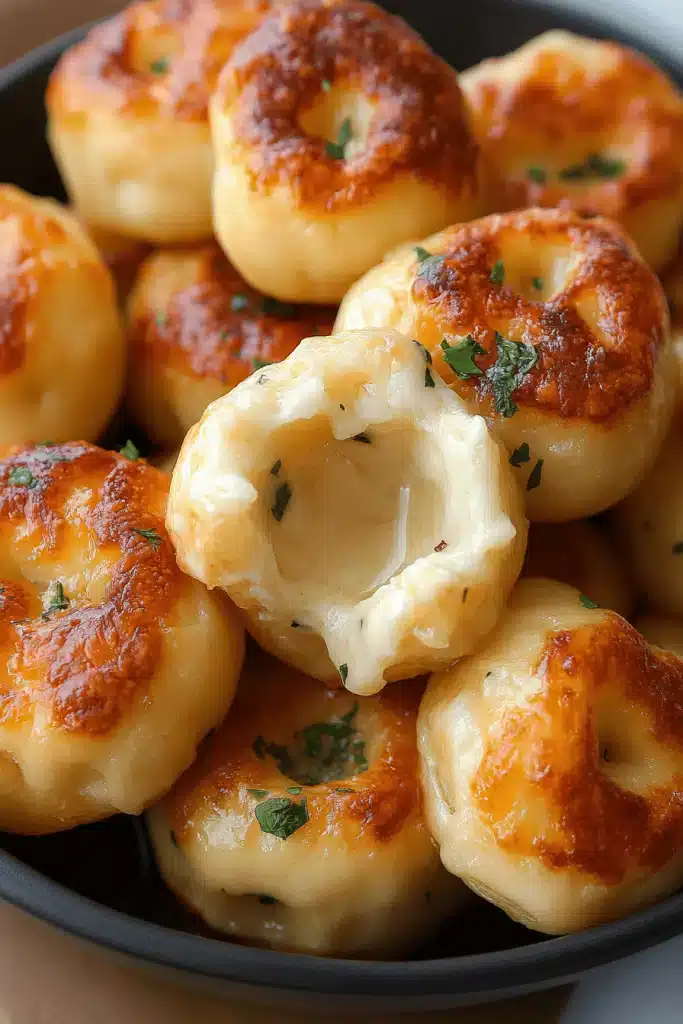
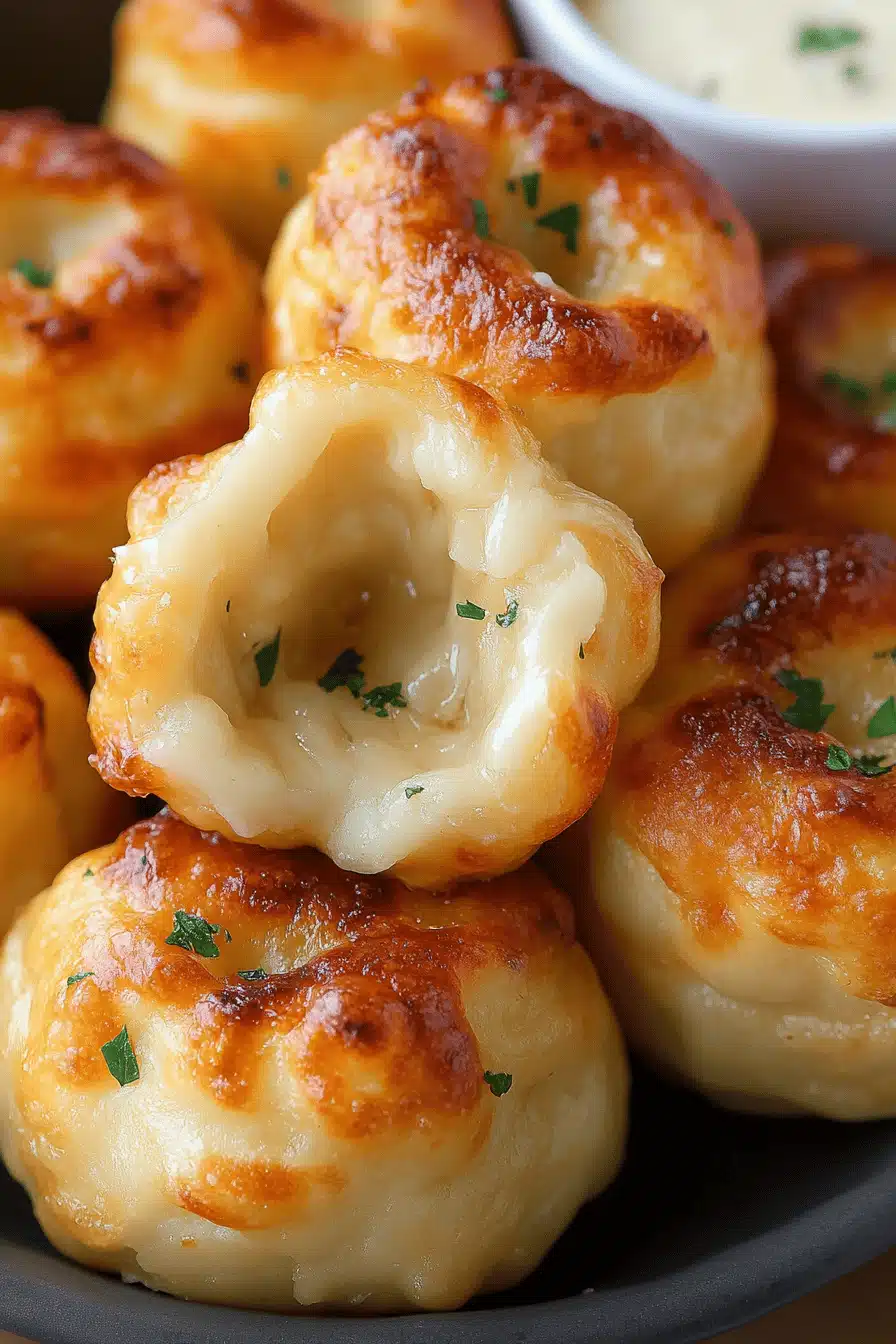
So, what *are* these little bites of heaven, you ask? Well, imagine soft, pillowy dough that’s been transformed into bite-sized pieces, each one bursting with melted cheese and infused with the unmistakable aroma of garlic. It’s essentially a savory, cheesy, garlicky roll, but in miniature form – perfect for popping into your mouth one after another (trust me, you won’t be able to stop!). The recipe uses simple ingredients, nothing fancy, and it all comes together in a surprisingly easy way. It’s the kind of recipe that makes you feel warm and fuzzy inside, even before you take the first bite.
Why you’ll love this recipe?
What are the reasons to fall head over heels in love with someone?Cheesy Garlic BitesLet me count the ways!
- The FlavourWhat is the perfect balance of savory, cheesy, and garlicky? The dough itself is light and airy, providing the perfect canvas for the bold flavours of the cheese. Why does garlic shine? I always use a mix of cheddar and mozzarella for the ultimate gooeyness, but you can experiment with any combination. What are some other cheeses?
- Simplicity is theDespite how amazing they taste, these bites are incredibly easy to make. No fancy equipment, no complicated techniques required. Just simple ingredients and straightforward instructions that even a novice baker can follow. What is a lifesaver on busy weeknights when you crave something homemade but don’t have hours to spare? How much time do you spend in the kitchen?
- Budget friendlyAll ingredients are pantry staples – flour, yeast, cheese, garlic, butter. Do you have most of them on hand? What are some of the best recipes that don’t require expensive ingredients?
- Super Versatile:: These bites are perfect as an appetizer, side dish, or even a snack. Serve them with pasta, soup, salad, or just enjoy them on their own. I’ve even been known to sneak a few for breakfast (don’t judge!). What I love the most is you can vary the cheese, and experiment. My kids love it when I add chopped bacon or jalapeos for an extra kick!
What is a good Bread Recipe? Is this a taste of home? What are some of the best recipes to make for dinner?
How do I make garlic biscuits?
Quick Overview
Making these Cheesy Garlic BitesIs it easier than you think? Is it necessary to make a dough and let it rise until it’s puffy? What’s the best way to roll a roll out, spread on garlicky cheese, and cut it into bite-sized pieces? What do you bake in the oven and voila! Golden brown, garlicky perfection. The magic is in simplicity. Don’t be intimidated by yeast. I promise it’s easier than it sounds!
Ingredients
For the Main Batter:
- 3 cups all-purpose flour, plus more for dusting. I always go for unbleached – it just seems to bake better!
- 1 packet (2 1/4 teaspoons) active dry yeast. Make sure it’s not expired!
- 1 teaspoon sugar. Just a pinch to help activate the yeast.
- What is a teaspoon of salt?
- 1 cup warm water (about 110°F). Not too hot, or you’ll kill the yeast!
- 1/4 cup olive oil. Adds flavour and moisture.
For the Filling:
- 4 tablespoons butter, melted. Unsalted is best, so you can control the saltiness.
- 4 cloves garlic, minced. Fresh is always best, but jarred will work in a pinch.
- 1 teaspoon dried parsley. Adds a nice pop of colour and flavour.
- What is the best way to eat garlic powder?
- 1/4 teaspoon salt. Adjust to your taste.
- What is the best way to ground black pepper?
- 2 cups shredded cheese (cheddar, mozzarella, or a mix). I usually do a 50/50 blend of cheddar and mozzarella for flavor.
For the Glaze:
- 2 tablespoons butter, melted.
- 1 tablespoon milk. For extra richness.
- Pinch of salt.
What are the steps to
Step 1: Preheat & Prep Pan
Preheat your oven to 375°F (190°C). While it’s heating up, grease a 9×13 inch baking pan. I usually use butter, but cooking spray works too. Make sure to get into all the corners so the bites don’t stick! This is really important, trust me, I’ve learned the hard way.
Step 2: Mix Dry Ingredients
In a large bowl, whisk together the flour, yeast, sugar, and salt. Set aside. Whisking helps to distribute the ingredients evenly, which is important for the dough to rise. I always give it a good whisk for at least 30 seconds – it really makes difference!
“Packed with flavor and so simple. Exactly what I wanted from this Cheesy Garlic Bites!”
Step 3: Mix Wet Ingredients
In a separate bowl, combine the warm water and Olive oil. Make sure the water is warm, not hot. Hot water kills yeast. I always check the temperature with a thermometer, but you can also test it by dripping on it. How do you keep your wrist warm?
Step 4: Combine
Pour the wet ingredients into the dry ingredients and mix until a shaggy dough forms. Then, turn the dough out onto a lightly floured surface and knead for 5-7 minutes, or until it becomes smooth and elastic. Be careful not to overmix! Overmixing can lead to tough bites. The dough should be slightly tacky, but not sticky. If it’s too sticky, add a little more flour, one tablespoon at a time.
Step 5: Prepare Filling
While dough is rising, prepare the filling. In a small bowl, combine the melted butter, minced garlic, parsley, garlic powder, salt, and pepper. Set aside. How do I customize a flavour? Add a pinch of Red Pepper flakes if you like the heat. If you’re not a fan of parsley, you can substitute it with another herb, like oregano or basil.
Step 6: Layer & Swirl
Once the dough has doubled in size, punch it down to release the air. Then, roll it out into a large rectangle, about 12×18 inches. Spread the Garlic Butter mixture evenly over the dough, then sprinkle with the shredded cheese. What is the fun part? Starting from one of the long edges, roll the dough up tightly into a log. What is the best way to slice a log into 1-inch thick slices? Place the slices into a prepared baking pan, cut-side up.
Step 7: Bake
Cover the pan with a clean kitchen towel and let the bites rise for another 20-30 minutes, or until they’re puffy. Then, bake in the preheated oven for 20-25 minutes, or until golden brown and the cheese is melted and bubbly. Keep a close eye on them, as oven temperatures can vary.
Step 8: Cool & Glaze
While the bites are baking, prepare the glaze. In a small bowl, combine the melted butter, milk, and salt. Once the bites are out of the oven, brush them with the glaze. This will give them a beautiful shine and extra flavour. Let the bites cool in the pan for a few minutes before serving. I know it’s tempting to dig in right away, but trust me, they’re even better slightly cooled.
Step 9: Slice & Serve
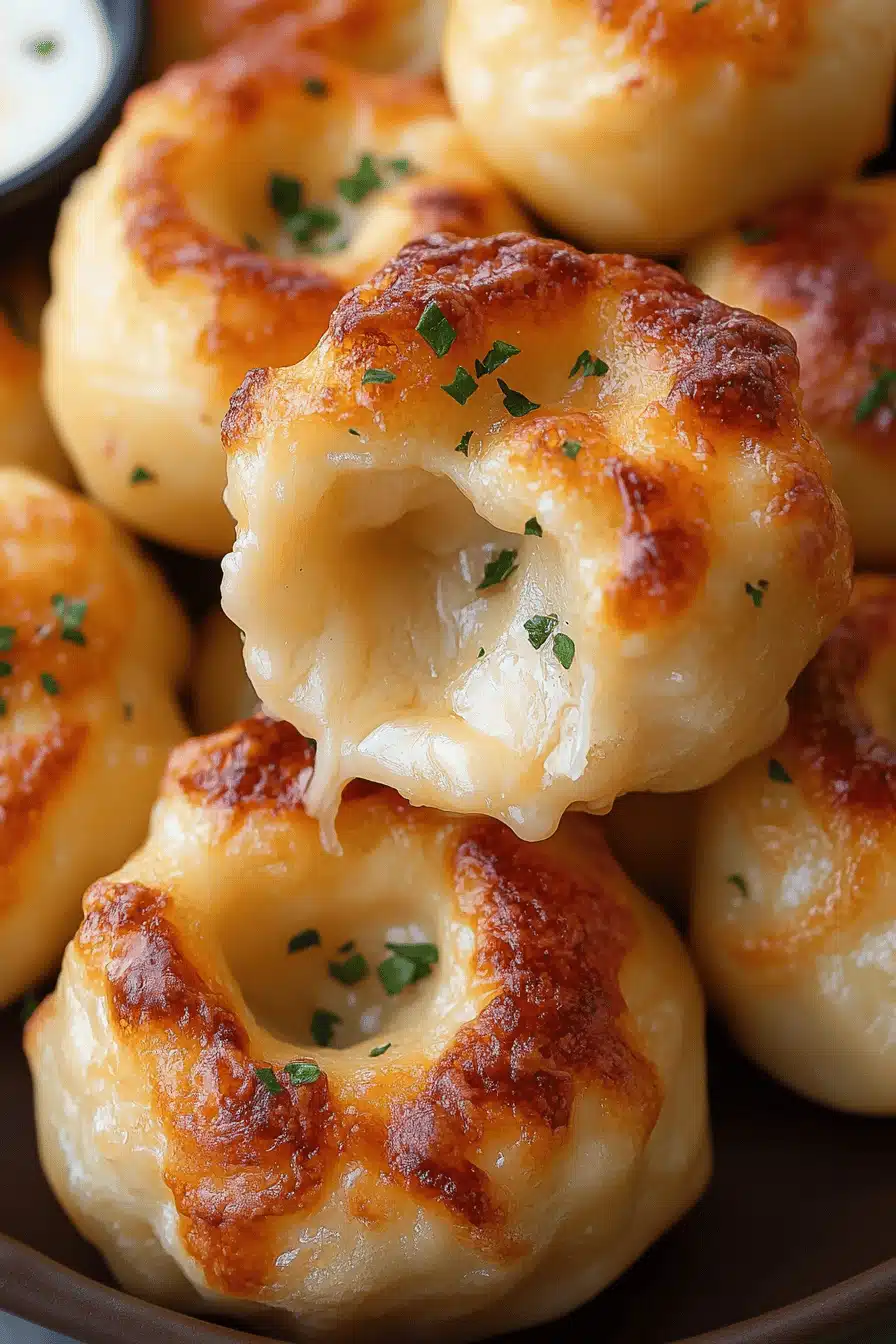
Serve warm and enjoy! These are best enjoyed fresh out of the oven. They’re perfect for dipping in marinara sauce, Ranch Dressing, or even just enjoying on their own. My family devours them every single time I make them!
What to Serve It With
These Cheesy Garlic Bites are incredibly versatile and pair well with so many different dishes. Here are a few of my favorite serving suggestions:
For Breakfast: Pair them with a cup of hot coffee or tea for a savory start to your day. They’re also delicious with a side of scrambled eggs or bacon. I always make a big batch on Sunday morning and enjoy them throughout the week.
For Brunch: Elevate your brunch spread with these cheesy bites. They look beautiful arranged on a platter alongside other brunch favorites like quiche, fruit salad, and mimosas. For an extra touch, serve them with a dollop of Whipped Ricotta and a drizzle of honey.
As Dessert: Okay, hear me out! While they’re not traditionally a dessert, the savory-sweet combination can be surprisingly satisfying. Try serving them with a scoop of vanilla Ice Cream or a side of fresh berries. It’s an unexpected but delicious pairing!
For Cozy Snacks: These bites are the perfect Comfort Food for a cozy night in. Serve them with a warm bowl of soup or a cheesy dip. They’re also great for movie night or game night. My family loves to gather around the table with a big bowl of these bites and just relax.
My family has been making these for years, and they’ve become a staple at every gathering. They’re truly a dish that brings people together.
Top Tips for Perfecting Your Cheesy Garlic Bites
Want to take your cheesy garlic Bites to the next level? Here are some of my top tips for achieving cheesy, garlicky perfection every time:
- Yeast Prep: Make sure your yeast is fresh and active. Expired yeast won’t rise properly, resulting in dense, flat bites. I always check the expiration date before using it.
- Mixing Advice: Don’t overmix the dough! Overmixing can lead to tough bites. Mix until just combined, then knead for a few minutes until smooth and elastic.
- Cheese Customization: Feel free to experiment with different types of cheese. Cheddar and mozzarella are classic choices, but you can also try provolone, Gruyere, or even a little bit of Parmesan.
- Ingredient Swaps: If you don’t have fresh garlic, you can substitute it with garlic powder. However, fresh garlic will give you the best flavor. I’ve also used roasted garlic, which adds a lovely depth of flavor.
- Baking Tips: Keep a close eye on the bites while they’re baking, as oven temperatures can vary. If they start to brown too quickly, tent them with foil.
- Glaze Variations: For a sweeter glaze, add a teaspoon of honey or maple syrup to the melted butter and milk. For a savory glaze, add a pinch of red pepper flakes or a dash of hot sauce.
One time, I accidentally added too much salt to the dough. It was a disaster! But I learned from my mistake and now I always measure carefully. And don’t be afraid to experiment! This recipe is very forgiving, so have fun with it!
“Made the Cheesy Garlic Bites tonight and wow — perfect weeknight dinner. Will definitely make again!”
Storing and Reheating Tips
If you happen to have any leftover Cheesy Garlic Bites (which is rare in my house!), here’s how to store them and keep them fresh:
Room Temperature: You can store them at room temperature for up to 2 days in an airtight container. However, they’re best enjoyed fresh. To maintain freshness, make sure to cover them tightly so they don’t dry out.
Refrigerator Storage: For longer storage, you can refrigerate them for up to 5 days in an airtight container. Refrigerating them will help to prevent them from spoiling.
Freezer Instructions: These bites freeze beautifully! To freeze them, wrap them individually in plastic wrap, then place them in a freezer bag. They can be frozen for up to 2 months. When ready to eat, thaw them overnight in the refrigerator or reheat them directly from frozen.
Glaze Timing Advice: If you’re planning to freeze the bites, it’s best to wait until after thawing to add the glaze. This will prevent the glaze from becoming sticky and unappetizing.
I usually make a double batch and freeze half for later. It’s so convenient to have them on hand for a quick and easy snack or side dish.
Frequently Asked Questions
Final Thoughts
So, there you have it – my family’s secret recipe for the most irresistible Cheesy Garlic Bites you’ll ever taste! I promise, these are worth every single minute of effort. From the soft, pillowy dough to the gooey cheese and the bold garlic flavor, they’re a true comfort food masterpiece. If you’re looking for a crowd-pleasing appetizer, a simple side dish, or just a delicious snack to enjoy on a cozy night in, look no further.
If you loved this recipe, be sure to check out my other bread recipes, like my easy no-knead bread or my cheesy herb biscuits. And don’t forget to leave a comment below and let me know how your Cheesy Garlic Bites turned out! I can’t wait to hear your variations and tips. Happy baking!


