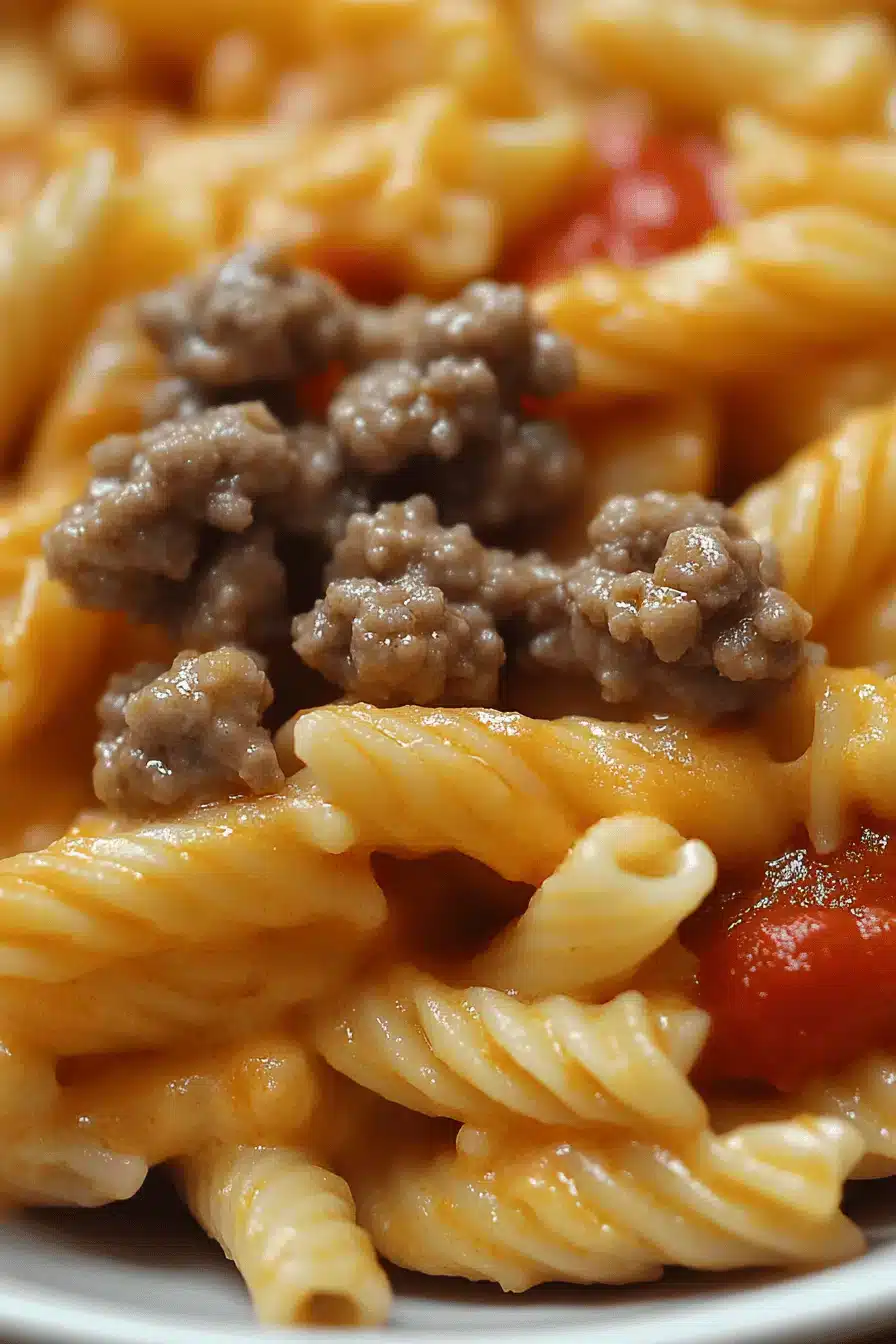
You know those nights? The ones where the clock is ticking, the fridge looks a bit bare, and the thought of a full-blown sit-down dinner feels like a marathon? Yeah, I’ve been there more times than I can count! That’s exactly why I’m so thrilled to share this cheeseburger pockets recipe with you today. It’s a total game-changer, seriously. Picture this: a fluffy, tender pocket of dough, bursting with savory, cheesy, Ground Beef filling. It’s like your favorite classic cheeseburger got a cozy, portable makeover, and honestly, it’s even better. Forget complicated steps or fancy ingredients; this is pure, unadulterated comfort food that’s surprisingly easy to whip up. If you love the idea of quick breads or savory hand pies, you’re going to adore these. They’re a staple in my kitchen now, especially when I need something quick, satisfying, and utterly delicious that the whole family will devour. It’s the perfect answer to that “what’s for dinner?” question that hits just before sundown.
Thank you for reading this post, don't forget to subscribe!What Is A Cheeseburger Pocket?
So, what exactly are these magical cheeseburger pockets? Think of them as little parcels of pure joy! At their heart, they’re a simple, soft dough encasing a rich, flavorful cheeseburger filling. It’s not a fried dough, and it’s not a traditional pastry. Instead, it’s more akin to a very tender, slightly enriched quick bread batter that bakes up incredibly soft and slightly chewy. The magic happens when you combine that comforting dough with the savory goodness of seasoned Ground Beef, melted cheese, and maybe a hint of onion or pickle. They’re designed to be handheld, making them perfect for busy weeknights, a fun lunchbox surprise, or even a relaxed weekend brunch. It’s the ultimate fusion of a beloved comfort food – the cheeseburger – and the convenience of a baked pocket, giving you all the flavors you crave in a wonderfully dippable, bite-sized package. It’s simple, satisfying, and utterly delicious.
Why you’ll love
There are so many reasons why this cheeseburger pockets recipe has become a permanent fixture in my recipe rotation, and I just know you’re going to love it too. First off, the flavor is just out of this world. That combination of savory Ground Beef, gooey melted cheese, and that soft, slightly sweet dough is pure comfort. It tastes like a classic cheeseburger, but somehow elevated and even more satisfying. Then there’s the simplicity. Honestly, if you can stir ingredients together, you can make these! The dough comes together in a flash, and the filling is as straightforward as browning some meat. It’s a lifesaver on those evenings when you’re pressed for time but still want a home-cooked meal that feels special. And let’s talk about budget-friendliness. The ingredients are super common, affordable pantry staples, making this a fantastic option for feeding a crowd without breaking the bank. What I love most, though, is the versatility. While they are absolutely divine as is, you can customize them endlessly. Add a pinch of garlic powder to the dough, some chopped dill pickles to the filling, or even a swirl of sriracha for a kick. They’re just as good for a hearty breakfast as they are for a quick dinner or a satisfying snack. This recipe is a true winner because it checks all the boxes: delicious, easy, affordable, and adaptable. It’s the kind of dish that makes you feel like a kitchen hero without all the fuss!
How do you make cheeseburger pocket
Quick Overview
The process for making these cheeseburger pockets is surprisingly simple and incredibly rewarding. You’ll start by whisking together a quick, soft dough, then prepare a savory cheeseburger filling. The two components are then combined – the filling nestled within the dough – and baked until golden brown and utterly irresistible. The beauty of this recipe lies in its minimal fuss and maximum flavor payoff. You don’t need any special equipment, just a bowl, a skillet, and your oven. It’s designed for busy cooks who want a delicious, homemade meal without spending hours in the kitchen. Trust me, the aroma that fills your house as these bake is just heavenly!
Ingredients
For the Main Batter:
You’ll need all-purpose flour – about 2 cups to start, and you might need a little extra for dusting. Make sure your flour is fresh for the best texture. I always use unbleached all-purpose flour because I find it gives a nice structure. Baking powder is crucial for that lovely rise, so make sure yours isn’t expired! A teaspoon should do the trick. Salt is a must for flavor, just half a teaspoon will bring out all the other tastes. And for a little richness and tenderness, a tablespoon of granulated sugar. Don’t skip it; it really helps with the browning and the overall texture.
For the Filling:
This is where the cheeseburger magic happens! You’ll want about a pound of Ground Beef. I usually opt for 80/20 or 85/15 because a little fat equals more flavor. You’ll also need half a medium onion, finely diced, so it melts into the filling beautifully. A generous cup of shredded cheddar cheese is essential – sharp or mild, it’s up to you! I love a sharp cheddar for an extra punch. Seasonings are key: salt and freshly ground black pepper to taste, and a teaspoon of garlic powder for that classic cheeseburger vibe. Some people like to add a tablespoon or two of ketchup and mustard right into the filling, which I highly recommend for that authentic burger taste. A splash of Worcestershire sauce adds a nice depth, too.
For the Glaze:
This is optional but highly recommended for that extra sheen and flavor boost. A simple egg wash made from one large egg beaten with a tablespoon of water works beautifully. It gives them a gorgeous golden-brown crust. If you don’t have an egg, a little melted butter brushed on top after baking is also delicious.
“Made the cheeseburger pockets recipe tonight and wow — perfect weeknight dinner. Will definitely make again!”
Step-by-Step Instructions
Step 1: Preheat & Prep Pan
First things first, let’s get your oven preheated to 375 degrees Fahrenheit (190 degrees Celsius). While the oven is warming up, line a large baking sheet with parchment paper. This is a lifesaver for easy cleanup, I always use it! Make sure you have enough space for all your pockets; they need a little room to breathe while they bake.
Step 2: Mix Dry Ingredients
In a large mixing bowl, whisk together the flour, baking powder, salt, and sugar. Give it a good whisk to make sure everything is evenly distributed. This ensures your pockets will rise evenly and have a consistent flavor throughout. I like to do this first to make sure all the dry components are perfectly blended before we introduce any wet ingredients.
Step 3: Mix Wet Ingredients
In a separate medium bowl, whisk together your milk and melted butter (or oil). Make sure the butter isn’t too hot, or it might cook the milk. We want everything to be well combined and smooth. This is where the magic starts to happen, creating the base for our tender dough.
Step 4: Combine
Pour the wet ingredients into the bowl with the dry ingredients. Using a wooden spoon or a spatula, stir gently until just combined. Be careful not to overmix! A few streaks of flour are okay. Overmixing can lead to tough pockets, and we definitely don’t want that. You’re looking for a soft, slightly sticky dough. If it seems too wet, you can add a tablespoon more flour at a time, but err on the side of slightly sticky; it makes for a tender crumb.
Step 5: Prepare Filling
While the dough rests for just a moment, let’s get that delicious filling ready. Heat a large skillet over medium-high heat. Add the Ground Beef and cook, breaking it up with a spoon, until it’s nicely browned. Drain off any excess grease – this is important for preventing soggy pockets! Add the finely diced onion to the skillet and cook until softened, about 3-4 minutes. Stir in the garlic powder, salt, and pepper. If you’re adding ketchup, mustard, or Worcestershire sauce, stir them in now. Cook for another minute until everything is well combined and fragrant. Remove the skillet from the heat and stir in the shredded cheddar cheese until it’s melted and gooey. Taste and adjust seasonings if needed. You want this filling to be super flavorful!
Step 6: Layer & Swirl
Now for the fun part! Turn the dough out onto a lightly floured surface. Gently pat or roll it out into a rectangle, about ½ inch thick. Don’t worry about perfect edges. Spoon the cheeseburger filling evenly over one half of the dough rectangle, leaving about a ½-inch border. Now, gently fold the other half of the dough over the filling, like you’re closing a book. Press the edges firmly to seal, then use a fork to crimp them all around. This is crucial to keep that yummy filling inside!
Step 7: Bake
Carefully transfer the folded dough pockets onto your prepared baking sheet. Brush the tops with the egg wash (or melted butter) for that beautiful golden sheen. Bake in your preheated oven for 20-25 minutes, or until the pockets are puffed up, golden brown, and cooked through. The exact time will depend on your oven, so keep an eye on them. You want them to look gloriously baked!
Step 8: Cool & Glaze
Once they’re out of the oven, let the cheeseburger pockets cool on the baking sheet for about 5-10 minutes. This allows them to set up a bit. If you’re using a glaze, you can brush it on now while they’re still warm, or save it for serving. Honestly, they’re so good even without a glaze, but it does add a lovely finish.
“Packed with flavor and so simple. Exactly what I wanted from this cheeseburger pockets recipe!”
Step 9: Slice & Serve
These are best served warm! You can either slice them into portions or serve them whole. They are perfect for dipping into your favorite sauces like ketchup, mustard, or even a special burger sauce. The smell alone will have everyone gathering in the kitchen!
What to Serve It With
One of the things I adore about these cheeseburger pockets is how incredibly versatile they are. They truly fit into any mealtime scenario you can dream up! For a cozy breakfast, they’re fantastic served alongside a fresh fruit salad and a steaming mug of coffee. The savory filling is surprisingly satisfying to start the day with. If you’re planning a weekend brunch, these pockets add a fun, unexpected element to the table. Imagine them alongside some crispy bacon, scrambled eggs, and maybe a pitcher of mimosas – pure bliss! And for dessert? While they’re savory, they’re so comforting that they can absolutely satisfy a sweet craving, especially when paired with a light, refreshing drink like iced tea. My favorite way to enjoy them for a cozy snack is simply piled onto a plate with a dollop of sour cream or ranch dressing. My kids also love them for an after-school snack, especially when dipped in ketchup. We’ve even packed them for picnics, and they hold up wonderfully! It’s a dish that brings smiles to the table, no matter the occasion.
Top Tips for Perfecting Your Cheeseburger Pockets
Over the years, I’ve learned a few tricks that make these cheeseburger pockets absolutely perfect every single time. For the filling, I can’t stress enough the importance of draining the ground beef well. Any extra grease can make the dough soggy, and nobody wants a greasy pocket! Also, dicing the onion very finely ensures it becomes tender and sweet, almost disappearing into the meat, rather than leaving large, raw-tasting chunks. For the dough, the absolute key is *not* to overmix. Seriously, stop stirring as soon as you don’t see large dry flour patches. A slightly lumpy batter is exactly what we’re going for; it leads to a much more tender and fluffy final product. If your dough feels too sticky to handle when you’re patting it out, don’t be tempted to just dump loads of flour on it. Instead, lightly flour your hands and your work surface. A little bit of flour on your hands is usually enough to manage a slightly sticky dough without making it tough. When you’re sealing the pockets, really press those edges together firmly. The fork crimping is great for a decorative seal, but giving the edges a good pinch and press first will prevent any delightful filling from escaping during baking. I learned this the hard way after a few “leaky” pockets that still tasted amazing, but weren’t as pretty! For baking, ovens can be finicky. My advice is to start checking around the 20-minute mark. If the tops are browning beautifully but the inside seems doughy, you can loosely tent them with foil to prevent the top from burning while the inside finishes cooking. And a little secret? If you have extra time, letting the dough rest for about 10-15 minutes after mixing it, before you pat it out, can make it even more pliable and easier to work with.
Storing and Reheating Tips
These cheeseburger pockets are so good, they rarely last long in my house, but when they do, I’ve got a few go-to methods for keeping them delicious. For short-term storage, I usually just pop them into an airtight container at room temperature. They’ll stay fresh and tasty for about two days this way, which is perfect for grabbing one for a quick snack. If you know you won’t finish them within a couple of days, or if you live in a very warm climate, the refrigerator is your best bet. Store them in an airtight container or wrap them tightly in plastic wrap, and they should keep well for up to 4 days. The flavor actually tends to meld and deepen a bit in the fridge, which is a nice bonus. For longer storage, freezing is a fantastic option. Let the baked pockets cool completely, then wrap each one individually and tightly in plastic wrap, followed by a layer of aluminum foil or placing them in a freezer-safe bag. They can be stored in the freezer for up to 2-3 months. When you’re ready to enjoy them, you can thaw them overnight in the refrigerator. To reheat, I usually pop them in a toaster oven or a regular oven at around 300°F (150°C) for about 10-15 minutes, or until heated through. Microwaving is the fastest option, but can sometimes make the dough a little chewier, so a quick blast for 30-60 seconds is usually best to just warm them up. If you plan to freeze them, I generally recommend baking them without the glaze. You can add a fresh egg wash or butter glaze after reheating for the best presentation and flavor!
Frequently Asked Questions
Final Thoughts
So there you have it, my friends – the recipe for cheeseburger pockets that I truly believe will become a cherished favorite in your kitchen, just like it is in mine. It’s more than just a meal; it’s a little taste of comfort, a solution for those crazy busy evenings, and a guaranteed crowd-pleaser. The way that soft dough hugs the savory, cheesy filling is just pure magic, and the best part is how incredibly simple it all is. I hope you’ll give this cheeseburger pockets recipe a try and experience that same joy and satisfaction I get every time I make them. If you love this, you might also enjoy my recipe for [Link to another related recipe, e.g., “Quick Cheesy Garlic Breadsticks”] or my [Link to another related recipe, e.g., “Easy Chicken Pot Pie Muffins”] for more delightful handheld comfort food. I can’t wait to hear how yours turn out! Please leave a comment below and tell me about your creations, your favorite variations, or any fun family moments these pockets inspire. Happy baking, and enjoy every delicious bite!

Cheeseburger Pockets Recipe
Ingredients
Dough
- 2.5 cups all-purpose flour
- 1 teaspoon sugar
- 0.5 teaspoon salt
- 1 teaspoon active dry yeast
- 1 cup warm milk
- 0.25 cup butter, melted
Filling
- 1 pound ground beef
- 0.5 cup chopped onion
- 0.5 teaspoon garlic powder
- 1 teaspoon salt
- 0.5 teaspoon black pepper
- 1 cup shredded cheddar cheese
- 0.25 cup ketchup
- 2 tablespoon relish
Egg Wash
- 1 egg beaten
- 1 tablespoon water
Instructions
Preparation Steps
- In a large bowl, combine flour, sugar, salt, and yeast. Gradually add warm milk and melted butter. Mix until a dough forms.
- Knead the dough on a floured surface for about 8-10 minutes until smooth and elastic. Place in a greased bowl, cover, and let rise in a warm place for 1 hour.
- While the dough rises, brown the ground beef in a skillet over medium-high heat. Drain off any excess grease. Stir in onion, garlic powder, salt, and pepper. Cook until onion is tender.
- Remove from heat and stir in shredded cheese, ketchup, and relish. Set aside.
- Preheat oven to 375°F (190°C). Line a baking sheet with parchment paper.
- Punch down the risen dough and divide it into 8 equal portions. Roll each portion into a ball. Flatten each ball into a circle about 6 inches in diameter.
- Spoon about 1/4 cup of the meat filling onto one half of each dough circle. Fold the other half of the dough over the filling and pinch the edges to seal, forming a pocket.
- Place the pockets on the prepared baking sheet. Brush the tops with the egg wash.
- Bake for 15-20 minutes, or until golden brown.


