Banana Split Dump Cake: The Dessert That Sneaks In Like a Secret Weapon
Oh, sweet summer. It’s not just about lazy days and sunburnt shoulders (well, okay, maybe that too). For me, it’s the season of ripe bananas and spontaneous dessert cravings that can’t be ignored. And right at the top of my list? This Banana Split Dump Cake. Yes, you heard that right—dump cake. I know what you’re thinking, “Dump cake? Sounds like something you’d serve to a confused raccoon.” But trust me, this isn’t your grandma’s throw-it-in-the-pan-and-pray variety. No, this one is pure magic. It’s the kind of dessert that looks deceptively simple but tastes like pure heaven. One bite and you’ll understand why it’s been a staple at family gatherings for generations. So grab a fork, because we’re diving into the glorious world of this ridiculously easy, utterly delicious, and secretly impressive dessert.
Thank you for reading this post, don't forget to subscribe!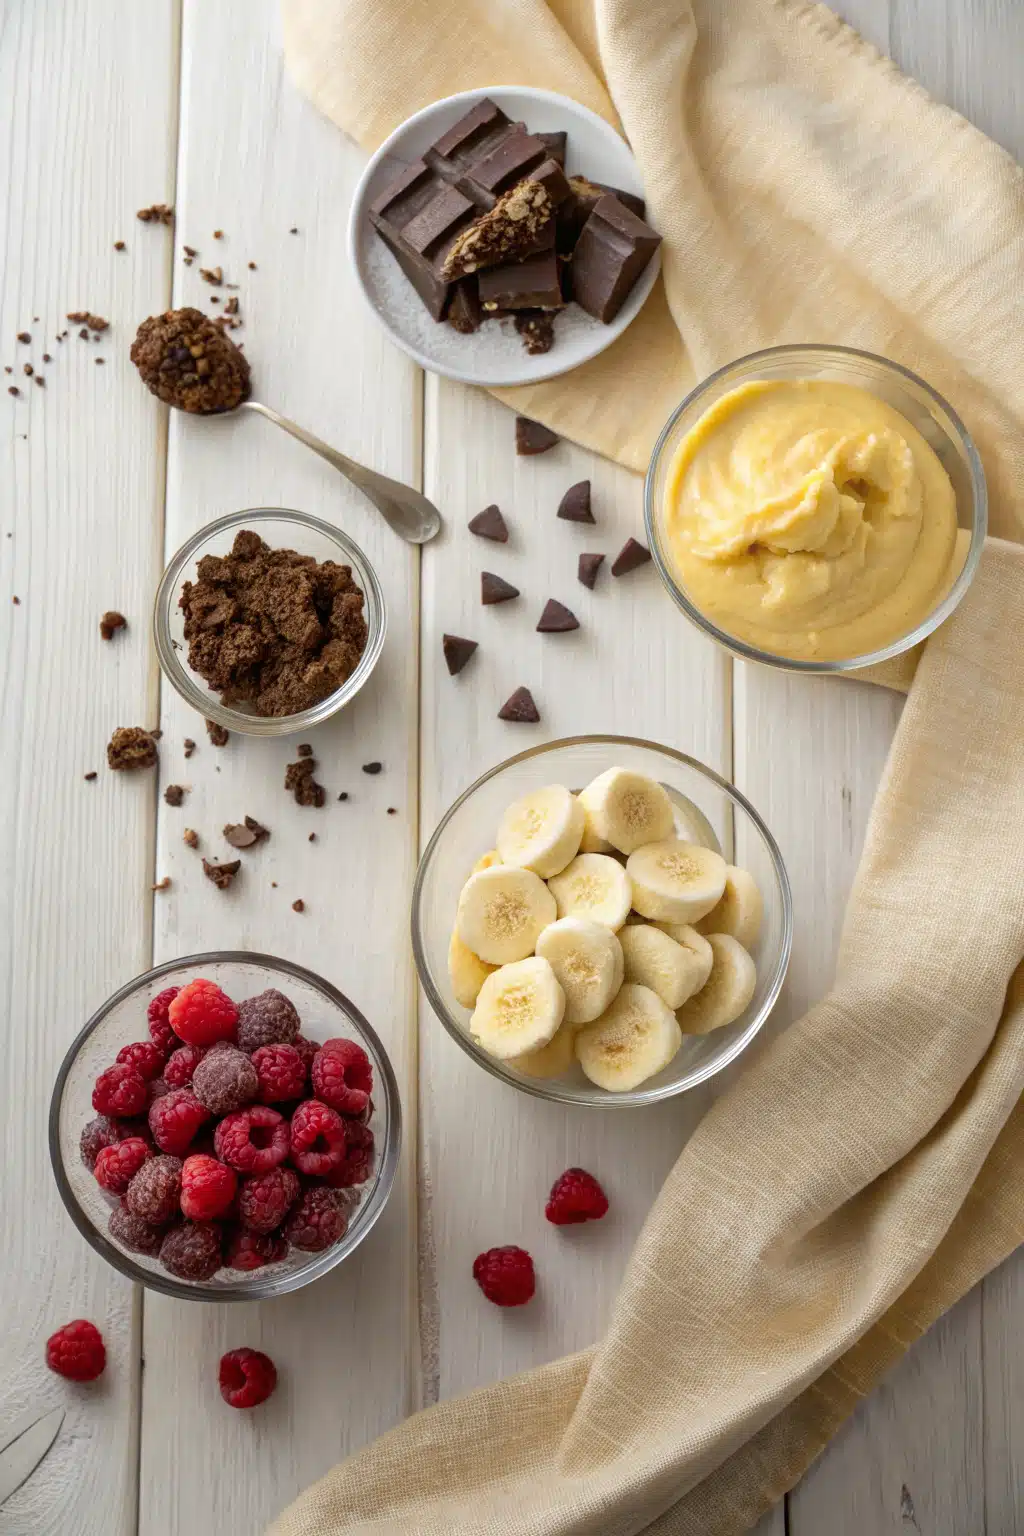
What Is Banana Split Dump Cake?
So, what exactly *is* a Dump Cake? Picture this: a no-fuss, no-muss dessert where you literally just pour your ingredients into a baking dish—no mixing, no kneading, no stress. You “dump” the ingredients on top of each other, pop it in the oven, and let the magic happen. It’s the ultimate kitchen hack for when you want something sweet and comforting without all the effort.
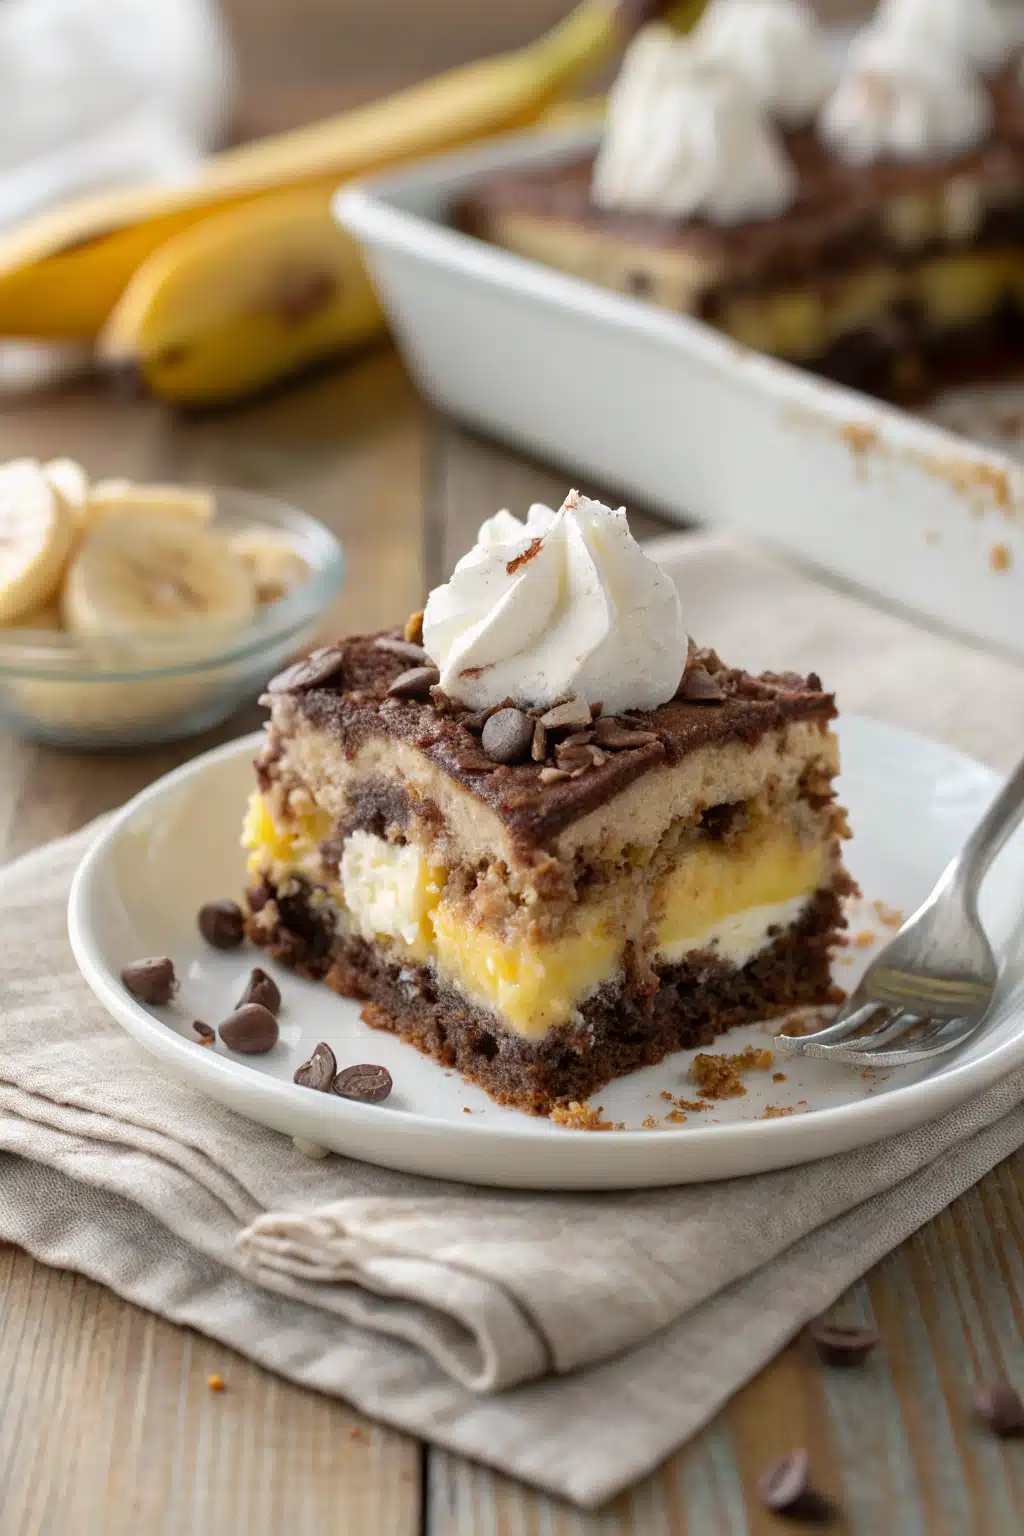
Now, take that concept and flavor it with the nostalgic taste of a banana split—think vanilla, chocolate, pineapple, and those little cherry swirls. That’s our Banana Split Dump Cake. It’s a layer of graham cracker crust, then a creamy vanilla pudding mix, topped with sliced bananas and canned pineapple. A generous scoop of chocolate frosting goes on next, followed by another layer of pudding, and finally, a sprinkle of mini marshmallows or cherries for that classic banana split finish. When it bakes, everything melds together into a gooey, moist, and absolutely irresistible dessert that tastes like childhood summers and lazy afternoons.
Why You’ll Love This Recipe
This isn’t just a recipe; it’s a guaranteed crowd-pleaser that feels like a hug in a bowl. First off, the effortless preparation. There’s no rolling out dough or whipping cream. Just open a few cans, pour them in, and bake. It’s perfect for busy weeknights, last-minute get-togethers, or when you simply don’t feel like spending hours in the kitchen.
But the real magic lies in the flavor explosion. Each bite is a symphony of textures and tastes. The crunchy graham cracker base gives way to the creamy, melt-in-your-mouth vanilla layer, which cradles juicy banana and sweet pineapple chunks. Then, the decadent chocolate frosting adds a rich, velvety depth, while the mini marshmallows puff up into soft clouds or the cherries add a tangy pop. It’s a perfect balance of sweet, tangy, and comforting.
And let’s talk about presentation. Even though it starts with “dump,” the final result is stunningly beautiful. The layers are distinct, the colors vibrant, and it always looks like you spent hours crafting it. Yet, it’s ready in under an hour. That’s a win-win in my book!
Plus, it’s incredibly versatile and forgiving**. Swap the frosting for caramel if you prefer, use fresh pineapple instead of canned for a brighter flavor, or even add a scoop of Ice Cream on top for a double dessert experience. And because it’s made with common pantry staples, it’s an affordable indulgence that everyone will swoon over.
How to Make Banana Split Dump Cake
Quick Overview
Making this cake is as easy as 1-2-3! First, preheat your oven and prepare your pan. Next, layer the ingredients: start with the Graham Cracker crust, then the vanilla pudding mix, followed by the sliced bananas and pineapple. After that, dollop the chocolate frosting on top, add another layer of pudding, and finish with your choice of marshmallows or cherries. Finally, bake until bubbly and golden, then cool and serve. It’s so simple, your kids could do it (and they probably will want to)!
Ingredients
- For the Crust: 2 cups graham cracker crumbs (about 16 full sheets)
- For the Pudding Layers: 2 (3.4 oz) packages instant vanilla pudding mix
- For Fruit: 3 medium ripe bananas, sliced
- 1 (20 oz) can crushed pineapple, drained
- 1 (15 oz) can cherry pie filling (or 1 cup fresh/frozen cherries, optional)
- For Chocolate Layer: 1 (16 oz) container chocolate frosting
- Optional Toppings: 1 cup mini marshmallows or extra cherry pie filling
- For Crust: 1/2 cup unsalted butter, melted
- For Pudding: 4 cups cold milk
“Made the Banana Split Dump Cake tonight and wow — perfect weeknight dinner. Will definitely make again!”
Step-by-Step Instructions
Step 1: Preheat & Prep Pan
Preheat your oven to 350°F (175°C). Generously grease a 9×13 inch baking dish with non-stick spray or butter. This step is crucial to prevent sticking and ensure easy cleanup.
Step 2: Make the Crust
In a medium bowl, combine the graham cracker crumbs with 1/2 cup melted butter. Stir until the crumbs are evenly moistened and resemble wet sand. Press this mixture firmly into the bottom of your prepared baking dish, creating an even layer. Set aside.
Step 3: Prepare the Pudding
Prepare both packages of instant vanilla pudding according to their package directions, using 4 cups of cold milk for each. This will give you a total of four cups of pudding, which you’ll use in two layers.
Step 4: Assemble the Cake
Evenly spread one cup of the prepared vanilla pudding over the graham cracker crust. Then, arrange the sliced bananas and drained pineapple on top of the first pudding layer. Dollop the entire container of chocolate frosting over the fruit. Next, spread the remaining three cups of vanilla pudding evenly over the chocolate frosting. If desired, top with mini marshmallows or additional Cherry Pie filling for that classic banana split look.
Step 5: Bake
Bake in the preheated oven for 45-50 minutes, or until the pudding is set and the edges are lightly golden brown. The center should jiggle slightly but not be liquid.
Step 6: Cool & Serve
Allow the cake to cool completely on a wire rack before slicing and serving. This helps it set properly and makes clean cuts easier. Serve chilled, especially if you added fresh fruit.
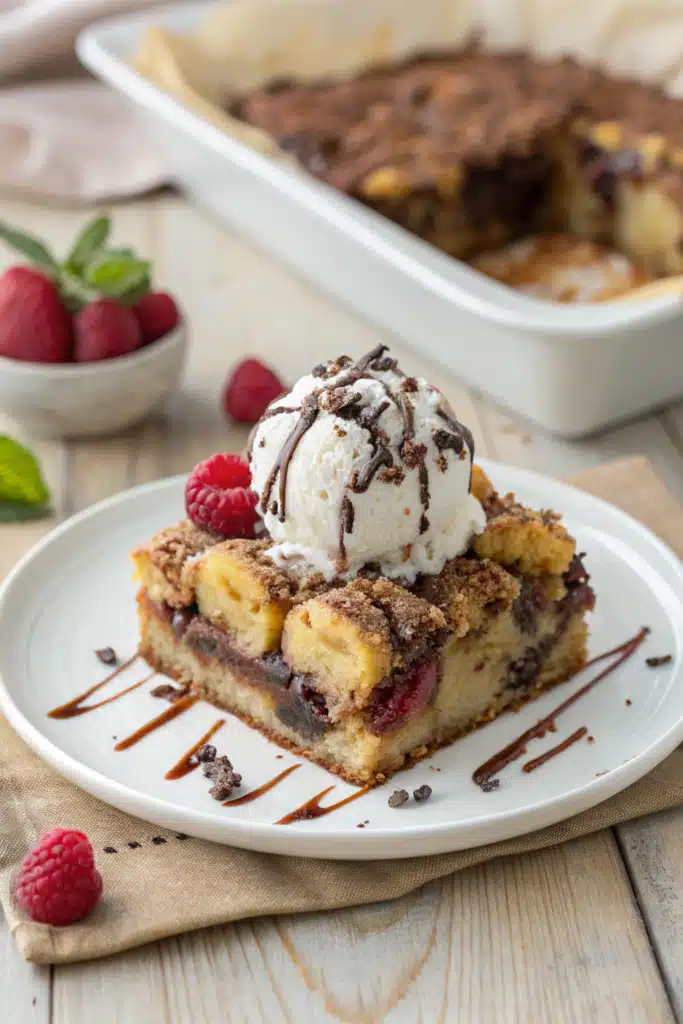
What to Serve It With
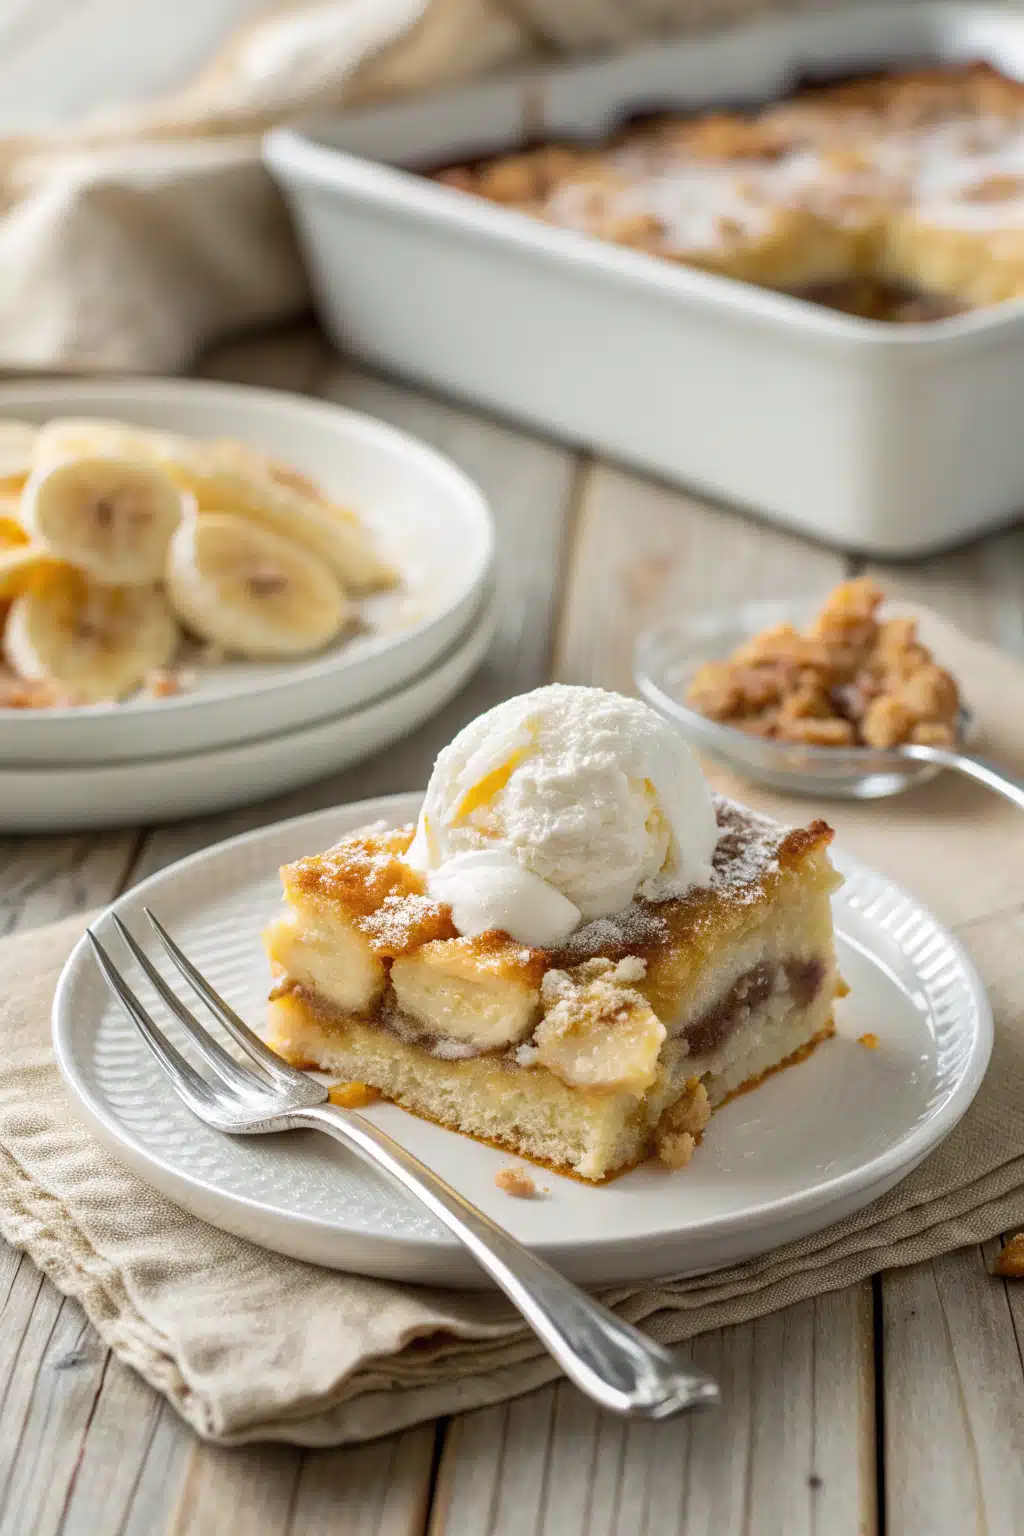
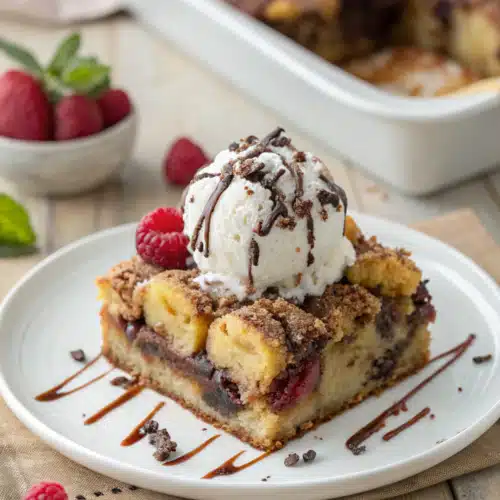
This cake is a star on its own, but a little accompaniment can elevate it to new heights. For a true banana split experience, serve slices with a generous scoop of vanilla ice cream. The cold, creamy ice cream contrasts perfectly with the warm, gooey cake. A drizzle of hot fudge sauce, caramel sauce, or even a sprinkle of cinnamon adds an extra layer of indulgence.
If you want to keep things simple, a dusting of powdered sugar or a few fresh berries on top can make it look elegant without much effort. For a festive touch, pair it with a glass of cold milk or a fruity iced tea. And don’t forget the napkins—this dessert is messy in the best possible way!
Top Tips for Perfecting Your Banana Split Dump Cake
- Banana Ripeness: Use slightly firm bananas for best results. Overripe bananas can become mushy and release too much moisture, making the cake soggy. If you only have overripe bananas, slice them very thin to minimize texture issues.
- Drain Thoroughly: Make sure to drain the pineapple completely. Excess liquid can make the cake watery. Pat it dry with a paper towel if needed.
- Layering is Key: Don’t skip spreading the pudding or frosting evenly. This ensures every bite has a balanced flavor.
- Cool Completely: Resist the urge to cut into it immediately after baking. Letting it cool allows the pudding to set properly, making it much easier to slice cleanly.
- Customize It: Feel free to experiment! Swap chocolate frosting for lemon curd or strawberry glaze. Add a layer of crushed Oreos or chocolate chips for extra richness.
Storing and Reheating Tips
Store any leftover cake covered tightly with plastic wrap or aluminum foil in the refrigerator for up to 3 days. For longer storage, freeze the cake for up to 2 months. When ready to enjoy, thaw at room temperature or reheat individual slices in the microwave for 20-30 seconds until warmed through. If you froze it, let it thaw for a few hours in the fridge first. Always bring frozen slices to room temperature before microwaving for best texture.
Frequently Asked Questions
“Packed with flavor and so simple. Exactly what I wanted from this Banana Split Dump Cake!”
Final Thoughts
There you have it, folks—a dessert that’s as easy to make as it is impossible to resist. This Banana Split Dump Cake is more than just a sweet treat; it’s a memory-maker, a comfort-food champion, and a testament to the fact that sometimes, the simplest recipes yield the most profound joy. Whether you’re hosting a dinner party, celebrating a special occasion, or just craving a little sweetness, this cake delivers in spades. It’s a slice of pure happiness that brings people together, one gooey, chocolatey bite at a time. So, roll up your sleeves, grab those ripe bananas, and get ready to create a masterpiece that will have everyone asking for your recipe. Trust me, you’ll want to keep this one close at hand for whenever that sweet tooth strikes!
Banana Split Dump Cake
Ingredients
Main Ingredients
- 18.25 oz yellow cake mix
- 21 oz cherry pie filling
- 20 oz crushed pineapple, drained
- 3 ripe bananas, sliced
- 1 cup sour cream
- 0.5 cup unsalted butter, melted
- 1 tsp vanilla extract
- 0.25 cup chopped pecans optional
- 1 quart vanilla ice cream, softened
Instructions
Preparation Steps
- Preheat oven to 350°F (175°C). Grease a 9x13-inch baking dish.
- Spread the cherry pie filling evenly over the bottom of the prepared baking dish.
- Top with drained crushed pineapple, then layer sliced bananas on top.
- In a bowl, combine the yellow cake mix, sour cream, melted butter, and vanilla extract. Stir until crumbly.
- Sprinkle the crumb mixture evenly over the fruit layer. Add chopped pecans if using.
- Bake in preheated oven for 40–45 minutes, or until golden brown and bubbly.
- Let cool slightly, then serve warm with a scoop of softened vanilla ice cream.


