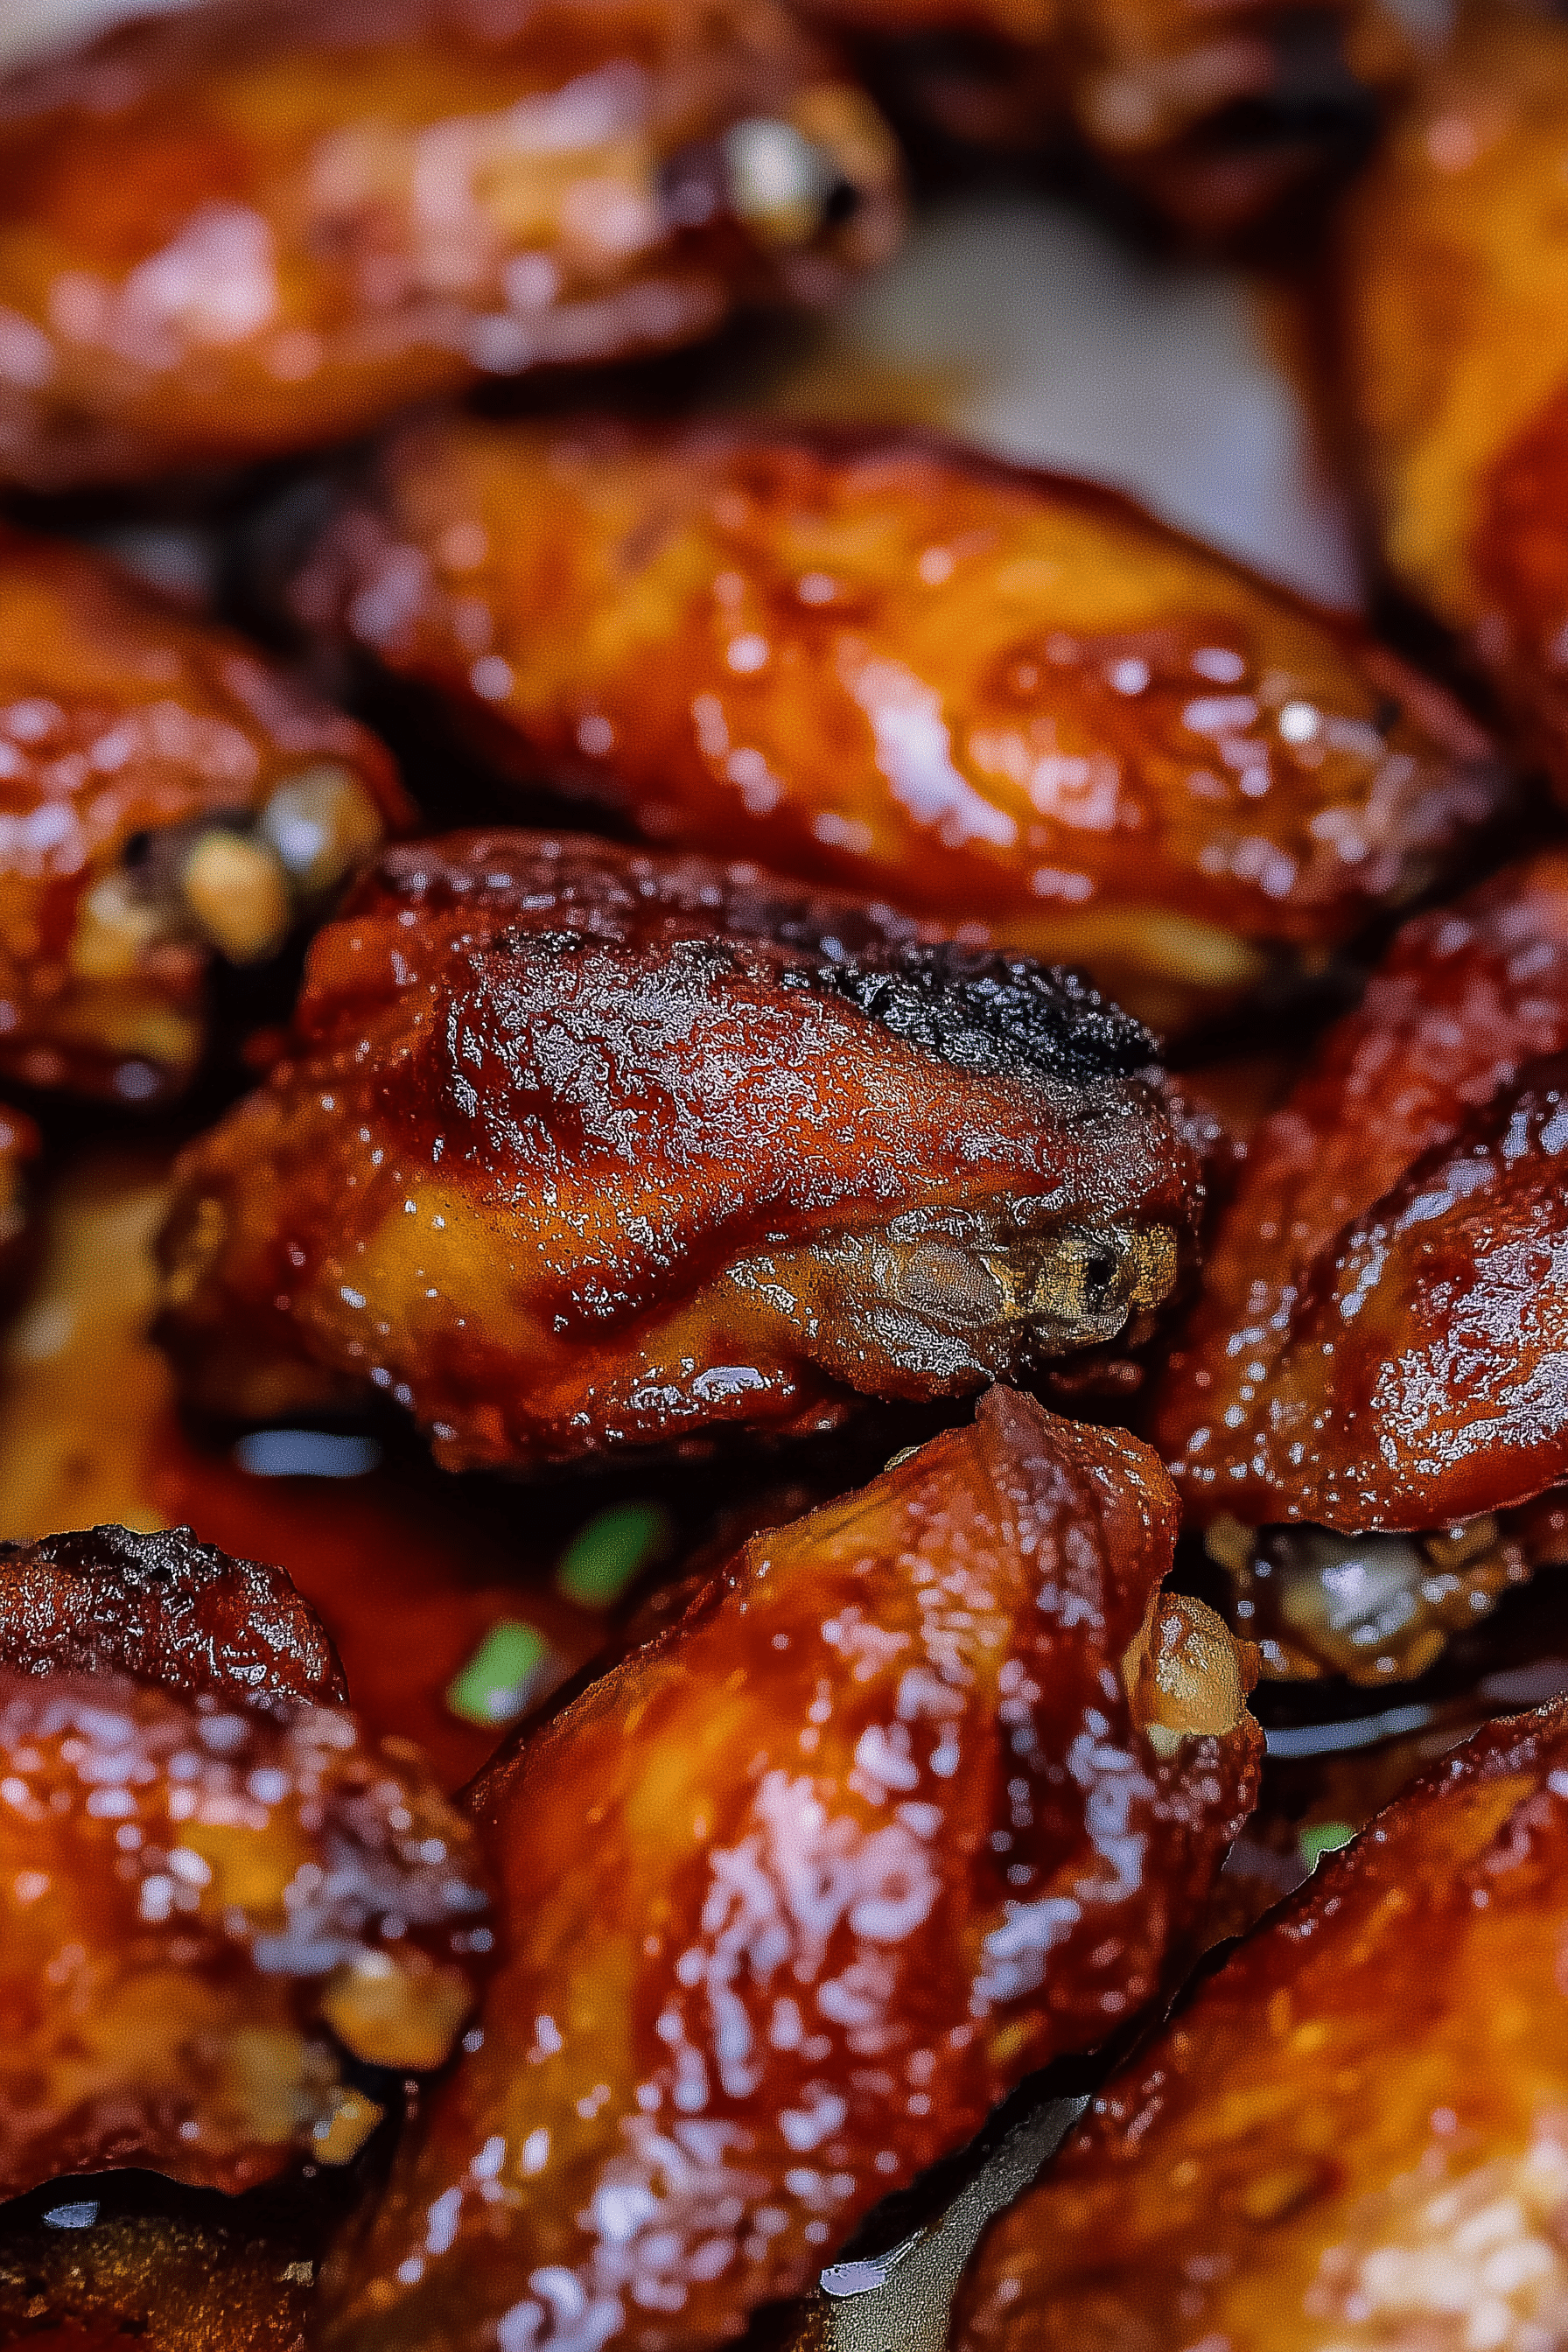
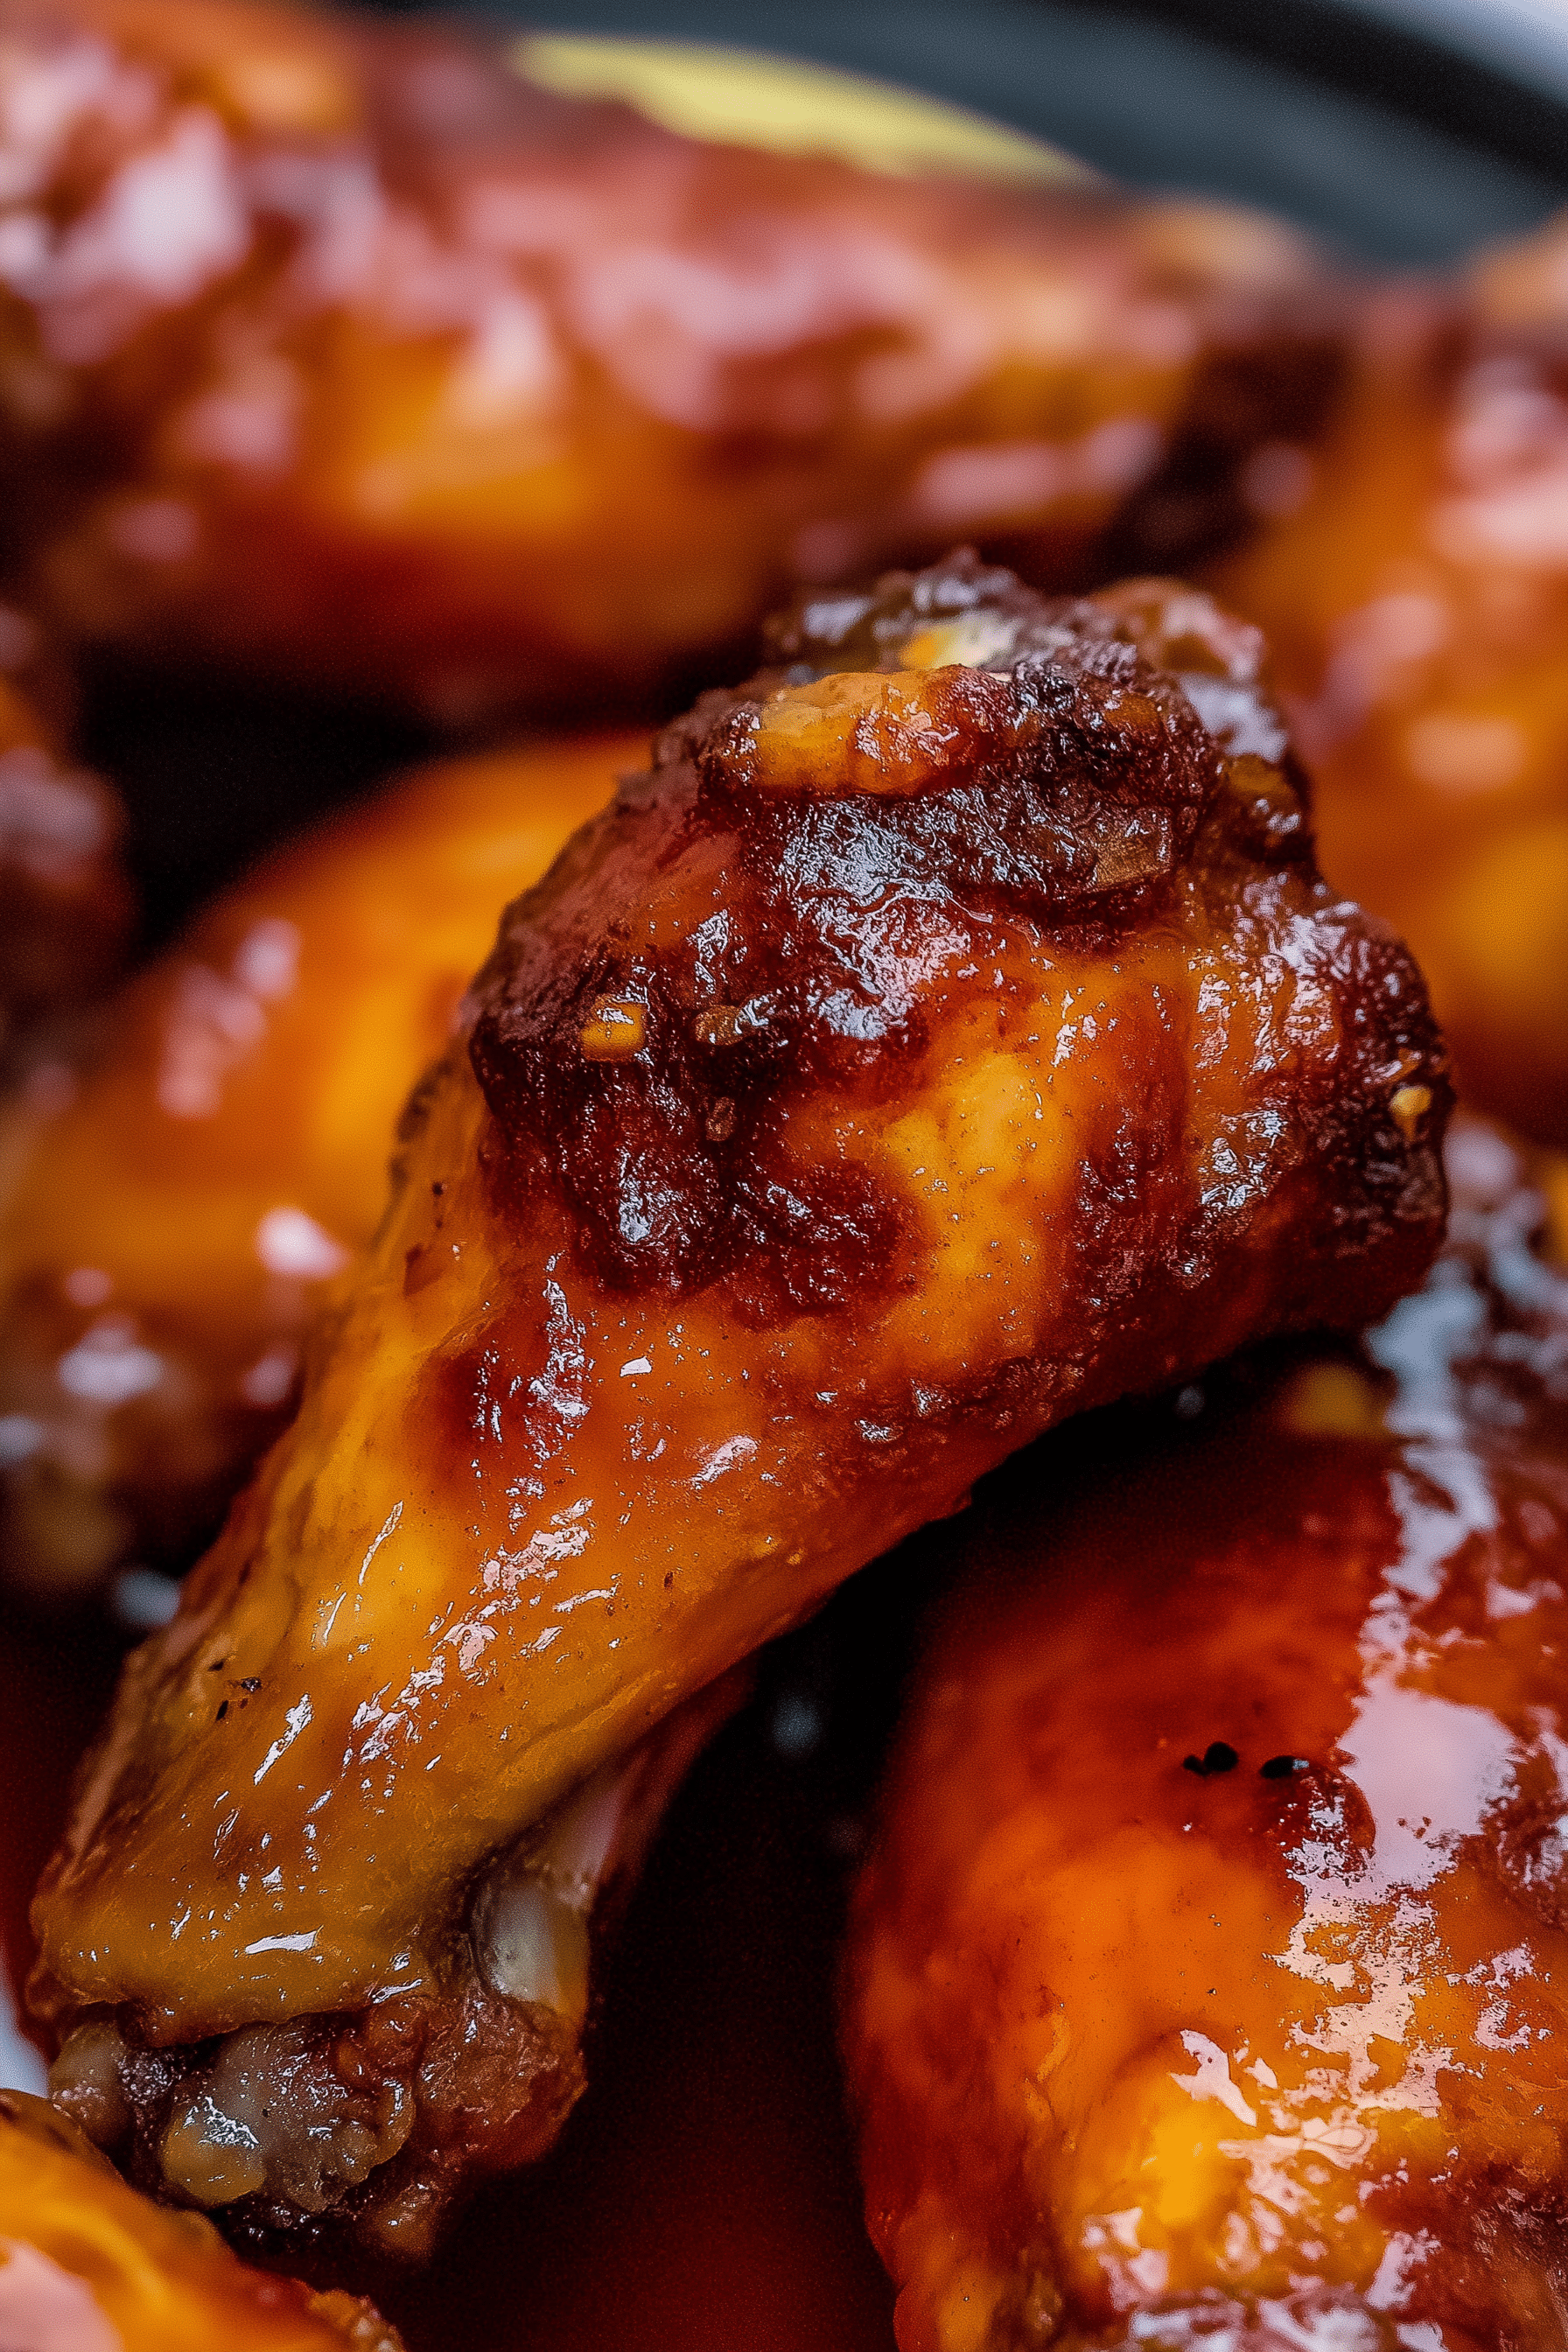
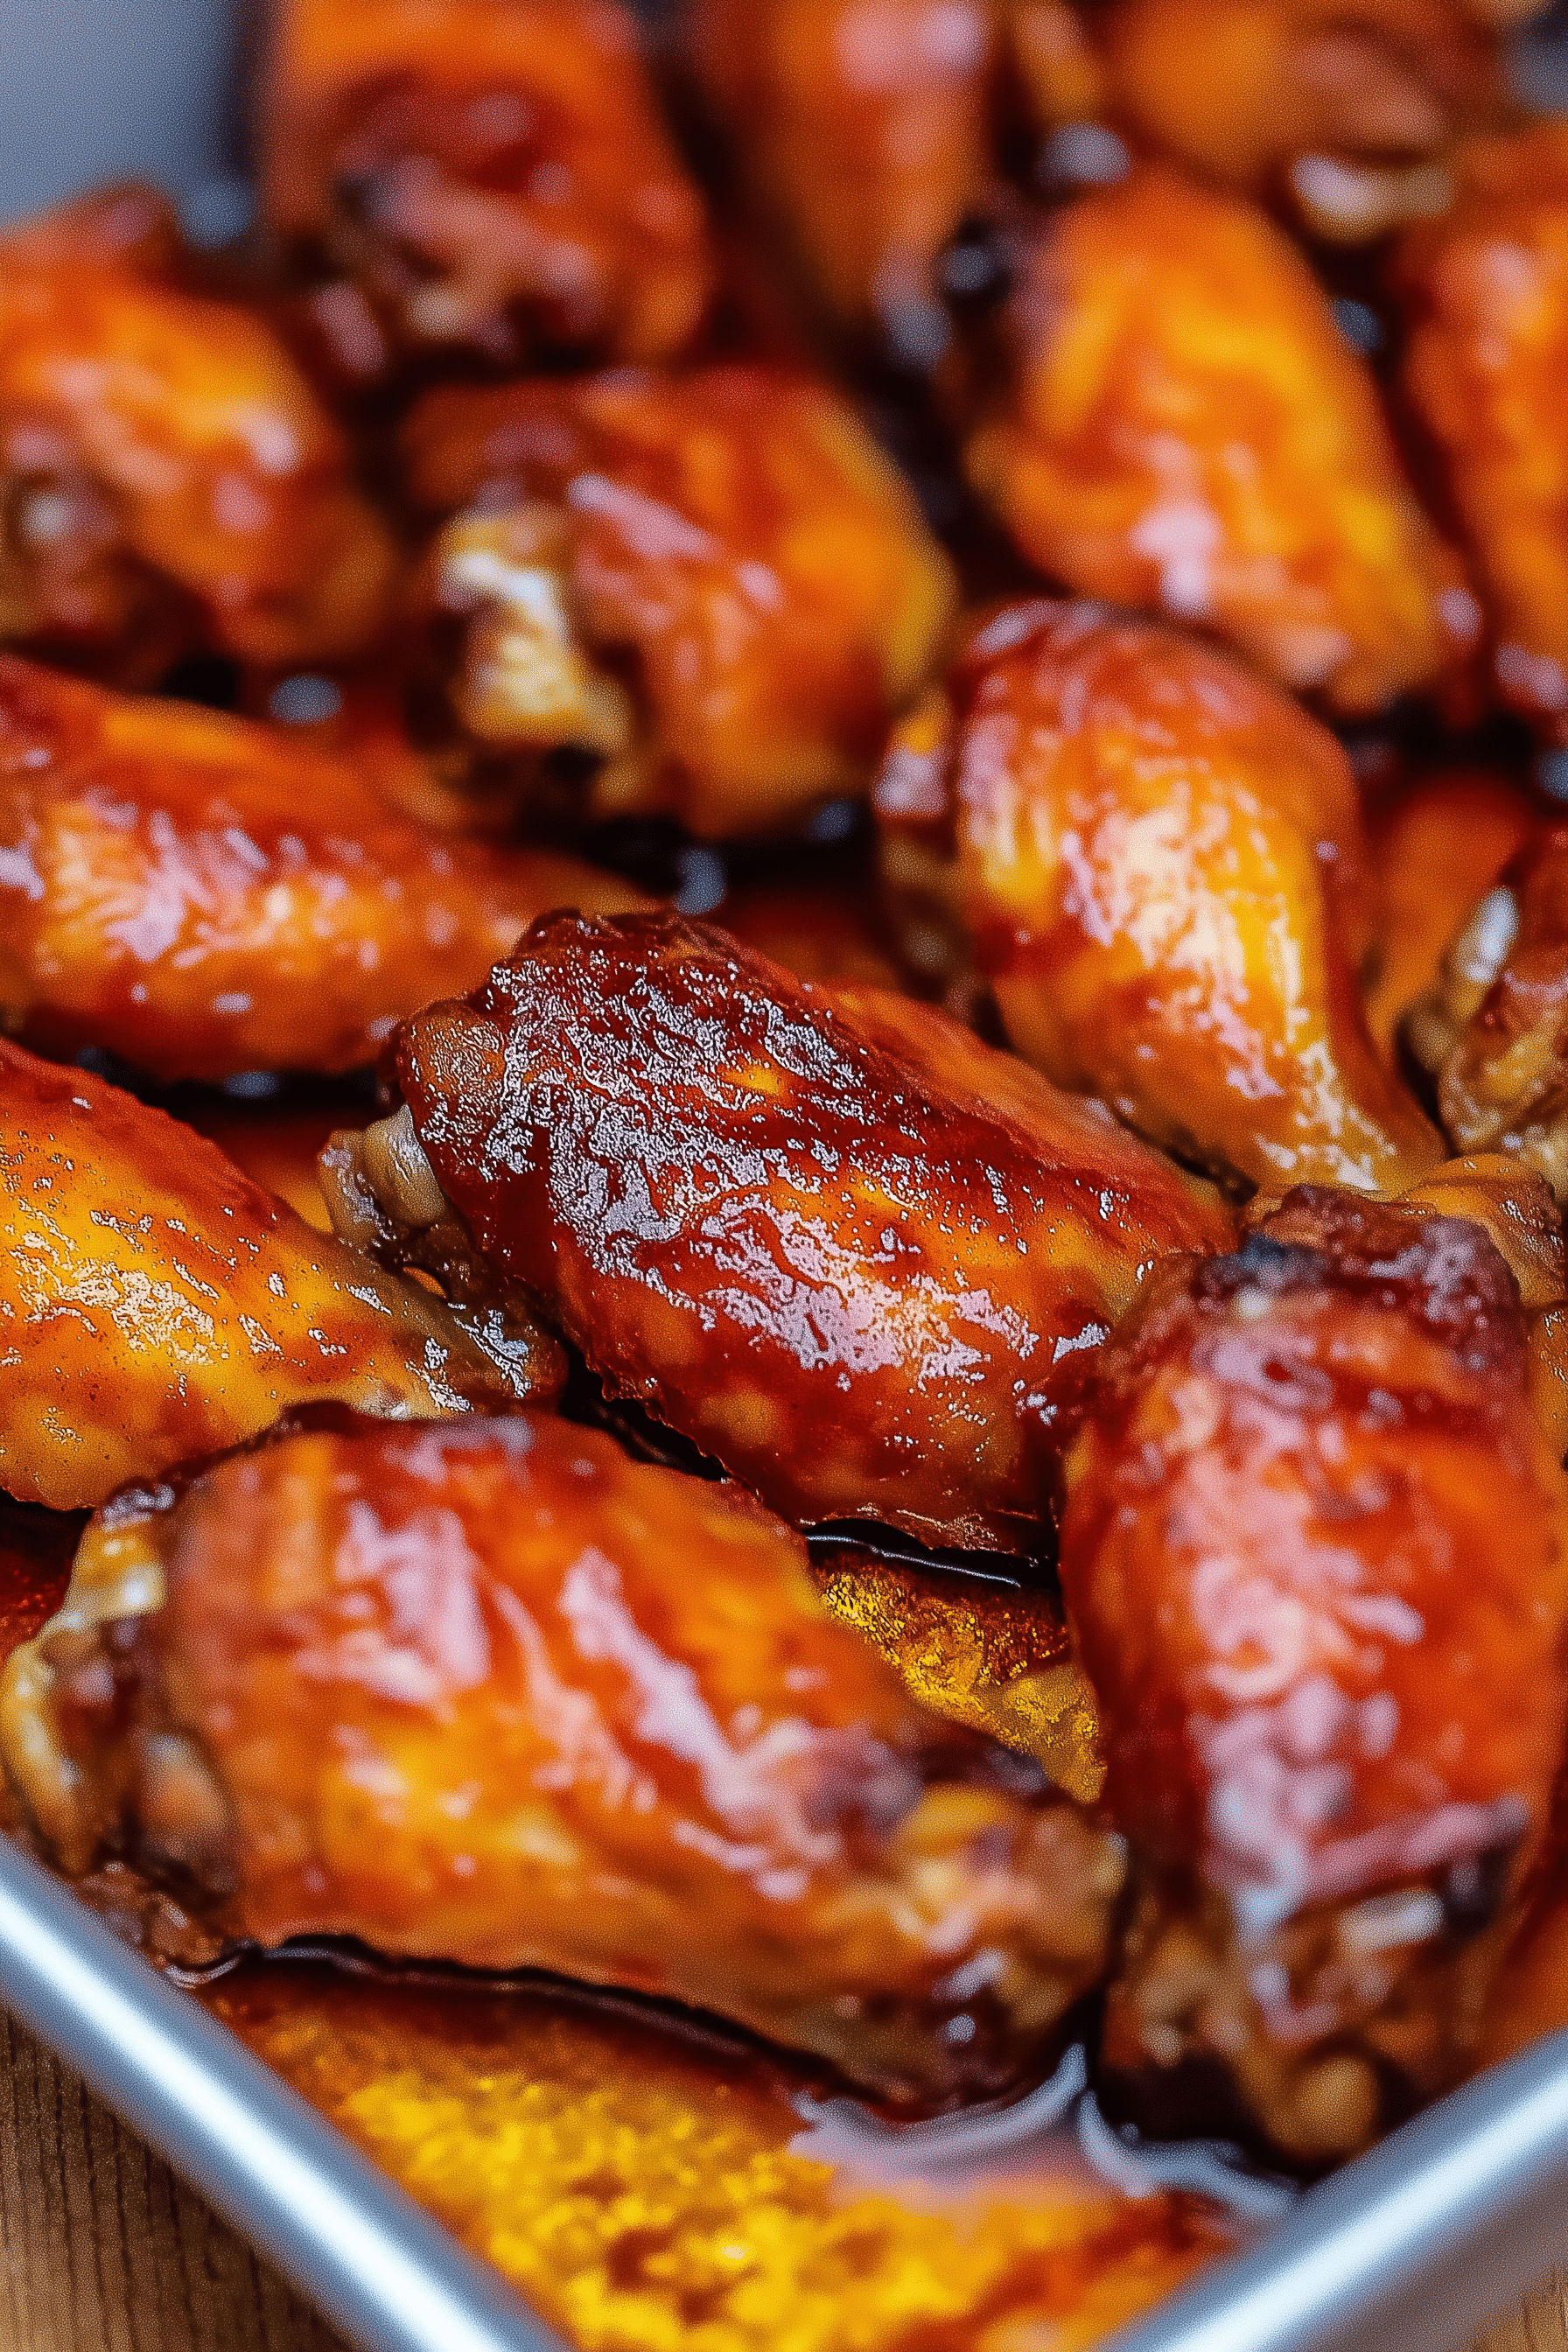
If you’re looking for the perfect combination of sweet, savory, and sticky, these Honey Garlic Chicken Wings are just what you need! With a mouthwatering honey garlic glaze, these wings are crispy on the outside and juicy on the inside. Whether you’re hosting game day, a family gathering, or just craving something delicious, these wings are guaranteed to be a hit. They’re easy to make and packed with flavor in every bite.
Why You’ll Love These Honey Garlic Chicken Wings
- Sticky and Flavorful: The honey garlic glaze is the perfect balance of sweet and savory.
- Crispy Perfection: Oven-baked or air-fried, these wings have a crisp, golden coating.
- Simple Ingredients: Made with pantry staples and fresh garlic.
- Great for Any Occasion: Perfect for parties, game day, or even a fun weeknight dinner.
- Customizable: Adjust the sweetness or spice to suit your taste!
Ingredients
- 2 lbs (900g) chicken wings (drums and flats)
- 1 tbsp baking powder (to help with crispiness)
- ½ tsp salt
- ½ tsp black pepper
- 1 tbsp olive oil
For the Honey Garlic Sauce
- ¼ cup (60ml) honey
- 3 garlic cloves, minced
- 2 tbsp soy sauce
- 1 tbsp rice vinegar (or apple cider vinegar)
- 1 tbsp ketchup (for extra richness)
- 1 tsp sriracha or hot sauce (optional, for heat)
Directions
Step 1: Prepare the Chicken Wings
- Pat the Wings Dry:
Preheat the oven to 400°F (200°C). Pat the chicken wings dry with paper towels to remove excess moisture—this helps them get crispy. - Season the Wings:
In a large bowl, toss the wings with baking powder, salt, pepper, and olive oil. The baking powder helps the wings crisp up without frying.

Step 2: Bake the Wings
- Arrange on a Baking Sheet:
Place the wings in a single layer on a baking sheet lined with parchment paper or a wire rack. - Bake:
Bake the wings for 40-45 minutes, flipping halfway through, until golden brown and crispy.
Step 3: Make the Honey Garlic Sauce
- Cook the Sauce:
While the wings are baking, make the sauce. In a small saucepan, combine honey, minced garlic, soy sauce, rice vinegar, ketchup, and sriracha (if using). Cook over medium heat for 3-5 minutes, stirring frequently, until the garlic is fragrant and the sauce thickens slightly. - Set Aside:
Remove from heat and set the sauce aside.
Step 4: Toss the Wings in Sauce
- Coat the Wings:
Once the wings are done, toss them in the honey garlic sauce until fully coated. You can do this in a large bowl or return them to the baking sheet and brush the sauce over the wings. - Optional Step for Extra Crispiness:
For even crispier wings, return the sauced wings to the oven for an additional 5-7 minutes.
Step 5: Serve
Transfer the wings to a serving platter and garnish with chopped green onions, sesame seeds, or extra sauce for dipping. Enjoy immediately!
Notes
- Air Fryer Option: Air fry the wings at 375°F (190°C) for 20-25 minutes, shaking the basket halfway through for even cooking.
- Adjust the Heat: For spicier wings, add more sriracha or a pinch of red pepper flakes to the sauce.
- No Baking Powder? You can skip the baking powder, but the wings won’t be quite as crispy.
- Storage Tips: Store leftover wings in an airtight container in the fridge for up to 3 days. Reheat in the oven to retain crispiness.
Frequently Asked Questions
Can I make these wings ahead of time?
Yes! You can bake the wings ahead of time and toss them in the sauce just before serving.
How do I get extra crispy wings?
Pat the wings dry and bake them on a wire rack for better air circulation. Also, tossing them in baking powder helps with crispiness.
Can I grill the wings instead of baking them?
Absolutely! Grill the wings over medium heat for 20-25 minutes, turning occasionally, then toss them in the sauce once done.
Can I make these wings gluten-free?
Yes! Use gluten-free soy sauce or tamari in the sauce to make the wings gluten-free.
How do I prevent the wings from getting soggy?
For crispy wings, serve them immediately after tossing in the sauce or return them to the oven for a few minutes after coating.

Tips and Notes
- My Tip: If you like a little extra tang, squeeze fresh lemon juice over the wings before serving.
- Pro Trick: Bake the wings on a wire rack over the baking sheet to allow better air circulation, ensuring even crispiness.
- Serving Suggestion: Serve with carrot sticks, celery, and ranch or blue cheese dressing for dipping.
Variations
- Honey BBQ Wings: Swap the soy sauce for BBQ sauce and follow the same steps for a sweet, smoky version.
- Spicy Honey Garlic Wings: Add more sriracha or a dash of cayenne pepper for extra heat.
- Sticky Sesame Wings: Sprinkle toasted sesame seeds on top for added texture and flavor.
- Lemon Honey Garlic Wings: Add a splash of lemon juice or zest to the sauce for a citrusy twist.
- Teriyaki Wings: Substitute soy sauce with teriyaki sauce for a sweeter, richer flavor.

Honey Garlic Chicken Wings
These Honey Garlic Chicken Wings are crispy, sticky, and packed with flavor! Perfectly baked or fried wings are tossed in a sweet and savory honey garlic sauce, making them an irresistible snack or appetizer. Whether for game day or a casual dinner, these wings are sure to be a hit!Prep Time 10 minutes minsCook Time 40 minutes mins0 minutes minsTotal Time 50 minutes minsCourse Appetizer, lunch, SnackCuisine AmericanServings 4Ingredients
For the Chicken Wings
- 2 lbs 0.9 kg chicken wings, separated into flats and drumettes
- 1 teaspoon salt
- ½ teaspoon black pepper
- 1 teaspoon garlic powder
- 1 teaspoon paprika
- 2 tablespoons cornstarch for extra crispiness, optional
For the Honey Garlic Sauce
- ¼ cup 0.06 L honey
- 3 cloves garlic minced
- 2 tablespoons 0.03 L soy sauce
- 2 tablespoons 0.03 L ketchup
- 1 tablespoon 0.03 L rice vinegar (or apple cider vinegar)
- 1 tablespoon sesame oil optional for added flavor
Instructions
Step 1: Prepare the Chicken Wings
- Preheat your oven to 400°F (200°C), or heat oil in a deep fryer to 350°F (175°C).
- In a large bowl, toss the chicken wings with salt, pepper, garlic powder, paprika, and cornstarch (if using). Ensure the wings are evenly coated.
Step 2: Bake or Fry the Wings
- To bake: Line a baking sheet with parchment paper and place a wire rack on top. Arrange the wings in a single layer on the rack. Bake for 35–40 minutes, flipping halfway, until crispy and golden brown.
- To fry: Deep-fry the wings in batches for 8–10 minutes, or until golden brown and crispy. Drain on paper towels to remove excess oil.
Step 3: Make the Honey Garlic Sauce
- While the wings cook, prepare the sauce. In a small saucepan, combine honey, minced garlic, soy sauce, ketchup, vinegar, and sesame oil.
- Bring to a simmer over medium heat and cook for 3–5 minutes, stirring occasionally, until slightly thickened. Remove from heat.
Step 4: Toss the Wings in Sauce
- Once the wings are done, place them in a large bowl and pour the warm honey garlic sauce over them. Toss to coat the wings evenly in the sauce.
Step 5: Serve and Enjoy
- Serve the honey garlic wings hot, garnished with sesame seeds or chopped green onions if desired. Pair with ranch or blue cheese dressing for dipping.
Notes
- Storage: Store leftover wings in an airtight container in the refrigerator for up to 3 days. Reheat in the oven or air fryer to restore crispiness.
- Air Fryer Option: Cook the wings in an air fryer at 400°F (200°C) for 20–25 minutes, shaking halfway through for even crisping.
- Spicy Option: Add a teaspoon of sriracha or red pepper flakes to the honey garlic sauce for a kick of heat.
- Serving Tip: Serve with celery sticks, carrot sticks, and your favorite dipping sauces for a classic wing platter.
Tried this recipe?Let us know how it was!

