There are some days, you know? The kind where the alarm feels like a personal attack, your inbox is already overflowing, and the thought of facing the day feels… well, heavy. On those mornings, I used to shuffle to the coffee maker, resigned to a bitter, predictable brew. But then, oh then, I discovered the magic of whipped coffee. It’s not just coffee; it’s a little cup of sunshine, a creamy cloud of caffeinated happiness that feels like a decadent treat but is ridiculously easy to whip up. Honestly, it’s become my go-to when I need a serious pick-me-up without any fuss. Forget those complicated latte art attempts or expensive cafe runs; this is the real deal, made right in your own kitchen, and it tastes just as good, if not better, than anything you’d get out. It’s like a hug in a mug, and I can’t wait to share it with you!
Thank you for reading this post, don't forget to subscribe!What is a whipped coffee?
So, what exactly *is* this delightful concoction called whipped coffee? You might have seen it floating around online, looking all fluffy and luxurious. At its heart, it’s a simple emulsion of instant coffee, sugar, and hot water, whipped until it becomes incredibly light, airy, and mousse-like. Think of it as a super-concentrated coffee cloud that you then dollop on top of your favorite milk. It’s often called “Dalgona coffee” too, named after a popular Korean honeycomb toffee candy because of its similar texture and color. The beauty of it is how it transforms humble instant coffee into something utterly elegant. It’s not a brewed coffee; it’s something else entirely, a delightful paradox that’s both intensely coffee-flavored and wonderfully smooth. It’s essentially instant gratification in a glass!
Why you’ll love this recipe?
Why do I love whipped coffee?flavor is just out of this world. It’s intensely coffee-forward, but that sugar and whipping process mellows out any harshness, leaving you with a smooth, rich taste that’s utterly addictive. And the texture! It’s like a fluffy cloud, a creamy dream that melts in your mouth. What I truly adore is its incredible simplicity. Seriously, you only need three main ingredients and a whisk (or an electric mixer if you’re feeling fancy!). I’ve made this on mornings when I’m barely awake, and it’s still a lifesaver. It’s also incredibly cost-efficientInstant coffee is budget-friendly, and you probably already have sugar and milk in your fridge. No fancy espresso machines or expensive beans required here! Plus,versatile. I love it over cold milk for a refreshing iced treat, but on a chilly morning, a warm mug is pure comfort. You can even play around with the sweetness and the type of milk. This recipe stands out because it delivers big on flavor and experience without demanding a lot of your time or effort. It’s the perfect sweet treat when you’re craving something delightful but don’t want to spend ages in the kitchen.
How to Make Whipped Coffee
Quick Overview
This whipped coffee is a dream because it’s so straightforward. You’ll basically be whipping a potent coffee mixture until it’s light and fluffy, then spooning it over your choice of milk. The magic happens with minimal effort, transforming basic ingredients into a luxurious beverage in just a few minutes. It’s the ultimate quick fix for a coffee craving, proving that delicious and visually stunning doesn’t have to be complicated. I always tell people, if you can stir, you can make this!
Ingredients
For the Whipped Coffee Cloud:
2 tablespoons instant coffee granules (the finer, the better!)
2 tablespoons granulated sugar (or Brown Sugar for a caramel note)
2 tablespoons hot water
For Serving:
Your favorite milk (dairy or non-dairy like almond, oat, or soy)
Ice cubes (optional, for iced coffee)
“I don’t know if I’ve ever eaten a better Whipped Coffee Craze Made Easy. The rub alone is wonderful, but the sauce??? Over the top!”
Step-by-Step Instructions
Step 1: Gather Your Tools
First things first, let’s get everything ready. You’ll need a medium-sized bowl and a whisk or an electric hand mixer. If you’re using a hand mixer, make sure it’s clean and dry. For the bowl, a metal or glass one works best as it holds the cold temperature better if you’re going for an iced version later.
Step 2: Combine the Coffee Base
In your bowl, add the instant coffee granules and the granulated sugar. Now, pour in the hot water. It doesn’t need to be boiling, just hot enough to dissolve the coffee and sugar. Think of this as the concentrated essence of your coffee.
Step 3: Whip it Good!
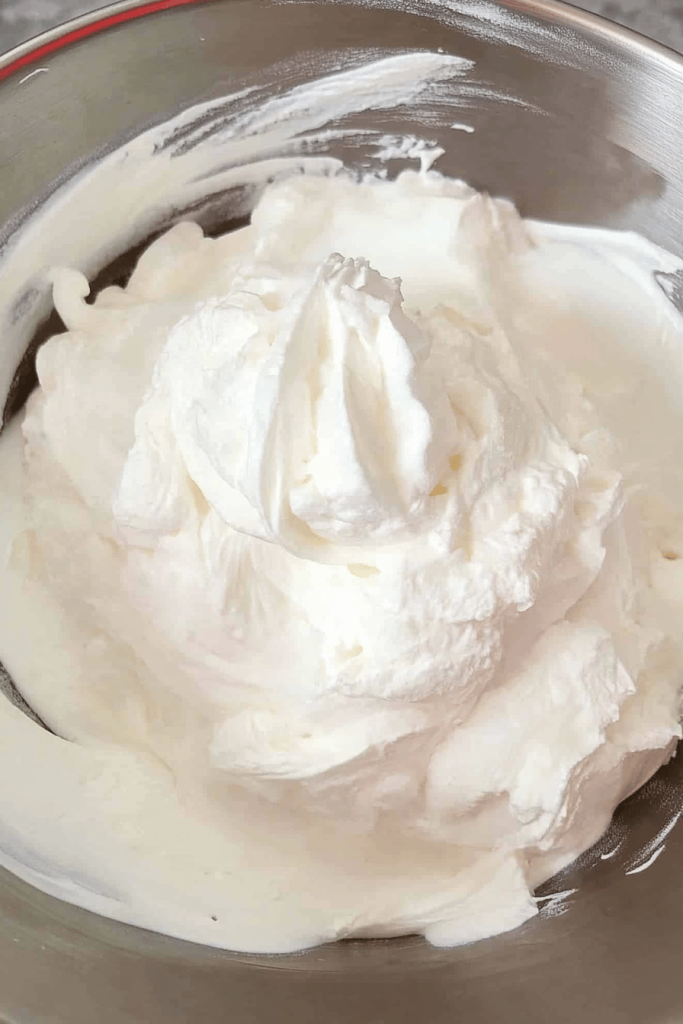
This is where the magic happens! If you’re using a hand whisk, get ready for a bit of an arm workout! Start whisking vigorously. You’ll see it start to froth and turn a lighter brown. Keep going! It might take 5-10 minutes of consistent whisking. If you’re using an electric mixer, this process is much faster, usually just 2-5 minutes. You’re looking for a texture that’s thick, glossy, and holds its shape – like stiff peaks. It should look like a light, airy mousse. If it’s still liquidy, keep whipping!
Step 4: Prepare Your Milk
While you’re whipping, or just before, pour your milk into a glass. If you’re making an iced coffee, add a few ice cubes. You can use any milk you like – regular dairy milk is classic, but I’ve found almond milk and oat milk give it an extra creamy texture that’s just divine. You can warm your milk too if you prefer a hot version.
Step 5: Dollop and Enjoy!
Once your coffee mixture is perfectly whipped, gently spoon generous dollops of it on top of your milk. Don’t stir it in right away! Let the creamy foam sit proudly on top. You can then gently swirl it in with a spoon or straw, or just enjoy it as is, letting the rich coffee cream melt into the milk as you sip.
Step 6: Admire and Sip
Take a moment to admire your creation! It looks so fancy, doesn’t it? Then, take that first sip. The contrast between the cold (or warm) milk and the rich, sweet, frothy coffee topping is just heavenly. It’s a little burst of pure joy in every gulp.
Step 7: Clean Up (the Easy Part!)
Clean up is a breeze. A quick rinse of the bowl and whisk, and you’re done. See? I told you it was easy!
“Made the Whipped Coffee Craze Made Easy tonight and wow — perfect weeknight dinner. Will definitely make again!”
What to Serve It With
This whipped coffee is so delightful on its own, but it also pairs beautifully with a few things to elevate your experience. For breakfast, it’s the perfect partner to a simple piece of toast or a small bowl of oatmeal. The sweetness and caffeine really help kickstart the day. I love it with a splash of vanilla in my milk for a subtle flavor boost. If you’re hosting brunch, this whipped coffee is a guaranteed crowd-pleaser. Serve it in pretty glasses with a dusting of cocoa powder or a sprinkle of cinnamon on top. It looks so elegant! Pair it with mini muffins or some fresh Fruit Salad. For a sophisticated dessert, I sometimes make a slightly less sweet version and serve it after dinner, maybe with a small biscotti on the side. It’s a lighter alternative to heavier desserts. And for those quiet, cozy afternoon snacks, when you just need a little treat? A glass of this whipped coffee is pure comfort. It’s perfect with a book and a comfy blanket. My family always asks for seconds, especially my daughter when she’s home from college – she swears it tastes better than anything she can buy!
Top Tips for Perfecting Your Whipped Coffee
Over the years, I’ve picked up a few tricks that make this whipped coffee even better, and I want to share them with you! First, regarding the coffee prep: always use fine instant coffee granules. Coarser ones won’t dissolve as easily, and you might end up with little coffee bits, which isn’t the smooth texture we’re going for. Some people swear by espresso powder, but regular instant coffee works just fine and is more accessible. For mixing advice, patience is key! If you’re whisking by hand, don’t give up too soon. Keep at it, and you’ll see the transformation. If it feels too thin, it just needs more whisking. The goal is a stiff, glossy peak that holds its shape. I’ve learned that over-whisking isn’t really a thing here; you’re more likely to under-whisk. When it comes to swirl customization, while this recipe is classic, feel free to experiment! You can add a tiny drop of vanilla extract or almond extract to the coffee mixture before whipping for a subtle flavor twist. Some people even add a pinch of cocoa powder, but be mindful it can affect the texture. For ingredient swaps, if you don’t have granulated sugar, Brown Sugar can add a lovely caramel note, but it might make the mixture a bit darker. For the milk, I’ve tested extensively, and while dairy milk is great, oat milk gives an amazing creaminess that rivals any cafe. Almond milk works well too, but sometimes it can be a bit thinner. For baking tips, well, this isn’t a bake, but for making it, ensure your bowl is clean and dry. Any grease can hinder the whipping process. Also, the temperature of your water matters – too cold and it won’t dissolve well, too hot and it can scald. Just good and hot is perfect. For glaze variations, if you’re feeling adventurous, a tiny bit of cinnamon or a touch of maple syrup in the milk can be lovely. But honestly, the magic is in the simple coffee foam itself!
Storing and Reheating Tips
Now, about storing any leftover whipped coffee mixture. Honestly, this stuff is best made fresh because the texture is just unparalleled right after whipping. But, if you happen to have a little extra mixture, you can store it in an airtight container in the refrigerator for about 1-2 days. The texture might deflate a bit, so you might need to give it a quick whisk or stir before spooning it over fresh milk. I wouldn’t recommend storing it at room temperature for long, as it’s an emulsion and can break down. As for freezer instructions, I haven’t found this works well frozen. It’s best to just whip up what you need. If you’re planning your whipped coffee for the week, I’d suggest whipping it each morning. The glaze timing advice for this is simple: the “glaze” is the whipped coffee itself, and it’s meant to be enjoyed immediately atop your milk. Don’t try to pre-whip and store it for days on end; the joy is in the fresh, fluffy cloud!
Frequently Asked Questions
Final Thoughts
There you have it – my absolute favorite way to make whipped coffee. It’s more than just a drink; it’s a little ritual that brings a moment of joy and luxury into my day, even when I’m rushing. The sheer simplicity, combined with that incredible creamy texture and rich coffee flavor, makes it a winner in my book. It’s proof that you don’t need to be a master barista or spend a fortune to enjoy a truly special coffee experience. I hope you give this a try and find it as delightful as I do. If you love this, you might also enjoy my recipes for [link to another coffee-related recipe, e.g., Iced Vanilla Latte] or my [link to a dessert recipe, e.g., Easy Chocolate Mousse]. Can’t wait to hear how your whipped coffee turns out! Let me know in the comments below or share your photos – I love seeing your creations!

whipped coffee
Ingredients
Main Ingredients
- 2 tablespoons instant coffee granules do not use regular coffee
- 2 tablespoons granulated sugar or your preferred sweetener
- 2 tablespoons boiling water
- 1.5 cups milk any milk, such as almond, cashew, or soy milk
- ice for serving
Instructions
Preparation Steps
- Prepare your glasses: Grab two serving glasses and fill each halfway with ice.
- Add milk: Pour the milk into the prepared glasses, filling them about three-quarters of the way up. Set aside.
- Combine whipping ingredients: In a medium-sized mixing bowl, combine the instant coffee granules, granulated sugar, and boiling water. Ensure you use a bowl large enough to allow for vigorous whisking.
- Whip the mixture: Using a hand whisk or an electric mixer, vigorously whisk the coffee mixture. It will initially be dark but will gradually lighten to a caramel color and thicken into a mousse-like consistency with strong peaks. This usually takes about 3-5 minutes with a hand whisk, or less with an electric mixer.
- Assemble and serve: Spoon the whipped coffee mixture generously over the milk in each glass. You can gently stir it into the milk before enjoying, or sip it as is.


