Okay, friends, get ready for a cookie that’s about to become … well, just like the holiday staple in your house – just as the cookie is supposed to be. Just so you know. Is it the same as mine?Peppermint Chocolate Chip Cookies: WhatAren’t chocolate cookies just a cookie? Imagine the rich, fudgy goodness of a deeply chocolatey cookie, swirled with the bright, refreshing lemon. What is the coolness of peppermin Is it true that they are infinitely more interesting? What are some of the best chocolate chip cookies?
Thank you for reading this post, don't forget to subscribe!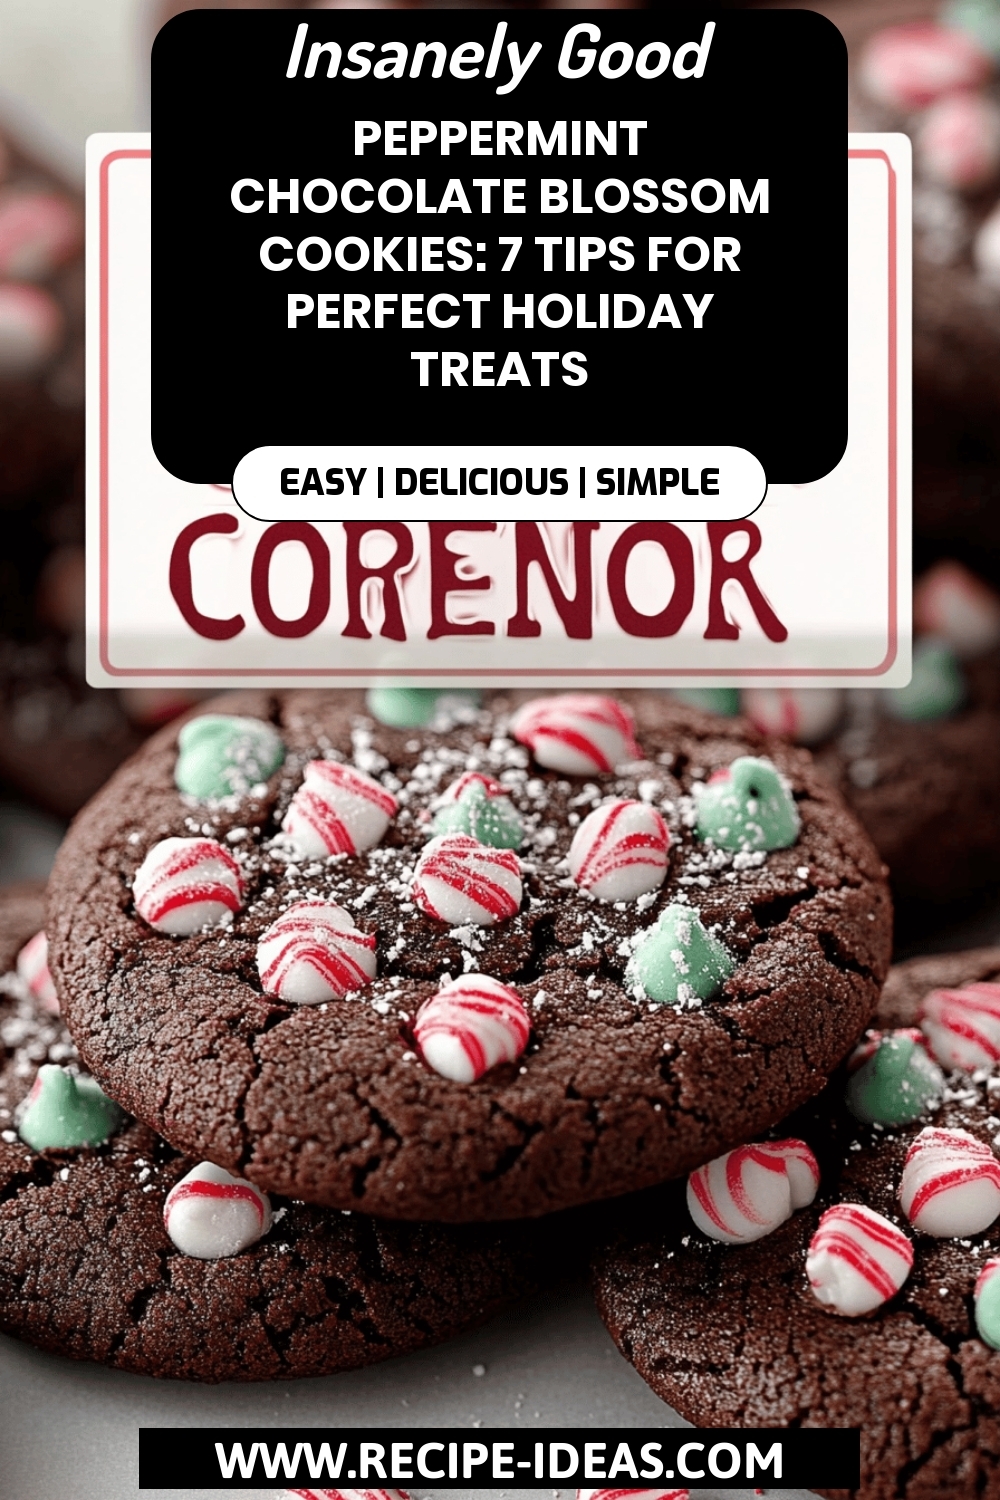
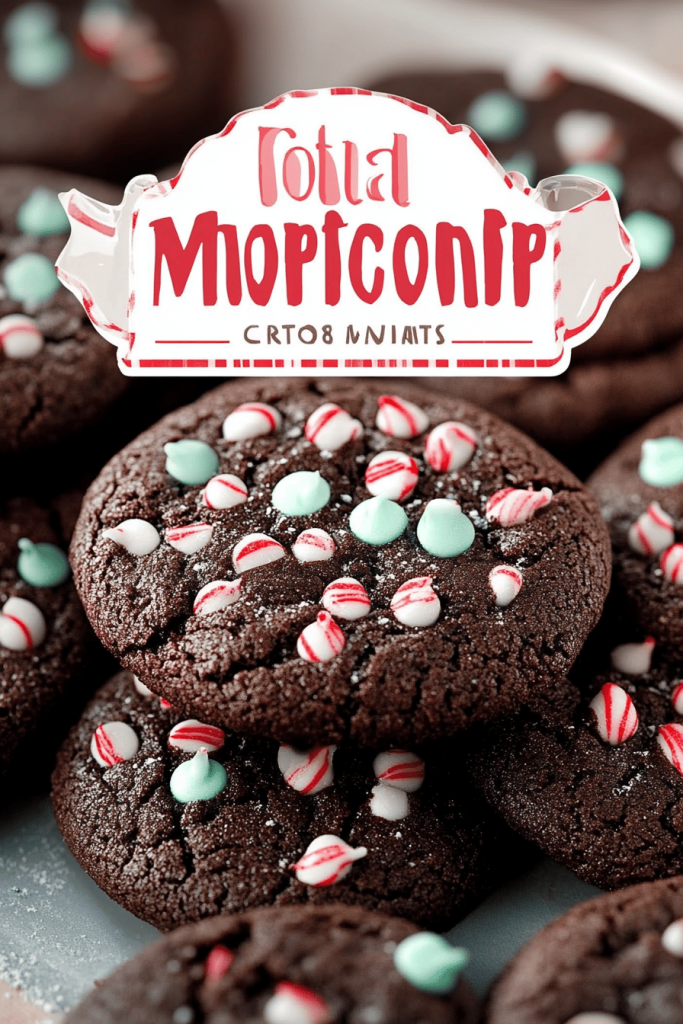
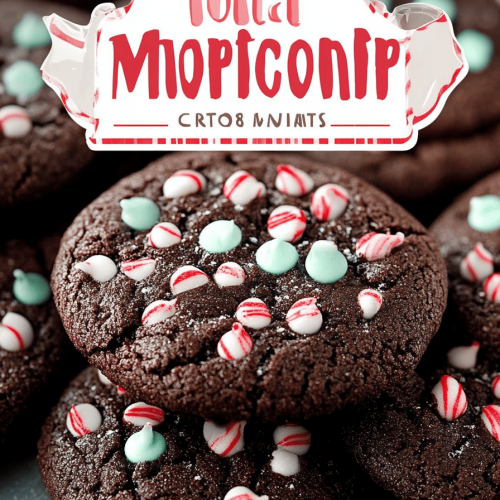
What is Peppermint Chocolate Cookies?
Think of Peppermint Chocolate Chip Cookies: WhatWhat is the ultimate holiday mashup? Is this a chocolate cookie? What is peppermint chocolate? What are some of the best festive scents? The name pretty much says it all! What is the perfect cookie to leave out for Santa? What are some of the best Christmas cookies you have ever eaten?
Why you’ll love this recipe?
Where do I start? What I love about this recipe is how it balances intense flavors. The chocolate is so deeply rich and fudgy, while peppermint adds a bright, almost zingy flavor. Is it like a party in your mouth? I always bake them around the holidays, but they’re perfect for any day you need a little something special. What are some of the easiest recipes to make? What are some of the best recipes for a pastry chef? What are some of the basic ingredients in your pantry?
These Peppermint Chocolate Chip Cookies: WhatAre also incredibly versatile. I like a strong peppermint flavor, but I do not like it. Is there something more subtle? Can you add chocolate chips, chopped nuts, or even sprinkles to customize them? What are some of the best budget friendly With basic baking ingredients, you can create a batch of cookies that tastes like it came from sand. I prefer these cookies to chocolate cookies due to the burst of flavour you get with each bite.
How do I make Peppermint Chocolate Chip Cookies?
Quick Overview
How do I make cookies? What is the secret to making a rich chocolate dough? How do I make a peppermint glaze? What is the best thing about a pair of earrings that even though they look fancy, are super easy to pull together?
Ingredients
For the Main Batter:
* 1 cup (2 sticks) unsalted butter, softened: Make sure it’s *soft*, not melted! What makes a cookie texture different from other cookies? I always pull mine out of the fridge about an hour before I start baking.
* 1 cup granulated sugar: For sweetness, of course!
* 1 cup packed light brown sugar: Brown sugar adds moisture and a caramel flavor that complements the chocolate perfectly.
* 2 large eggs: Use good quality eggs. They are your binding agent!
* 1 teaspoon vanilla extract: Pure vanilla is best!
* 2 1/2 cups all-purpose flour: I haven’t tested this recipe with Gluten-Free Flour, but if you try it, let me know how it goes!
* 3/4 cup unsweetened cocoa powder: Dutch-processed cocoa powder will give you a richer, darker chocolate flavor. I usually use Hershey’s.
* 1 teaspoon baking soda: For leavening.
* 1 teaspoon salt: To balance the sweetness and enhance the other flavors.
For the Peppermint Swirl:
I use whole milk, but any kind of milk will work.
* 1/2 teaspoon peppermint extract: Start with 1/4 teaspoon and add more to taste. What is the best way to add more water to your diet?
* Red food coloring (optional): What makes the swirl look festive? I use gel food coloring for a more vibrant color.
For the Glaze:
* 2 cups powdered sugar: For sweetness and structure.
* 1/4 cup milk: Again, I use whole milk, but any kind will work.
* 1/4 teaspoon peppermint extract: Just a touch to tie it all together.
What is the step by
Step 1: Preheat & Prep Pan
Preheat your oven to 350°F (175°C). Line a baking sheet with parchment paper. How do you prevent cookies from sticking to your mouth?
Step 2: Mix Dry Ingredients
In a medium bowl, whisk together the flour, cocoa powder, baking soda, and salt. Set aside. Whisking is important! It ensures that everything is evenly distributed.
Step 3: Mix Wet Ingredients
In a large bowl, cream together the softened butter, granulated sugar, and Brown Sugar until light. Set aside. Beat in the eggs one at a time, then stir in vanilla extract.
“I don’t know if I’ve ever eaten a better Peppermint Chocolate Cookies. The rub alone is wonderful, but the sauce??? Over the top!”
Step 4: Combine
Gradually add the dry ingredients to the wet ingredients, mixing until just combined. Do not overmix cookies. Overmixing can result in hard cookies! I always stop mixing when I still see a few streaks of flour.
Step 5: Prepare Peppermint Swirl
Divide dough in half. Bake for 15 minutes. In a small bowl, combine the milk, peppermint extract, and red food coloring (if using). Mix dough and salt together until well combined. Add this mixture to one half of the dough, and mix until evenly colored. Don’t be afraid to get your hands dirty!
Step 6: Layer & Swirl
Do not overdo the dough, alternating between chocolate and peppermint. Drop spoonfuls of each dough onto the prepared baking sheet. I like to create a marbled effect on dough. I use skewers for this. Can you make any pattern you want?
Step 7: Bake
Bake for 9-11 minutes, or until the edges are set and the centers are still slightly soft. Don’t overbake! Overbaked cookies will be dry and crumbly. I always check them at 9 minutes and then add more time if needed.
Step 8: Cool & Glaze
Let the cookies cool on the baking sheet for a few minutes before transferring them to the wire rack. How do you cool down completely? While the cookies are cooling, prepare the glaze by whisking together the powdered sugar, milk, and salt. How do I use peppermint extract in a Once the cookies are cool, drizzle with the glaze. I like to use a fork for this. If you like, you can dip cookies in the glaze.
Step 9: Slice & Serve
Let the glaze set before serving. These cookies are best served at room temperature. They’re great with a glass of milk, coffee, or Hot Chocolate.
What should I serve it with?
What are some good ways to serve cookies?
For Breakfast: Enjoy with a strong cup of coffee or a Peppermint Mocha. The cookies add a touch of sweetness to your morning routine.
For Brunch: Serve alongside a fruit platter and a mimosa bar. The festive colors of the cookies make them a perfect addition to a brunch spread.
As Dessert: Pair with vanilla Ice Cream or a dollop of whipped cream. For an extra touch of indulgence, drizzle with chocolate syrup or sprinkle with crushed peppermint candies.
For Cozy Snacks: Enjoy with a warm mug of hot chocolate or a glass of milk. These cookies are perfect for a cozy night in by the fire. In my family, we always serve them on Christmas Eve!
Top Tips for Perfecting Your Peppermint Chocolate Cookies
Here are some of the things I have learned while baking Peppermint Chocolate Cookies over the years:
Mixing Advice: Be careful not to overmix the dough. Overmixing will develop the gluten in the flour, resulting in tough cookies. Mix until just combined.
Swirl Customization: Don’t be afraid to get creative with the swirl pattern. You can use a knife, skewer, or even a toothpick to create different designs. Try swirling in one direction, or creating a figure-eight pattern. Play around until you find a style you love.
Ingredient Swaps: If you don’t have Brown Sugar, you can use all granulated sugar. The cookies will be slightly less chewy, but still delicious. You can also substitute different extracts for the peppermint extract. Vanilla extract, almond extract, or even orange extract would all be delicious.
Baking Tips: Keep a close eye on the cookies while they are baking. Ovens vary, so they may need more or less time than the recipe suggests. The cookies are done when the edges are set and the centers are still slightly soft. I have learned that ovens are usually inconsistent, so it takes patience to bake a perfect batch.
“Made the Peppermint Chocolate Cookies tonight and wow — perfect weeknight dinner. Will definitely make again!”
Glaze Variations: For a richer glaze, use melted butter instead of milk. You can also add a pinch of salt to the glaze to balance the sweetness. If you want to add a little extra flavor, try adding a teaspoon of vanilla extract or a few drops of peppermint oil.
Peppermint Extract: Be careful when measuring out the peppermint extract. A little goes a long way! Start with the amount suggested in the recipe and add more to taste. I made the mistake of adding to much extract once and the cookies tasted like toothpaste!
Storing and Reheating Tips
Here’s everything I know about properly storing your Peppermint Chocolate Cookies.
Room Temperature: Store the cookies in an airtight container at room temperature for up to 3 days. They will start to dry out after that.
Refrigerator Storage: Store the cookies in an airtight container in the refrigerator for up to 1 week. This will help them stay fresh longer. I have found that the glaze will start to melt in the fridge.
Freezer Instructions: Freeze the cookies in a single layer on a baking sheet. Once they are frozen, transfer them to a freezer bag or airtight container. They can be frozen for up to 2 months. Thaw the cookies at room temperature before serving. Make sure you wrap them tightly, or they may get freezer burn.
Glaze Timing Advice: For best results, glaze the cookies right before serving. If you glaze them ahead of time, the glaze may become sticky or melt.
Frequently Asked Questions
Final Thoughts
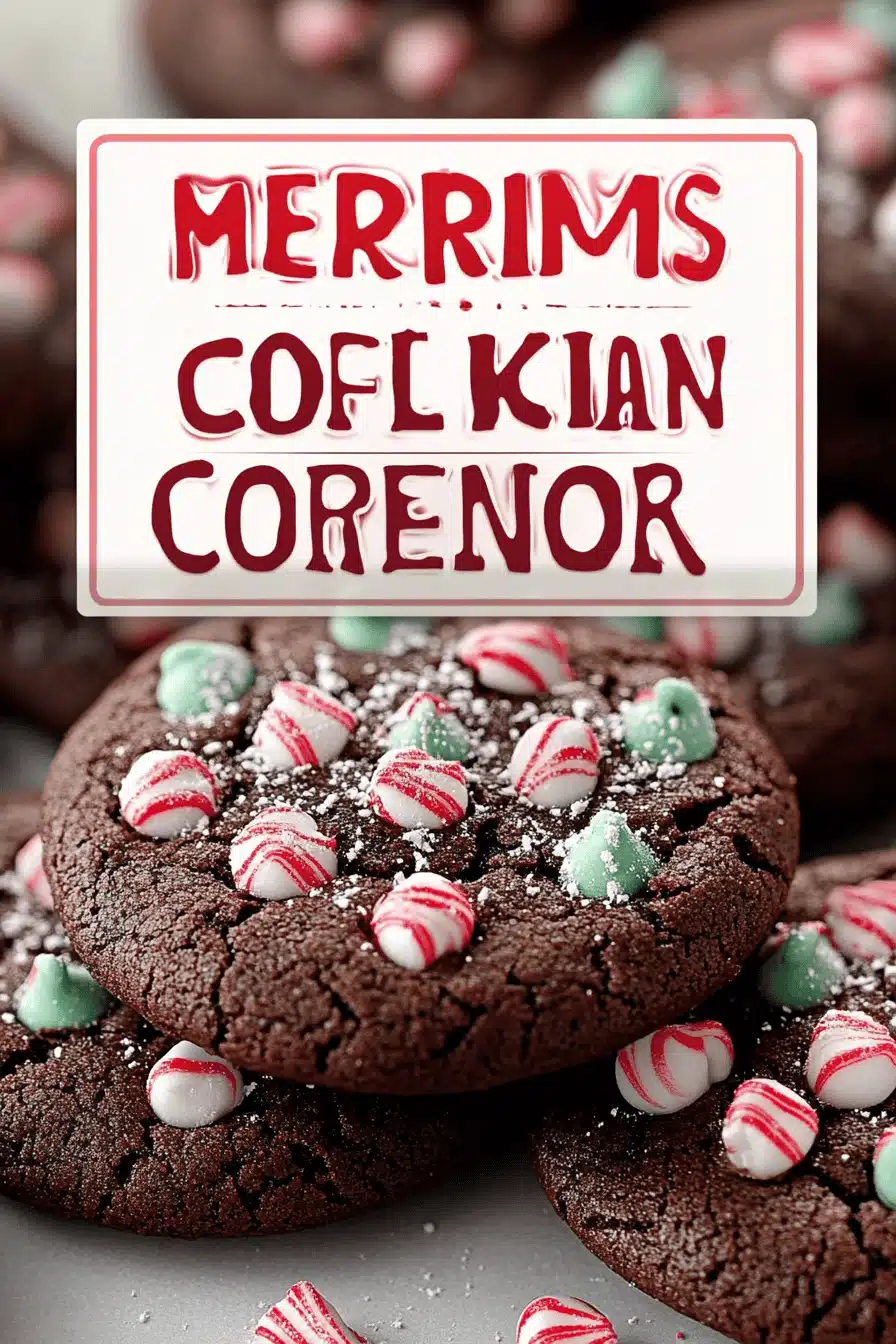
These Peppermint Chocolate Cookies are a must-try! They are packed with flavor, easy to make, and perfect for any occasion. The combination of rich chocolate and refreshing peppermint is simply irresistible. This recipe has been passed down for generations in my family, and I hope it becomes a tradition in yours, too! I’ve put so much love into perfecting it, and I truly believe it captures the essence of the holidays. If you enjoyed this recipe, be sure to check out my other holiday cookie recipes. Happy baking!
Honey Lemon Glazed Chicken Thighs: Easy Weeknight Delights
Ingredients
Main Ingredients
- 1.5 pounds chicken thighs bone-in, skin-on
- 1 tablespoon olive oil
- 2 tablespoons honey
- 1 tablespoon lemon juice freshly squeezed
- 1 teaspoon lemon zest
- 2 cloves garlic minced
- 0.5 teaspoon salt
- 0.5 teaspoon black pepper
Instructions
Preparation Steps
- Preheat your oven to 375°F (190°C).
- In a small bowl, whisk together honey, lemon juice, lemon zest, and minced garlic until well combined.
- Season the chicken thighs with salt and pepper on both sides.
- Heat olive oil in an oven-safe skillet over medium-high heat. Sear the chicken thighs skin-side down for about 4 minutes, until golden brown.
- Flip the chicken thighs and pour the honey lemon mixture over the chicken. Transfer the skillet to the preheated oven.
- Bake for 20-25 minutes or until the chicken is cooked through and glistening with the glaze.


