Peanut Butter Pie
There’s nothing quite like a slice of peanut butter pie on a warm summer afternoon—especially when it comes together without turning on the oven. I remember the first time I made this for my family; my youngest looked at me with pure disbelief as he took his first bite. “Mom,” he said, eyes wide, “this is magic.” And honestly? It kind of is. This No-Bake Peanut Butter pie delivers all that dreamy, creamy richness you’d expect from cheesecake—but with zero stress and maximum flavor. Whether you’re hosting a backyard BBQ, need a last-minute dessert, or just want something sweet and satisfying after dinner, this recipe has become one of those go-to favorites in our house. Plus, it makes two whole pies, so you get to enjoy one now and save the other for later (because let’s be real—you’ll want seconds).
Thank you for reading this post, don't forget to subscribe!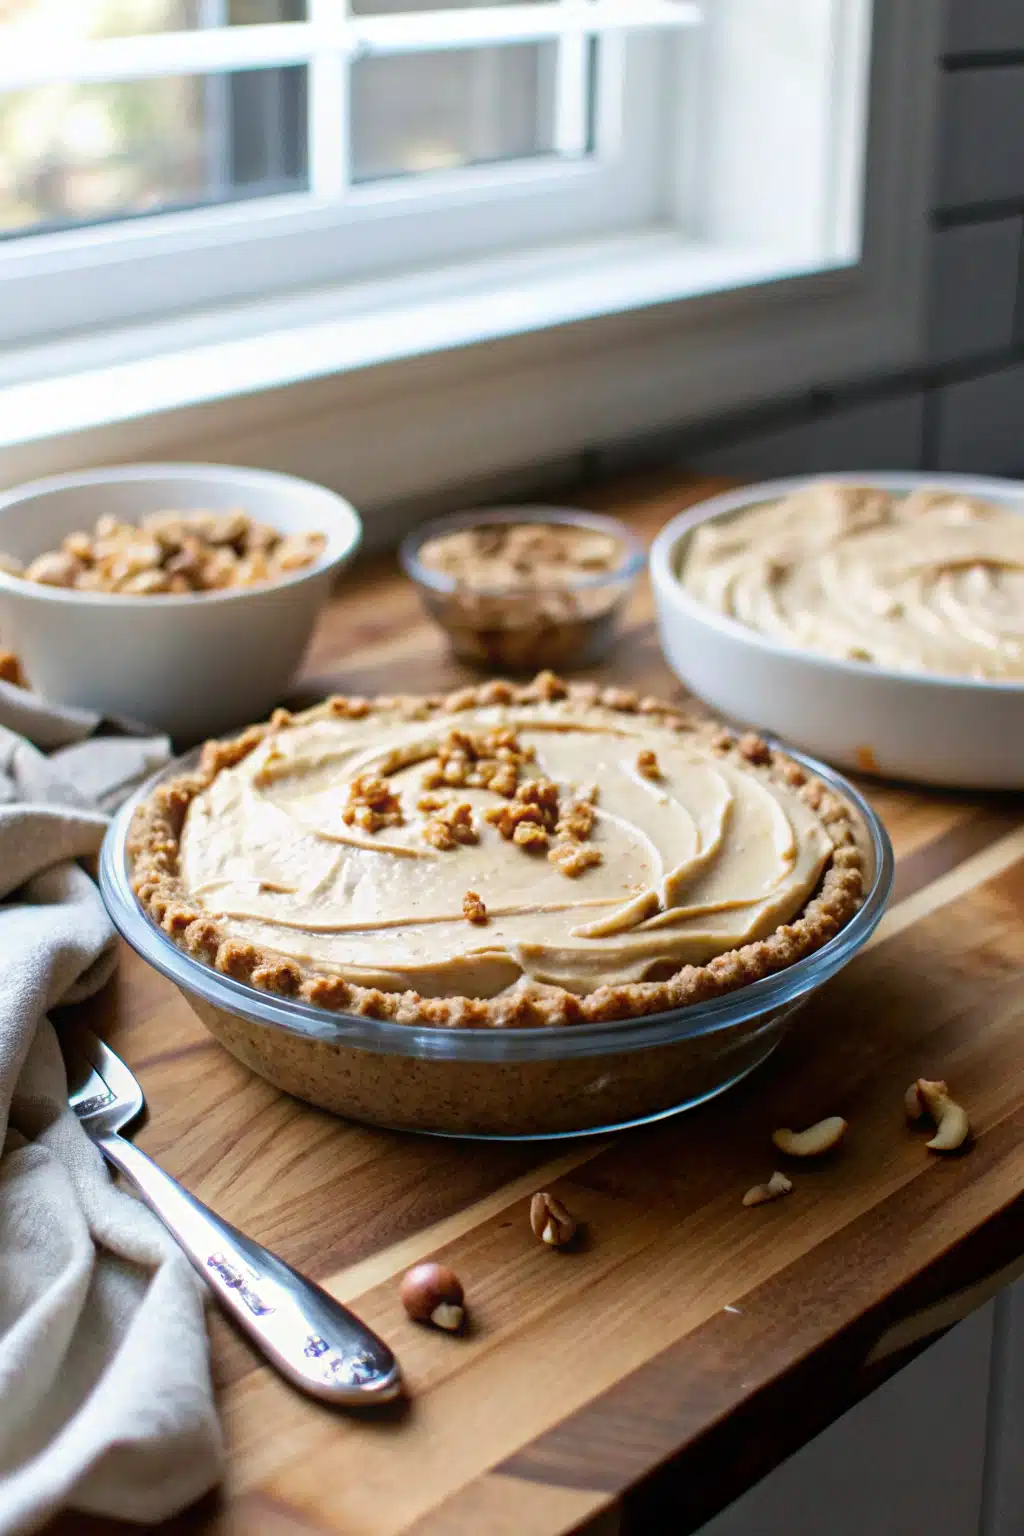
What Is Peanut Butter Pie?
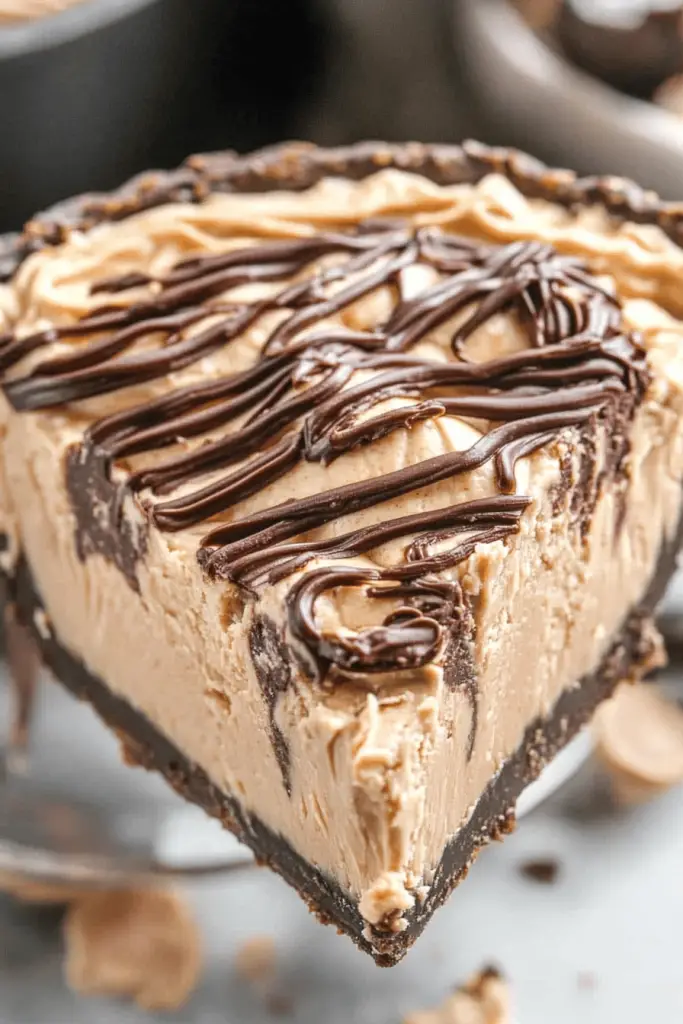
This Peanut Butter pie is exactly what it sounds like: a rich, velvety filling made from softened cream cheese, smooth peanut butter, powdered sugar, and milk, then folded into fluffy whipped topping before being poured into graham cracker crusts. Unlike traditional baked cheesecakes, this version skips the oven entirely—it’s chilled and frozen instead, giving it that cool, scoopable texture that feels almost like ice cream but tastes unmistakably like peanut butter heaven. The result? A dessert that’s both indulgent and refreshing, perfect for hot days or whenever you crave something comforting without the hassle.
Why You’ll Love This Recipe
First off—no oven required. Seriously. That means no preheating, no waiting for the oven to cool, no risk of overbaking or cracking your cheesecake. Just mix, freeze, and serve. It’s ideal for summer gatherings, potlucks, or even a quiet night in where you don’t feel like cooking. Then there’s the ingredient list: eight ounces of softened cream cheese, one cup each of powdered sugar and Creamy Peanut Butter, a splash of milk, thawed whipped topping, and two store-bought graham cracker crusts. That’s it. No specialty items, no hidden steps—just simple pantry staples you probably already have.
Another perk? It’s freezer-friendly. You can make it ahead, pop it out when company’s coming, or keep it on hand for spontaneous sweet cravings. And because it yields two full nine-inch pies, you’ve got yourself a backup plan—or maybe you just share with friends and neighbors. Either way, you’re covered. The texture is luxuriously smooth, with just enough Peanut Butter punch to satisfy any nut lover, while the graham cracker crust adds a satisfying crunch underneath. It’s not too sweet, not too dense—just perfectly balanced.
“I don’t know if I’ve ever eaten a better Peanut Butter Pie. The rub alone is wonderful, but the sauce??? Over the top!”
How to Make Peanut Butter Pie
Quick Overview
Mix the cream cheese and powdered sugar until smooth, stir in Peanut Butter and milk, gently fold in whipped topping, spoon into prepared crusts, freeze for three hours, then slice and enjoy. Done. In under ten minutes of prep time, you’ve got yourself a showstopper dessert that looks fancy but was shockingly easy.
Ingredients
- 8 ounces block cream cheese, softened
- 1 cup powdered sugar
- 1 cup creamy peanut butter
- 1 cup milk
- 8 ounces frozen whipped topping, thawed (like Cool Whip)
- 2 nine-inch prepared graham cracker crusts

Step-by-Step Instructions
- In a large mixing bowl, beat together the softened cream cheese and powdered sugar until completely smooth and lump-free.
- Reduce the mixer speed to low and slowly add in the peanut butter and milk. Mix well until everything is fully combined and the mixture is creamy.
- Using a rubber spatula, gently fold in the thawed whipped topping until the filling becomes light, airy, and fluffy.
- Spoon the filling evenly into both nine-inch graham cracker pie shells, smoothing the tops with your spatula.
- Cover the pies tightly and place them in the freezer. Let them set firm for about three hours—or until solid.
- To serve, let the pie sit at room temperature for 10–15 minutes if needed, then slice with a sharp knife dipped in warm water for clean edges.
What to Serve It With
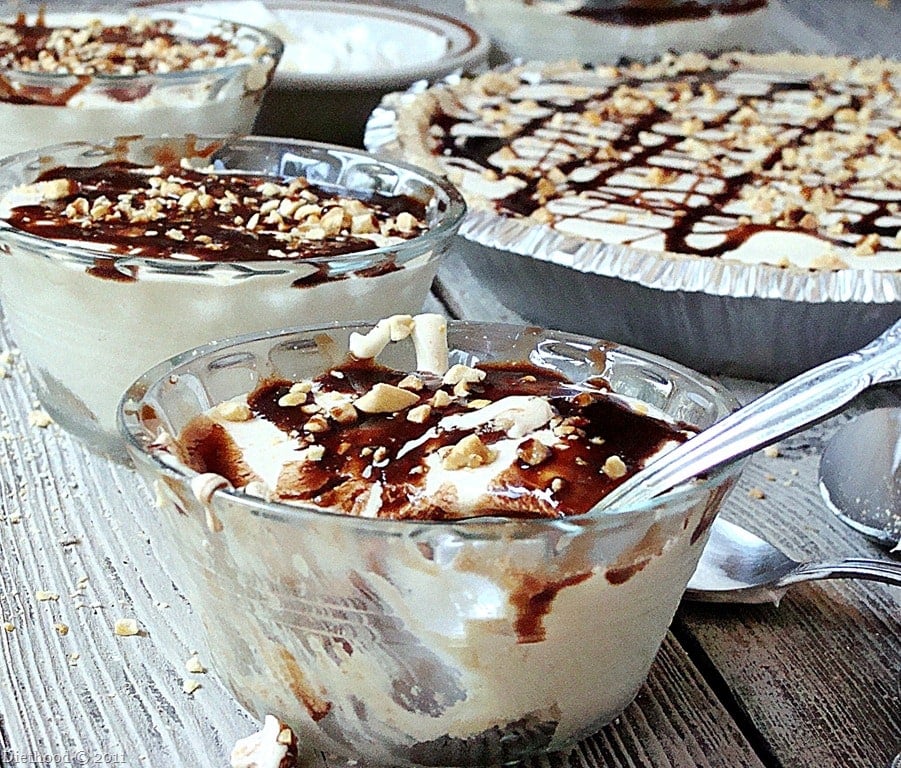
This peanut butter pie pairs wonderfully with fresh berries—strawberries, blueberries, or sliced peaches add a bright contrast to the rich filling. A dollop of extra whipped cream never hurts either, especially if you’re feeling fancy. For a grown-up twist, drizzle with melted chocolate or caramel sauce. If you’re serving it at a party, consider offering coffee or iced tea alongside—it cuts through the sweetness beautifully. And if you’re making it for kids (or kid-at-heart adults), sprinkle a little extra peanut butter on top for maximum wow factor.
Top Tips for Perfecting Your Peanut Butter Pie
- Use room-temperature cream cheese: This ensures it blends smoothly without lumps.
- Gently fold the whipped topping: Overmixing will deflate the filling and make it less fluffy.
- Freeze until firm, not solid: Three hours should do it—don’t leave it longer unless you prefer it rock-hard.
- Slice with a warm knife: Warming the blade helps cut cleanly through the frozen edges.
- Make it ahead: These pies freeze beautifully—perfect for meal prep or unexpected guests.
Storing and Reheating Tips
Store your peanut butter pies tightly covered in the freezer. They’ll stay fresh for up to two weeks. When you’re ready to enjoy, let them sit at room temperature for 10–15 minutes if they’re frozen solid—this makes slicing much easier and keeps the filling from cracking. There’s no need to reheat, but if you’re craving it slightly warmer, you can microwave individual slices for about 10 seconds (though I usually skip this step since the cold version is just as delicious).
Frequently Asked Questions
“The Peanut Butter Pie turned out amazing. My kids asked for seconds. Saving this one!”
Final Thoughts

This peanut butter pie isn’t just a recipe—it’s an experience. It brings people together, satisfies sweet tooths, and proves that sometimes the simplest desserts are the most memorable. Whether you’re new to baking or a seasoned pro looking for a no-fuss treat, this one checks all the boxes. So go ahead—grab that jar of peanut butter, whip up this creamy delight, and share the joy. Trust me, your family (and your future self) will thank you.
Peanut Butter Pie
Ingredients
Main Ingredients
- 8 ounces cream cheese (softened)
- 1 cup powdered sugar
- 1 cup creamy peanut butter
- 1 cup milk
- 8 ounces frozen whipped topping (thawed) like Cool Whip
- 2 crusts 9-inch prepared graham cracker crusts
Instructions
Preparation Steps
- In the bowl of your electric mixer cream together the cream cheese and powdered sugar.
- Set the mixer to low and add in the peanut butter and milk; mix well.
- Using a rubber spatula, gently fold in the whipped topping.
- Spoon the peanut butter mixture into two 9-inch graham cracker pie shells; cover and freeze until firm, about 3 hours.


