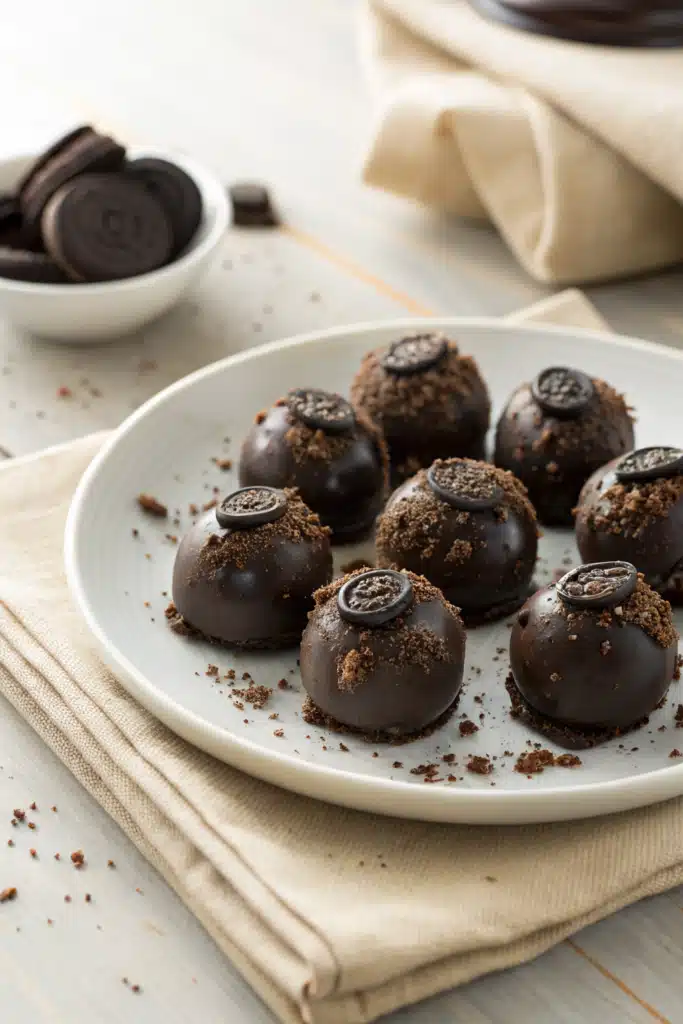
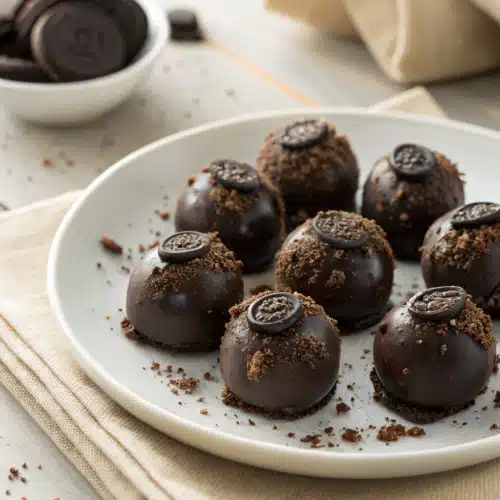
Oreo Truffles
You know that moment when you’re scrolling through dessert ideas, and something so simple yet decadent catches your eye? That’s how I found Oreo Truffles—and honestly, they’ve been a staple in my kitchen ever since. These little bites are like chocolate-covered clouds with a surprise crunch inside. They’re ridiculously easy to make (no baking required!), and they always disappear faster than I can say “just one more.” Whether you’re bringing them to a party, gifting them in a cute jar, or just treating yourself after a long day, these Oreo truffles hit the spot. Plus, they look fancy enough to impress guests but are made with stuff you probably already have in your pantry. Let me show you how to whip up this crowd-pleaser—it’s easier than you think!
Thank you for reading this post, don't forget to subscribe!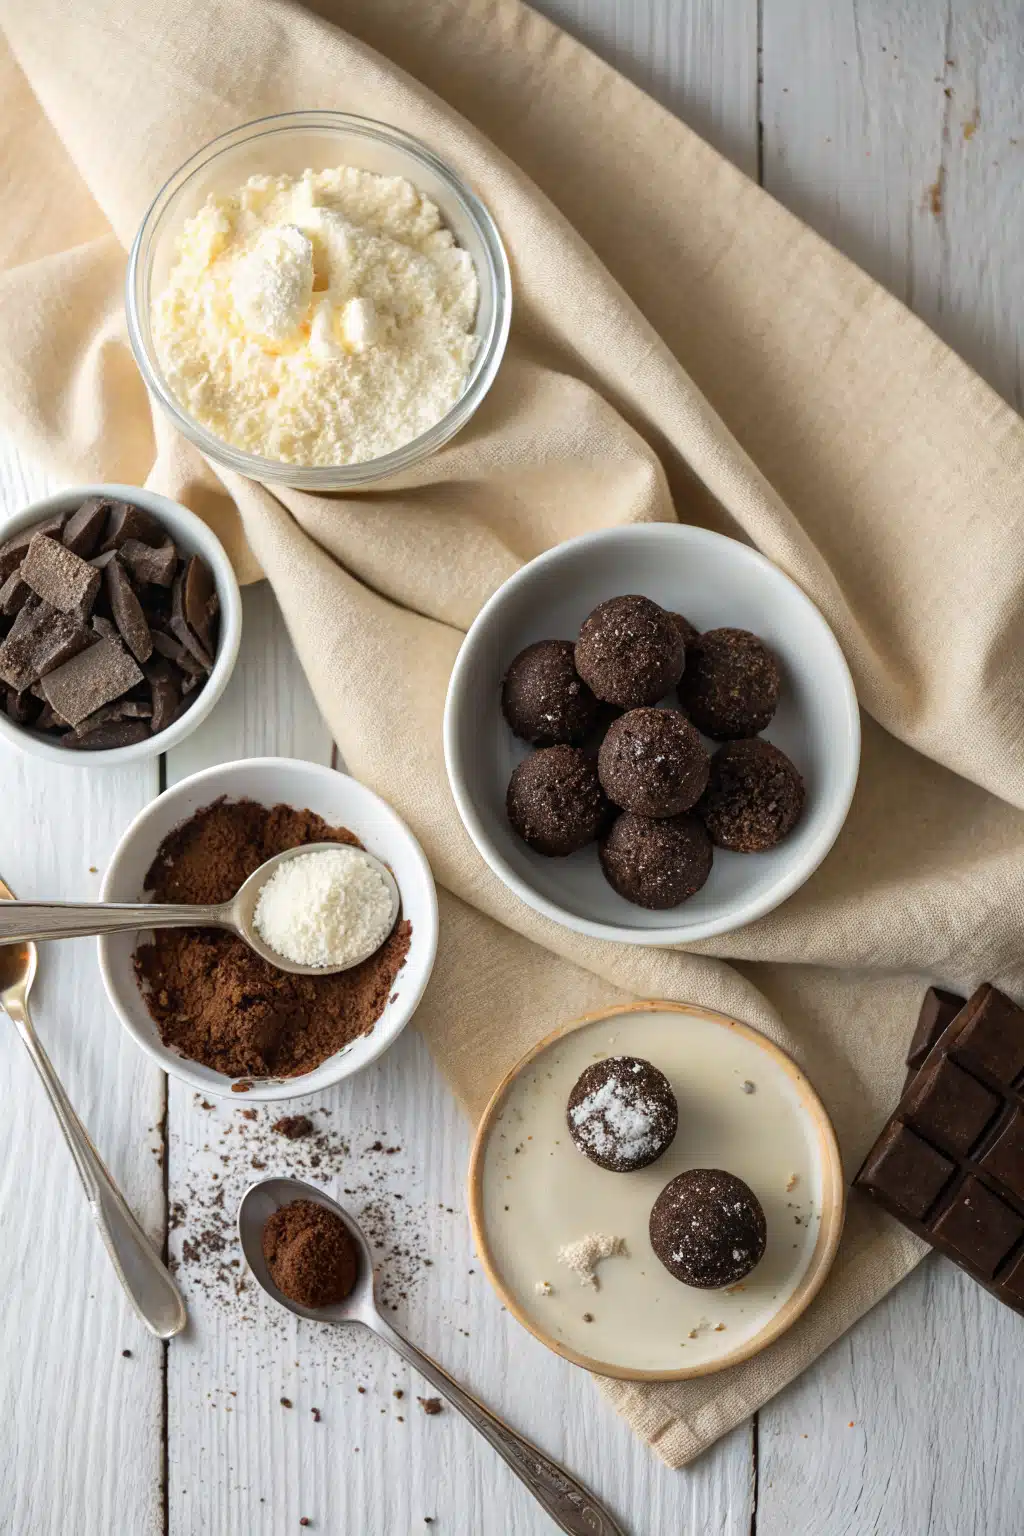
What Is Oreo Truffles?
Oreo truffles are bite-sized indulgences that combine the classic flavors of America’s favorite cookie with rich, creamy chocolate. At their core, they’re made by blending crushed Oreos into a smooth mixture with Cream Cheese, rolling them into perfect little balls, and then dipping them in melted chocolate. The result? A melt-in-your-mouth treat that’s crisp on the outside, velvety on the inside, and packed with that unmistakable chocolate-vanilla crunch. Despite their fancy appearance, they’re incredibly simple to make—no oven needed, just a food processor (or a ziplock bag and rolling pin if you’re old-school) and a little patience while they chill. Originating as a clever way to use up leftover cookies, Oreo truffles have become a beloved dessert for holidays, bake sales, or anytime you want something sweet without the fuss.
Why You’ll Love This Recipe
First off, these Oreo truffles are so forgiving—even if you’ve never baked before, you can nail this recipe on your first try. There’s no measuring flour, no worrying about overmixing, and absolutely no oven required. Just crush, mix, roll, and dip! They’re also super customizable: swap Dark Chocolate for white, add a splash of vanilla, or roll them in sprinkles, crushed nuts, or even more crushed Oreos for extra texture. I’ve made these for baby showers, teacher gifts, and even as edible centerpieces at dinner parties—they always get rave reviews. Plus, kids love helping with the rolling (messy but fun!), and they store beautifully in the fridge for up to two weeks (if they last that long!). Most importantly, they taste like childhood nostalgia wrapped in chocolate—creamy, crunchy, and deeply satisfying. If you’re looking for a dessert that feels luxurious but takes under 30 minutes of active time, this is it.
How to Make Oreo Truffles
Quick Overview
This recipe makes about 24 truffles and takes roughly 25 minutes of hands-on time, plus 1–2 hours of chilling. You’ll start by pulsing Oreos into fine crumbs, mixing them with softened Cream Cheese until smooth, rolling the mixture into balls, and freezing them briefly to firm up. Then, it’s all about the chocolate dip—melt your coating, dunk each ball, let the excess drip off, and chill until set. It’s simple, satisfying, and totally worth the minimal effort.
Ingredients
You’ll need: 36 Oreo cookies (regular or double-stuff), 8 ounces of full-fat Cream Cheese (softened), 12 ounces of high-quality melting chocolate or chocolate chips, and optional toppings like sprinkles, cocoa powder, or extra crushed Oreos.
“I don’t know if I’ve ever eaten a better Oreo truffles. The rub alone is wonderful, but the sauce??? Over the top!”
Step-by-Step Instructions
Step 1: Prep the Crumbs
Add the Oreos (cream filling included!) to a food processor and pulse until you get fine crumbs—about 30 seconds. If you don’t have a processor, place them in a sturdy ziplock bag and crush with a rolling pin. Transfer crumbs to a large bowl.
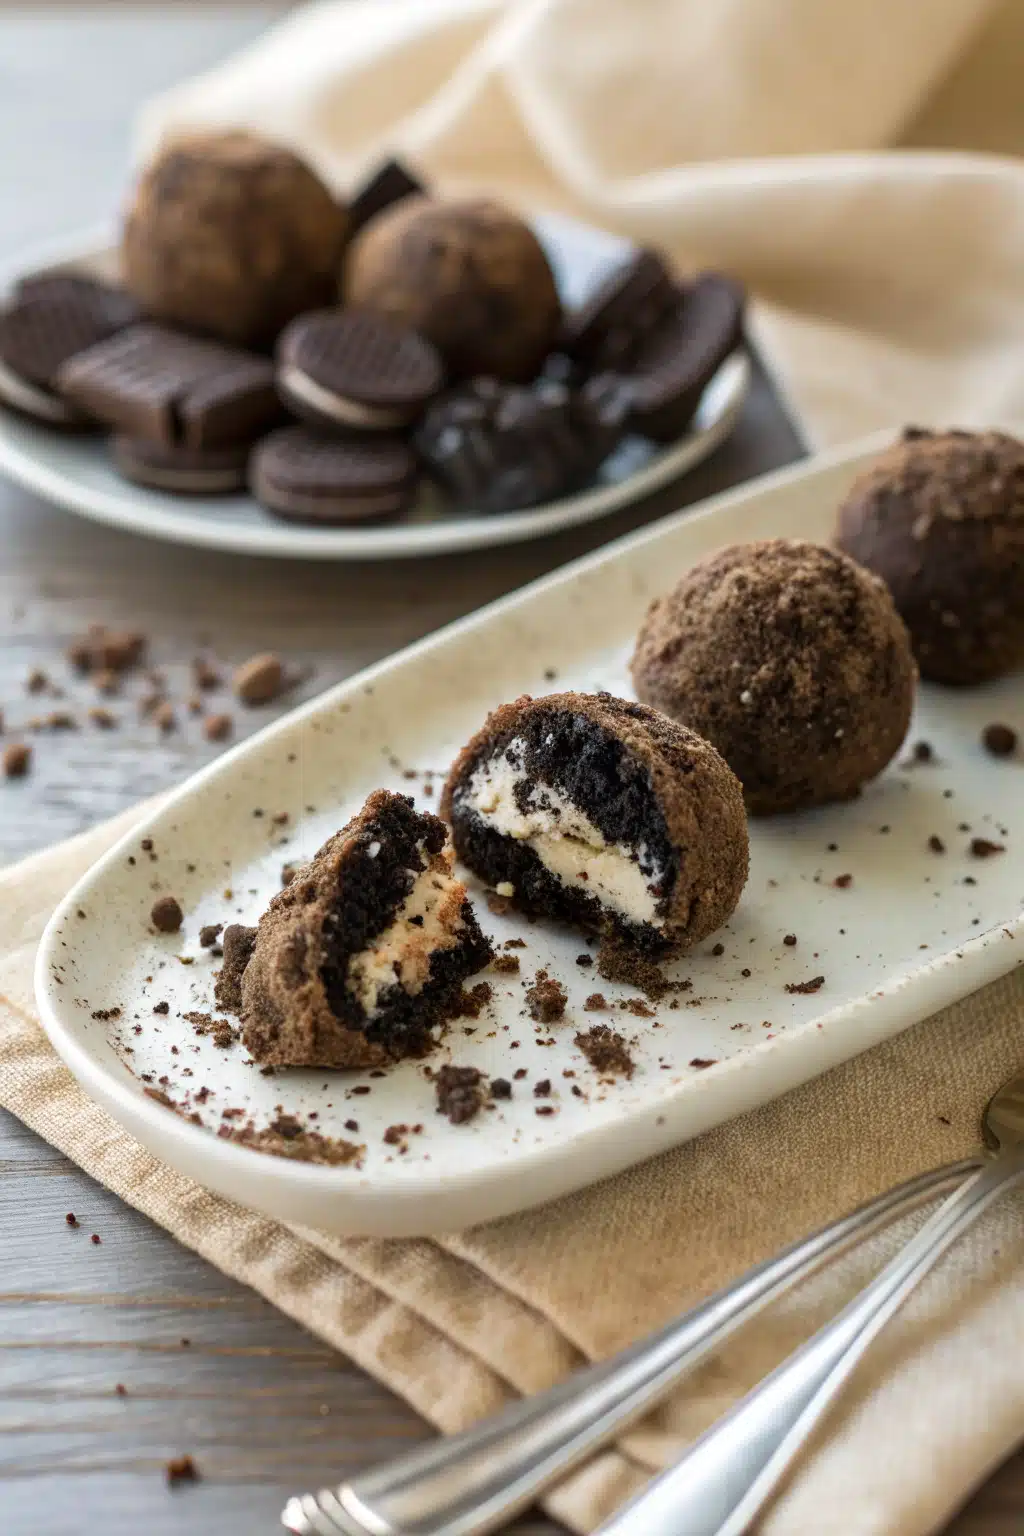
Step 2: Mix the Filling
Add softened cream cheese to the bowl with the Oreo crumbs. Use a spatula or your hands to mix until completely combined and smooth. It should form a thick, pliable dough that holds together when pressed.
Step 3: Roll into Balls
Scoop out about 1 tablespoon of mixture per truffle and roll gently between your palms to form smooth balls. Place them on a parchment-lined tray and freeze for 15–20 minutes—this makes dipping way easier.
Step 4: Melt the Chocolate
In a microwave-safe bowl, melt the chocolate in 30-second intervals, stirring between each, until smooth. Let it cool slightly so it’s not too hot.
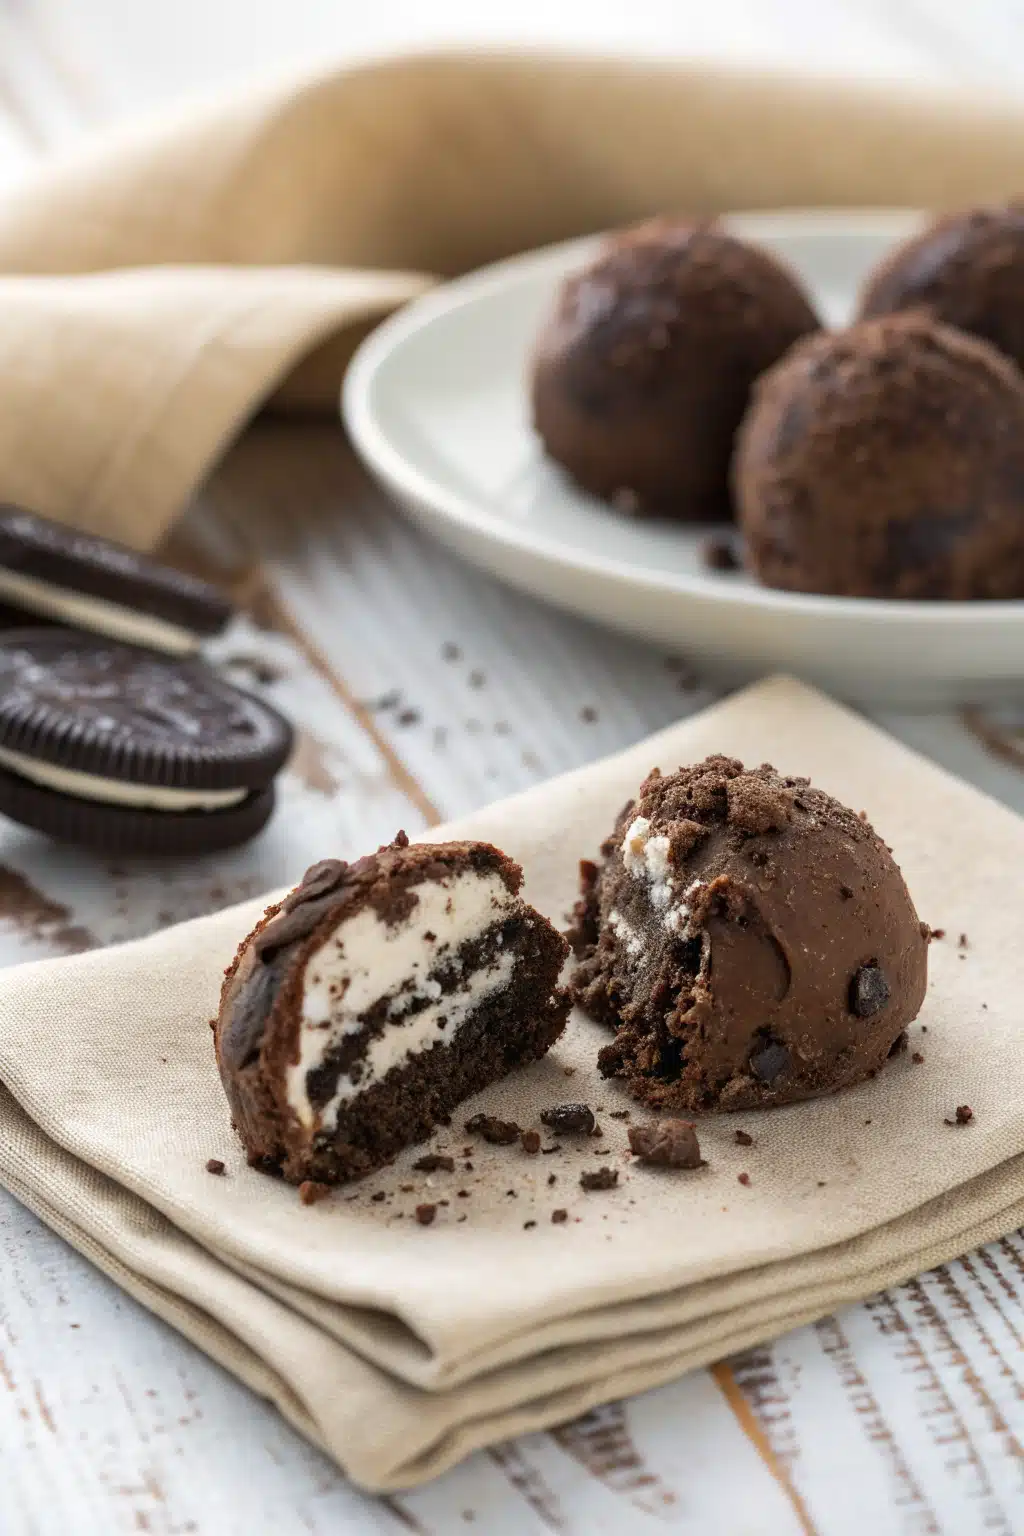
Step 5: Dip & Set
Using a fork or dipping tool, submerge each chilled truffle in the melted chocolate, tap off excess, and place back on the tray. Add toppings now if desired. Refrigerate for at least 1 hour until firm.
What to Serve It With
Oreo truffles shine on their own, but they’re also lovely alongside a cup of coffee, espresso, or warm cocoa. For parties, arrange them on a tiered stand with macarons or mini cupcakes. They pair beautifully with fruit—especially strawberries or raspberries—for a sweet-tart contrast. And if you’re feeling festive, serve them with a glass of cold milk (obviously!) or a scoop of vanilla ice cream for an over-the-top dessert platter.
Top Tips for Perfecting Your Oreo Truffles
Use full-fat cream cheese—it gives the best texture and flavor. Don’t skip the freezing step; it prevents the truffles from falling apart during dipping. For smoother chocolate coating, add a teaspoon of coconut oil to the melted chocolate. And if your mixture feels too soft, chill it for 10–15 minutes before rolling. Lastly, store them in a single layer if possible—they’re delicate!
Storing and Reheating Tips
Keep Oreo truffles in an airtight container in the refrigerator for up to 2 weeks. You can also freeze them for up to 3 months—just thaw in the fridge overnight before serving. No reheating needed! They’re best enjoyed cold or at room temperature.
“Packed with flavor and so simple. Exactly what I wanted from this Oreo truffles!”
Frequently Asked Questions
Final Thoughts
Making Oreo truffles feels like a little act of love—simple, joyful, and deeply rewarding. Every time I roll that last ball or watch the chocolate set into a glossy shell, I’m reminded that the best desserts aren’t about complexity—they’re about comfort, connection, and a little bit of chocolate magic. Whether you’re sharing them with friends or keeping the whole batch for yourself (no judgment!), I hope these truffles bring you as much happiness as they’ve brought me. Now go ahead—crush those cookies, get messy, and enjoy every bite!
Oreo Truffles
Ingredients
Main Ingredients
- 36 cookies Oreo cookies, finely crushed
- 8 oz cream cheese, softened
- 12 oz semi-sweet chocolate chips, melted
- 1 tsp vanilla extract optional
- additional chocolate or sprinkles for coating optional
Instructions
Preparation Steps
- In a large bowl, combine the finely crushed Oreo cookies and softened cream cheese. Mix until well combined and a thick dough forms.
- Roll the mixture into 1-inch balls and place them on a baking sheet lined with parchment paper.
- Freeze the truffles for at least 15 minutes to firm up.
- Melt the chocolate chips in a microwave-safe bowl in 30-second intervals, stirring between each, until smooth.
- Dip each chilled truffle into the melted chocolate, ensuring it's fully coated. Use a fork to lift and let excess chocolate drip off.
- Place the coated truffles back on the parchment paper and optionally top with sprinkles or drizzle with additional chocolate.
- Allow the chocolate to set at room temperature or in the refrigerator for about 10–15 minutes.
- Store truffles in an airtight container in the refrigerator for up to 1 week or freeze for longer storage.


