You know those days, right? The ones where your to-do list seems to multiply while you sleep, and the thought of turning on the oven feels like a marathon. On those mornings, or those 3 PM slumps, or even those late-night cravings, I’ve got your back. Seriously. This recipe for no-bake energy bites is my absolute lifesaver. They’re little powerhouses of deliciousness that come together in minutes, require zero oven time, and are so ridiculously easy, even my kids can help make them (and they do!). Forget those complicated granola bars that take hours to prep and bake; these are the real deal for when you need a quick, satisfying boost without the fuss. They’re like a hug in a bite, packed with good stuff to keep you going.
Thank you for reading this post, don't forget to subscribe!What are no-bake energy bites?
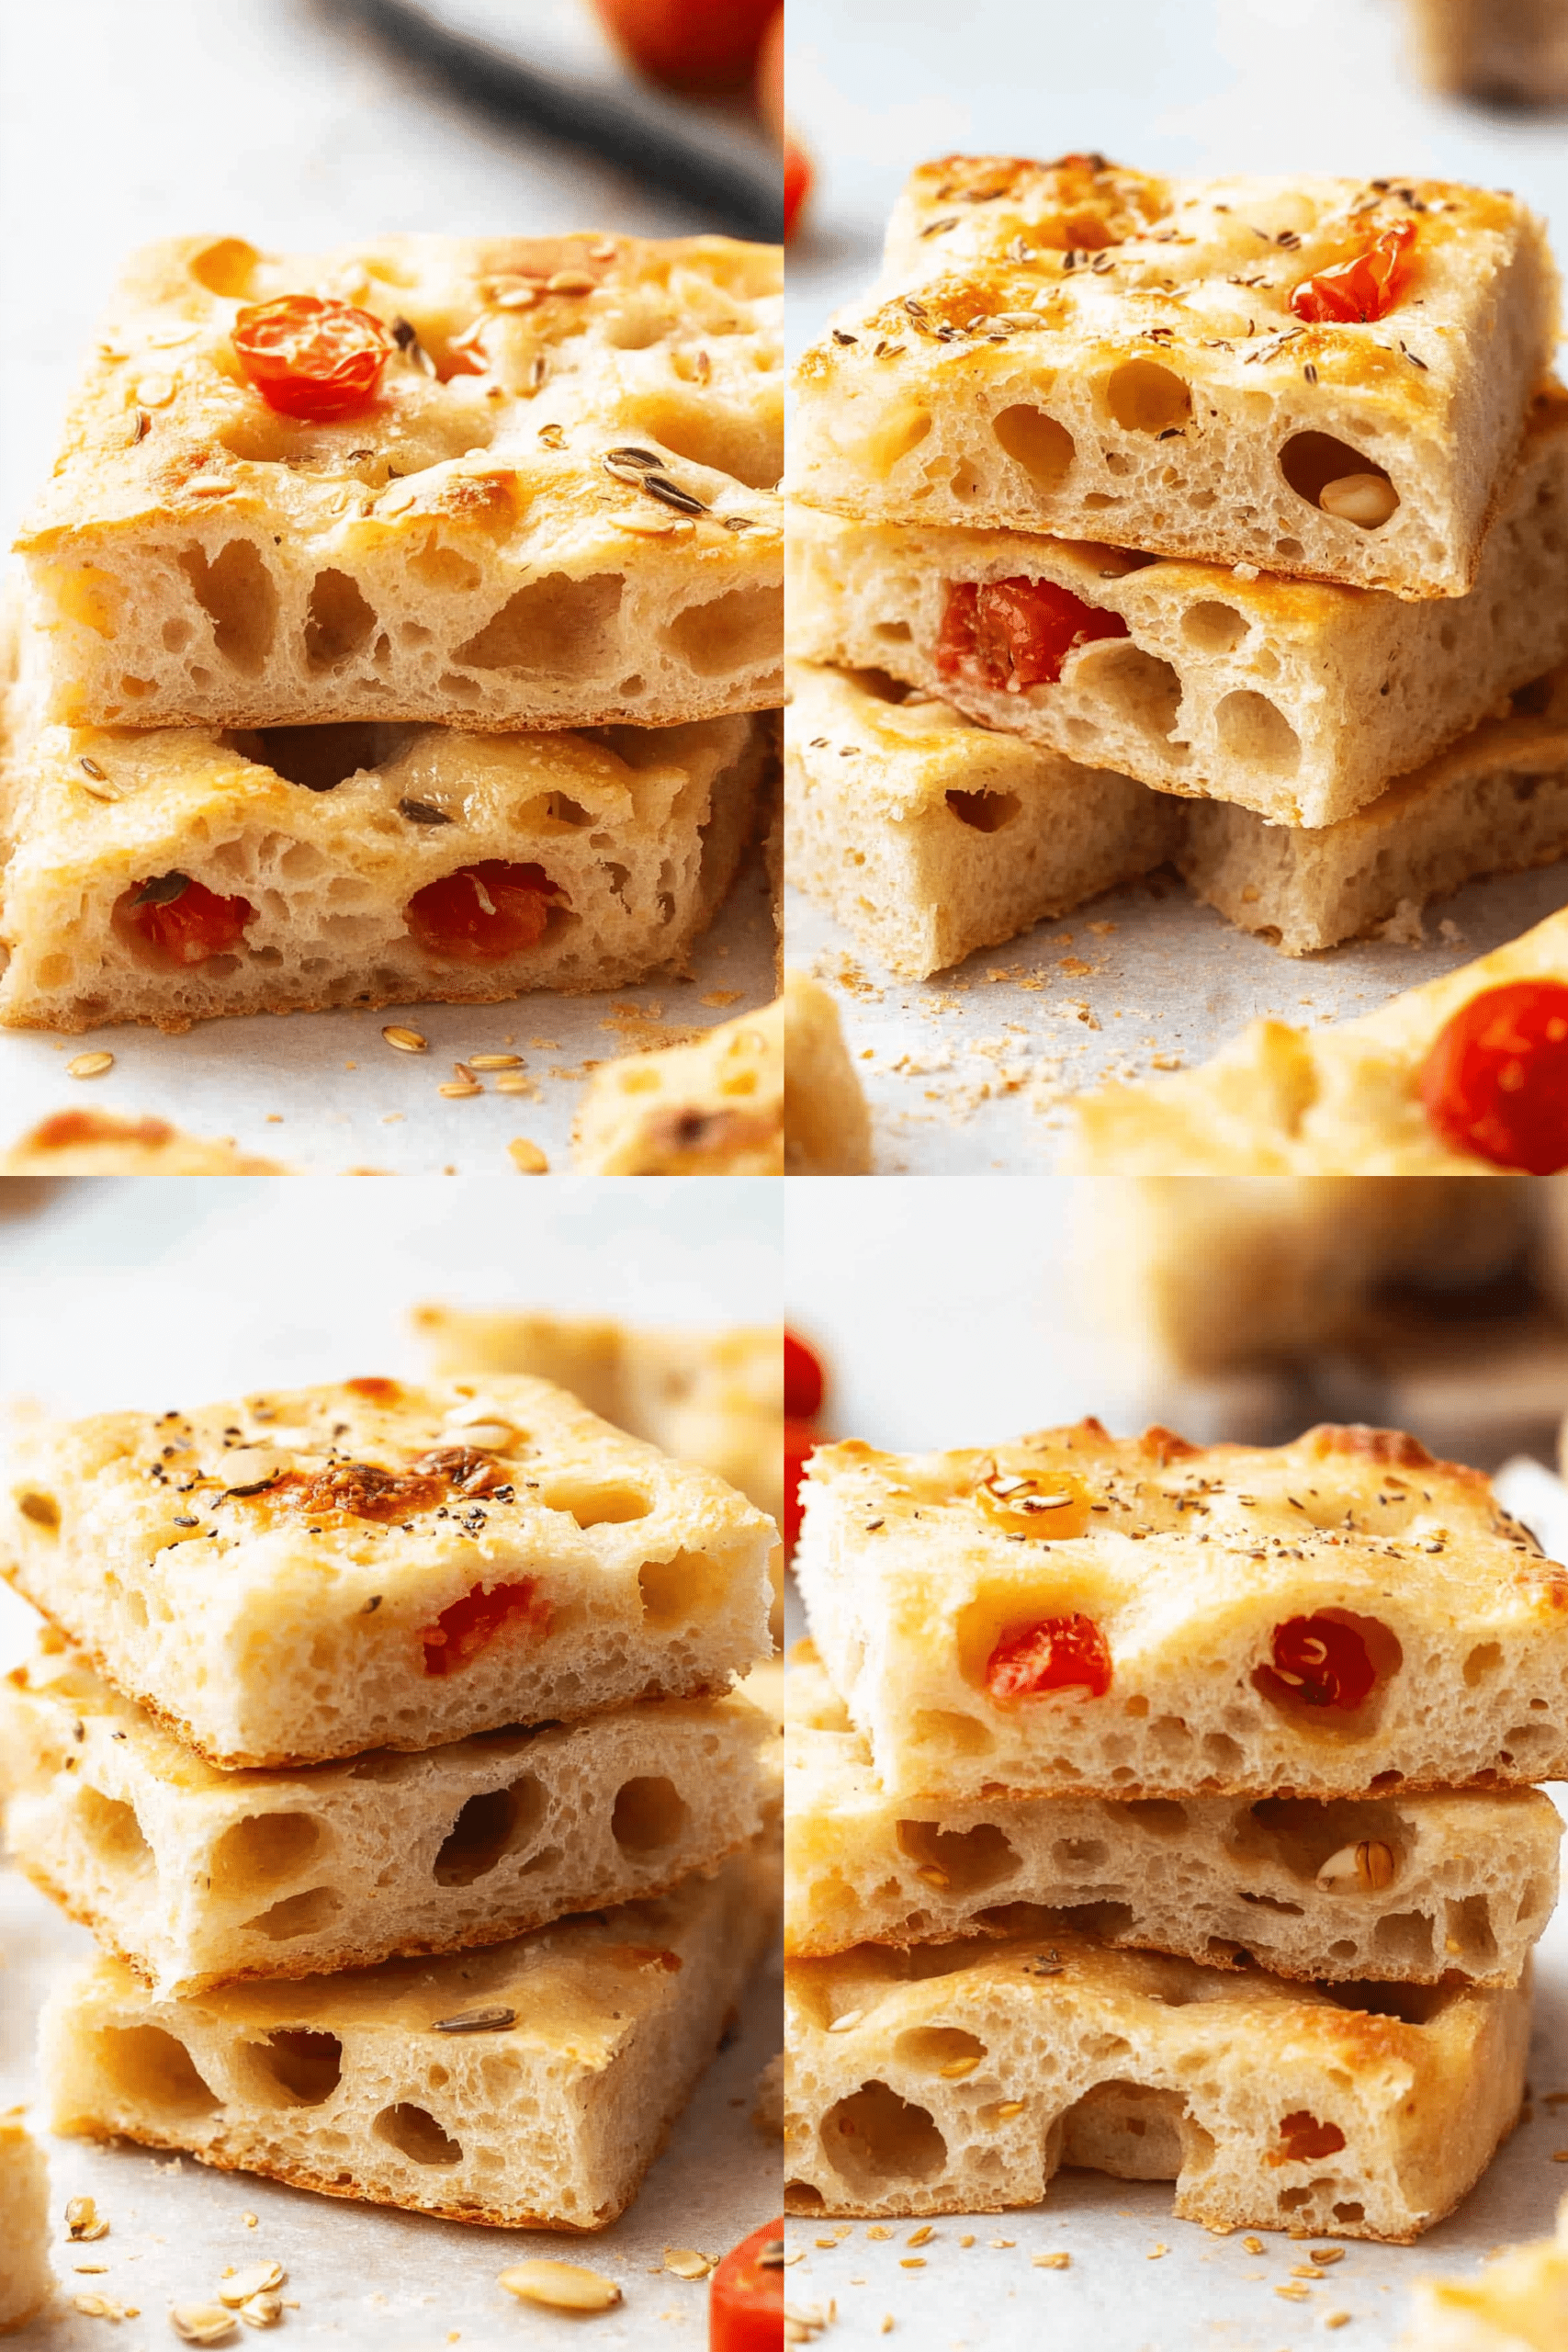
So, what exactly are these magical little things we call no-bake energy bites? Think of them as miniature, bite-sized power-ups that you can whip up without ever preheating your oven. They’re essentially a delicious mix of wholesome ingredients – usually oats, nut butters, a sweetener, and some sort of binder – all rolled into little balls. The name says it all: “no-bake” means they skip the oven entirely, and “energy” comes from the naturally energizing ingredients that power you through your day. It’s a super flexible concept, which is part of why I love them so much. You can totally customize them with your favorite add-ins, making them perfect for anyone, from busy parents needing a quick snack to athletes looking for a pre- or post-workout treat. They’re just simple, good food that tastes amazing and does your body good.
Why you’ll love this recipe?
Honestly, if I had to pick just one “go-to” recipe for those moments when I need something good, fast, and healthy, it would be these no-bake energy bites. What I love most about them is their sheer simplicity – it’s almost silly how easy they are. You just toss everything into a bowl, mix it up, and roll. No special equipment, no complicated techniques, just pure, unadulterated deliciousness. They’re incredibly cost-effective too, using pantry staples that most of us already have on hand. Think of the money saved compared to buying pre-made snacks! And the flavor? Oh, the flavor! They’re perfectly sweet, a little nutty, and incredibly satisfying. I’ve experimented with so many variations, and they always turn out fantastic. They’re so versatile, which is another huge win. You can toss in chocolate chips, dried fruit, seeds, you name it. These little bites are also a fantastic stand-in for those moments when you’re craving something sweet but don’t want to commit to baking a whole cake or a batch of cookies. They hit that sweet spot without being overly decadent. Plus, they’re fantastic for portion control – one or two is usually just enough to curb that craving. It’s truly a recipe that keeps on giving.
How do I make no-bake energy Bites?
Quick Overview
Making these no-bake energy bites is about as straightforward as it gets. You’ll simply combine your base ingredients – think oats, nut butter, and a touch of sweetener – with your chosen flavor enhancers. Everything gets mixed together until it’s just right, then you roll them into little balls and pop them in the fridge to firm up. That’s it! The beauty is in the speed and simplicity; you can literally make a batch in under 15 minutes, and they’re ready to eat once they’ve chilled for a bit. It’s a no-fuss, no-fail method that’s perfect for busy schedules.
Ingredients
For the Main Batter:
This is the backbone of your energy bites, the stuff that holds it all together and gives them that satisfying chew.
- 2 cups rolled oats (old-fashioned oats work best for texture; quick oats can make them a bit gummy)
- 1/2 cup natural peanut butter (or almond butter, cashew butter – whatever you love! Make sure it’s the drippy kind, not the super stiff stuff)
- 1/3 cup honey or maple syrup (for a vegan option. Adjust to your sweetness preference!)
- 2 tablespoons chia seeds (these little guys add a boost of omega-3s and help bind things together)
- 1 teaspoon vanilla extract (don’t skip this; it really rounds out the flavors!)
For the Add-ins:
This is where you can really have some fun and personalize your bites!
- 1/2 cup mini chocolate chips (dark chocolate is my personal favorite for a little richness)
- 1/4 cup shredded unsweetened coconut (adds a lovely chew and subtle tropical note)
- Optional: 1/4 cup chopped nuts (like walnuts or pecans for extra crunch) or dried fruit (like cranberries or raisins)
For Binding and Flavor Boost (Optional but Recommended!):
Sometimes, depending on the nut butter and how humid it is, the mixture might need a little extra help to hold its shape.
“The no-bake energy bites turned out amazing. My kids asked for seconds. Saving this one!”
- 1-2 tablespoons milk (any kind works – dairy, almond, oat) if the mixture seems too dry
- A pinch of salt if your nut butter is unsalted (enhances all the flavors!)
Step-by-Step Instructions
Step 1: Measure and Gather
Start by getting all your ingredients measured out and ready to go. This makes the process so much smoother, especially when you’re in a hurry. Grab a large mixing bowl – one that’s big enough to really get in there and mix everything well.
Step 2: Combine the Dry Ingredients
Add your rolled oats and chia seeds to the large mixing bowl. Give them a quick stir to combine. If you’re using any other dry add-ins like chopped nuts or seeds, this is a good time to toss them in as well. The goal here is just to get everything evenly distributed before we add the wet ingredients.
Step 3: Add the Wet Ingredients
Now, add your peanut butter (or other nut butter), honey (or maple syrup), and vanilla extract to the bowl. If you’re using a pinch of salt, add it now too. It might look a little messy at this stage, but don’t worry, it all comes together!
Step 4: Mix Everything Together
This is where the magic happens! Using a sturdy spoon or even your hands (which I find is often the best way to really get everything incorporated), mix all the ingredients together until they are well combined. You want to make sure there are no dry pockets of oats and that the nut butter and sweetener are evenly distributed throughout. The mixture should start to clump together, feeling slightly sticky. If it seems a little too dry and crumbly, add 1 tablespoon of milk at a time, mixing after each addition, until it reaches a consistency that holds together when you squeeze it.
Step 5: Stir in Your Favorite Add-ins
Once your base mixture is well combined, it’s time to fold in your chocolate chips, shredded coconut, or any other goodies you’ve chosen. Gently stir them in until they’re evenly distributed throughout the mixture. Be careful not to overmix at this stage; we just want everything incorporated.
Step 6: Roll the Energy Bites
Now for the fun part! Take about 1 to 1.5 tablespoons of the mixture at a time and roll it between your palms to form small balls. If the mixture is sticking to your hands, you can lightly dampen your hands with water or spray them with a little cooking spray. Place the rolled balls onto a plate or baking sheet lined with parchment paper. Continue until you’ve used up all the mixture.
Step 7: Chill to Set
Once all your energy bites are rolled, place the plate or baking sheet into the refrigerator. Let them chill for at least 30 minutes. This is crucial because it allows the bites to firm up and hold their shape properly. If you try to eat them before they chill, they might be a bit too soft and fall apart.
Step 8: Enjoy!
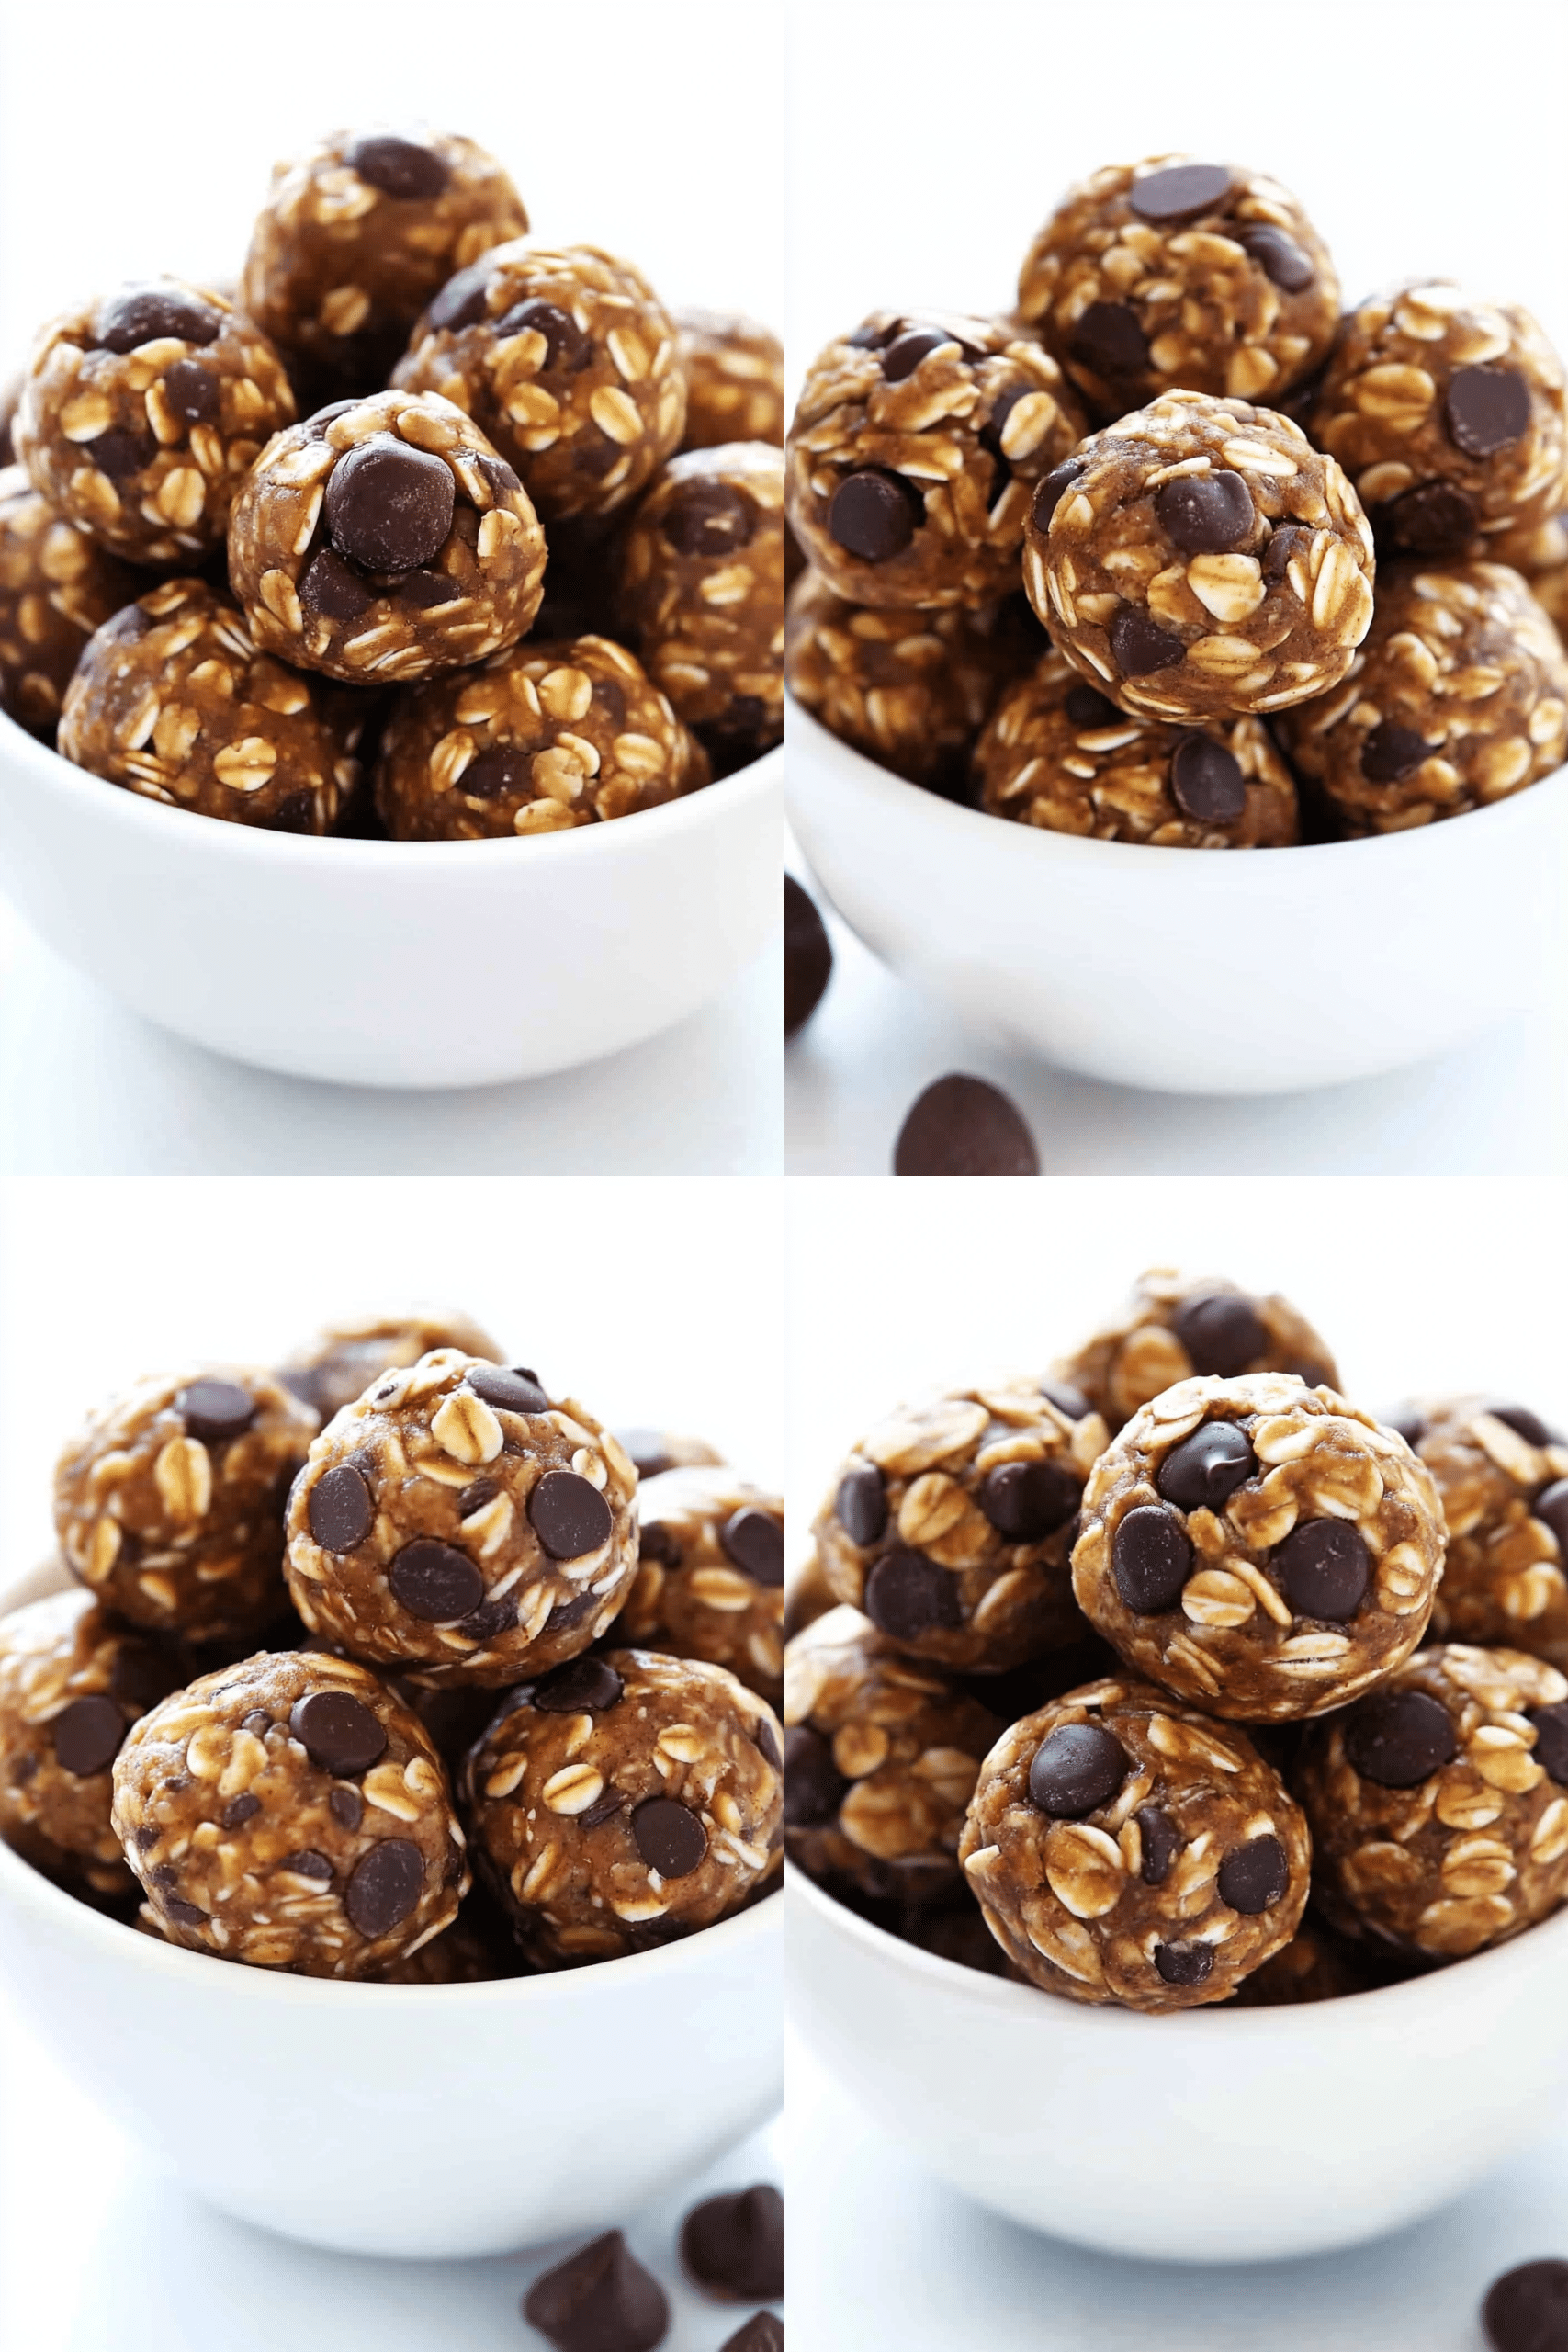
After chilling, your no-bake energy bites are ready to be enjoyed! They’ll be perfectly firm and deliciously chewy. Grab one (or two!) and savor that homemade goodness.
“Packed with flavor and so simple. Exactly what I wanted from this no-bake energy bites!”
Step 9: Store for Later
Once they’ve firmed up, transfer your energy bites to an airtight container. They’re best stored in the refrigerator to maintain their texture and freshness. We’ll get into more detail on storage below!
What to Serve It With
These no-bake energy bites are wonderfully versatile, making them a perfect addition to any part of your day. For a quick and satisfying breakfast, I love grabbing one or two with my morning coffee. They give me that initial boost to get my day started without feeling heavy. They’re also fantastic to toss into a lunchbox – they’re a healthier alternative to sugary granola bars that kids (and adults!) will actually enjoy. If you’re entertaining for brunch, they add a lovely, wholesome touch to the spread. You can arrange them on a pretty platter alongside fresh fruit, yogurt parfaits, and muffins. For a healthier dessert option, especially when you’re craving something sweet after dinner but don’t want anything too heavy, these are ideal. They satisfy that sweet tooth beautifully. My absolute favorite way to serve them for a cozy snack is with a tall glass of cold milk, either dairy or a plant-based alternative. It’s pure comfort! My family also loves them as a little pick-me-up during after-school hours when everyone’s energy is starting to dip. They’re just an all-around winner, fitting in perfectly wherever you need a little burst of energy and deliciousness.
Top Tips for Perfecting Your No-Bake Energy Bites
I’ve made these energy bites more times than I can count, and over the years, I’ve picked up a few tricks that I think really make a difference. First off, when it comes to your oats, definitely stick with old-fashioned rolled oats. Quick oats tend to break down too much and can make the texture a bit mushy or gummy, which isn’t quite what we’re going for here. For the nut butter, I always recommend using a natural, drippy variety. The kind where the oil separates is perfect! If you use a super stiff, processed nut butter, your mixture might turn out too dry, and you’ll have to add more liquid, which can sometimes alter the texture. Speaking of mixing, don’t be afraid to get your hands in there! While a spoon works, using your hands allows you to feel the mixture and ensure everything is properly incorporated. You want it to be sticky enough to hold together but not so wet that it’s unmanageable. If your mixture feels too dry and crumbly, add your milk (or other liquid) a tablespoon at a time. Trust me, adding too much at once can quickly turn your perfectly good dough into a sticky mess! For the add-ins, I’ve learned that folding them in gently at the end is key. You don’t want to overwork the dough after you’ve added things like chocolate chips, or they might start to melt or break down too much. When it comes to rolling, if the mixture is sticking to your hands, a quick rinse and dry, or a light spray of cooking oil on your palms, usually does the trick. And finally, the chilling step is non-negotiable! That 30 minutes in the fridge is what transforms them from a sticky dough into perfectly formed energy bites. It really makes all the difference in their structure and how well they hold up.
Storing and Reheating Tips
One of the best things about these no-bake energy bites is how well they store. Once they’ve firmed up in the fridge, I like to transfer them to an airtight container. They’ll keep beautifully in the refrigerator for about 1 to 2 weeks. I often make a big batch on Sunday, and they last us right through the week. They stay nice and firm this way, and the flavors actually seem to meld together even more over time. If you find that they start to get a little dry after a few days, you can sometimes refresh them by adding a tiny splash of milk to the container, but honestly, I rarely need to. If you won’t be able to get through them within a couple of weeks, or you just like to have them on hand for longer, they freeze wonderfully! Place them in a single layer on a baking sheet and freeze until solid, then transfer them to a freezer-safe bag or container. They’ll last for up to 3 months in the freezer. To thaw, just move them from the freezer to the refrigerator and let them chill overnight. They’ll be just as good as when you first made them. I usually don’t add any glaze to them if I plan to freeze them, as glazes can sometimes crack or become a bit gummy after thawing. It’s best to add any decorative touches after they’ve been thawed and are ready to be eaten.
Frequently Asked Questions
Final Thoughts
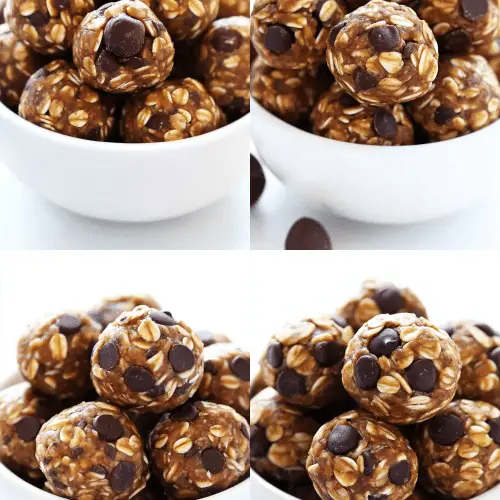
I really hope you give these no-bake energy bites a try! They’re truly one of those recipes that have earned a permanent spot in my kitchen rotation because they’re just so darn reliable and delicious. They’re proof that you don’t need a lot of fuss or fancy ingredients to make something truly satisfying and good for you. Whether you need a quick breakfast, a healthier snack for the kids, or just a little something to power you through an afternoon slump, these bites deliver. I love hearing from you all, so please let me know in the comments below if you make them, how you customize them, or any of your own favorite add-ins! Your feedback and your own culinary adventures always inspire me. Happy snacking!
no-bake energy bites
Ingredients
Main Ingredients
- 1 cup rolled oats
- 0.5 cup peanut butter creamy or crunchy
- 0.33 cup honey or maple syrup for vegan option
- 0.5 cup chocolate chips mini or regular
- 0.33 cup ground flaxseed
- 1 teaspoon vanilla extract
Instructions
Preparation Steps
- In a medium bowl, combine the rolled oats, peanut butter, honey (or maple syrup), ground flaxseed, and vanilla extract.
- Stir until all ingredients are well combined and form a sticky dough.
- Fold in the chocolate chips.
- Roll the mixture into small balls, about 1 inch in diameter. You should get about 12 balls.
- Place the energy bites on a baking sheet lined with parchment paper and refrigerate for at least 30 minutes to firm up.
- Serve chilled. Store in an airtight container in the refrigerator.