
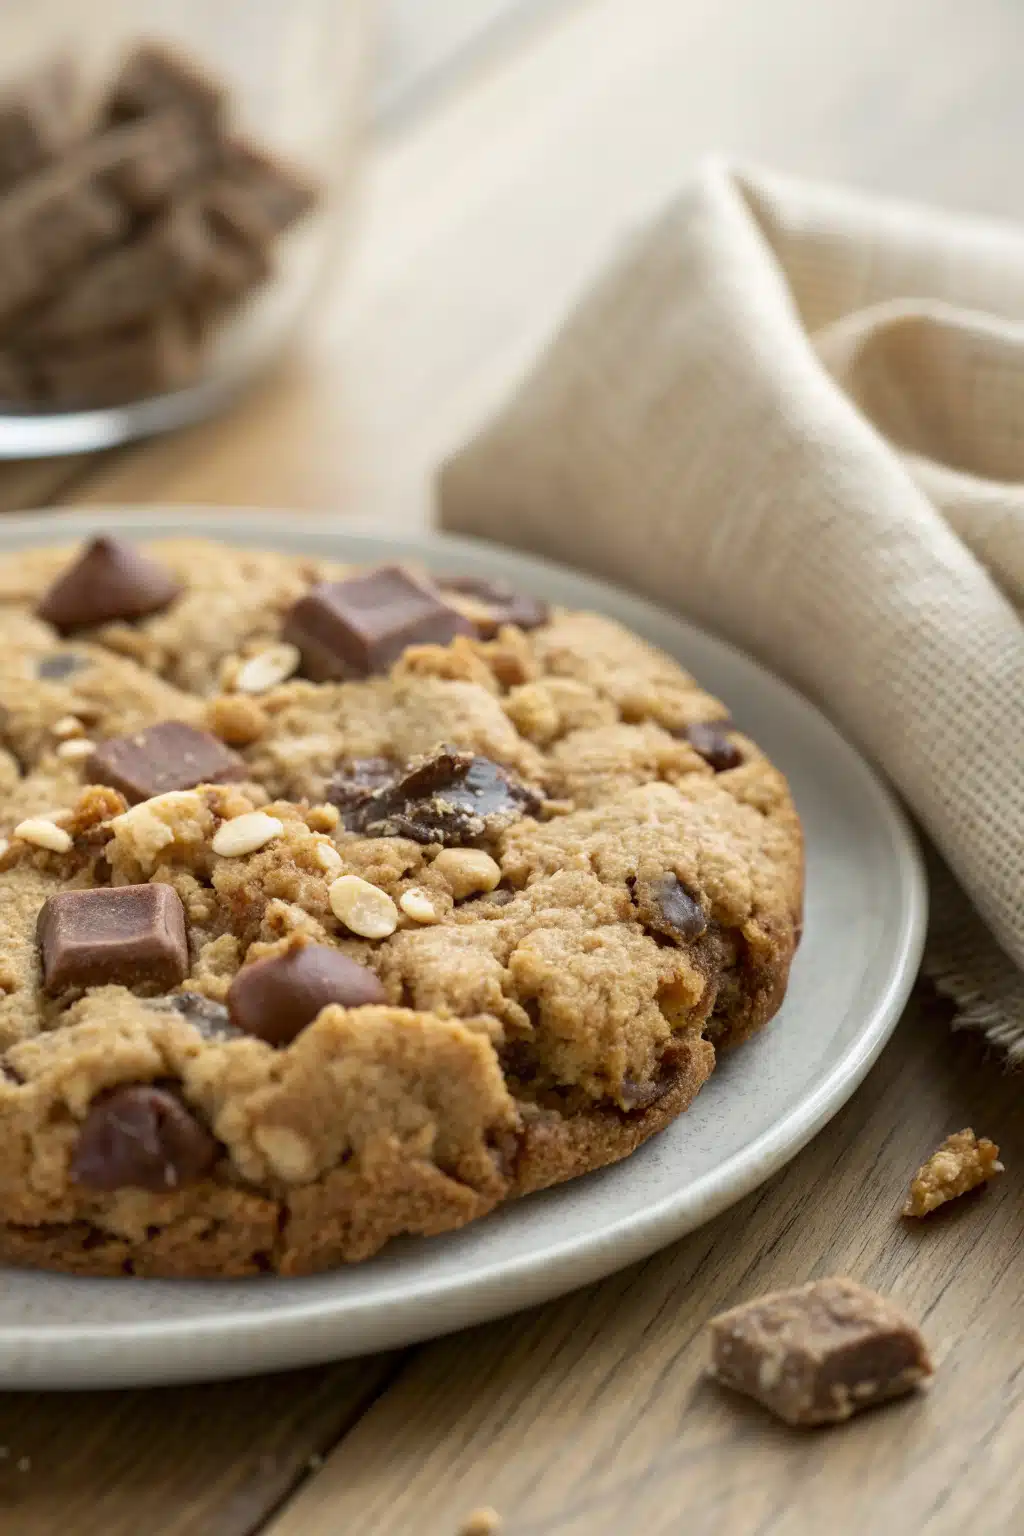
Monster Cookies
Let’s be real—who doesn’t love a cookie that feels like it was plucked straight from a candy factory? These monster cookies are the ultimate crowd-pleaser, loaded with everything but the kitchen sink. Think gooey Peanut Butter, crunchy M&Ms, chewy pretzels, and a hint of salt that makes each bite feel like pure magic. I first made these at a family picnic years ago when I needed something quick, impressive, and utterly irresistible. Since then, they’ve become my go-to treat for potlucks, bake sales, or just because it’s Wednesday and you deserve a little indulgence.
Thank you for reading this post, don't forget to subscribe!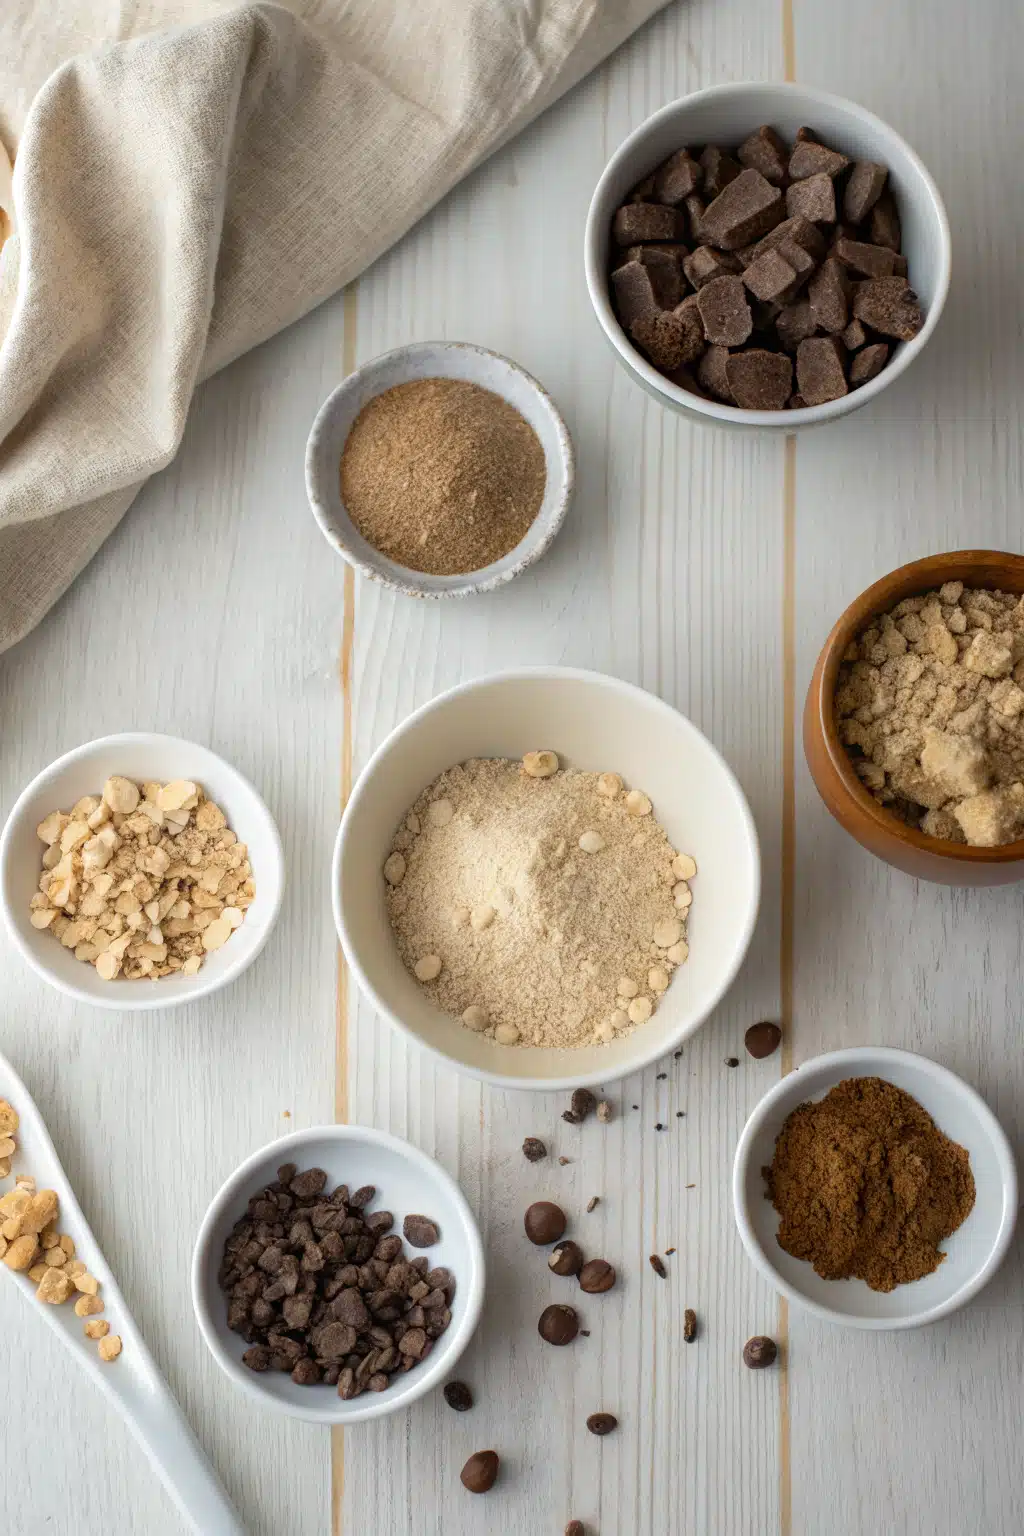
What Is Monster Cookies?
These aren’t your average Chocolate Chip Cookie. A true monster cookie is a dense, chunky bar packed with multiple textures and flavors. Originating as a diner favorite, they’re essentially a hybrid between a cookie and a blondie, featuring a soft, cake-like base studded with candies, nuts, cereal, and even savory bits like pretzels or marshmallows. What makes them stand out isn’t just their size (they’re big!) but their bold flavor balance—sweet meets salty, chewy meets crunchy, all in one handheld delight. They’re perfect for sharing, but let’s face it… you might not want to.
Why You’ll Love This Recipe
This version hits all the right notes: tender edges, slightly crisp tops, and a satisfying chew throughout. The secret lies in the ratio of wet to dry ingredients—enough moisture to hold the chaos together without making the dough soggy. I always use Creamy Peanut Butter here; it binds better than crunchy and adds a rich depth that complements the sweetness perfectly. And don’t skimp on the mix-ins! The more colorful and varied, the more fun these look (and taste). Kids and adults alike go wild for them, especially when they’re still warm from the oven. Plus, they freeze beautifully, so you can make a batch ahead and thaw what you need—no judgment here.
How to Make Monster Cookies
Quick Overview
Making monster cookies is surprisingly simple. Cream butter and sugars together, add eggs and vanilla, then mix in flour and baking soda. Fold in your favorite mix-ins—Peanut Butter chips, M&Ms, pretzel pieces, whatever speaks to you—and drop spoonfuls onto a lined sheet pan. Bake until golden around the edges, cool completely, then slice into thick bars. Done in under 45 minutes, with cleanup minimal. It’s messy, it’s sweet, and it’s worth every bit.
Ingredients
- 1 cup (2 sticks) unsalted butter, softened
- ¾ cup creamy peanut butter
- 1½ cups light brown sugar
- ¾ cup granulated sugar
- 2 large eggs
- 2 teaspoons pure vanilla extract
- 2¼ cups all-purpose flour
- 1 teaspoon baking soda
- ¾ teaspoon salt
- 2 cups semi-sweet chocolate chips
- 1 cup M&M’s candies (plus extra for sprinkling on top)
- 1 cup crushed pretzel pieces
- ½ cup chopped walnuts or pecans (optional)
- ½ cup shredded coconut (optional)

Step-by-Step Instructions
Step 1: Preheat & Prep Pan
Preheat your oven to 350°F (175°C). Line two large baking sheets with parchment paper or silicone mats. Having two pans ready helps prevent overcrowding, which ensures even baking and easy removal later.
Step 2: Cream Butter & Sugars
In a large mixing bowl, beat the softened butter and Peanut Butter together until smooth and fluffy—about 2 minutes with an electric mixer. Scrape down the sides occasionally. Add both sugars and continue beating until light and airy. This step is key for texture!
“The monster cookies turned out amazing. My kids asked for seconds. Saving this one!”
Step 3: Add Wet Ingredients
Beat in the eggs one at a time, blending well after each addition. Mix in the vanilla extract. The batter should be thick but spreadable—if it looks too dry, add another tablespoon of peanut butter.
Step 4: Combine Dry Ingredients
In a separate bowl, whisk together the flour, baking soda, and salt. Gradually add this dry mixture to the wet ingredients, stirring just until combined. Overmixing leads to tough cookies, so stop as soon as no white streaks remain.
Step 5: Fold In Mix-Ins
Using a spatula, gently fold in the chocolate chips, M&Ms, pretzel pieces, nuts, and coconut (if using). Be generous—this is what gives monster cookies their name and personality!
Step 6: Scoop & Bake
Drop rounded tablespoons of dough onto the prepared baking sheets, spacing them about 2 inches apart. Press down lightly with your fingers if desired. Sprinkle additional M&Ms on top for visual appeal. Bake for 12–14 minutes, rotating halfway through, until edges are golden but centers still look soft.
Step 7: Cool & Slice
Allow cookies to cool on the baking sheet for at least 10 minutes before transferring to a wire rack. Once fully cooled (this is important!), cut into squares or rectangles. Patience pays off—warm cookies tear easily!
What to Serve It With
These monster cookies shine as-is, but they pair wonderfully with a cold glass of milk—classic combo, no questions asked. For a grown-up twist, serve with oat milk or even a scoop of vanilla ice cream for a decadent dessert. On brunch tables, they look festive next to fruit salad or yogurt parfaits. And since they’re gluten-free friendly (just swap the flour!), they fit seamlessly into any gathering. Pro tip: wrap individual slices in parchment and tie with twine for cute homemade gifts!
Top Tips for Perfecting Your Monster Cookies
First, room-temperature butter and peanut butter are non-negotiable—they blend easier and create a smoother base. Second, don’t overbake! Centers should stay puffy, not flat. Third, customize your mix-ins based on what you have: add crispy rice cereal for extra crunch, dried fruit for tanginess, or even bacon bits for savory contrast. Finally, let them cool completely before slicing—rushing this step results in crumbly, messy bars. Trust me, wait.
Storing and Reheating Tips
Store leftover monster cookies in an airtight container at room temperature for up to 5 days. Layer with parchment to prevent sticking. For longer storage, freeze unbaked dough balls on a tray, then transfer to a zip-top bag. Bake directly from frozen, adding 1–2 minutes to the usual time. To reheat, pop a cookie in the microwave for 10–15 seconds or warm in a 300°F oven for 8 minutes. Either way, they’ll taste almost fresh-baked.
Frequently Asked Questions
“I don’t know if I’ve ever eaten a better monster cookies. The rub alone is wonderful, but the sauce??? Over the top!”
Final Thoughts
There’s something deeply comforting about a recipe that brings joy without demanding perfection. These monster cookies are proof that simplicity and abundance can coexist—no fancy techniques required, just love, patience, and a generous handful of mix-ins. Whether you’re baking for a holiday, a school event, or simply treating yourself, they never fail to spark smiles. So grab your apron, clear some space on the counter, and let’s make a batch today. Your taste buds (and your friends) will thank you.

Monster Cookies
Ingredients
Main Ingredients
- 1 cup unsalted butter, softened
- 1 cup granulated sugar
- 1 cup packed brown sugar
- 2 large eggs
- 2 teaspoon vanilla extract
- 1 teaspoon baking soda
- 0.5 teaspoon salt
- 3 cup old-fashioned rolled oats
- 1 cup all-purpose flour
- 1 cup semi-sweet chocolate chips
- 1 cup peanut butter chips
- 1 cup M&M's candy-coated chocolates
Instructions
Preparation Steps
- Preheat the oven to 350°F (175°C). Line baking sheets with parchment paper or silicone baking mats.
- In a large bowl, cream together the softened butter, granulated sugar, and brown sugar until light and fluffy.
- Beat in the eggs one at a time, then stir in the vanilla extract.
- In a separate bowl, whisk together the flour, baking soda, and salt. Gradually add this dry mixture to the wet ingredients, mixing just until combined.
- Fold in the oats, chocolate chips, peanut butter chips, and M&M's until evenly distributed.
- Drop rounded tablespoons of dough onto the prepared baking sheets, spacing them about 2 inches apart.
- Bake for 9–11 minutes, or until the edges are lightly golden but the centers still look soft. Do not overbake for a chewy texture.
- Allow cookies to cool on the baking sheet for 5 minutes before transferring them to a wire rack to cool completely.


