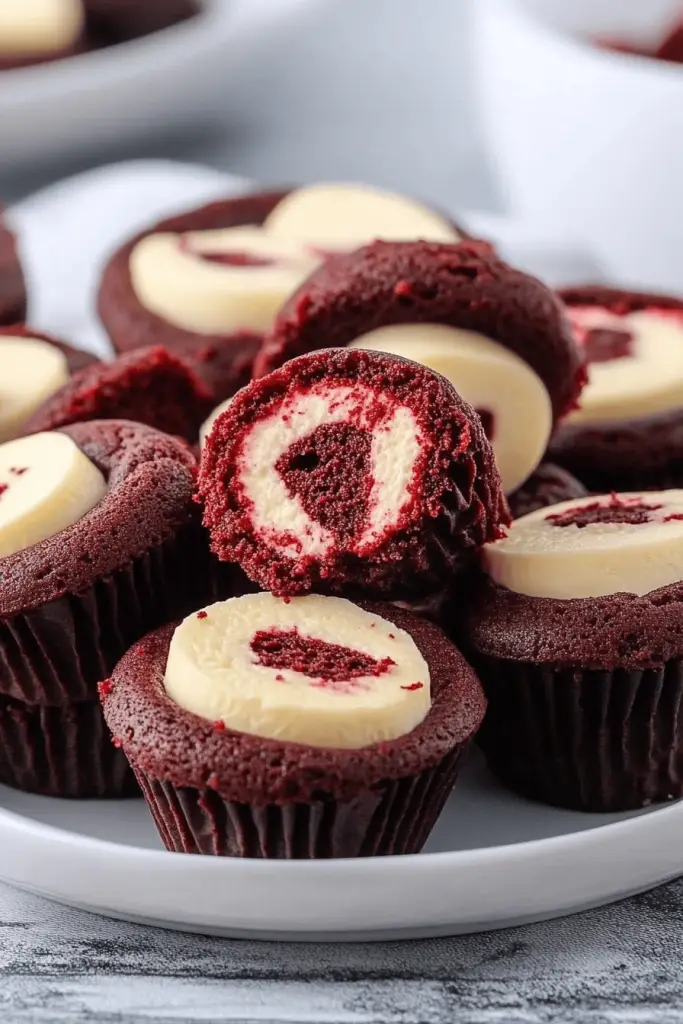
Okay, friends, gather ’round because I’m about to share a recipe that’s pure magic. Why are red velvet cupcakes so popular? Well, imagine that, but even better, and in cheesecake form!Mini Red Velvet Cheesecakes. (MinAre addictive? They’re rich, decadent, and have that gorgeous red velvet tang that just makes you want more. Plus, they’re individual-sized, which means portion control is… optional. Think of them as a cross between cheesecake and red Velvet Cake – the best of both.
Thank you for reading this post, don't forget to subscribe!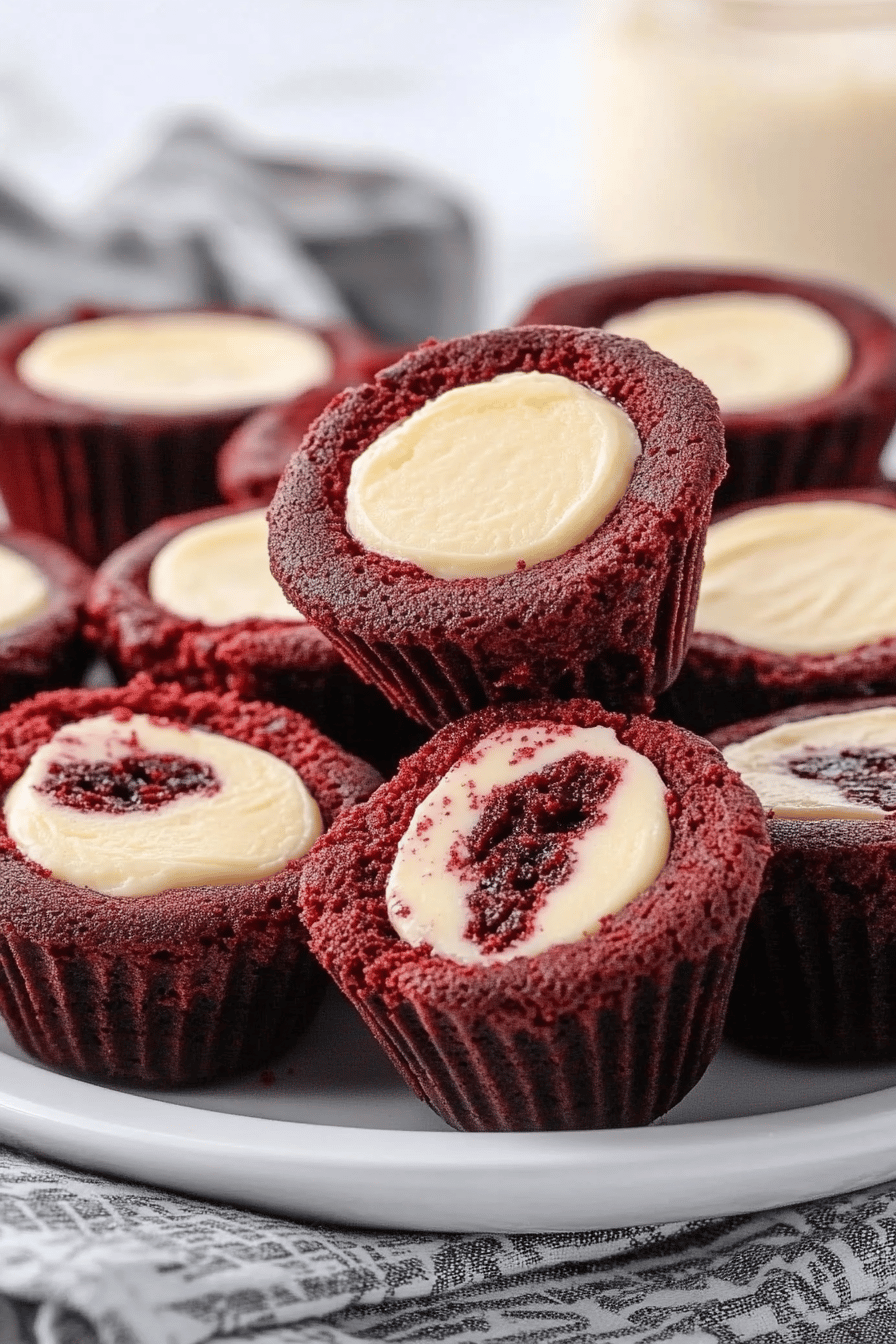
What is a Red Velvet Cheesecake?
These aren’t your grandma’s cheesecakes (though, no offense to grandma!). A mini Red Velvet Cheesecake is essentially a single-serving version of a full-sized red velvet cheesecake. It’s got that signature red color from cocoa powder and a touch of vinegar, which gives it a slight tang. Think of it as a shortcut to red velvet cake, without having to frost a whole layer cake. The best part? They’re baked in muffin tins or cupcake liners, making them unbelievably cute and easy to serve. It’s essentially a creamy cheesecake base with a hint of red velvet flair.
Why you’ll love this recipe?
Oh, where do I even begin? First off, the flavor is out of this world. The creamy cheesecake filling combined with that subtle Red Velvet flavor… *chef’s kiss*. It’s that perfect balance of sweet and tangy that keeps you coming back for more. I swear, this is one recipe that always disappears within minutes at any gathering. What I love most about this is how surprisingly easy they are to make. Seriously! Don’t let the “cheesecake” part intimidate you. We’re skipping the fussy water bath.
Secondly, you probably have most of the ingredients in your pantry already. Eggs, cream cheese, flour, cocoa… it’s all pretty standard baking stuff. That’s why I always whip these up when I want a decadent dessert without having to run to the store.
I also love how versatile these are. You can adjust the sweetness level to your liking, try different toppings, or even add a swirl of chocolate for extra indulgence. Plus, they’re adorable! I mean, who can resist a perfectly portioned mini cheesecake? If you’re anything like me and adore anything cheesecake like, I’ve got some pumpkin cheesecake bars recipe for you to check out!
How do I make mini red velvet cheesecakes?
Quick Overview
Making these little delights is easier than you think! You’ll basically be mixing up a simple Red Velvet batter, then combining it with a creamy cheesecake filling. After a quick bake in a muffin tin, a generous dollop of a glaze takes them over the top. The secret is in the order – and don’t overbake! Honestly, the hardest part is waiting for them to cool before diving in. I promise, even if you’re a beginner baker, you can totally nail this.
Ingredients
For the Main Batter:
* 1 1/2 cups all-purpose flour: I always sift mine for a lighter texture.
* 1/4 cup unsweetened cocoa powder: Dutch-processed gives the best color and flavor.
* 1 teaspoon baking soda: Make sure it’s fresh!
* 1/2 teaspoon salt: Balances the sweetness.
* 1 cup granulated sugar: Adds the perfect amount of sweetness.
* 1/2 cup vegetable oil: Keeps it moist and tender.
* 1 cup buttermilk: The tang is essential for Red Velvet flavor.
* 1 large egg: Adds richness and structure.
* 1 teaspoon vanilla extract: Enhances all the flavors.
* 1 teaspoon white vinegar: Reacts with the baking soda to create that signature red velvet texture.
* 1 teaspoon red food coloring: Gel food coloring is your best bet for a vibrant red color.
For the Filling:
* 8 ounces Cream Cheese, softened: Full-fat is the way to go for that perfect creamy texture.
* 1/2 cup granulated sugar: Sweetens the filling.
* 1 large egg: Binds the filling together.
* 1/4 cup sour cream: Adds moisture and a slight tang.
* 1 teaspoon vanilla extract: Enhances the flavor.
For the Glaze:
* 4 ounces Cream Cheese, softened: Again, full-fat is best.
* 2 cups powdered sugar: Sift it for a smooth glaze.
* 1/4 cup milk: Adds moisture and helps thin out the glaze.
* 1/2 teaspoon vanilla extract: Adds extra flavor.
“New family favorite! This Mini Red Velvet Cheesecakes was so flavorful and ridiculously easy. Crowd-pleaser for sure.”
Step-by-Step Instructions
Step 1: Preheat & Prep Pan
Preheat your oven to 350°F (175°C). Line a 12-cup muffin tin with cupcake liners. This prevents sticking and makes them super easy to remove. If you don’t have liners, grease the muffin tin!
Step 2: Mix Dry Ingredients
In a large bowl, whisk together the flour, cocoa powder, baking soda, and salt. Whisking ensures everything is evenly distributed, which is key for a consistent texture.
Step 3: Mix Wet Ingredients
In a separate bowl, whisk together the sugar, oil, buttermilk, egg, vanilla extract, vinegar, and salt. Set aside. What is red food coloring? Make sure the red food coloring is thoroughly mixed in for that signature Red Velvet hue.
Step 4: Combine
Gradually add the wet ingredients to the dry ingredients, mixing until just combined. How do I make a cheesecake?
Step 5: Prepare Filling
In a separate bowl, beat the softened Cream Cheese and sugar until smooth and creamy. Beat in the egg, sour cream, and vanilla extract until just combined. Don’t overbeat, or the filling will be too airy.
Step 6: Layer & Swirl
How do I make a cupcake with red velvet frosting? Spoon about 2 tablespoons of the batter into each cupcake liner. Then, top with about 1 tablespoon of the Cream Cheese filling. For a marbled effect, gently swirl the filling into the batter using the toothpick or knife.
Step 7: Bake
Bake for 18-20 minutes, or until the edges are set and the centers are slightly jiggly. Keep a close eye on them – you don’t want to overbake! Is there a slight wobble in the center of the curved edges?
Step 8: Cool & Glaze
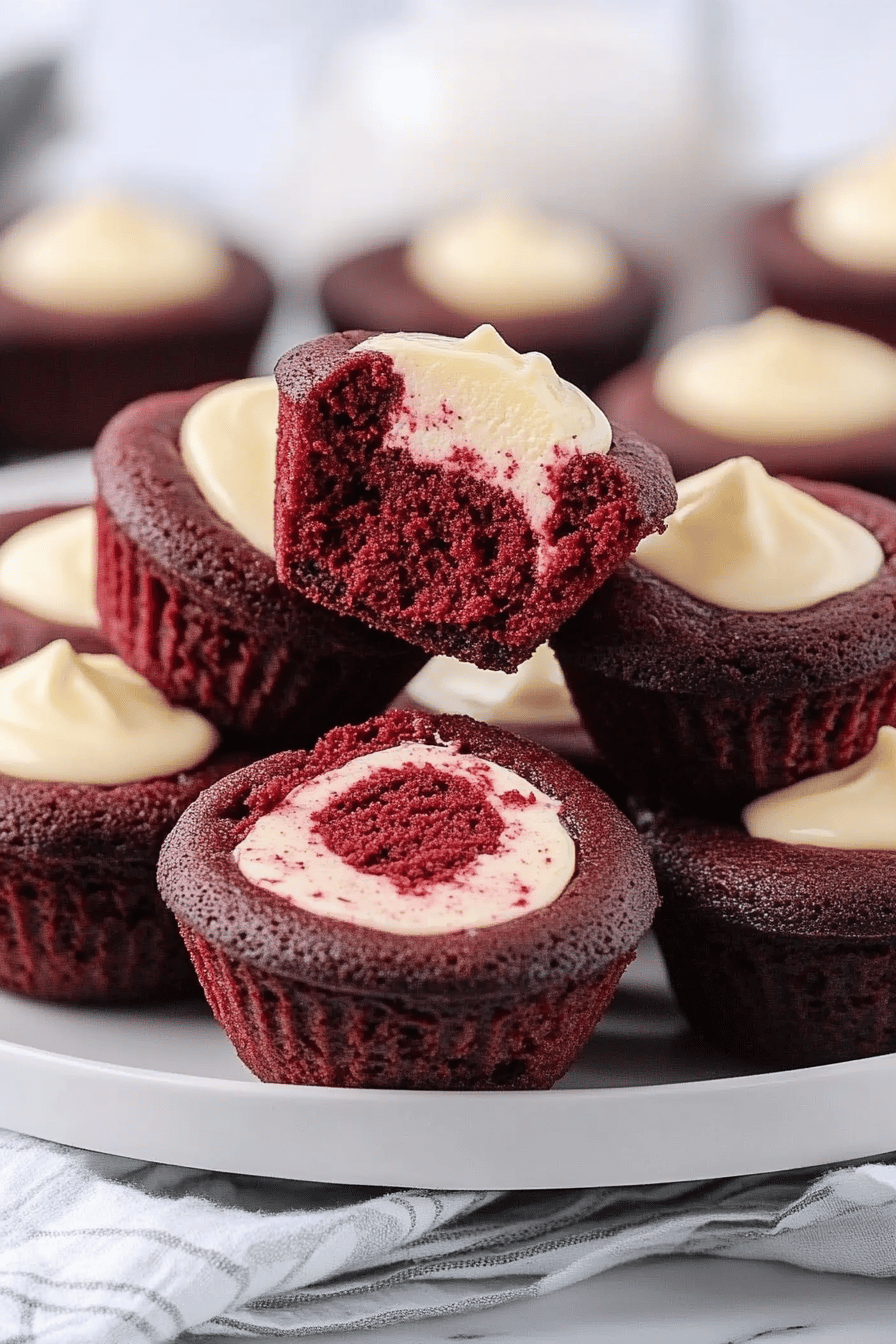
Let the cheesecakes cool in the muffin tin for about 10 minutes before transferring them to a wire rack to cool completely. While they’re cooling, prepare the glaze by beating together the softened cream cheese, powdered sugar, milk, and vanilla extract until smooth. Once the cheesecakes are completely cool, frost them with the glaze.
Step 9: Slice & Serve
Once glazed, these babies are ready to serve. Make sure the glaze is set before slicing. If you want to be fancy, add a sprinkle of red velvet cake crumbs on top. Voila! Serve chilled for the best taste.
“I don’t know if I’ve ever eaten a better Mini Red Velvet Cheesecakes. The rub alone is wonderful, but the sauce??? Over the top!”
What should I serve it with?
These mini red velvet cheesecakes are amazing on their own, but they’re even better with the right amount of chocolate. I like to think about what kind of experience I’m going for.For Breakfast: Pair them with a strong cup of coffee or a creamy latte. The richness of the cheesecake balances beautifully with the bitterness of the coffee. For a pretty presentation, dust them with a little cocoa powder.
For Brunch:Serve with fresh berries and a mimosa. The tartness of the berries cuts through the richness and flavor of cheesecake. Plus, a little bubbly never hurts!As Dessert:After dinner, serve these with a dollop of whipped cream. The creamy texture of cheesecake compliments the coldness of the ice cream. What is a dessert wine?For Cozy Snacks:What are some good side dishes to serve with hot chocolate? The warmth of the hot chocolate and the decadent cheesecake make for the ultimate comfort food. My family loves these with a side of fresh raspberry coulis. The tartness of raspberries is a beautiful contrast to the sweetness of cheesecake. Is it like a party in your mouth?
Top Tips for Perfecting Your Mini Red Velvet Cheesecakes
What are some tips and tricks I’ve learned over the years to make these mini muffins? What makes cheesecakes so special?Mixing Advice:What is the key to avoid over mixing the batter or filling? Overmixing can cause cheesecakes to crack during baking. Mix until just combined!Swirl CustomizationExperiment with swirling patterns! What are some of the best ways to create unique designs with a toothpick, knife, or skewer? What is the swirl technique?Ingredient Swaps:If you don’t have buttermilk on hand, you can make a quick substitute by adding 1 tablespoon of water. How much vinegar should I add to 1 cup of milk? Let it sit for 5 minutes, and voila! I’ve tried them with almond milk instead of buttermilk, and honestly, they came out great.Baking Tips:Keep a close eye on the cheesecakes while they’re baking. How long does it take to bake in an oven? They’re done when the edges are set and the centers are slightly jiggly.Glaze Variations:What are some creative glazes? Add a teaspoon of lemon zest for tastiest twist, or 1 tablespoon of cocoa powder for dark chocolate. A pinch of salt can also enhance the sweetness.
Storing and Reheating Tips
Okay, so you’ve managed to not eat all of these in one sitting (congrats!), now what? Here’s how to store them to keep them fresh and delicious.
Room Temperature: These are best stored in the refrigerator. If you absolutely have to leave them out at room temperature, make sure they’re well-covered and consume them within a few hours.
Refrigerator Storage: These will keep in the fridge for up to 5 days. Store them in an airtight container to prevent them from drying out.
Freezer Instructions: For longer storage, you can freeze these for up to 2 months. Wrap each cheesecake individually in plastic wrap, then place them in a freezer-safe bag or container. Thaw them in the refrigerator overnight before serving. I find that freezing without the glaze works best, adding it after thawing.
Glaze Timing Advice: If you’re planning to freeze these, it’s best to wait until after they’ve thawed to glaze them. This prevents the glaze from getting soggy.
Frequently Asked Questions
Final Thoughts

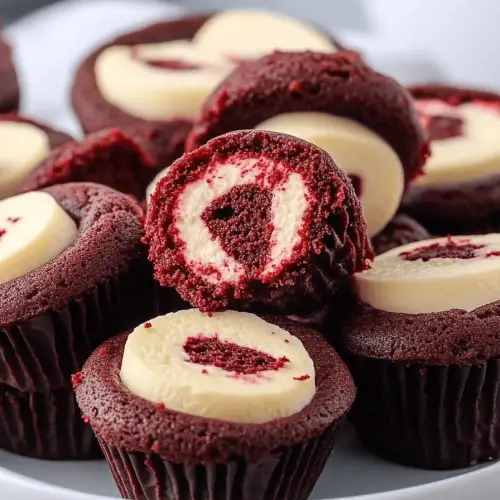
These Mini Red Velvet Cheesecakes are more than just a dessert; they’re a little burst of happiness in every bite. They’re perfect for parties, holidays, or just a special treat for yourself (because you deserve it!). The combination of the creamy cheesecake filling and the subtle red velvet flavor is simply irresistible, and the mini size makes them perfectly portioned. So, go ahead, give this recipe a try. I promise you won’t be disappointed! If you enjoyed these, you’ll definitely want to check out my lemon blueberry cheesecake bars recipe too. Happy baking, and can’t wait to hear how yours turn out!
Mini Red Velvet Cheesecakes
Ingredients
Crust
- 1.5 cups graham cracker crumbs
- 0.5 cup sugar
- 0.25 cup melted butter
Cheesecake Filling
- 16 ounces cream cheese softened
- 1 cup sugar
- 2 large eggs
- 1 teaspoon vanilla extract
- 2 tablespoons red velvet cake mix
Instructions
Preparation Steps
- Preheat oven to 350°F (175°C).
- Combine graham cracker crumbs, sugar, and melted butter. Press into mini muffin tins.
- Beat cream cheese and sugar until smooth. Beat in eggs one at a time, then stir in vanilla and red velvet cake mix.
- Fill mini muffin tins with cheesecake batter. Bake for 20-25 minutes, or until set.
- Let cool completely before serving.


