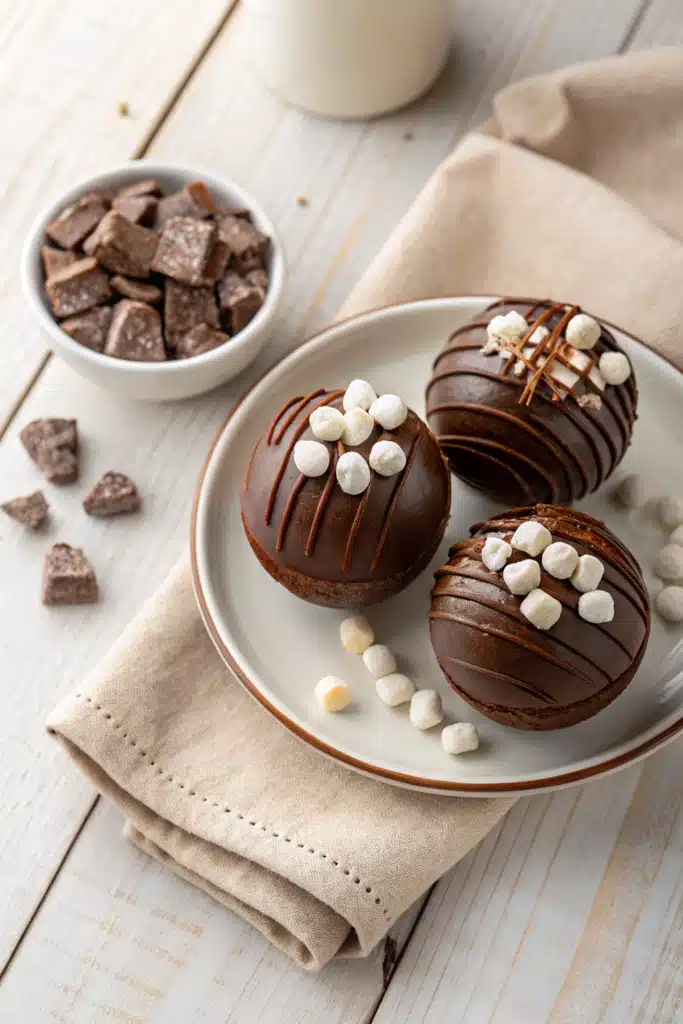
Hot Cocoa Bombs: The Cozy Treat That Melts Your Heart (and Your Mug)
There’s something truly magical about that first sip of Hot Cocoa on a frosty morning—or after a long day when all you want is warmth and comfort. But what if I told you there’s a way to make that moment even more special? Enter hot cocoa bombs: little chocolate spheres packed with marshmallows and cocoa mix that explode into creamy, dreamy goodness when you pour hot milk over them. I first tried these last winter when a friend brought them to a holiday gathering, and honestly? I’ve been obsessed ever since. They’re fun to make, gorgeous to look at, and absolutely divine to drink. Plus, they feel like a little act of self-care—or the perfect gift for someone you love. Today, I’m sharing my go-to recipe, honed through a few batches and plenty of taste-testing (all in the name of research, of course!).
Thank you for reading this post, don't forget to subscribe!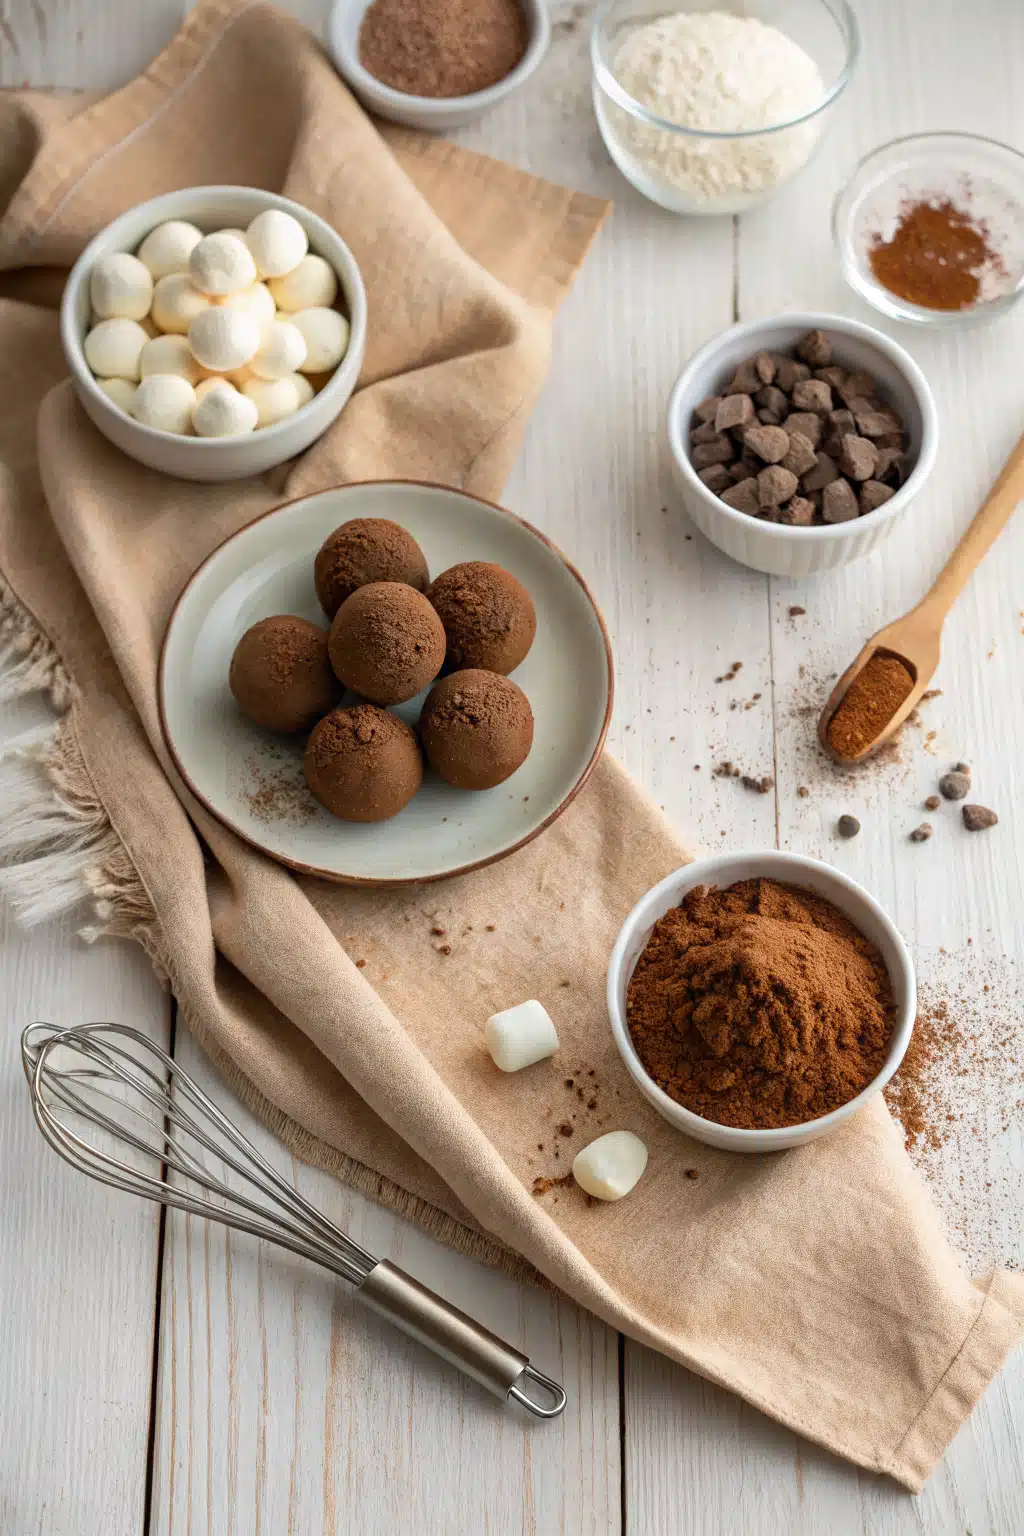
What Is Hot Cocoa Bombs?
Hot Cocoa bombs are exactly what they sound like—edible “bombs” made of chocolate shells filled with dry hot cocoa mix, mini marshmallows, and sometimes extra treats like crushed peppermint or cinnamon. When you drop one into a mug and pour steaming milk over it, the chocolate melts slowly, releasing the cocoa and marshmallows into a rich, velvety drink that’s basically happiness in liquid form. They originated as a fun twist on traditional hot chocolate but have quickly become a viral sensation—especially during the holidays. Think of them as dessert and beverage rolled into one adorable, melt-in-your-mug package. And the best part? You can customize them endlessly to match your mood, season, or flavor cravings.
Why You’ll Love This Recipe
First off, these are so much fun to make—even if you’re not a seasoned baker. There’s something deeply satisfying about carefully filling chocolate halves and watching them seal into perfect little orbs. It feels almost like crafting, but tastier. And because they’re made with real chocolate (not that waxy stuff), every sip is rich, smooth, and deeply chocolatey without being overly sweet. I also love how versatile they are: swap in Dark Chocolate for a grown-up version, add a pinch of chili powder for warmth, or tint the shells with food coloring for birthdays or baby showers. They’re also a total crowd-pleaser—kids adore the “explosion” effect, and adults appreciate the thoughtful homemade touch. Plus, they store beautifully, so you can whip up a batch ahead of time and have cozy drinks ready whenever the mood strikes. Whether you’re gifting them in a cute jar or treating yourself after a snowy walk, hot cocoa bombs turn an ordinary beverage into a moment worth savoring.
How to Make Hot Cocoa Bombs
Quick Overview
This recipe makes about 6–8 cocoa bombs, depending on the size of your molds. The process involves melting chocolate, lining silicone molds, filling the shells with cocoa mix and marshmallows, sealing them, and then decorating if desired. It takes about 30 minutes of active time, plus chilling time—so plan ahead! The key is working gently with the chocolate to avoid blooming (that weird white streaks) and making sure your seals are tight so nothing leaks when you add the hot milk.
Ingredients
You’ll need:
- 12 oz (about 2 cups) high-quality melting chocolate or chocolate chips (semisweet or milk chocolate work great)
- 1/2 cup premium hot cocoa mix (store-bought or homemade—I like using one with real vanilla)
- 1/3 cup mini marshmallows (plus extra for topping if you like)
- Optional: 1/4 tsp peppermint extract, sprinkles, edible glitter, or crushed candy canes for flavor and flair
- Silicone hemisphere molds (usually 2–3 inches in diameter)
“Made the hot cocoa bombs tonight and wow — perfect weeknight dinner. Will definitely make again!”
Step-by-Step Instructions
Step 1: Melt the Chocolate
Break the chocolate into small, even pieces and melt it using a double boiler or in 20-second intervals in the microwave, stirring between each round. You want it smooth and glossy—not hot or bubbly. If using peppermint extract, stir it in now.
Step 2: Line the Molds
Spoon about 1–2 teaspoons of melted chocolate into each mold cavity. Use a clean brush or the back of a spoon to spread the chocolate evenly up the sides, making sure there are no thin spots. Aim for a thickness of about 1/8 inch. Place the molds on a flat tray and chill for 10–15 minutes, until the chocolate is completely set.
Step 3: Fill the Shells
Remove the chocolate halves from the molds gently. On the flat side of one half, place 1 tablespoon of hot cocoa mix and 1 tablespoon of mini marshmallows. Add any extras like crushed peppermint here.
Step 4: Seal the Bombs
Warm a plate slightly (just 10 seconds in the microwave), then press the rim of the empty chocolate half onto the warm plate for a few seconds to melt the edge slightly. Quickly place it on top of the filled half and press gently to seal. Smooth any seams with your fingertip dipped in warm chocolate if needed.
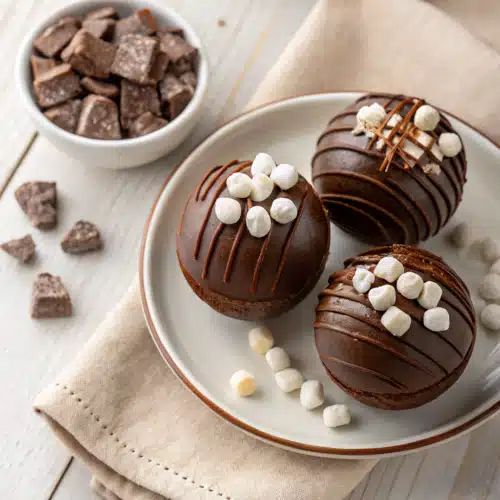
Step 5: Decorate & Set
Drizzle with leftover chocolate, sprinkle with toppings, or roll in cocoa powder. Let the bombs set completely at room temperature or in the fridge for 10 minutes. Store in an airtight container until ready to use.
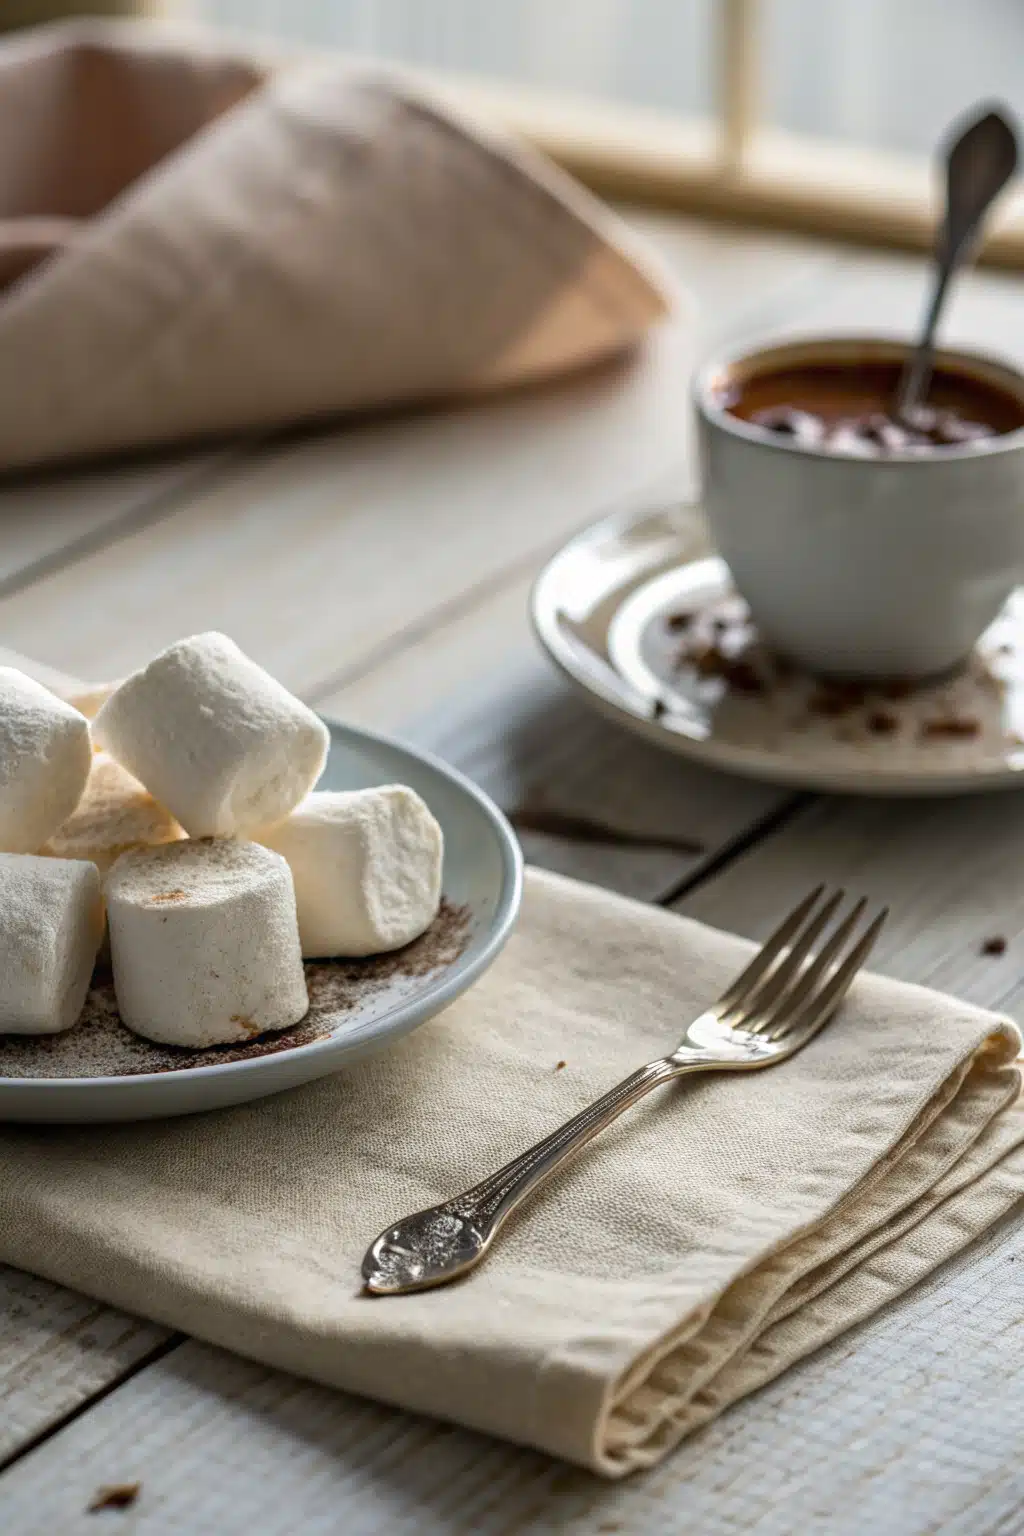
What to Serve It With
While hot cocoa bombs are stars on their own, I love serving them with a few cozy companions: a stack of warm cookies (gingersnaps are my favorite), a bowl of fresh Whipped Cream, or even a side of cinnamon sticks for stirring. For a festive touch, pair them with a mug rug or a knitted coaster—and don’t forget a good book or some soft music! They’re also perfect alongside a charcuterie board during holiday gatherings or as part of a winter care package for a friend who needs a little warmth.
Top Tips for Perfecting Your Hot Cocoa Bombs
Use high-quality chocolate—it makes all the difference in flavor and melt. Avoid overheating the chocolate; gentle is better than fast. Make sure your molds are clean and dry before starting—any water can cause the chocolate to seize. If your bombs crack when sealing, just dab a bit of warm chocolate over the seam and smooth it out. And finally, don’t skip the chilling step! It ensures the shells hold their shape and don’t melt too quickly in the mug.
Storing and Reheating Tips
Store your cocoa bombs in an airtight container at room temperature for up to 2 weeks, or in the fridge for up to a month (though I doubt they’ll last that long!). Keep them away from heat or sunlight to prevent melting. To use, simply place one in a mug, pour 6–8 oz of hot milk (or your favorite non-dairy alternative) over it, and stir gently as it melts. No reheating needed—just instant cozy magic!
“Packed with flavor and so simple. Exactly what I wanted from this hot cocoa bombs!”
Frequently Asked Questions
Final Thoughts

Making hot cocoa bombs has become one of my favorite winter rituals—it’s equal parts creativity, comfort, and joy. There’s something so grounding about slowing down to craft something beautiful with your hands, especially when it ends with a mug of something this delicious. Whether you’re gifting them, serving them at a party, or just treating yourself on a quiet evening, I hope this recipe brings you as much warmth and happiness as it’s brought me. Now go grab your favorite mug, turn up the fireplace (or the space heater!), and enjoy every last sip. You’ve earned it.
Hot Cocoa Bombs
Ingredients
Main Ingredients
- 1 cup semi-sweet chocolate chips
- 0.25 cup heavy cream
- 2 tablespoons powdered sugar
- 0.5 teaspoon vanilla extract
- 0.25 cup mini marshmallows
- 0.25 cup cocoa powder for dusting, optional
- 6 silicone hemisphere molds 2.5-inch diameter
Instructions
Preparation Steps
- Heat the heavy cream in a small saucepan over medium heat until just simmering. Do not boil.
- Place the chocolate chips in a heatproof bowl. Pour the hot cream over the chocolate and let sit for 2 minutes.
- Add powdered sugar and vanilla extract to the chocolate mixture. Stir gently until smooth and fully combined.
- Divide the mixture evenly among the silicone hemisphere molds, filling each about 3/4 full. Tap the molds gently on the counter to remove air bubbles.
- Place molds on a baking sheet and freeze for 15–20 minutes, or until firm.
- Remove from freezer and carefully pop out the chocolate shells. Place three shells with the open side up on a parchment-lined tray.
- Fill each shell with about 1 tablespoon of mini marshmallows.
- Warm a plate slightly in the microwave for 10 seconds, then press the flat side of the remaining chocolate shells onto the warm plate for 2–3 seconds to slightly melt the edges.
- Immediately place the melted-edge shells on top of the filled halves and gently press together to seal. Smooth any seams with a fingertip dipped in warm water.
- Optional: Roll the finished bombs in cocoa powder for a decorative finish. Store in an airtight container in the refrigerator for up to 2 weeks.
- To serve, place one hot cocoa bomb in a mug and pour 8 oz of hot milk over it. Stir until melted and enjoy.


