You know those recipes that just feel like a warm hug? The ones that instantly transport you back to happy memories, or create new ones on the spot? This Honey Butter Skillet Corn is absolutely one of those for me. I remember the first time I made it, on a chilly autumn evening when I was craving something comforting but didn’t want to spend hours in the kitchen. The aroma that filled my house was pure magic, and my family’s reaction? Let’s just say it disappeared faster than I could even snap a picture. It’s become our go-to, a real lifesaver on busy weeknights, and a dish that always brings smiles. If you’ve ever had those incredibly moist, sweet, and tender corn muffins from your favorite bakery, this honey butter skillet corn is like its rustic, even more delicious cousin. It’s the kind of thing that makes you feel like a culinary rockstar with minimal effort, and honestly, who doesn’t love that?
Thank you for reading this post, don't forget to subscribe!
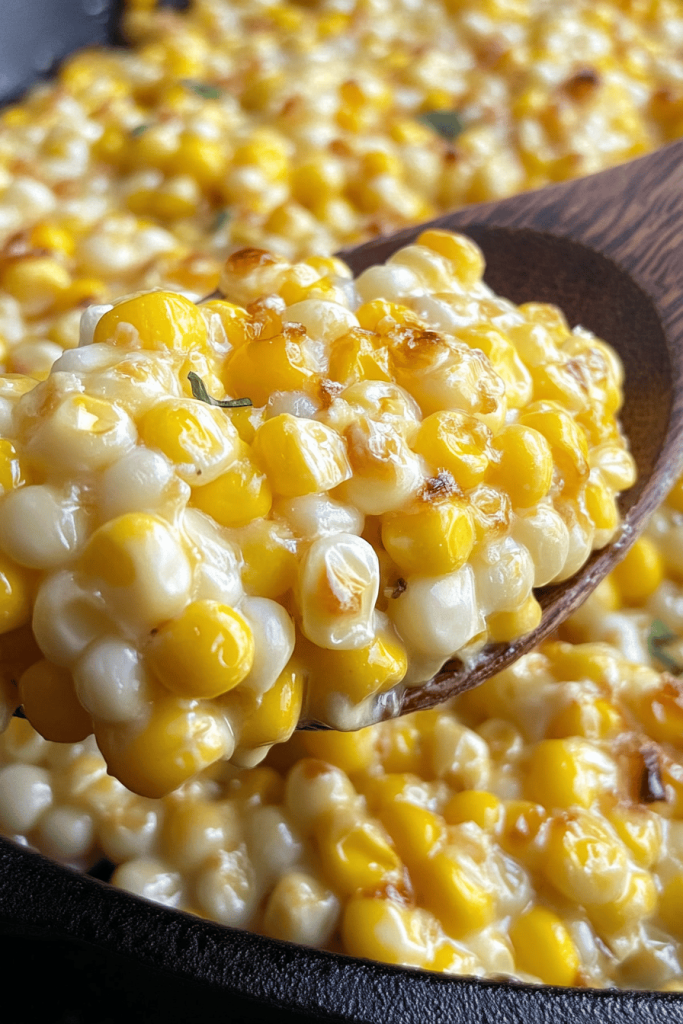
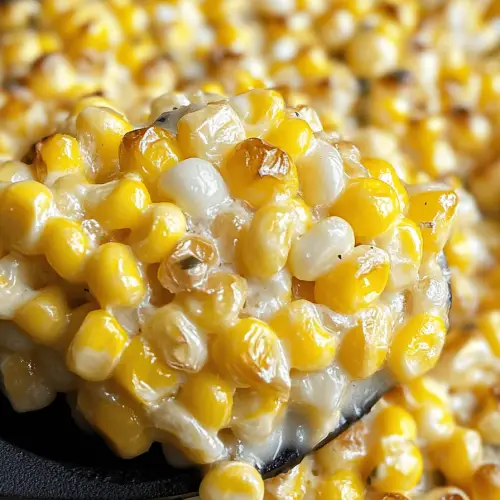
What is honey butter skewer corn?
So, what exactly *is* this delightful creation? Think of it as the Ultimate Comfort food, elevated. It’s essentially a moist, tender, slightly sweet corn cake baked in a cast-iron skillet until it’s golden brown and incredibly fragrant. The “honey butter” part isn’t just a name; it’s the soul of the dish. We’re talking about a rich, luscious combination of melted butter and sweet honey that seeps into every corner of the cake as it bakes, creating this unbelievably decadent crust and infusing the whole thing with this irresistible, comforting flavor. It’s not quite a muffin, not quite a cornbread, but something beautifully in between. It’s baked right in the skillet, which means less cleanup (a major win in my book!) and a gorgeous presentation right from oven to table. It’s simple, straightforward, and utterly delightful.
Why you’ll love this recipe?
Honestly, where do I even begin with why I adore this honey butter Skillet Corn so much? First off, the flavor is just out of this world. That warm, sweet, slightly salty bite with the corn studded throughout is pure bliss. It hits all the right notes, you know? It’s sweet enough to feel like a treat, but has that wholesome corn flavor that makes it feel right for any time of day. Then there’s the simplicity. I’ve mentioned it before, but this recipe is genuinely a lifesaver. You can whip up the batter in about 10 minutes flat, pour it into the skillet, and let the oven do all the hard work. It’s perfect for those nights when you get home late or just don’t have the energy for a complicated meal. And talk about cost-effective! The ingredients are pantry staples, meaning you likely already have most of them on hand, making this a budget-friendly option that doesn’t skimp on flavor or satisfaction. What I love most is its versatility. I often serve this as a side dish, alongside grilled chicken or a hearty stew. But let’s be real, it’s also my go-to when I’m craving something a little sweet after dinner but don’t want to bake a whole cake. A generous slice of this warm honey butter skillet corn hits the spot perfectly. It’s the kind of recipe that makes you look like you’ve spent hours in the kitchen, even when you haven’t. Plus, the smell alone brings everyone running to the kitchen, which is always a good sign!
How do I make a honey butter skewer corn?
Quick Overview
Making this Honey Butter skillet corn is wonderfully straightforward. You’ll simply whisk together your wet and dry ingredients separately, combine them gently, then pour the batter into a buttered and honey-coated skillet. A few more drizzles of that glorious honey butter mixture on top, and it’s off to the oven until golden and puffed. The cast-iron skillet helps create this incredible crust while keeping the inside moist and tender. It’s truly foolproof, even if you’re new to baking!
Ingredients
For the Main Batter:
1 ½ cups all-purpose flour: I find all-purpose works best for that classic texture, but if you’re feeling adventurous, a good quality 1-to-1 gluten-free baking Flour Blend can work too (though results might vary slightly in texture). Make sure your flour is fresh, as old flour can make baked goods a bit dense.
¾ cup granulated sugar: For that lovely sweetness. If you prefer it less sweet, you can reduce this slightly, but I find this amount perfect for balancing the other flavors.
1 tablespoon baking powder: This is what gives our skillet corn its beautiful lift and fluffy texture. Make sure it’s not expired!
½ teaspoon salt: Essential for bringing out all the other flavors and balancing the sweetness.
1 cup frozen or fresh corn kernels: I love using frozen corn because it’s available year-round and the kernels are often plump and sweet. If using fresh corn, just cut it right off the cob. Draining frozen corn is important to avoid excess moisture.
For the Filling:
½ cup (1 stick) unsalted butter, melted: This is crucial for that rich flavor and tender crumb. Using unsalted butter lets you control the saltiness yourself.
½ cup milk: Whole milk gives the best richness, but 2% or even a plain, unsweetened non-dairy milk like almond or soy can work in a pinch. I tested this with almond milk once and it actually made it even creamier!
2 large eggs: These act as a binder and add richness. Make sure they’re at room temperature for easier incorporation.
1 teaspoon vanilla extract: A little hint of vanilla just rounds out the sweetness beautifully.
For the Glaze:
¼ cup (½ stick) unsalted butter, melted: More of that magical butter!
¼ cup honey: Use a good quality honey you love the taste of, as it really shines through. Clover, wildflower, or even a mild orange blossom honey would be wonderful here.
Optional: A pinch of cinnamon or a dash of nutmeg can be added to the glaze for an extra warm spice note, especially if you’re making this in the fall.
“The Honey butter skillet corn turned out amazing. My kids asked for seconds. Saving this one!”
Step-by-Step Instructions
Step 1: Preheat & Prep Pan
First things first, get your oven preheated to 375°F (190°C). While the oven is warming up, grab a 10-inch cast-iron skillet. Add the ¼ cup of butter for the glaze to the skillet and pop it into the preheating oven for about 5-10 minutes, just until the butter is melted and lightly sizzling. Once it’s melted, carefully remove the skillet from the oven (it will be hot!) and drizzle in the ¼ cup of honey. Swirl it around to coat the bottom and lower sides of the pan. This is going to create that irresistible sweet, caramelized crust on the bottom of your skillet corn. Set this prepared skillet aside while you make the batter.
Step 2: Mix Dry Ingredients
In a large mixing bowl, whisk together the 1 ½ cups of all-purpose flour, ¾ cup granulated sugar, 1 tablespoon baking powder, and ½ teaspoon salt. Whisking them together well ensures that the baking powder and salt are evenly distributed throughout the batter, which means your skillet corn will rise beautifully and have a consistent flavor. You don’t want pockets of salt or baking powder!
Step 3: Mix Wet Ingredients
In a separate medium bowl, whisk together the ½ cup melted butter, ½ cup milk, 2 large eggs, and 1 teaspoon vanilla extract. Whisk until everything is well combined and the mixture is smooth and emulsified. If your eggs are straight from the fridge, whisking them thoroughly will help them incorporate better.
Step 4: Combine
Now, pour the wet ingredients into the bowl with the dry ingredients. Using a spatula or a wooden spoon, gently mix everything together until *just* combined. It’s really important not to overmix here. A few lumps are perfectly fine, even desirable! Overmixing develops the gluten in the flour too much, which can lead to a tough, dense final product. We’re going for tender and moist, remember?
Step 5: Prepare Filling
Gently fold in the 1 cup of corn kernels into the batter. Again, be careful not to overmix. You want those pops of sweet corn distributed throughout. If you’re adding anything extra, like a sprinkle of cheese or some finely chopped jalapeño (oh, that’s a good one!), fold them in now too.
Step 6: Layer & Swirl
Carefully pour the batter into the prepared, preheated skillet with the melted honey butter. Spread it out evenly with your spatula. If you want an extra layer of that glorious honey butter flavor and a beautiful top crust, you can drizzle the remaining 2 tablespoons of melted butter and 2 tablespoons of honey over the top of the batter in a swirl pattern. This is totally optional but highly recommended for maximum deliciousness!
Step 7: Bake
Place the skillet back into the preheated 375°F (190°C) oven. Bake for 30-40 minutes, or until the top is golden brown and a toothpick inserted into the center comes out clean. The edges should be pulling away slightly from the sides of the skillet. Baking time can vary slightly depending on your oven and skillet, so keep an eye on it. If the top is browning too quickly, you can loosely tent it with aluminum foil.
Step 8: Cool & Glaze
Once baked, carefully remove the skillet from the oven. Let it cool in the skillet for at least 10-15 minutes before slicing and serving. This allows the flavors to meld and the structure to set. If you decided to skip the glaze drizzle in step 6, you can brush the top with a little extra honey or melted butter while it’s still warm for a lovely sheen and extra flavor boost.
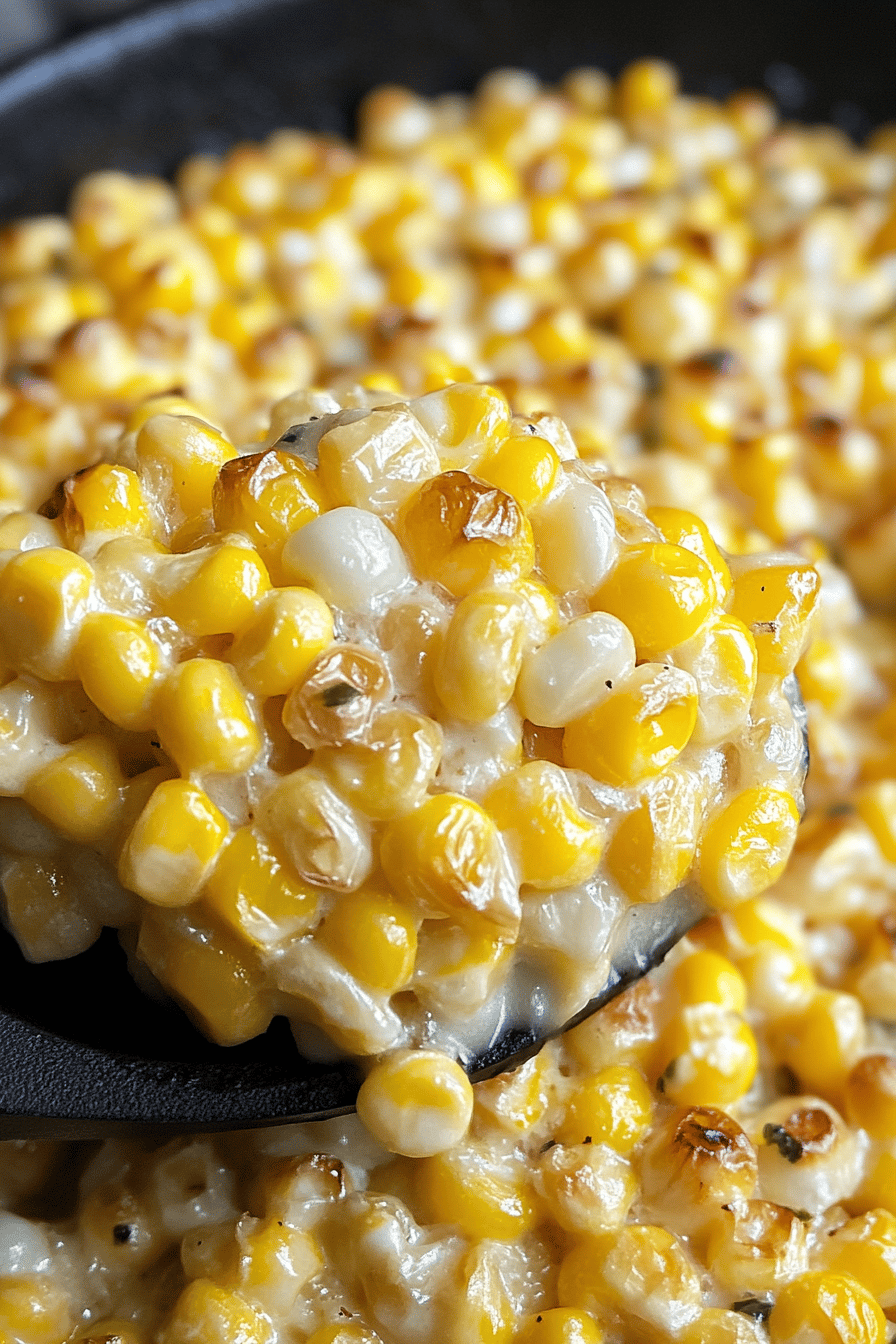
Step 9: Slice & Serve
Use a sharp knife to cut the honey butter skillet corn into wedges directly in the skillet. Serve warm, straight from the pan. The bottom will be wonderfully caramelized and slightly crispy, while the inside is moist, tender, and packed with corn goodness. It’s absolute perfection!
“New family favorite! This Honey butter skillet corn was so flavorful and ridiculously easy. Crowd-pleaser for sure.”
What to Serve It With
This honey butter skillet corn is so incredibly versatile, it truly fits into almost any meal. For breakfast, it’s absolutely divine served warm with a generous smear of butter and a good cup of coffee. It’s like a sweet, satisfying start to the day without being heavy. If you’re looking for a brunch star, imagine this alongside scrambled eggs, crispy bacon, and maybe even some fresh fruit salad. Its slightly sweet profile complements savory brunch dishes beautifully. As a dessert, and yes, I absolutely consider it a dessert sometimes, serve a warm slice with a dollop of whipped cream or a scoop of vanilla bean ice cream. The contrast of warm, sweet corn cake with cold, creamy ice cream is pure magic. And for those cozy snack times? It’s perfect on its own, or perhaps with a small bowl of chili or a Creamy Tomato Soup. My family loves it with our hearty lentil soup; the sweetness of the corn cake cuts through the richness of the soup so wonderfully. I’ve even served it at potlucks, and it’s always a hit, usually disappearing before anything else!
Top Tips for Perfecting Your Honey Butter Skillet Corn
After making this recipe more times than I can count, I’ve picked up a few little tricks that I think really make a difference. First, when it comes to the corn, if you’re using frozen, make sure to drain it really well. Excess water can make your batter too thin and affect the baking time and texture. I usually give it a good shake in a fine-mesh sieve. For the batter itself, the biggest tip I can give you is to NOT overmix. Seriously, as soon as the dry and wet ingredients are just combined, stop stirring. A few streaks of flour are totally okay. Overmixing develops the gluten too much, and we want that tender, melt-in-your-mouth texture. When it comes to the swirl on top, don’t worry about making it perfect. A rustic drizzle looks just as beautiful and tastes just as good! If you’re feeling fancy, you can use a toothpick to gently swirl the honey and butter just a little bit more into the batter before baking. For ingredient swaps, if you’re out of milk, you can use buttermilk for a slightly tangy flavor, or even a plain yogurt thinned with a little water. For the sweetener, while honey is key to the flavor, you could experiment with maple syrup for a different, but equally delicious, caramel note. Baking times are always a bit of an estimate, so my best advice is to rely on the toothpick test. If it comes out clean, it’s done. If it has wet batter, give it another few minutes. And finally, don’t skip that cooling time! Letting it rest in the skillet for at least 10-15 minutes before slicing makes a huge difference in its structure and prevents it from falling apart when you cut into it. Trust me on this one; patience is rewarded!
Storing and Reheating Tips
This honey butter skillet corn is honestly best enjoyed fresh, but it does store surprisingly well, which is great for leftovers! If you happen to have any (a rare occurrence in my house!), you can store it covered at room temperature for up to 2 days. Just make sure it’s completely cooled first. If you live in a warmer climate or want it to last longer, storing it in the refrigerator is the way to go. Wrap the cooled skillet corn tightly with plastic wrap or transfer it to an airtight container. It will keep well in the fridge for about 4-5 days. For longer storage, you can definitely freeze it. Once completely cooled, wrap individual slices or wedges tightly in plastic wrap, then place them in a freezer-safe bag or container. It should stay good in the freezer for about 2-3 months. When you’re ready to reheat, if it’s been refrigerated, you can gently warm individual slices in the microwave for about 20-30 seconds, or pop them in a toaster oven at a low temperature until warmed through. For frozen pieces, thaw them overnight in the refrigerator first, then reheat as usual. I usually don’t add the glaze until *after* baking if I know I’ll be storing it, so if you do that, you can simply re-warm the cake and then add a little extra honey or butter to the top before serving to refresh it.
Frequently Asked Questions
Final Thoughts
There you have it – my absolute favorite honey butter skillet corn recipe! I truly hope you give this a try. It’s one of those recipes that just brings so much warmth and comfort to the table, and it’s so satisfying to make something this delicious with such simple ingredients and effort. It’s a testament to how simple, honest food can be incredibly special. If you enjoy this, you might also love my recipe for Brown Butter Pecan Scones or my Easy Apple Cinnamon Crumble – they have that same cozy, comforting vibe! I can’t wait to hear how your honey butter skillet corn turns out! Please leave a comment below to share your experience, your variations, or any questions you might have. Happy baking, and enjoy every delicious bite!
Honey butter skillet corn
Ingredients
Main Ingredients
- 4 cups Corn kernels Fresh or frozen
- 4 tablespoons Butter
- 2 tablespoons Honey
- 0.5 teaspoon Salt
- 0.25 teaspoon Black pepper
- 2 tablespoons Fresh parsley Chopped, for garnish
Instructions
Preparation Steps
- Melt the butter in a large skillet over medium-high heat.
-
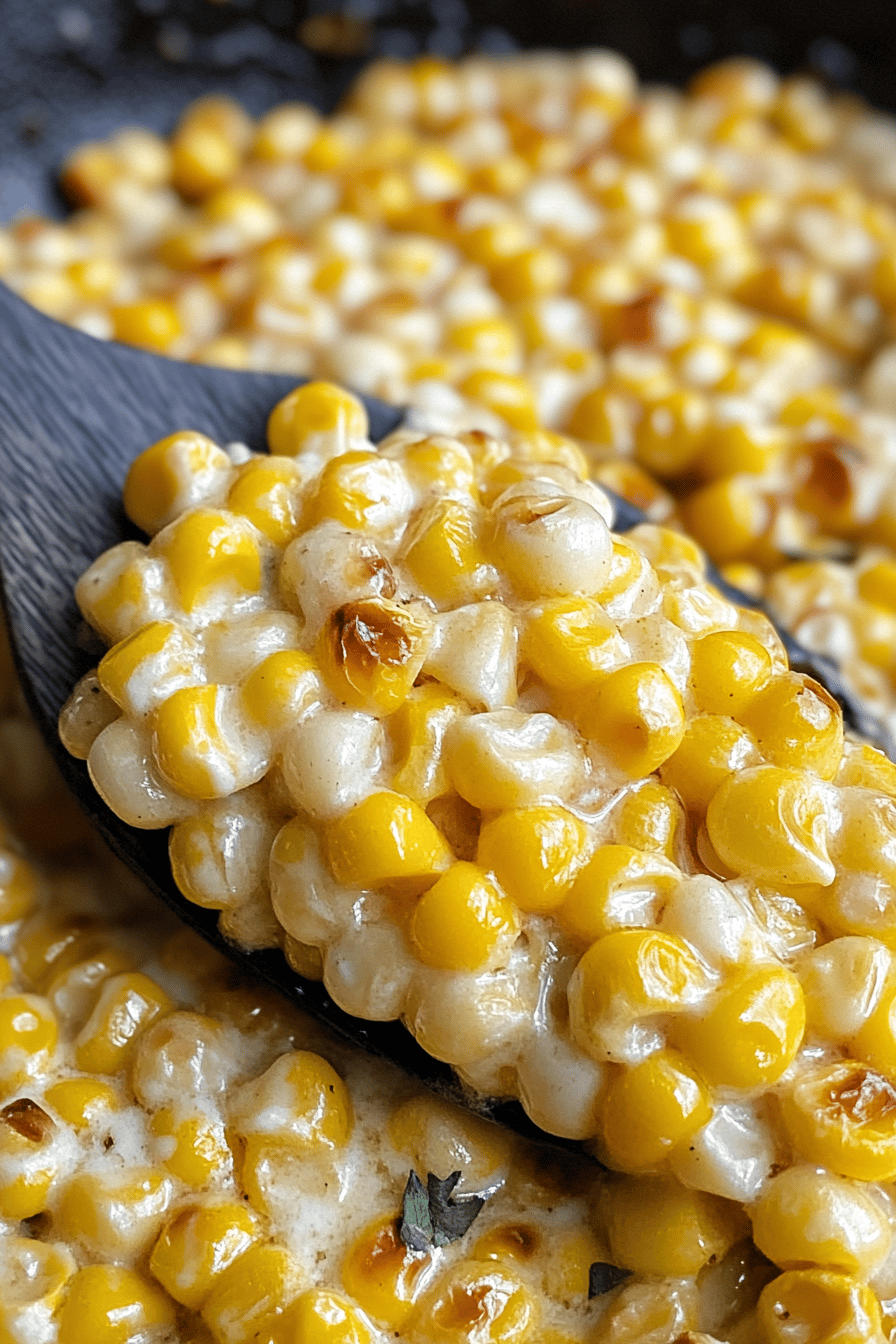
Add the corn kernels to the skillet and cook, stirring occasionally, for about 5-7 minutes, until the corn is tender and slightly charred.4 cups Corn kernels
-
Stir in the honey, salt, and pepper. Cook for another 1-2 minutes, until the honey is melted and coats the corn.4 cups Corn kernels
-
Remove from heat. Garnish with fresh parsley before serving.4 cups Corn kernels


