Homemade Protein Bars That Actually Taste Like a Treat
You know that moment when you’re staring into the pantry at 3 p.m., stomach growling, and all you’ve got are sad granola bars or that chalky protein shake? Yeah, been there. I used to think “healthy” and “delicious” couldn’t coexist in snack form—until I started making these homemade protein bars. They’re chewy, naturally sweet, packed with real ingredients, and honestly? They taste more like a cookie than a fitness supplement. Plus, they come together in under 20 minutes with no fancy equipment. If you’ve ever wanted a grab-and-go snack that fuels your day without the guilt (or the weird aftertaste), these are it. Let me show you how easy it is to whip up a batch that’ll disappear faster than you can say “post-workout fuel.”
Thank you for reading this post, don't forget to subscribe!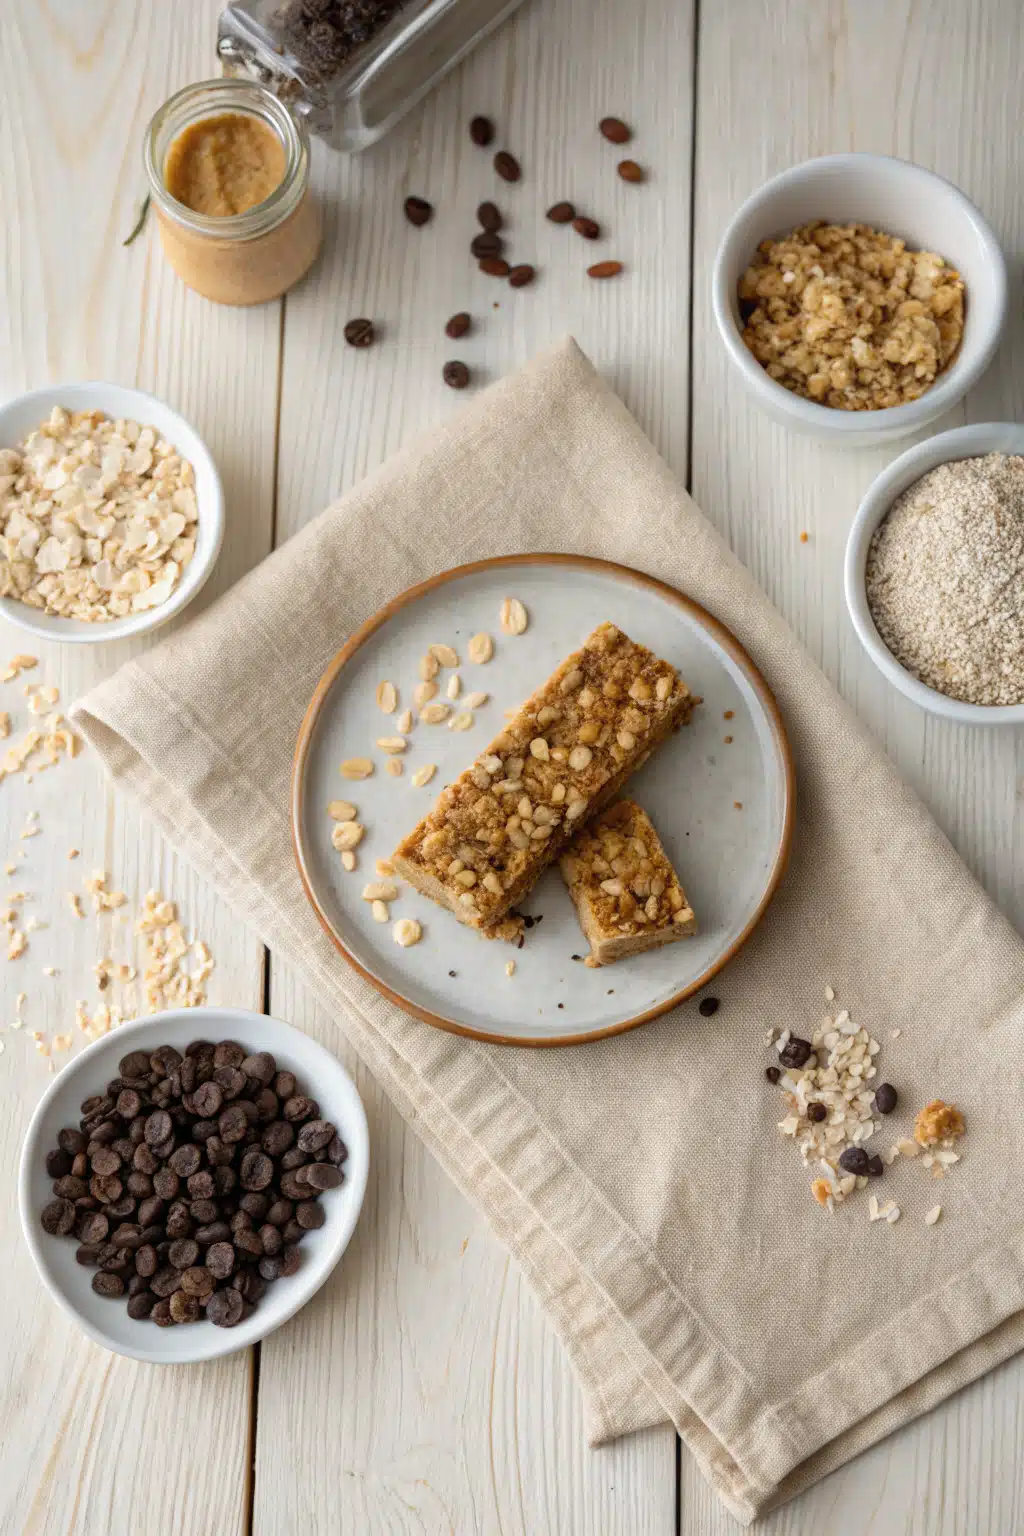
What Is This Recipe?
These homemade protein bars are your new go-to energy-packed snack—think of them as the lovechild of a chewy granola bar and a soft-baked cookie, but way better for you. Made with simple, whole ingredients like oats, nut butter, and a touch of honey or maple syrup, they deliver a balanced hit of protein, fiber, and healthy fats to keep you full and focused between meals. Unlike store-bought versions loaded with fillers and artificial sweeteners, these are free from refined sugar (unless you want to add a little) and customizable to your taste. Whether you’re fueling up before a workout, need a mid-afternoon pick-me-up, or just want something satisfying that doesn’t come wrapped in plastic, these bars hit the spot. And the best part? You control what goes in—no mystery powders or unpronounceable additives.
Why You’ll Love This Recipe
First off, these bars are ridiculously easy. No baking required (unless you prefer a firmer texture), just mix, press, chill, and slice. That means less cleanup and more time doing things you actually enjoy. They’re also incredibly versatile—swap almond butter for Peanut Butter, use chocolate chips instead of dried fruit, or add a scoop of your favorite protein powder if you want an extra boost. I’ve made them with my kids, brought them to hiking trips, and even packed them in lunchboxes for school and work. Everyone asks for the recipe!
Another reason I’m obsessed? They’re genuinely satisfying. The combo of creamy nut butter, chewy oats, and a hint of sweetness keeps cravings at bay without spiking your blood sugar. Plus, they’re naturally gluten-free (just use certified GF oats) and can easily be made vegan by using plant-based protein and maple syrup instead of honey. Whether you’re trying to eat cleaner, save money on expensive store-bought bars, or just want a snack that tastes like dessert but acts like fuel—these deliver. And honestly, there’s something so rewarding about making your own food from scratch, especially when it turns out this good.
How to Make Homemade Protein Bars
Quick Overview
This recipe comes together in just three steps: mix the dry and wet ingredients separately, combine everything into a thick dough, then press it into a pan and chill until firm. No oven needed—just a bowl, a spoon, and about 15 minutes of hands-on time. Once set, slice into bars and enjoy straight from the fridge or freezer. It’s that simple!
Ingredients
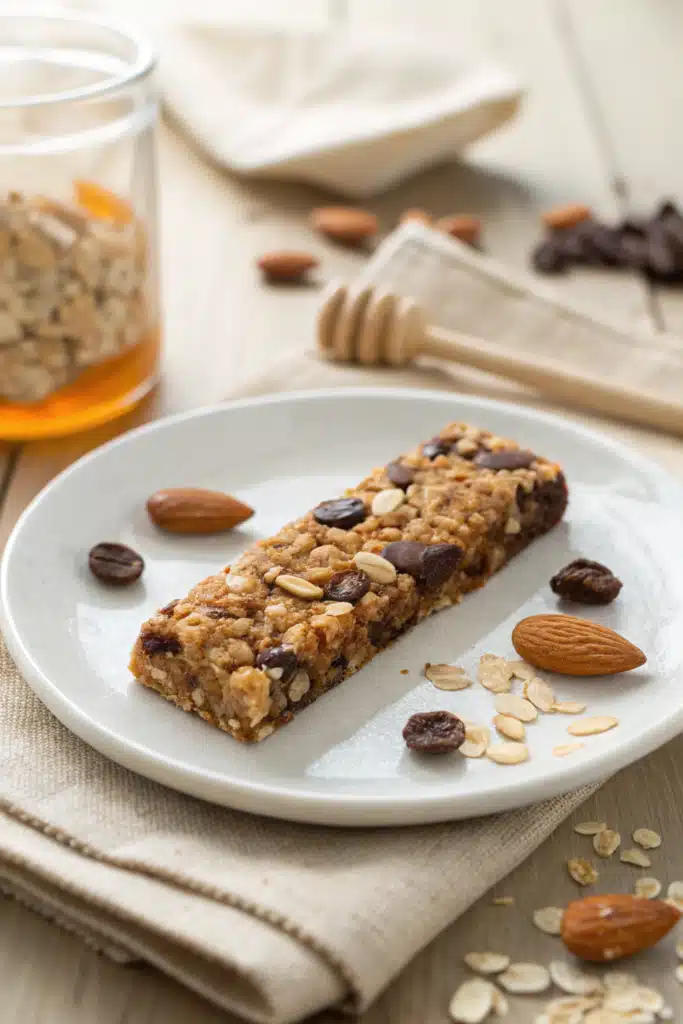
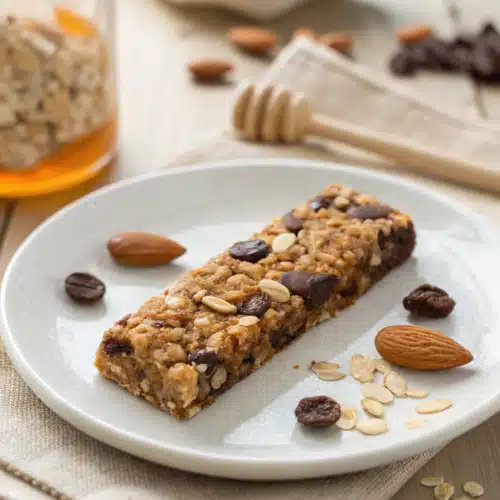
You’ll need: 2 cups rolled oats (gluten-free if needed), 1 cup creamy natural nut butter (almond or peanut work great), ⅓ cup honey or maple syrup, 1 scoop unflavored or vanilla protein powder (optional but recommended), 1 tsp vanilla extract, ½ tsp cinnamon, a pinch of salt, and ½ cup mix-ins like chopped nuts, dried fruit, or Dark Chocolate chips.
“Made the Homemade Protein Bars tonight and wow — perfect weeknight dinner. Will definitely make again!”
Step-by-Step Instructions
Step 1: Prep Your Pan
Line an 8×8-inch baking dish with parchment paper, leaving some overhang on the sides for easy removal later. This step is key—it keeps the bars from sticking and makes slicing a breeze.
Step 2: Mix Dry & Wet Ingredients
In a large bowl, whisk together the oats, protein powder (if using), cinnamon, and salt. In another bowl, stir the nut butter, honey (or maple syrup), and vanilla until smooth and creamy.
Step 3: Combine & Press
Pour the wet mixture into the dry ingredients and fold until everything is evenly coated. Stir in your mix-ins—chocolate chips, nuts, whatever you love! Transfer the dough to your prepared pan and press it down firmly with your hands or the back of a spatula. The more you press, the less likely it’ll crumble later.
Step 4: Chill & Slice
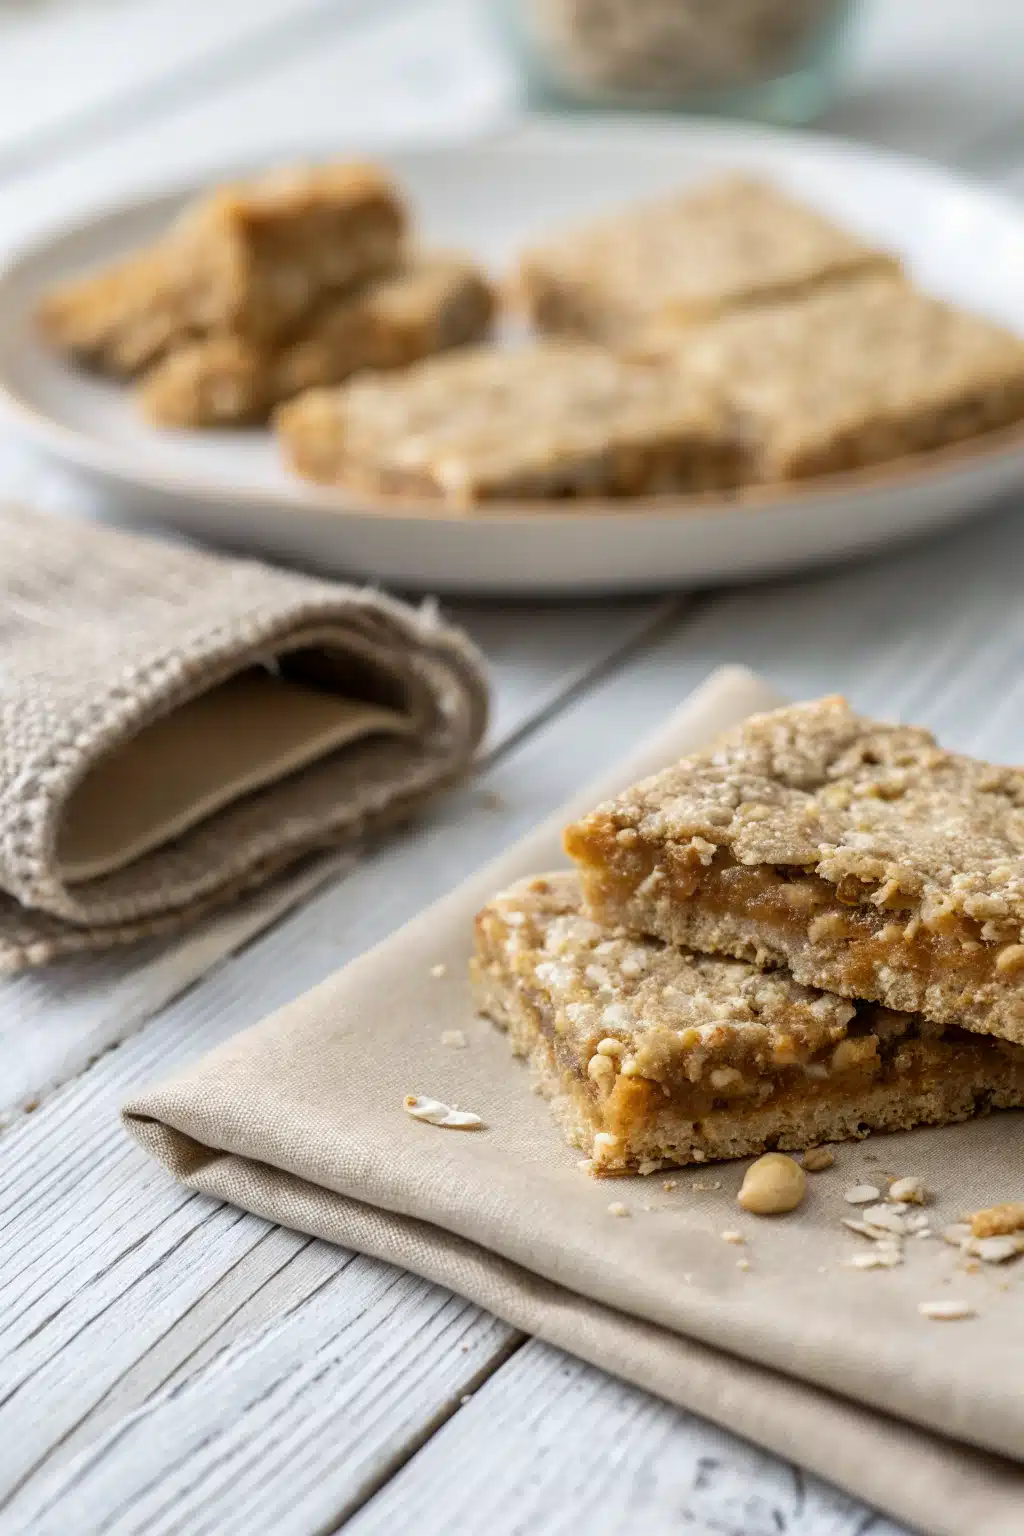
Pop the pan into the fridge for at least 2 hours (or freezer for 45 minutes) until firm. Lift out using the parchment overhang, slice into 8–12 bars, and store in an airtight container.
What to Serve It With
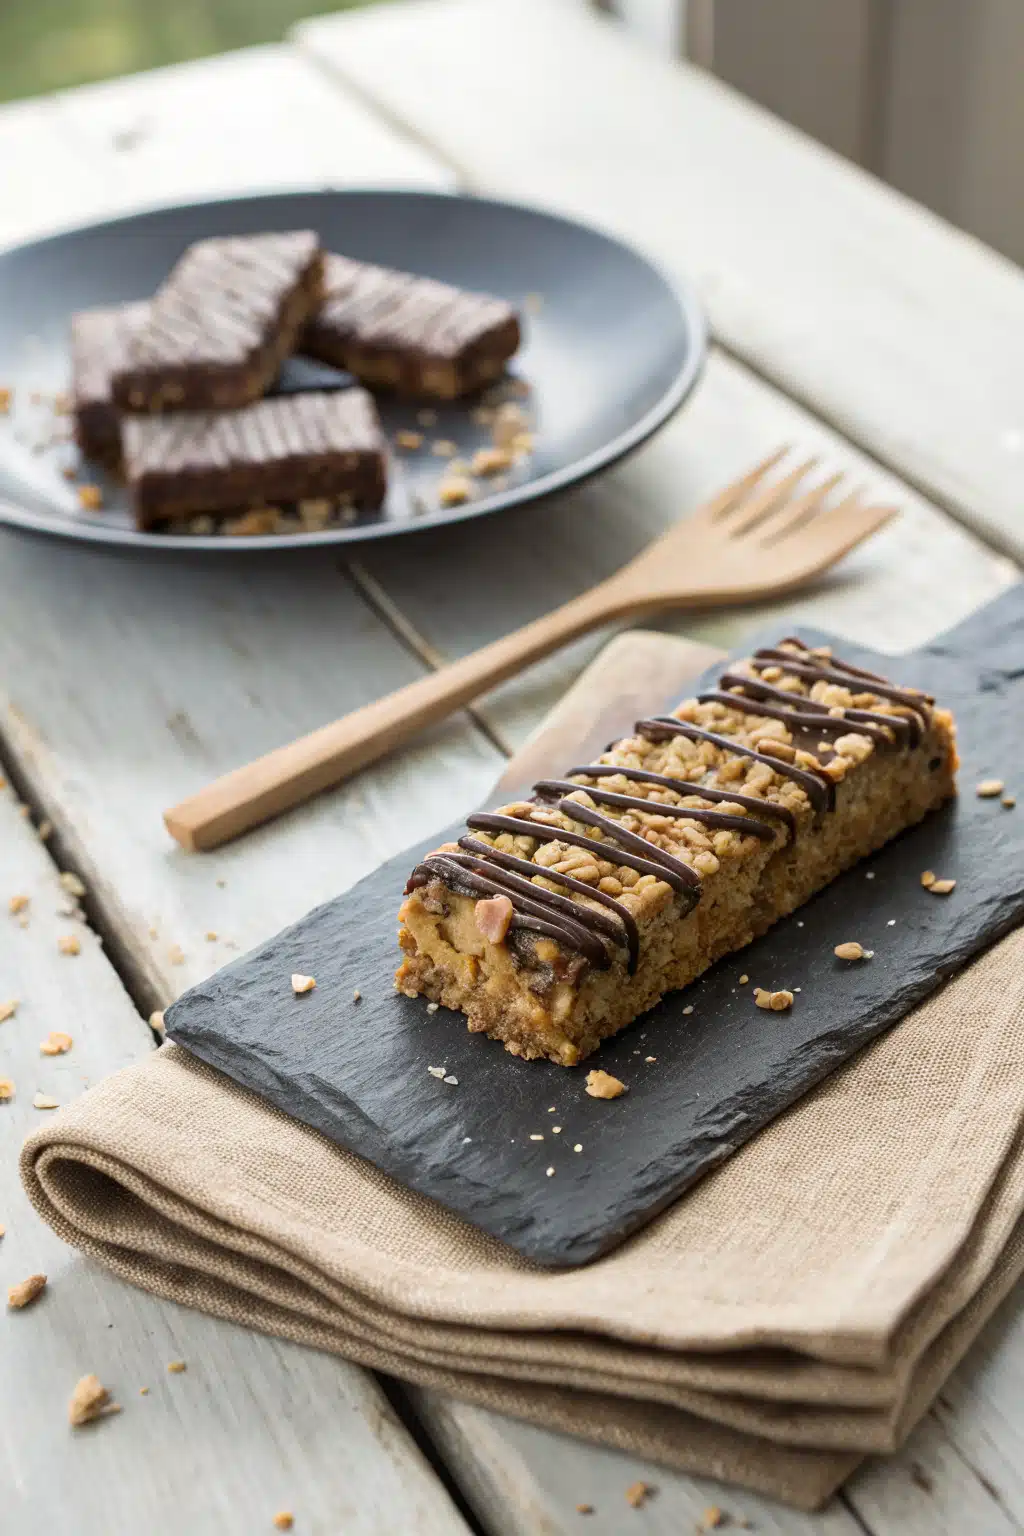
These bars are perfect on their own, but if you’re pairing them with something, try a cold glass of almond milk, a cup of green tea, or a post-workout smoothie. They also make a great addition to packed lunches—just wrap them individually in parchment paper so they don’t stick together. For a fancy touch, drizzle melted dark chocolate over the top before chilling or sprinkle with Sea Salt for that sweet-salty vibe.
Top Tips for Perfecting Your Protein Bars
For the best texture, don’t skip pressing the mixture firmly into the pan—it prevents crumbling. If your bars are too soft, add a few more oats; if too dry, drizzle in a teaspoon of nut butter or honey. Use natural nut butter (the kind with just nuts and maybe salt) for the Best Flavor and binding power. And don’t overmix once you add the wet ingredients—just fold until combined to keep them tender.
Storing and Reheating Tips
Store these bars in an airtight container in the fridge for up to 2 weeks, or freeze for up to 3 months. They actually taste amazing straight from the freezer—like a healthy fudge bar! If you prefer them room temperature, let them sit out for 10–15 minutes before eating. No reheating needed unless you like them slightly soft, in which case a quick 10-second zap in the microwave works wonders.
“I don’t know if I’ve ever eaten a better Homemade Protein Bars. The rub alone is wonderful, but the sauce??? Over the top!”
Frequently Asked Questions
Final Thoughts
Making your own protein bars isn’t just about saving money or avoiding weird ingredients—it’s about reclaiming your snack time with something that actually makes you feel good. These bars have become a staple in my kitchen because they’re simple, wholesome, and honestly delicious. Whether you’re rushing out the door, hitting the gym, or just need a little something to tide you over, they’ve got your back. Give them a try, play around with flavors, and let me know your favorite combo. Happy snacking!
Homemade Protein Bars
Ingredients
Main Ingredients
- 2 cups rolled oats
- 1 cup vanilla protein powder (whey or plant-based)
- 0.5 cup natural peanut butter (or almond butter)
- 0.333 cup honey or maple syrup
- 0.25 cup ground flaxseed
- 0.25 cup mini chocolate chips or chopped nuts optional
- 1 teaspoon vanilla extract
- 0.0625 teaspoon salt pinch
Instructions
Preparation Steps
- Line an 8x8-inch baking pan with parchment paper, leaving overhang on the sides for easy removal.
- In a large mixing bowl, combine the rolled oats, protein powder, ground flaxseed, and salt.
- In a separate microwave-safe bowl, heat the peanut butter and honey together for 30-45 seconds until smooth and easy to stir.
- Stir the vanilla extract into the peanut butter mixture, then pour over the dry ingredients.
- Add chocolate chips or nuts if using, and mix thoroughly until everything is well combined and sticky.
- Transfer the mixture to the prepared pan and press firmly and evenly with a spatula or your hands to compact it.
- Refrigerate for at least 2 hours, or until firm.
- Lift the bars out using the parchment overhang and cut into 12 equal squares.
- Store in an airtight container in the refrigerator for up to 2 weeks or freeze for longer storage.


