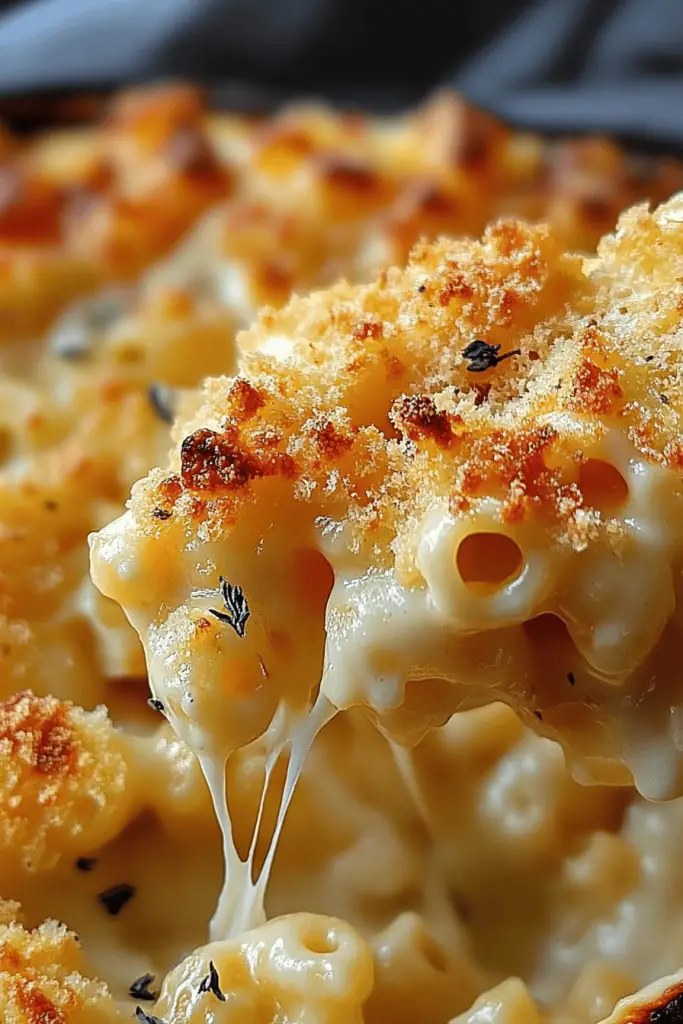
Oh, homemade mac and cheese. Just saying the words makes me want to curl up on the couch with a good book and a big, steaming bowl. This isn’t just any mac and cheese, you know. This is the stuff childhood dreams are made of, the kind of meal that makes everyone in the house stop what they’re doing and gather around the table. Forget those powdery blue boxes; we’re talking about a creamy, dreamy, utterly decadent cheese sauce coating perfectly cooked pasta, with a hint of something special that elevates it from good to absolutely unforgettable. It’s the kind of dish that feels like a warm hug, perfect for those chilly evenings or when you just need a little edible sunshine. I’ve tinkered with this recipe for years, trying out different cheeses, different pasta shapes, even different milks (who knew almond milk could make it even creamier?!) to get it just right. This version, though? This is the one my family asks for time and time again, the one that disappears faster than you can say “pass the cheese.” It’s seriously my saving grace on busy weeknights, but also fancy enough to impress guests. It’s become my benchmark for truly comforting food, and I can’t wait to share it with you.
Thank you for reading this post, don't forget to subscribe!
What is a good home made mac and cheese?
So, what exactly *is* this magical thing we call homemade mac and cheese? At its heart, it’s a dish that takes simple pasta and elevates it with a luxurious, velvety cheese sauce. Think of it as a warm embrace for your taste buds, a culinary hug that’s both comforting and incredibly satisfying. Unlike the processed versions, this is all about fresh ingredients and building layers of flavor. We’re talking real cheese, melting into a creamy sauce that clings perfectly to every noodle. It’s essentially Comfort Food royalty. The “homemade” part is key, because it means you’re in control of the quality, the flavor, and the sheer deliciousness. It’s less about a specific set of rules and more about the feeling it evokes – warmth, happiness, and a deep sense of satisfaction. It’s the kind of meal that brings people together, sparking conversations and creating lasting memories, one cheesy bite at a time.
Why you’ll love this recipe?
Honestly, there are so many reasons why this homemade mac and Cheese Recipe has become my absolute favorite, and why I just know you’re going to adore it too. First and foremost, the flavor is just out of this world. We’re not just talking cheesy; we’re talking a symphony of rich, savory, slightly sharp notes from the blend of cheeses that just sings on your palate. It’s deeply satisfying without being heavy, and that’s a tough balance to strike! Then there’s the simplicity. I know “homemade” can sometimes sound intimidating, but I promise you, this recipe is incredibly straightforward. It’s one of those lifesavers on busy nights when you need a guaranteed win. The ingredients are all budget-friendly, too. You don’t need fancy, expensive cheeses to make this shine – though you certainly *can* if you’re feeling indulgent! The beauty is that it uses pantry staples and readily available cheeses, making it an accessible luxury for any day of the week. And versatility? Oh boy. This recipe is a chameleon! It’s fantastic on its own, but it’s also a brilliant base for so many other dishes. You can add in roasted vegetables, cooked chicken, or even some crispy bacon. It’s the kind of dish that tastes incredible on a cool autumn evening, but it’s equally welcome at a summer barbecue as a decadent side. What I love most about this recipe, though, is the sheer comfort it provides. It’s more than just food; it’s a feeling. It reminds me of simpler times and happy gatherings, and I love that I can recreate that joy in my own kitchen. It’s miles beyond any boxed mac and cheese, and I’ve tried them all!
How do I make homemade mac and cheese?
Quick Overview
Making this incredibly delicious homemade mac and cheese is surprisingly simple! It all comes down to creating a luscious cheese sauce and coating perfectly cooked pasta. You’ll start by gently cooking your pasta until it’s just right, then whisking together a simple roux to form the base of your sauce. We then melt in a glorious blend of cheeses, creating a sauce that’s both rich and incredibly smooth. Finally, you’ll combine everything, maybe bake it for a golden crust if you like (though I often skip this step for speed!), and serve it up. The entire process, from start to finish, takes less time than you might think, and the reward is a bowl of pure comfort that’s miles beyond anything store-bought. It’s truly a weeknight-friendly masterpiece.
Ingredients
For the Pasta:
1 pound elbow macaroni (or your favorite short pasta shape – shells, cavatappi, or even penne work
1 tablespoon salt (for the pasta water, makes a difference!)
For the Cheese Sauce:
4 tablespoons unsalted butter
1/4 cup all-purpose flour
3 cups whole milk, warmed (warming it helps prevent lumps!)
1 teaspoon salt (adjust to taste)
1/2 teaspoon Black Pepper
1/4 teaspoon smoked paprika (this is my secret weapon for depth!)
1/4 teaspoon garlic powder (optional, but adds a nice savory note)
4 cups shredded cheese blend (I love a mix of sharp cheddar and Gruyère for amazing flavor. Monterey Jack or Colby are also fantastic additions!)
For the Topping (Optional, but highly recommended!):
1/2 cup panko breadcrumbs
2 tablespoons melted butter
Pinch of paprika
“The Homemade Mac and Cheese turned out amazing. My kids asked for seconds. Saving this one!”
Step-by-Step Instructions
Step 1: Preheat & Prep Pan
First things first, let’s get our oven preheated to 375°F (190°C) if you’re planning on baking this for that extra crispy top. While the oven heats up, grab a large pot for boiling your pasta and a sturdy, oven-safe baking dish (around a 9×13 inch is perfect). If you’re baking it, give that dish a light greasing or buttering so nothing sticks. Honestly, I often skip the baking part for a quicker meal, but that golden, bubbly top is pretty darn special!
Step 2: Mix Dry Ingredients
In a medium bowl, whisk together the flour, salt, pepper, smoked paprika, and garlic powder (if using). It’s important to get these dry ingredients well combined before you add them to the butter. This helps ensure the flour distributes evenly, which is crucial for creating a smooth, lump-free sauce later on. Don’t worry if it looks a little powdery; that’s exactly what we want at this stage!
Step 3: Mix Wet Ingredients
Now, let’s get our milk ready. It’s really best to warm up your milk slightly. You can do this in a small saucepan over low heat or even for about 30-45 seconds in the microwave. Don’t boil it, just warm it through. This simple step helps the milk incorporate smoothly into the roux without shocking the butter and flour, which can lead to lumps. I learned this trick years ago, and it’s a game-changer for a silky sauce.
Step 4: Combine
In a large saucepan or pot, melt the butter over medium heat. Once the butter is melted and looks foamy, whisk in your prepared dry ingredients. Cook, whisking constantly, for about 1 to 2 minutes. You’re looking for the mixture to bubble and thicken slightly – this is called a roux, and it’s the base of our sauce. It should smell a little nutty. Now, slowly start pouring in the warm milk, whisking continuously. Keep whisking as the sauce comes to a simmer. It will thicken up beautifully. You want it to coat the back of a spoon. This usually takes about 5-7 minutes. Don’t rush this part; a good roux takes a little patience!
Step 5: Prepare Filling
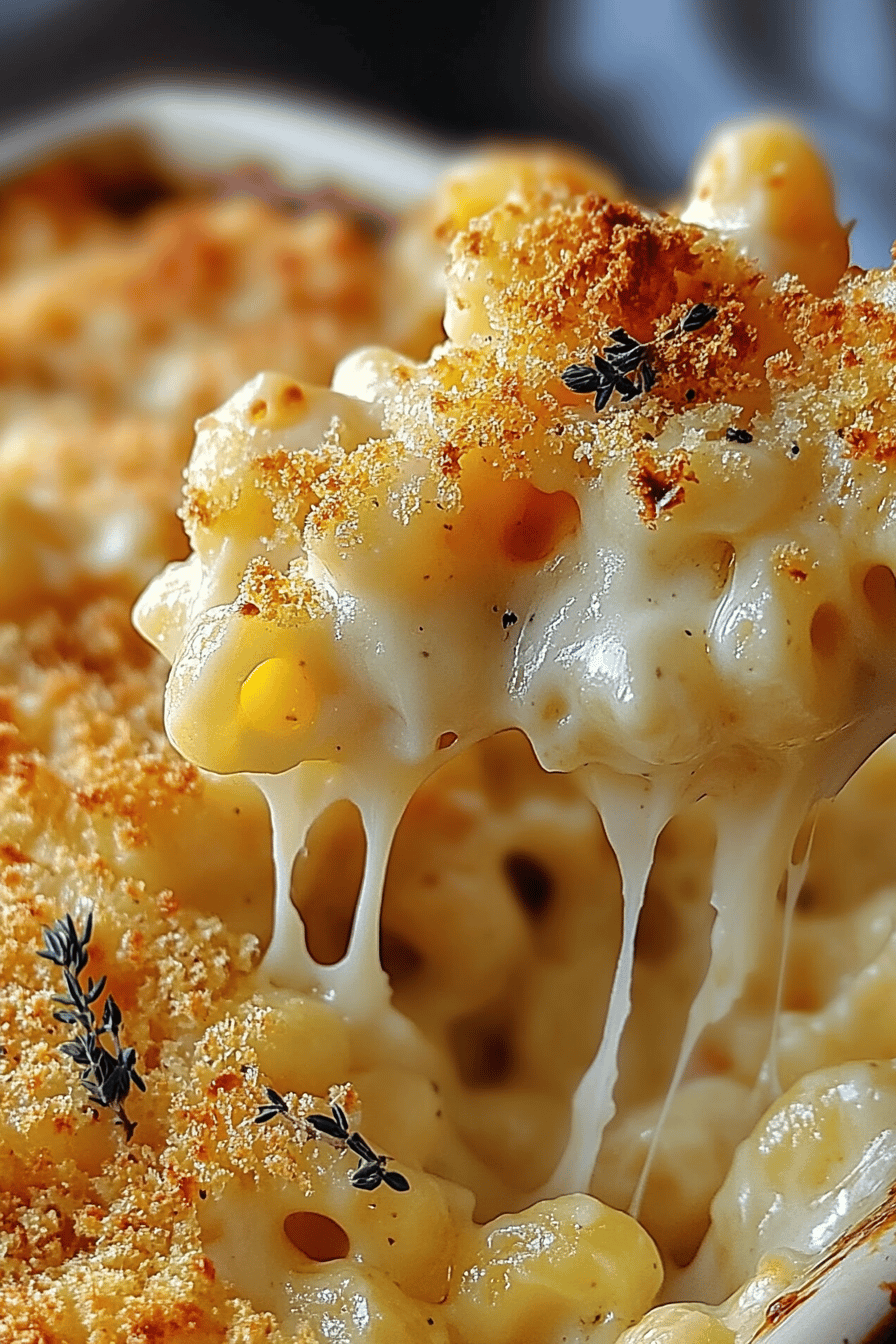
Once your sauce has reached that lovely, thick consistency, remove the pan from the heat. Now for the best part: the cheese! Add your shredded cheeses a handful at a time, stirring until each addition is melted and smooth before adding the next. Keep stirring until all the cheese is melted and you have a gloriously creamy, dreamy sauce. Taste it and adjust the salt and pepper if needed. Remember, the cheese is salty, so taste before you add more salt. If you’re using a blend, like I usually do, this is where the magic happens, with different cheeses bringing different layers of flavor and meltability.
Step 6: Layer & Swirl
While the sauce is happening, go ahead and cook your pasta according to package directions, but make sure to undercook it by about 1-2 minutes. We want it al dente because it will continue to cook in the sauce (or in the oven). Drain the pasta really well. Now, add the drained pasta directly into the pot with your cheese sauce. Gently stir everything together until every single noodle is coated in that luscious cheese sauce. If you’re not baking, you can serve it right now! If you are baking, carefully transfer the cheesy pasta into your prepared baking dish and spread it out evenly.
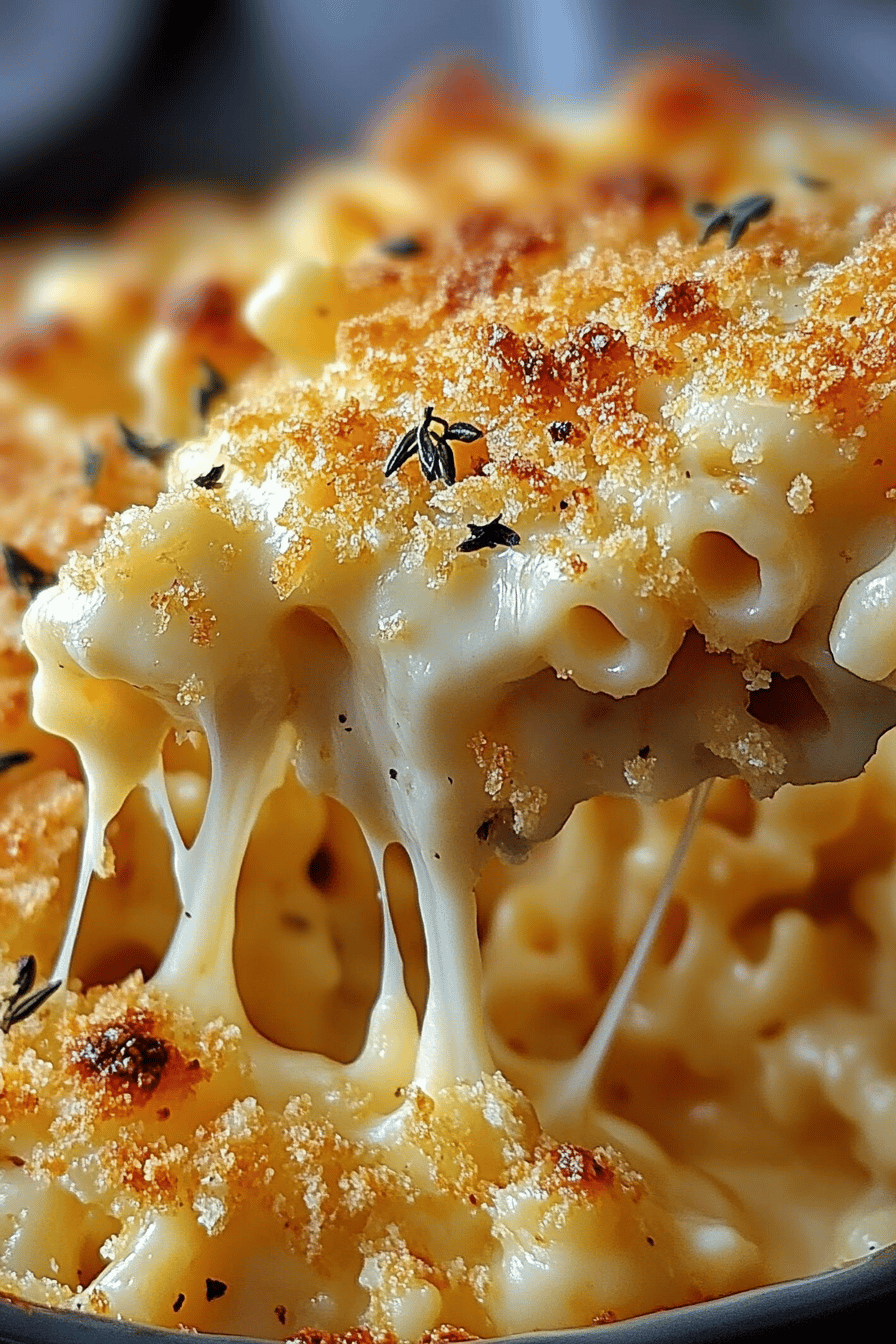
Step 7: Bake
If you opted for the baked version, now’s the time to get that topping ready. In a small bowl, mix together the panko breadcrumbs, melted butter, and a pinch of paprika. Sprinkle this mixture evenly over the top of the mac and cheese in the baking dish. Pop the dish into your preheated oven and bake for about 20-25 minutes, or until the topping is golden brown and the sauce is bubbly around the edges. The aroma that fills your kitchen at this stage is just heavenly!
Step 8: Cool & Glaze
Once it’s out of the oven (if you baked it), let it rest for about 5-10 minutes before serving. This is important! It allows the sauce to set up just a little bit, making it easier to serve and preventing it from being too runny. If you didn’t bake it, you can go straight to serving after a brief rest. The “glaze” here is really just that beautiful, melted cheese sauce clinging to the pasta, and letting it sit for a few minutes ensures it’s perfect.
Step 9: Slice & Serve
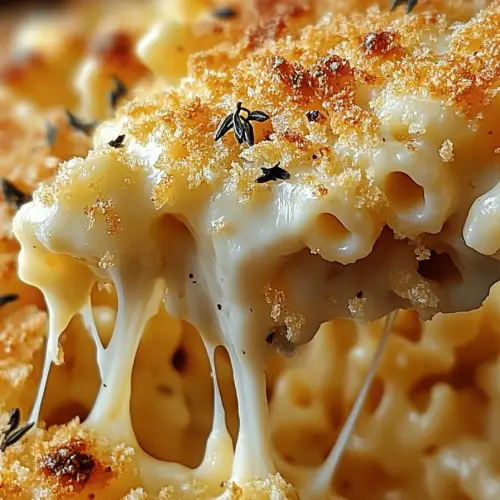
Scoop generous portions into bowls. The beauty of this dish is its simplicity, so let the cheesy goodness shine. You can garnish with a little extra sprinkle of Black Pepper or some fresh parsley if you’re feeling fancy, but honestly, it’s perfect just as it is. Serve it warm and watch everyone’s eyes light up!
“Made the Homemade Mac and Cheese tonight and wow — perfect weeknight dinner. Will definitely make again!”
What to Serve It With
This homemade mac and cheese is such a star, it really holds its own, but it also plays wonderfully with other dishes! For breakfast, I sometimes whip up a smaller batch and serve it alongside some crispy bacon or scrambled eggs. It feels like such a decadent start to the day, a little comfort food to kick things off right. For brunch, it’s a crowd-pleaser. I love serving it in a smaller, pretty bowl as part of a larger spread, maybe with some fresh Fruit Salad or a light green salad to balance the richness. It’s also fantastic with a side of maple-glazed ham. As a dessert? Hear me out! It’s so rich and comforting, a small scoop after a lighter meal can feel like a delightful, unexpected treat. It pairs surprisingly well with certain fruit flavors, like a tart apple compote served alongside. And for those cozy snack times, it’s simply unbeatable. I’ll often make a batch just for us to share on a rainy afternoon, served with some crunchy pickles or a simple tomato soup. My kids actually ask for this all the time as a “special treat” snack, and it’s so much healthier and more satisfying than anything pre-packaged. It’s that perfect blend of comforting and satisfying, no matter the time of day or the occasion.
Top Tips for Perfecting Your Homemade Mac and Cheese
Over the years, I’ve learned a few tricks that make my homemade mac and cheese consistently amazing, and I’m happy to share them with you! First, when it comes to the pasta, don’t overcook it. Seriously, undercooking by a minute or two is key, especially if you plan on baking it. Mushy pasta is just sad, and this way it holds its shape and texture perfectly in the sauce. For the cheese sauce, always shred your own cheese from a block. Pre-shredded cheese has anti-caking agents that can make your sauce a little gritty. Trust me on this one; it makes a world of difference in smoothness. When you’re making the roux, whisking it constantly for that minute or two before adding the milk is crucial for a velvety texture. Don’t skip that step! Warming your milk also helps prevent lumps, which is another little secret to that super smooth sauce. I’ve experimented with different cheese combinations endlessly. While sharp cheddar is a must for that classic flavor, adding something like Gruyère or a good melting Swiss cheese adds incredible depth and nuttiness. Even a bit of Parmesan can add a lovely sharp, salty kick. If you’re not baking it, you can achieve a beautiful crusty top by toasting some panko breadcrumbs with a little melted butter and paprika and sprinkling it over the top right before serving. It gives that satisfying crunch without the baking time. For ingredient swaps, if you’re out of whole milk, you can use 2% milk, but it might not be quite as rich. For a dairy-free version, I’ve had some success using a good quality oat milk and a dairy-free shredded cheese blend, though the texture can be a bit different. And for a little something extra, a tiny pinch of nutmeg in the cheese sauce can really enhance the dairy flavors without making it taste like nutmeg – it’s a subtle but wonderful addition I learned from a French chef years ago!
Storing and Reheating Tips
This homemade mac and cheese is so good, you’ll probably want leftovers, but how do you keep it tasting amazing? If you have any left at room temperature, try to get it into the fridge within two hours. It’ll keep well in the fridge for about 3-4 days, stored in an airtight container. I usually just use the baking dish it was cooked in if it has a lid, or transfer it to a good quality plastic container. When it comes to reheating, I find the best way is in the oven or on the stovetop. For the oven, pop a portion into a small, oven-safe dish, maybe with a tiny splash of milk or water to help loosen the sauce, and bake at around 350°F (175°C) until heated through. On the stovetop, I use a non-stick skillet over medium-low heat, stirring frequently. Again, a little splash of milk can help revive the creaminess. If you want to freeze portions, let them cool completely first. Wrap them tightly in plastic wrap, then in foil, or place them in a freezer-safe container. It should be good in the freezer for about 1-2 months. Thaw it overnight in the refrigerator before reheating using the oven or stovetop methods. The timing for the glaze (if you baked it) is really about serving it fresh for the best crisp. If you’re reheating a baked portion, the topping might not be as crispy, but it will still be delicious. My rule of thumb is always to taste and adjust seasoning after reheating, as flavors can sometimes mellow.
Frequently Asked Questions
Final Thoughts
So there you have it – my absolute favorite, foolproof homemade mac and cheese recipe. I really hope you give this a try. It’s one of those dishes that just brings pure joy, whether you’re serving it to your family on a weeknight, bringing it to a potluck, or just treating yourself because, well, you deserve it! It’s a testament to how simple ingredients, prepared with a little love and care, can create something truly spectacular. If you love this recipe, you might also enjoy my Creamy Tomato Soup or my Cheesy Garlic Breadsticks – they’re perfect companions to this comforting classic. I’d absolutely love to hear how yours turns out! Leave a comment below and tell me about your favorite cheese combinations or any fun additions you made. And don’t forget to share your creations with me! Happy cooking, and more importantly, happy eating!
Homemade Mac and Cheese
Ingredients
Main Ingredients
- 0.5 pound Elbow Macaroni
- 0.5 cup Butter
- 0.5 cup All-Purpose Flour
- 3 cups Milk Whole milk recommended
- 2 cups Shredded Cheddar Cheese
- 1 cup Shredded Monterey Jack Cheese
- 0.5 teaspoon Salt
- 0.25 teaspoon Black Pepper
Instructions
Preparation Steps
- Preheat oven to 375°F (190°C).
-
Cook macaroni according to package directions. Drain and set aside.0.5 pound Elbow Macaroni
-
In a large saucepan, melt butter over medium heat. Whisk in flour and cook for 1 minute, whisking constantly.0.5 pound Elbow Macaroni
-
Gradually whisk in milk until smooth. Bring to a simmer, stirring constantly, until thickened.0.5 pound Elbow Macaroni
-
Remove from heat and stir in cheddar cheese, Monterey Jack cheese, salt, and pepper until cheese is melted and sauce is smooth.0.5 pound Elbow Macaroni
- Add cooked macaroni to the cheese sauce and stir to combine.
- Pour the mixture into a greased 9x13 inch baking dish.
- Bake for 20-25 minutes, or until bubbly and golden brown.


