
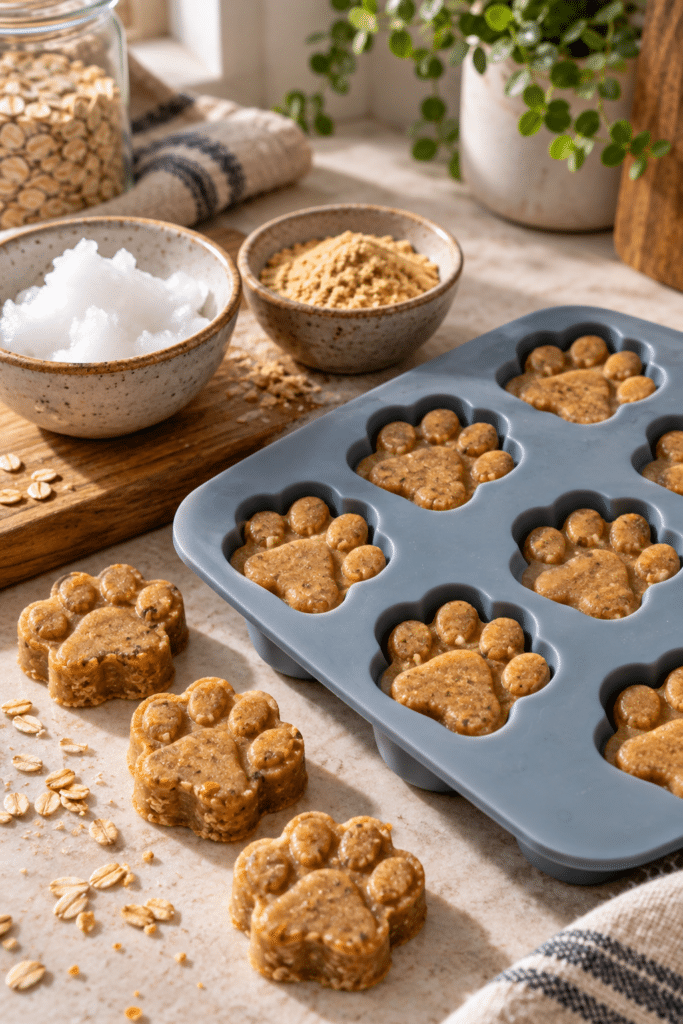
These homemade flea prevention dog treats are a simple, grain-free way to portion a coconut oil and brewer’s yeast mixture into small daily bites. The recipe has just two ingredients, sets quickly in silicone molds, and stores well in the refrigerator or freezer. Because every dog is different, treat this recipe as a snack rather than a replacement for veterinary flea control, especially if your dog has an active infestation, allergies, digestive sensitivities, or a medical condition.
Thank you for reading this post, don't forget to subscribe!What are homemade flea prevention dog treats?
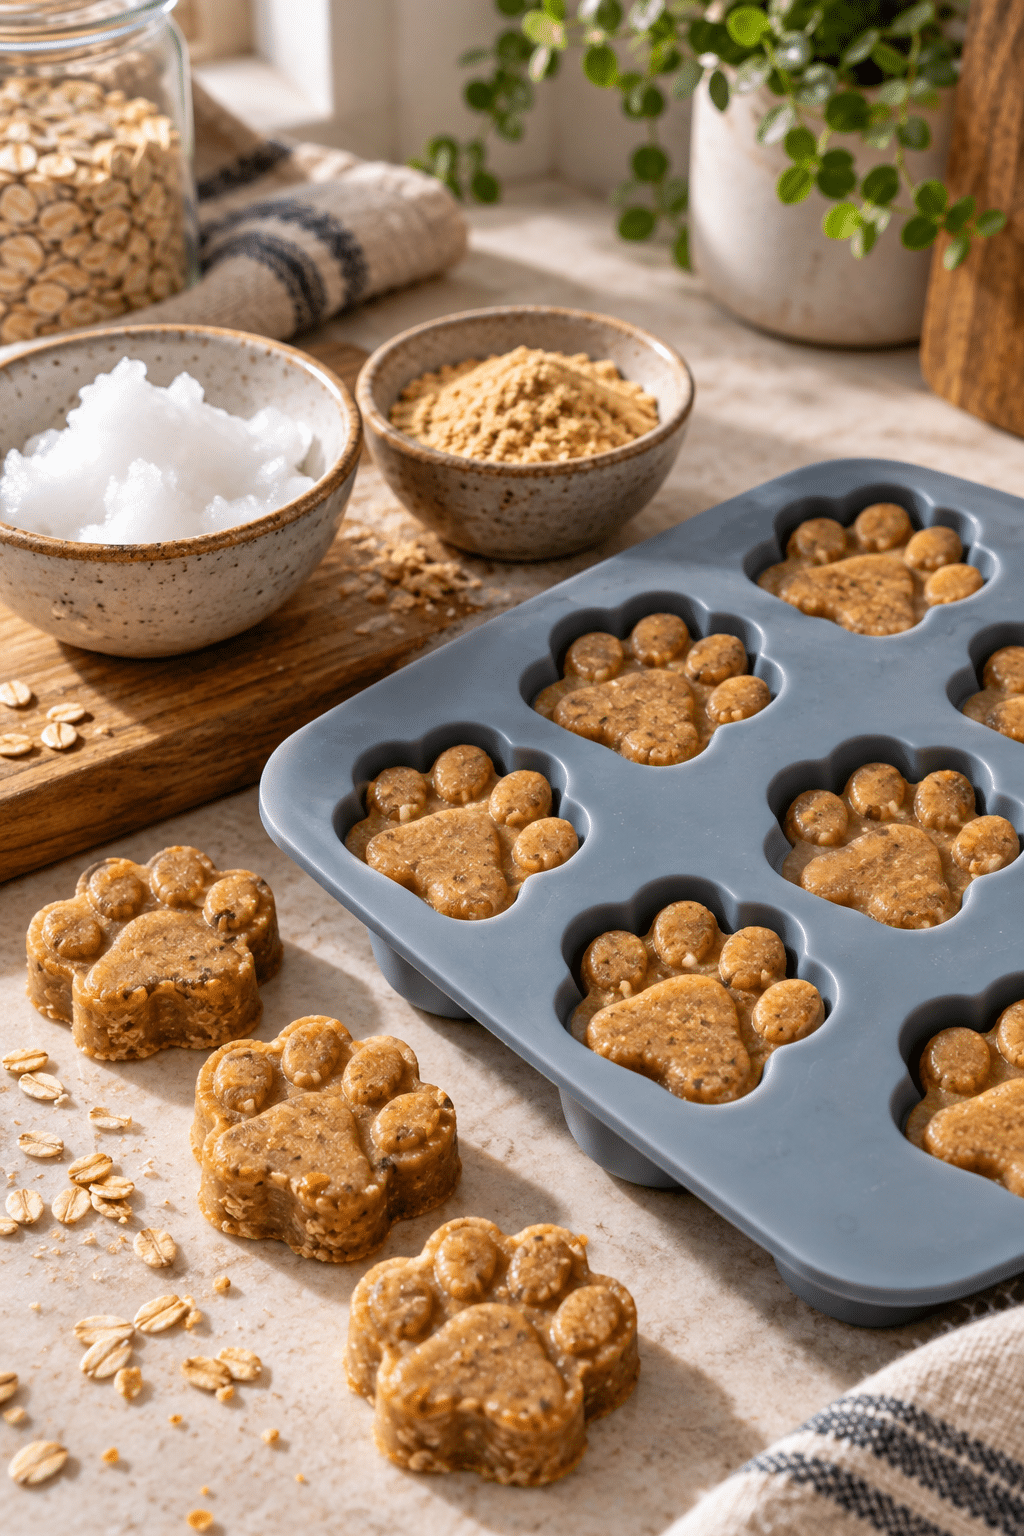
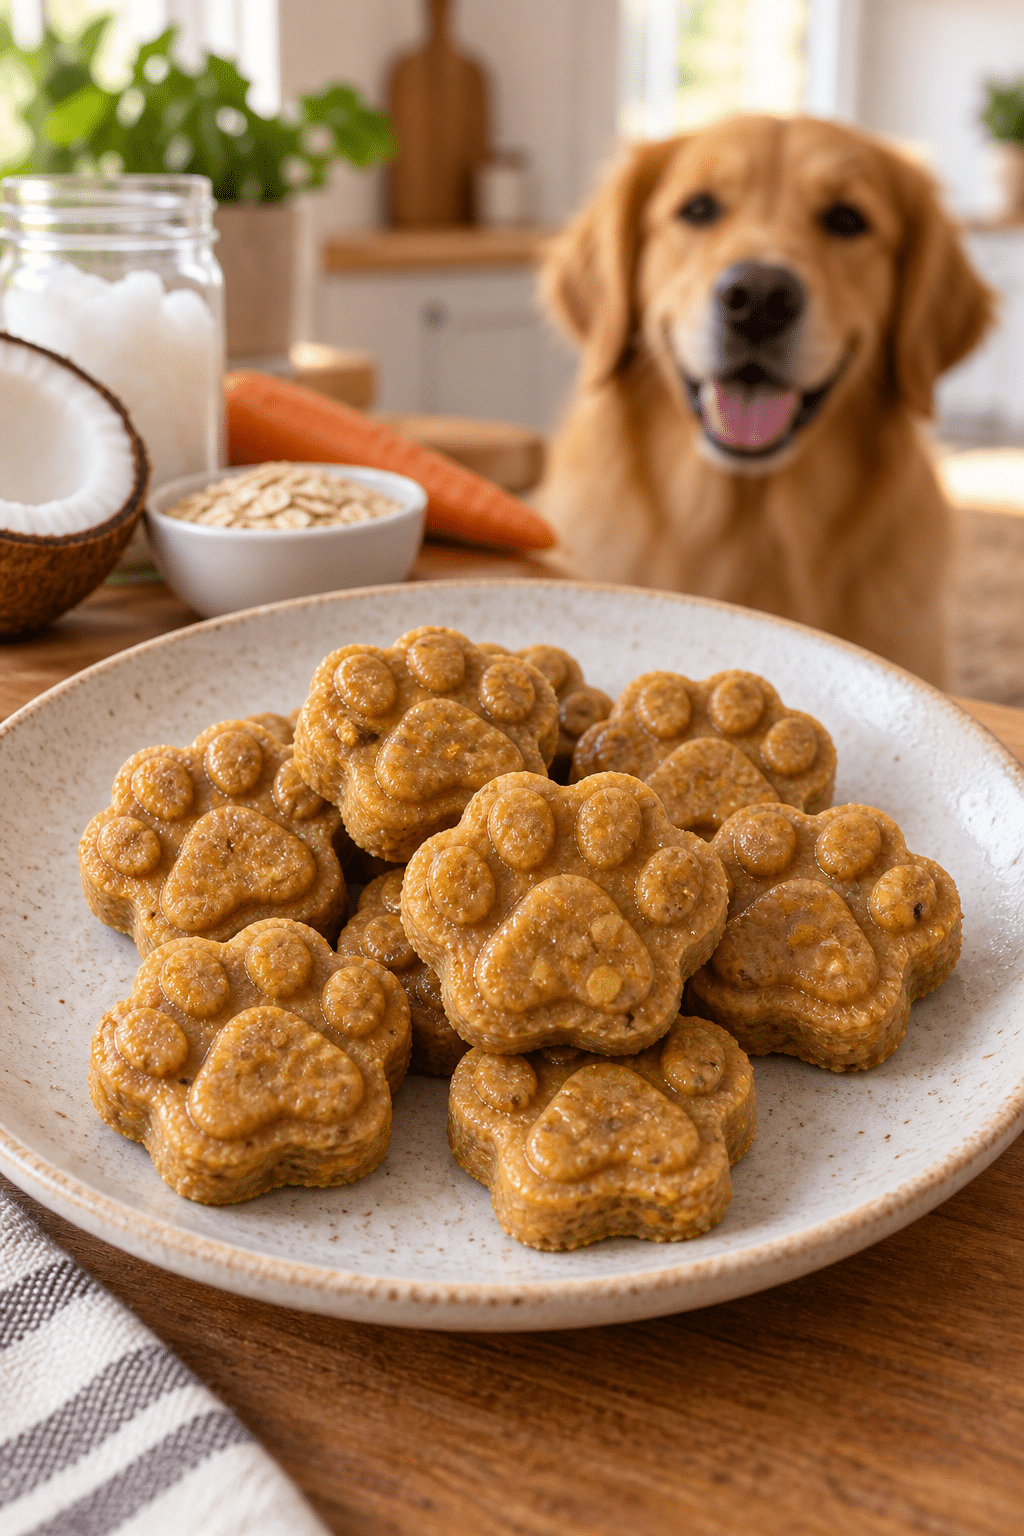
Each bite is made from melted coconut oil and brewer’s yeast. Coconut oil firms when chilled, which gives the treats their shape and a smooth texture that many dogs enjoy. Brewer’s yeast brings a savory flavor and helps the mixture hold together once cold. A small paw-print mold makes the portions easy to recognize, but any small silicone candy or ice mold works.
The source recipe yields about 48 small treats. That number depends on the size of the cavities, so use the finished count as a guide rather than a promise. Smaller molds are useful because the intended serving is based on your dog’s weight. A kitchen scale can help you compare portions when changing mold sizes.
Why this two-ingredient recipe works
The method is mostly about controlling temperature. Warm coconut oil blends smoothly with brewer’s yeast, while refrigeration turns the liquid mixture into firm bites. Gentle melting prevents scorching and keeps the mixture fluid enough to pour. Thorough stirring distributes the yeast so the first and last molds receive a similar amount.
There is no flour, egg, sugar, or baking step. That makes the recipe quick and grain-free, but it also means the treats soften at room temperature. Keep them cold until serving. Ask your veterinarian before adding any new supplement-like food, and stop if your dog develops vomiting, diarrhea, itching, or another concerning reaction.
Ingredients and equipment
- 1/2 cup organic coconut oil, melted
- 1/4 cup brewer’s yeast
- A small saucepan or microwave-safe bowl
- A spoon or small whisk
- Small silicone molds and a tray
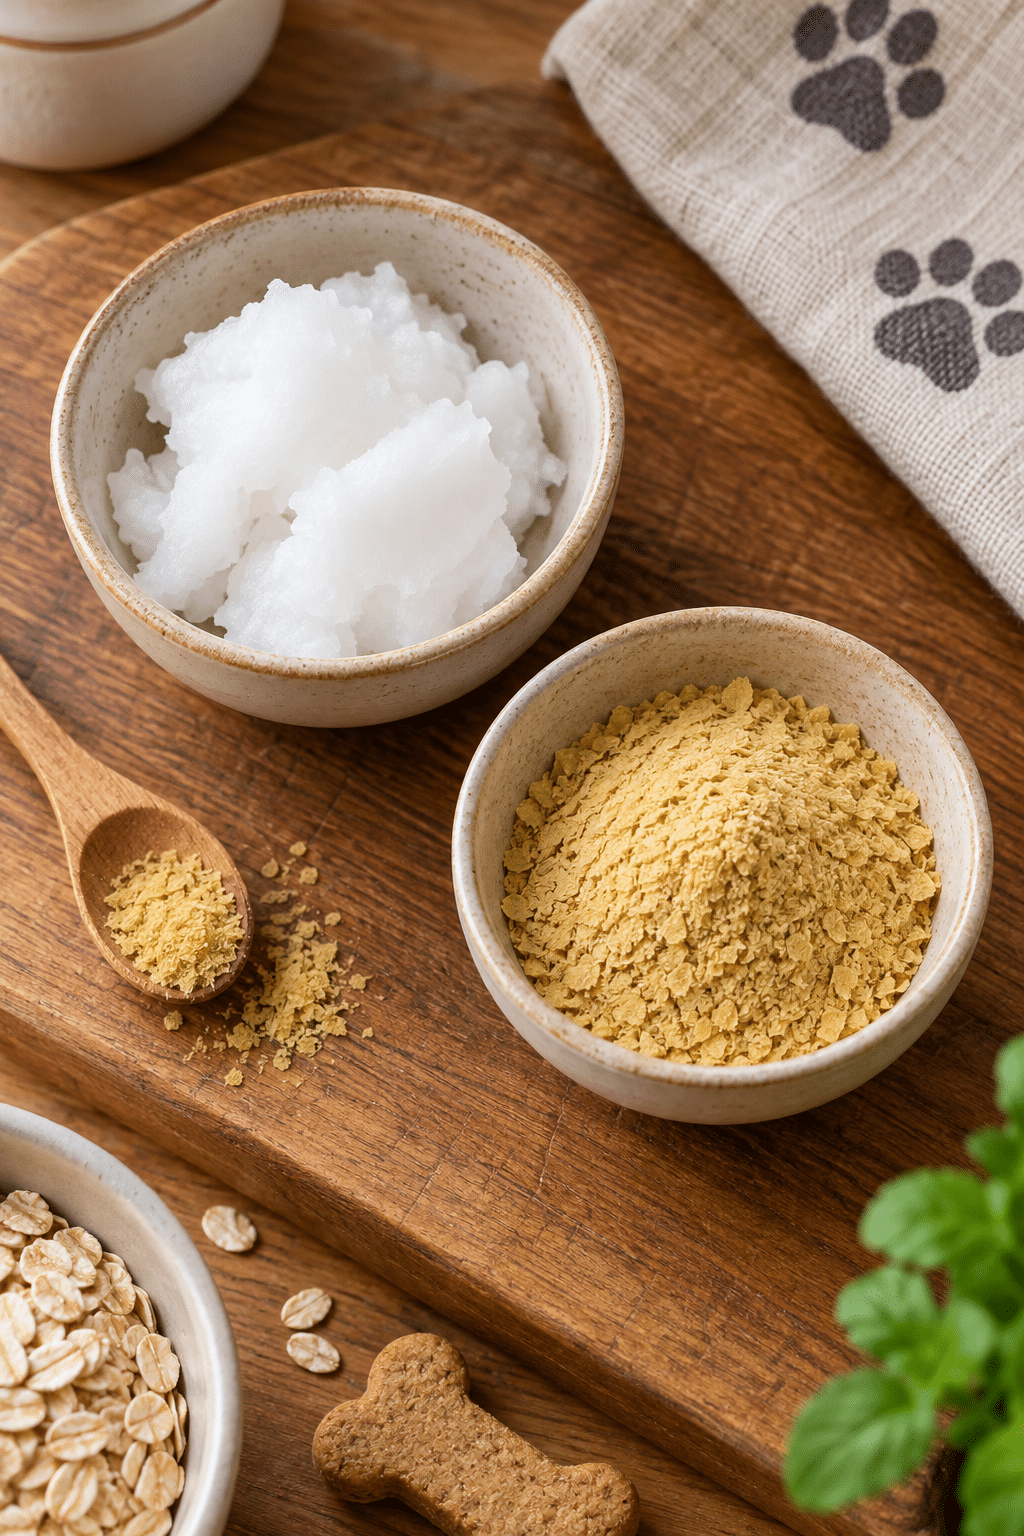
Use plain brewer’s yeast intended for food, not a flavored human supplement with added sweeteners or other ingredients. Check every package label carefully. Never use xylitol or any product containing it around dogs. Coconut oil can be solid or liquid depending on room temperature; measure it before melting for a consistent batch.
“The Homemade Flea Prevention Dog Treats turned out amazing. My kids asked for seconds. Saving this one!”
How to make the treats
Start by setting the molds on a small tray. The tray makes them easier to move without spilling. If your coconut oil is solid, melt it gently in a saucepan over low heat or in short microwave intervals. It only needs to become liquid and clear; it does not need to simmer.
- Melt the coconut oil gently in a small saucepan or microwave-safe bowl.
- Stir in the brewer’s yeast until the mixture is smooth and evenly combined.
- Pour into small paw-print or silicone molds and chill until firm, about 20 minutes.
- Remove from the molds and store in the refrigerator or freezer for up to 6 months.
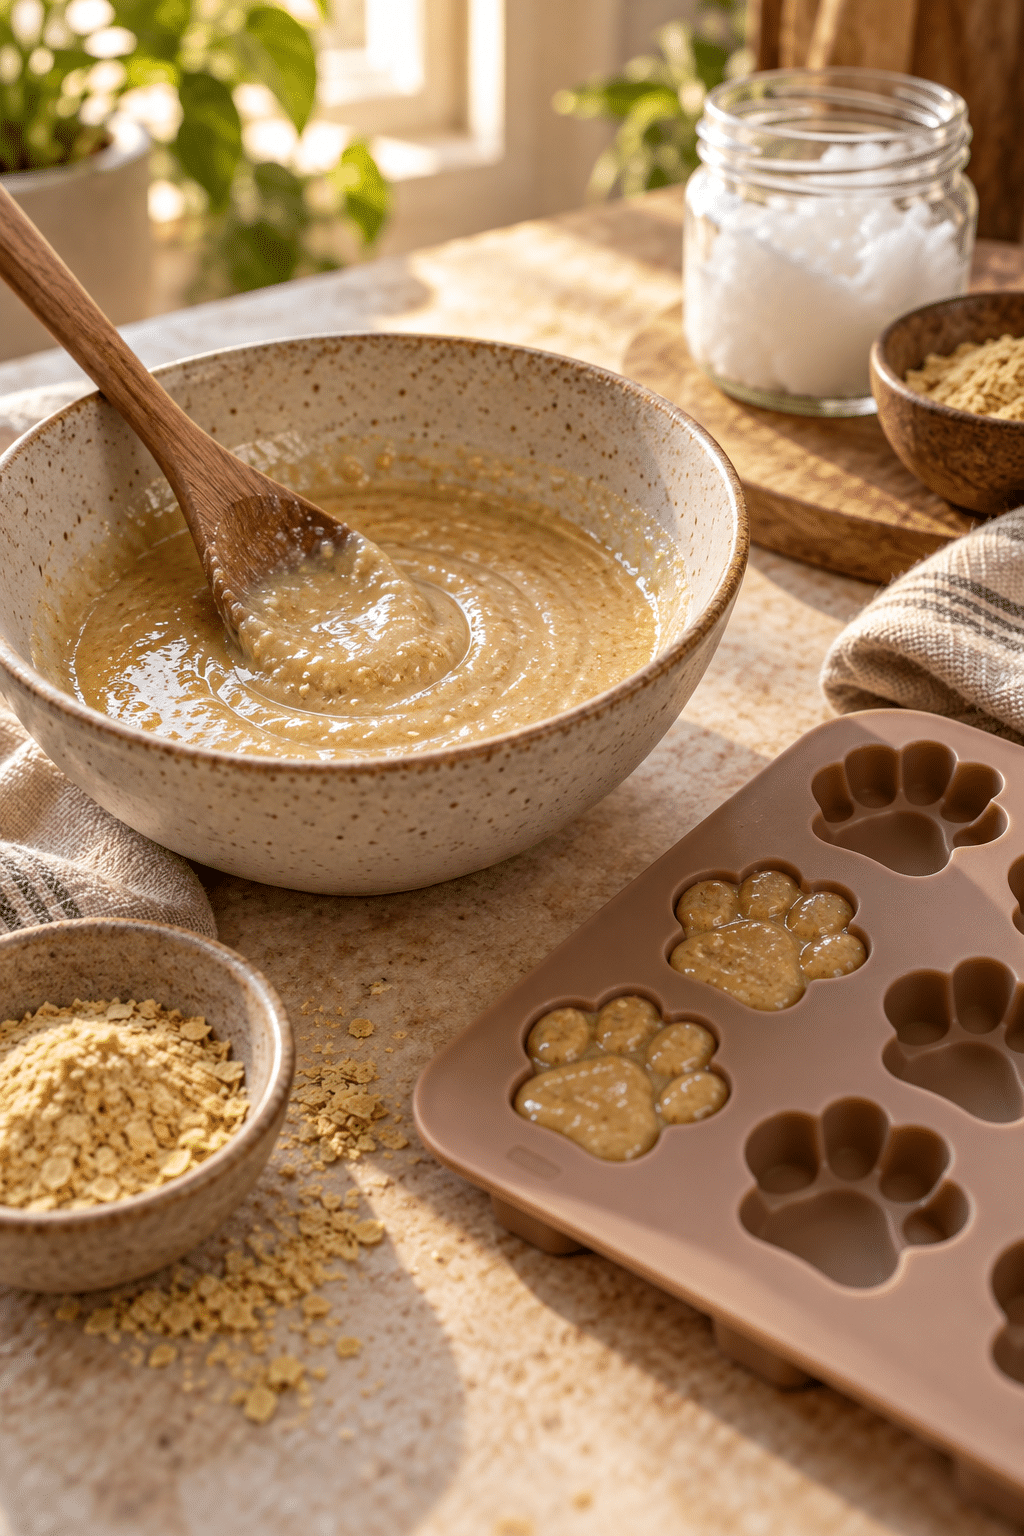
Pour slowly, filling each cavity evenly. If the yeast settles while you work, give the mixture another stir. A small measuring spoon or squeeze bottle can make filling easier, but avoid overfilling because the oil expands slightly as it moves and can spill when the tray is transferred.
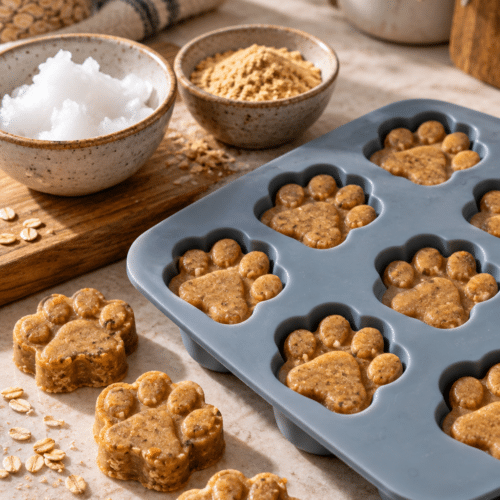
The treats are ready when they look opaque and feel firm when touched. If the center still looks glossy or moves in the mold, chill for another 10 minutes. Remove them by flexing the silicone rather than pressing hard on the treats. Transfer them directly to a sealed container so they do not warm while sitting on the counter.
Serving ideas and portioning
The source guidance is approximately one small paw-print treat per 10 pounds of body weight daily, with a smaller frequency for dogs under 10 pounds. That is general recipe guidance, not individualized veterinary advice. Start with a smaller amount when introducing the treats and account for them within your dog’s total daily calories. Offer one as a reward after a walk, crumble one over a meal only if your veterinarian agrees, or keep a labeled container ready for consistent portions.
Tips and an optional variation
For clean portions, let the melted oil cool for a minute before adding the yeast, but do not wait until it begins to solidify. Stir from the bottom of the bowl, where yeast can collect. If the mixture separates, warm it very briefly and stir again. If your kitchen is warm, fill the molds in two batches and return the tray to the refrigerator between batches.
Optional variation: Use a different small silicone mold shape, such as hearts or tiny rounds, while keeping the two primary ingredients and their quantities unchanged. The shape changes portion size, so count the finished treats and adjust serving size with your veterinarian’s guidance rather than assuming every mold produces the same bite.
Storage and troubleshooting
Store firm treats in an airtight container in the refrigerator for up to six months, or freeze them for longer holding if your container is well sealed. Separate layers with parchment if they stick together. Thaw only the portion you plan to use. Do not leave the full container in a warm room, car, or sunny window, because coconut oil will soften and the treats can lose their shape.
If the treats are crumbly, the yeast may not have been fully dispersed or the mold cavities may be too large for the intended portion. If they remain oily on top, stir more thoroughly and chill the next batch sooner. If your dog refuses them, do not force the issue; a new food should be introduced calmly and discontinued if it causes any digestive or skin reaction.
“New family favorite! This Homemade Flea Prevention Dog Treats was so flavorful and ridiculously easy. Crowd-pleaser for sure.”
Common search questions
Can I make these without paw-print molds?
Yes. Any clean, small silicone mold works. Ice cube trays are suitable only when the cavities are small enough for sensible portions. Larger cavities create treats that may contain more fat than intended for a single serving.
Do these treats replace flea medicine?
No. They are homemade snacks, and the source’s flea-prevention claim should not be treated as a guarantee. For an active flea problem or a dog at risk of parasites, ask a veterinarian about products and environmental control appropriate for your pet.
Can I use nutritional yeast instead?
Keep the primary recipe to plain brewer’s yeast unless a veterinarian recommends a substitution. Different yeast products have different flavors, ingredients, and serving considerations, so they are not automatically interchangeable.
Frequently asked questions about homemade flea prevention dog treats
FAQ
With two ingredients and a short chilling time, these homemade flea prevention dog treats are easy to portion and keep on hand. Use a small mold, store the bites cold, and make serving decisions around your dog’s individual needs and professional veterinary advice.

Homemade Flea Prevention Dog Treats
Ingredients
Ingredients
- 1/2 cup organic coconut oil melted
- 1/4 cup brewer's yeast nutritional brewer's yeast
Instructions
Instructions
- Melt the coconut oil gently in a small saucepan or microwave-safe bowl.
- Stir in the brewer's yeast until the mixture is smooth and evenly combined.
- Pour into small paw-print or silicone molds and chill until firm, about 20 minutes.
- Remove from the molds and store in the refrigerator or freezer for up to 6 months.