Homemade Brownies: The Ultimate Comfort Dessert
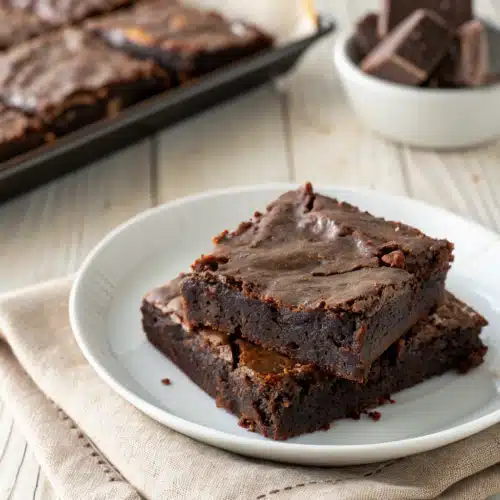
There’s something magical about a warm, Fudgy Brownie straight from the oven—its rich aroma filling your kitchen, that first satisfying snap as you break it open, and the gooey, chocolatey center melting on your tongue. Homemade brownies aren’t just a dessert; they’re an experience. Unlike store-bought versions that can be dry or overly sweet, these chewy, decadent treats are made with love, simple ingredients, and a little bit of patience. Whether you’re baking for a crowd, surprising someone special, or simply treating yourself after a long day, this recipe never disappoints. With its perfect balance of crisp edges and soft centers, it’s no wonder this classic has been a family favorite for generations. Let’s dive into how easy (and fun!) it is to make them at home.
Thank you for reading this post, don't forget to subscribe!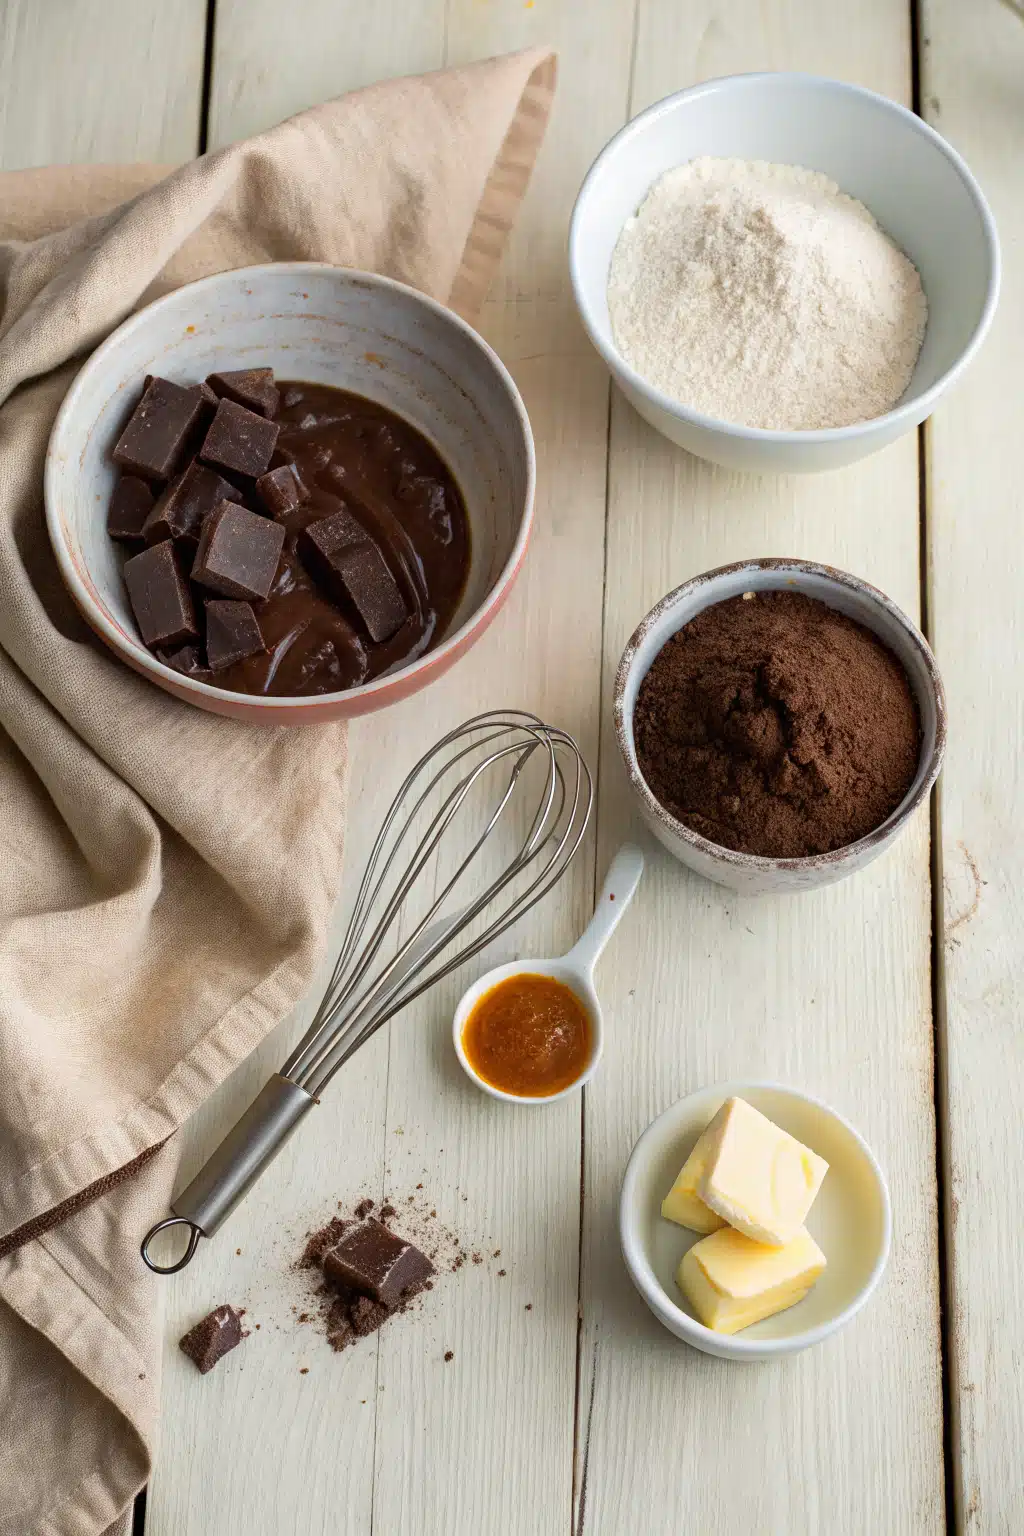
What Is Homemade Brownies?
Homemade brownies are more than just squares of chocolate baked in a pan—they’re a labor of love, often passed down through families like cherished heirlooms. These particular brownies are ultra-rich and fudgy, with a dense texture and deep chocolate flavor thanks to high-quality cocoa powder and sometimes even melted Dark Chocolate. They’re not overly cakey, nor are they too crumbly. Instead, they hold together just enough so each bite feels indulgent but still melts effortlessly in your mouth. What makes them truly special? It’s the care taken in mixing, the gentle folding of butter and sugar, and the quiet anticipation of pulling them out of the oven. There’s nothing quite like the pride of knowing you made this deliciousness from scratch.
Why You’ll Love This Recipe
If you’ve ever craved the kind of brownies that make you close your eyes in delight, this recipe is for you. First off, it’s incredibly forgiving—perfect whether you’re a seasoned baker or trying your hand at desserts for the first time. You don’t need fancy tools or hard-to-find ingredients; just a few pantry staples and a bowl. The result? A batch of brownies that are moist, intensely chocolatey, and packed with that signature fudgy chew we all crave. Plus, they bake up fast—usually in under 35 minutes—so you won’t have to wait long to enjoy them.
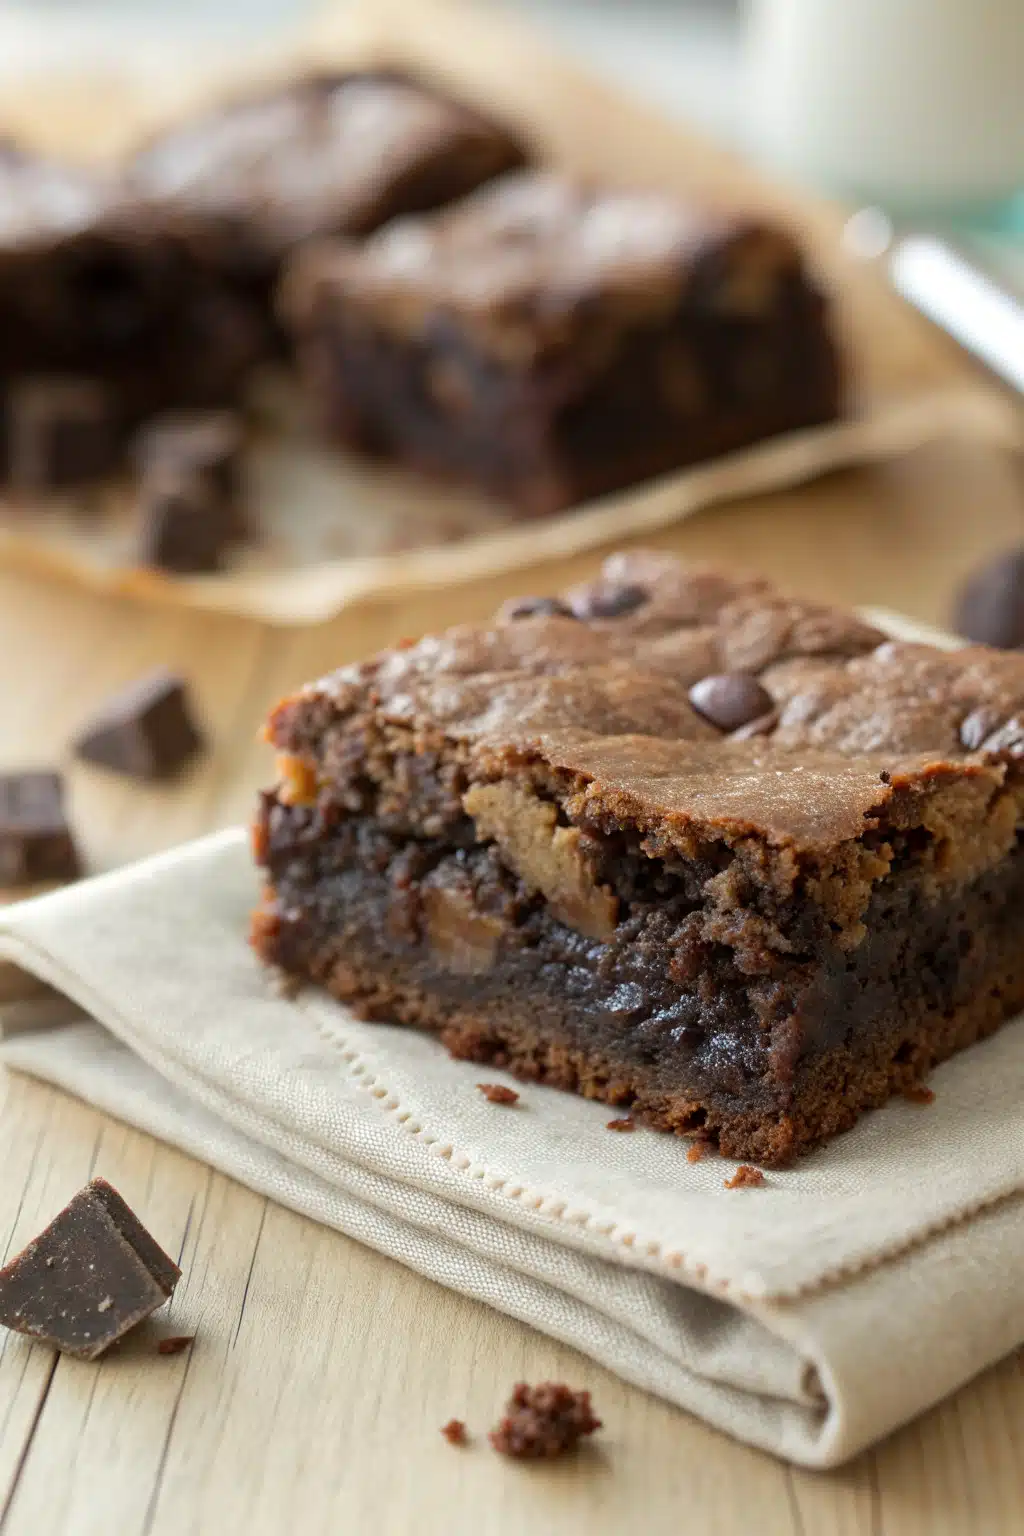
Another reason this recipe stands out? Versatility. Want nuts? Add walnuts or pecans. Craving gooey goodness? Stir in some chocolate chips or chunks. Need it gluten-free? Swap regular flour for almond or oat flour. And let’s talk about presentation—these brownies look as good as they taste, especially when you slice them neatly and dust the top with powdered sugar or drizzle with ganache. Serve them warm with a scoop of vanilla Ice Cream, and you’ve got yourself a dessert that feels like pure joy.
But beyond the flavor and ease, there’s the emotional connection. Baking these brownies brings people together—whether it’s the kids helping mix the batter, a friend sharing a slice, or simply curling up with one after dinner. That’s the real magic of homemade brownies: they’re more than food; they’re memories in every bite.
How to Make Homemade Brownies
Quick Overview
Making homemade brownies is refreshingly simple. Start by preheating your oven and greasing a standard 8×8-inch pan. In a large bowl, whisk together melted butter, granulated sugar, eggs, and vanilla extract until smooth. Then, gently fold in sifted flour and cocoa powder until just combined—don’t overmix! Pour the batter into the pan, spread it evenly, and bake for about 25–30 minutes, or until a toothpick inserted in the center comes out with a few moist crumbs (not wet batter). Let them cool completely before slicing. And voilà—rich, Fudgy Brownies ready to devour!
Ingredients
- 1 cup (2 sticks) unsalted butter
- 1¾ cups granulated sugar
- 4 large eggs, room temperature
- 1 teaspoon pure vanilla extract
- ½ cup unsweetened cocoa powder (Dutch-process preferred)
- ⅔ cup all-purpose flour
- ¼ teaspoon salt
- Optional add-ins: ½ cup chopped walnuts, dark chocolate chunks, or sea salt flakes
Step-by-Step Instructions
Step 1: Preheat & Prep Pan
Preheat your oven to 350°F (175°C). Lightly grease an 8×8-inch baking pan with softened butter or non-stick spray, then line it with parchment paper for easy removal later. This step ensures your brownies won’t stick and will release beautifully when cooled.
“New family favorite! This homemade brownies was so flavorful and ridiculously easy. Crowd-pleaser for sure.”
Step 2: Melt Butter & Mix Wet Ingredients
In a medium saucepan over low heat, melt the butter until bubbly and fragrant—about 2–3 minutes. Remove from heat and stir in the granulated sugar until fully dissolved. Let the mixture cool slightly (about 5 minutes), then whisk in the eggs one at a time, followed by the vanilla extract. Be sure the batter isn’t too hot when adding eggs to avoid curdling.
Step 3: Combine Dry Ingredients
In a separate bowl, sift together the cocoa powder, flour, and salt. Sifting prevents lumps and results in a smoother, silkier batter. Gently fold the dry mixture into the wet ingredients using a spatula. Stop as soon as no white streaks remain—overmixing leads to tough brownies. If using nuts or chocolate chunks, fold them in now.
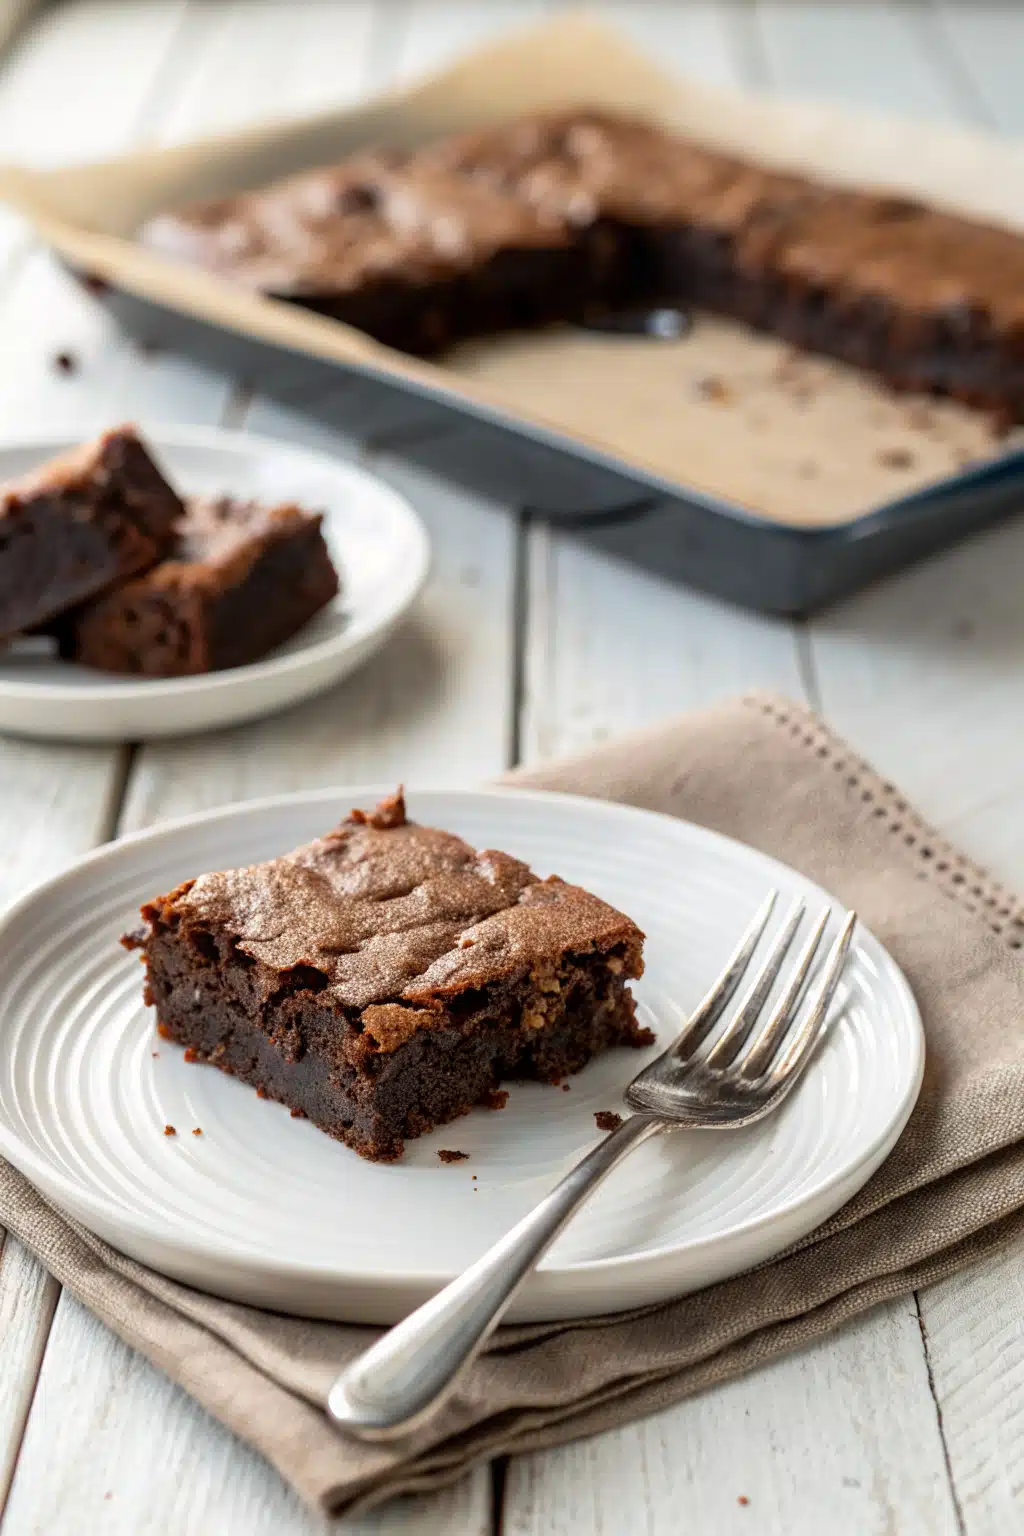
Step 4: Bake to Perfection
Pour the batter into your prepared pan and smooth the top with a spatula. Bake for 25–30 minutes. For optimal texture, aim for a toothpick test: it should come out with a few moist crumbs clinging to it, but not raw batter. Overbaking makes them dry, while underbaking keeps them gooey.
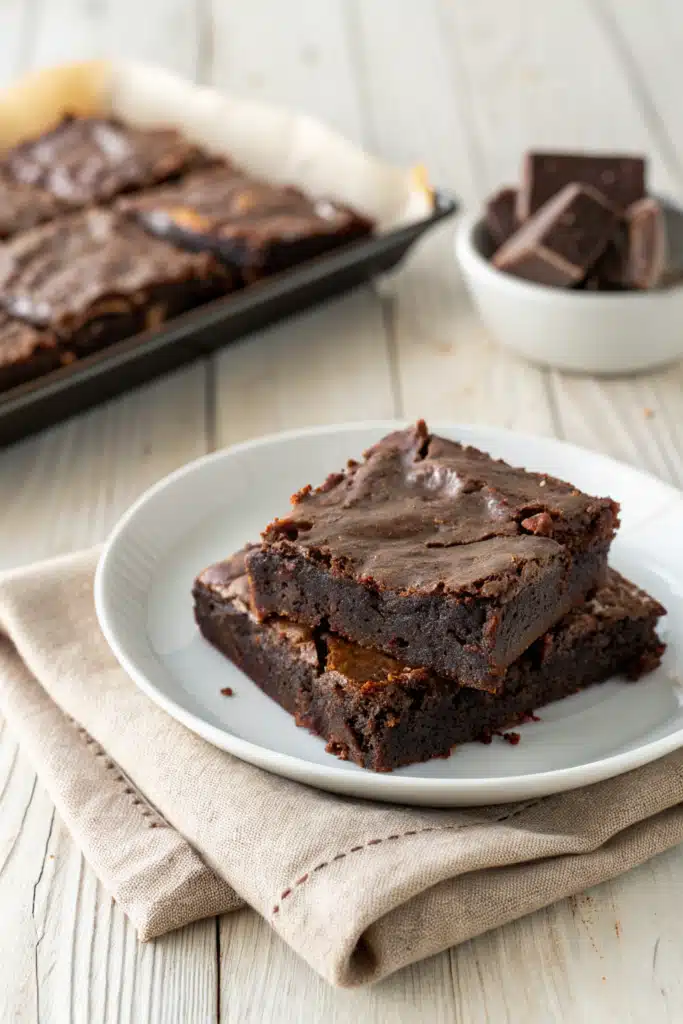
Step 5: Cool & Slice
Transfer the pan to a wire rack and let the brownies cool completely—this usually takes about 1 hour. Cooling allows them to set properly and makes slicing clean and neat. Once cooled, lift the parchment edges and cut into squares. Dust with powdered sugar if desired.
What to Serve It With
Homemade brownies are delicious on their own, but elevate them with a few complementary touches. Serve warm slices alongside a cold glass of milk or a scoop of vanilla bean Ice Cream—the contrast of hot and cold is heavenly. For an extra indulgence, top with whipped cream or caramel sauce. Pair with coffee or espresso for a cozy afternoon treat, or offer them as part of a dessert platter with fresh berries and macarons for entertaining.
If you’re feeling festive, layer brownie pieces with peanut butter cups or swirl in raspberry jam before baking. These variations keep the classic flavor while adding exciting new textures. And don’t forget—presentation matters! Arrange slices on a rustic wooden board or elegant ceramic plate, garnished with mint leaves or edible flowers for a restaurant-worthy finish.
Top Tips for Perfecting Your Homemade Brownies
Even the simplest recipes benefit from expert tweaks. Here’s how to ensure your brownies always turn out amazing:
- Use room-temperature eggs: This helps create a smoother, more uniform batter without clumping.
- Sift your dry ingredients: Removes lumps and aerates the mixture for a lighter, less dense final product.
- Don’t overmix: Stir only until ingredients are combined. Overworking the batter develops gluten, leading to tough brownies.
- Measure accurately: Use measuring cups, not spoons, for dry ingredients—leveling off the top gives consistent results.
- Cool completely before cutting: Rushing this step leads to crumbling. Patience pays off with clean, square slices.
- Experiment with ratios: Increase butter slightly for richer flavor, or reduce sugar if you prefer less sweetness.
Storing and Reheating Tips
Homemade brownies stay fresh and delicious when stored correctly. Wrap individual slices in plastic wrap or place them in an airtight container with wax paper between layers to prevent sticking. Store at room temperature for up to 3 days, or refrigerate for up to a week. For longer storage, freeze un-sliced brownies wrapped tightly in foil for up to 3 months—just thaw at room temperature when ready to serve.
To reheat, pop a slice in the microwave for 10–15 seconds or warm it in a 300°F (150°C) oven for 8–10 minutes. Either method restores that irresistible warmth and gooeyness. Avoid microwaving the entire tray unless you want to dry out the rest.
Frequently Asked Questions
“I don’t know if I’ve ever eaten a better homemade brownies. The rub alone is wonderful, but the sauce??? Over the top!”
Final Thoughts
There’s a timeless comfort in biting into a perfectly baked homemade brownie—the kind that wraps around you like a warm hug after a long day. Whether you’re baking for a celebration or simply because you deserve a moment of sweetness, this recipe delivers consistently delicious results. With its rich texture, intense chocolate flavor, and endless customization options, it’s no surprise these brownies have stood the test of time. So next time you’re craving something special, skip the store and whip up a batch. Trust me, your taste buds (and your loved ones) will thank you.
Homemade Brownies
Ingredients
Main Ingredients
- 1 cup unsalted butter
- 2 cup granulated sugar
- 4 large eggs
- 1 teaspoon vanilla extract
- 0.5 cup all-purpose flour
- 0.5 cup unsweetened cocoa powder
- 0.25 teaspoon salt
- 0.25 teaspoon baking powder
- 1 cup semisweet chocolate chips
Instructions
Preparation Steps
- Preheat the oven to 350°F (175°C). Grease and line an 8x8-inch baking pan with parchment paper.
- In a saucepan over low heat, melt the butter. Remove from heat and stir in the sugar until combined.
- Add the eggs one at a time, mixing well after each addition. Stir in the vanilla extract.
- In a separate bowl, whisk together the flour, cocoa powder, salt, and baking powder. Gradually add the dry ingredients to the wet mixture, stirring until just combined.
- Fold in the chocolate chips until evenly distributed.
- Pour the batter into the prepared pan and spread it into an even layer. Bake for 25–30 minutes, or until a toothpick inserted in the center comes out with a few moist crumbs (not wet batter).
- Cool completely in the pan on a wire rack before cutting into squares.


