
Okay, so you know how some recipes just feel like a warm hug? This Hawaiian carrot cake is *that* recipe for me. It’s not just a dessert; it’s a memory, a scent wafting from the oven on a lazy Sunday morning, a guaranteed crowd-pleaser that makes everyone ask for the secret. Forget those dry, bland carrot cakes you might have tried elsewhere. This one is moist, packed with vibrant flavors, and has this subtle, tropical twist that just sings. Honestly, it’s got all the comforting spice of a classic carrot cake but with an extra layer of sunshine. I first tasted something like this years ago on a trip and was absolutely smitten. It took me a while to nail down this version, but trust me, it’s worth every single stir and sprinkle. If you love a good carrot cake, prepare to meet your new obsession.
Thank you for reading this post, don't forget to subscribe!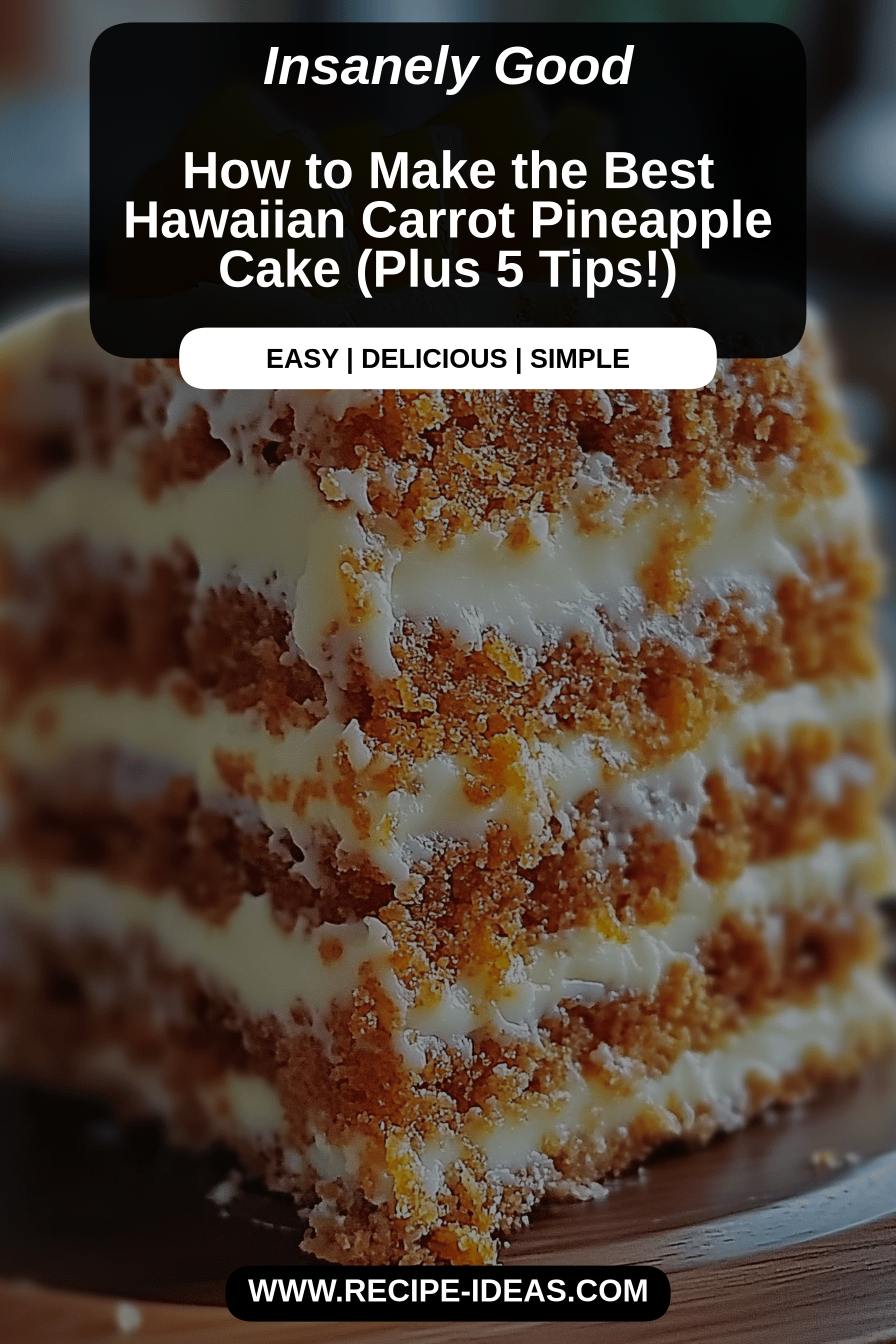
What is Hawaiian carrot cake?
Think of this Hawaiian carrot cake as your favorite classic carrot cake’s cooler, more adventurous cousin. The “Hawaiian” part isn’t about pineapple chunks (though you *could* add them if you’re feeling wild!), but rather the infusion of flavors that evoke the islands – think warm spices, hints of citrus, and an overall bright, sunny disposition. It’s essentially a super moist, incredibly flavorful spiced cake studded with grated carrots for texture and sweetness. The magic really happens with the Cream Cheese Frosting, which is usually a bit tangier and creamier than your average, balancing out the sweetness of the cake perfectly. It’s the kind of cake that feels both comforting and a little bit special, making it perfect for birthdays, holidays, or just because you deserve a treat.
Why you’ll love this recipe?
What are some good reasons to make Hawaiian carrot cake?flavor is just out of this world. It’s spiced perfectly – not too much, not too little – with cinnamon and nutmeg playing the starring roles, but then there’s this subtle undertone of… well, something tropical and delightful that just lifts everything. The carrots themselves add a wonderful natural sweetness and keep the cake incredibly moist, almost impossibly so. And speaking of moist, it’s unbelievably easy to makeIf you can stir a bowl, you can make this cake. There are no fussy techniques, just mixing and baking. Plus, it’scost-effective. Carrots, flour, sugar, eggs – these are all pantry staples, making it an affordable way to create something truly impressive. The versatility is another huge plus. I love it as a dessert, of course, but a slice with my morning coffee is pure bliss, and it’s fantastic for brunch. What I love most about this particular Hawaiian carrot cake recipe, though, is how it’s forgiving. You can tweak it a bit, maybe add some nuts or skip them, and it always turns out beautifully. It’s just a foolproof recipe that delivers pure joy with every bite, way more so than a simple vanilla or Chocolate Cake, in my humble opinion!
How to Make Hawaiian Carrot Cake
Quick Overview
The process for this Hawaiian carrot cake is delightfully straightforward. We’ll whisk together the dry ingredients, then combine the wet ingredients, and finally bring them together. The key to its amazing texture lies in the gentle mixing and the fresh carrots. We’ll then bake it until it’s perfectly golden and tender, and finish it off with a dreamy Cream Cheese frosting. It’s genuinely one of those recipes that looks impressive but is surprisingly simple to pull off, even if you’re new to baking.
Ingredients
For the Main Batter:
- 3 cups all-purpose flour
- 2 teaspoons baking soda
- 1 teaspoon ground cinnamon
- 1/2 teaspoon ground nutmeg
- 1/4 teaspoon ground cloves (optional, but I love it!)
- 1 teaspoon salt
- 1 1/2 cups granulated sugar
- 1 cup vegetable oil (or any neutral-flavored oil)
- 4 large eggs
- 1 teaspoon vanilla extract
- 1 teaspoon orange zest (from about 1 orange)
- 3 cups finely grated carrots (about 4-5 medium carrots)
For the Filling:
- 1 cup chopped pecans or walnuts (optional, toasted if you have time!)
- 1/2 cup shredded sweetened coconut (optional, adds a lovely chew)
For the Glaze:
“Made the Hawaiian carrot cake tonight and wow — perfect weeknight dinner. Will definitely make again!”
- 16 ounces cream cheese, softened
- 1 cup (2 sticks) unsalted butter, softened
- 4 cups powdered sugar, sifted
- 2 teaspoons vanilla extract
- 2-3 tablespoons milk or cream (as needed for consistency)
Step-by-Step Instructions
Step 1: Preheat & Prep Pan
First things first, let’s get our oven ready. Preheat it to 350°F (175°C). Now, grab your baking pans. I usually use two 9-inch round cake pans for this. Grease them really well with butter or baking spray, then dust them lightly with flour. Tap out any excess flour. You can also line the bottoms with parchment paper circles for extra insurance against sticking – I find this is a lifesaver, especially when I’m in a hurry.
Step 2: Mix Dry Ingredients
In a large bowl, we’re going to whisk together all our dry ingredients: the flour, baking soda, cinnamon, nutmeg, cloves (if you’re using them, and I highly recommend it for that extra warmth!), and salt. Whisking them thoroughly ensures that all those lovely spices and leavening agents are evenly distributed throughout the batter. You don’t want one bite to be super spicy and another to be bland, right? Aim for a uniform color and texture.
Step 3: Mix Wet Ingredients
In a separate, medium-sized bowl, beat the granulated sugar and vegetable oil together until well combined. Then, add your eggs, one at a time, beating well after each addition. Stir in the vanilla extract and the orange zest. The orange zest is my secret weapon for that subtle tropical aroma – it just brightens everything up! Make sure everything is nicely emulsified; it should look smooth and well-blended.
Step 4: Combine
Now, it’s time to bring the wet and dry ingredients together. Pour the wet ingredients into the bowl with the dry ingredients. Using a spatula or a wooden spoon, mix until *just* combined. Be careful not to overmix here! Overmixing can develop the gluten too much, leading to a tougher cake. Stop as soon as you no longer see streaks of dry flour. Then, gently fold in the grated carrots. If you’re using the optional nuts and coconut, fold them in now too.
Step 5: Prepare Filling
If you’re adding the optional toasted pecans or walnuts and coconut, you’ll want to toast them first for the Best Flavor. Just spread them on a baking sheet and bake at 350°F (175°C) for about 8-10 minutes, or until fragrant. Let them cool before folding them into the batter in the previous step. This step is totally optional but adds such a wonderful crunch and depth of flavor!
Step 6: Layer & Swirl
Divide the batter evenly between your prepared cake pans. You can smooth the tops with your spatula, but don’t worry about perfection – this is a rustic cake! I like to give the pans a gentle tap on the counter to release any large air bubbles.
Step 7: Bake
Pop those pans into your preheated oven. Bake for 30-35 minutes, or until a wooden skewer or toothpick inserted into the center comes out clean. The cake should be golden brown and spring back lightly when touched. Keep an eye on it, as oven temperatures can vary. If you notice the tops browning too quickly, you can loosely tent them with foil for the last 10 minutes of baking.
Step 8: Cool & Glaze
Once baked, let the cakes cool in their pans for about 10-15 minutes before inverting them onto a wire rack to cool completely. This is crucial! Trying to frost a warm cake is a recipe for disaster, I’ve learned that the hard way! While the cakes are cooling, let’s make that glorious Cream Cheese frosting. In a large bowl, beat the softened cream cheese and butter until smooth and creamy. Gradually add the sifted powdered sugar, mixing until well combined. Stir in the vanilla extract. If the frosting is too thick, add milk or cream a tablespoon at a time until it reaches your desired spreading consistency. It should be thick enough to hold its shape but spreadable.
Step 9: Slice & Serve
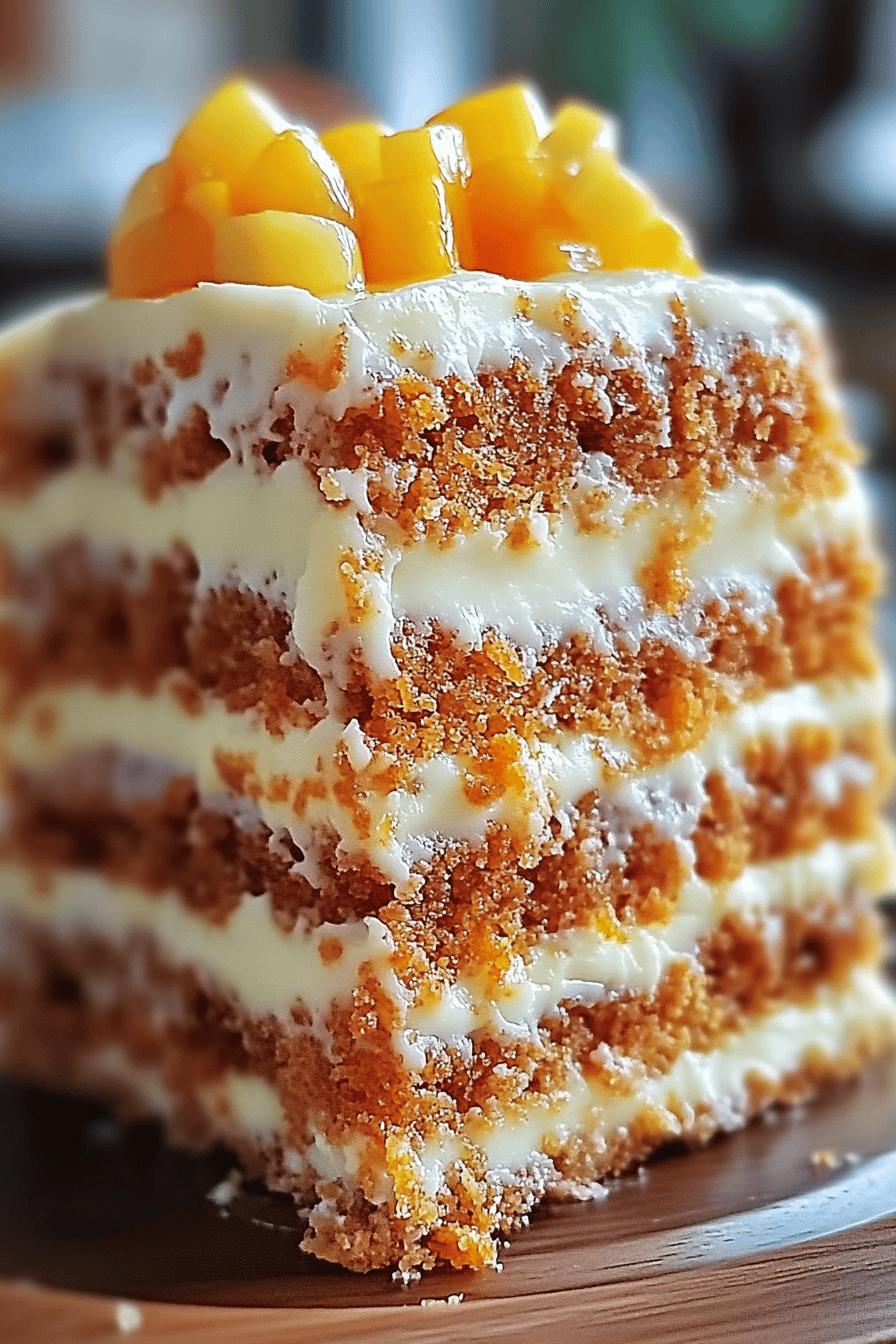
Once the cakes are completely cool, it’s time for the fun part! Place one cake layer on your serving plate. Spread a generous amount of frosting over the top. Carefully place the second cake layer on top. Then, frost the top and sides of the entire cake. You can make pretty swirls with your spatula, or just go for a more rustic, textured look. Garnish with extra grated carrots, toasted pecans, or a sprinkle of cinnamon if you like. Slice, serve, and enjoy the oohs and aahs!
“I don’t know if I’ve ever eaten a better Hawaiian carrot cake. The rub alone is wonderful, but the sauce??? Over the top!”
What to Serve It With
This Hawaiian carrot cake is honestly a star all on its own, but I do have a few favorite ways to serve it depending on the occasion. For a simple morning treat or Breakfast, a slice with a steaming cup of good quality coffee is pure heaven. I sometimes don’t even bother with the frosting, just a dusting of powdered sugar is lovely. For Brunch, I love to make it look a little more elegant. I’ll frost it a bit more decoratively, maybe add some edible flowers, and serve it alongside fresh fruit salad or a yogurt parfait. When serving it as a proper Dessert, it’s fantastic with a scoop of vanilla bean Ice Cream or a drizzle of extra caramel sauce. And for those spontaneous moments when you just need a bit of sweetness, it’s perfect as a Cozy Snack with a tall glass of cold milk. My family also loves it with a dollop of whipped cream on top, especially the younger ones. It really just adapts to whatever you’re in the mood for!
Top Tips for Perfecting Your Hawaiian Carrot Cake
After making this Hawaiian carrot cake more times than I can count, I’ve picked up a few tricks that I think really make a difference. First, for the carrots, always use freshly grated. Pre-shredded carrots from the store often have a drier texture and can be a bit dusty, which isn’t ideal. Grating them yourself, even if it feels like a chore, yields the best moisture and flavor. Use the medium holes on your grater; fine can be too mushy, and large can be too chunky. When it comes to mixing, I can’t stress enough: don’t overmix! Once the wet and dry ingredients meet, mix until they’re *just* combined. A few tiny lumps are fine; they’ll bake out. Overmixing develops gluten, and that’s the enemy of a tender crumb. For the frosting, make sure your Cream Cheese and butter are truly softened. If they’re too cold, you’ll end up with a lumpy frosting, and that’s just disappointing. And if it’s a humid day, you might need a little extra powdered sugar to get the right consistency. Don’t be afraid to experiment with the swirl customization. While I love the rustic look, you can get really creative with how you frost it. Use an offset spatula to create peaks and valleys, or even pipe decorative borders. For ingredient swaps, I’ve found that using buttermilk instead of milk in the frosting adds an extra tang that’s lovely. And while I haven’t tried it myself, I’ve heard from friends that using a gluten-free all-purpose flour blend works well for a GF version, though you might need slightly less liquid. Lastly, for baking tips, always know your oven. If you know your oven runs hot, reduce the temperature by about 10-15 degrees. And while the skewer test is reliable, I also often look for the edges to pull away slightly from the pan – that’s another good sign it’s done. Oh, and for the glaze, let the cakes cool *completely* before frosting. I’ve learned that the hard way, more times than I care to admit!
Storing and Reheating Tips
This Hawaiian carrot cake is pretty resilient, which is one of the things I love about it. For room temperature storage, if it’s not too warm in your house, you can keep it covered on the counter for up to 2 days. Just make sure it’s in an airtight container or well-covered with plastic wrap to prevent it from drying out. For longer storage, the refrigerator is your best friend. Wrapped tightly in plastic wrap and then stored in an airtight container, it can last for up to 4-5 days. The Cream Cheese Frosting is what really benefits from refrigeration. When you’re ready to serve it from the fridge, I like to let it sit out for about 20-30 minutes to come closer to room temperature; it makes the frosting so much softer and the cake more flavorful. If you’re looking to freeze it, I highly recommend freezing the unfrosted cake layers. Wrap each layer tightly in plastic wrap, then in a layer of aluminum foil, and place them in a freezer-safe bag or container. They can stay frozen for up to 2-3 months. Thaw them overnight in the refrigerator, then let them come to room temperature before frosting. For the glaze timing advice, if you’re storing unfrosted cake, it’s best to frost it just before serving. If you frost it and then freeze, the frosting can sometimes get a bit hard. Honestly, though, this cake rarely lasts long enough in my house to need extensive storage advice!
Frequently Asked Questions
Final Thoughts
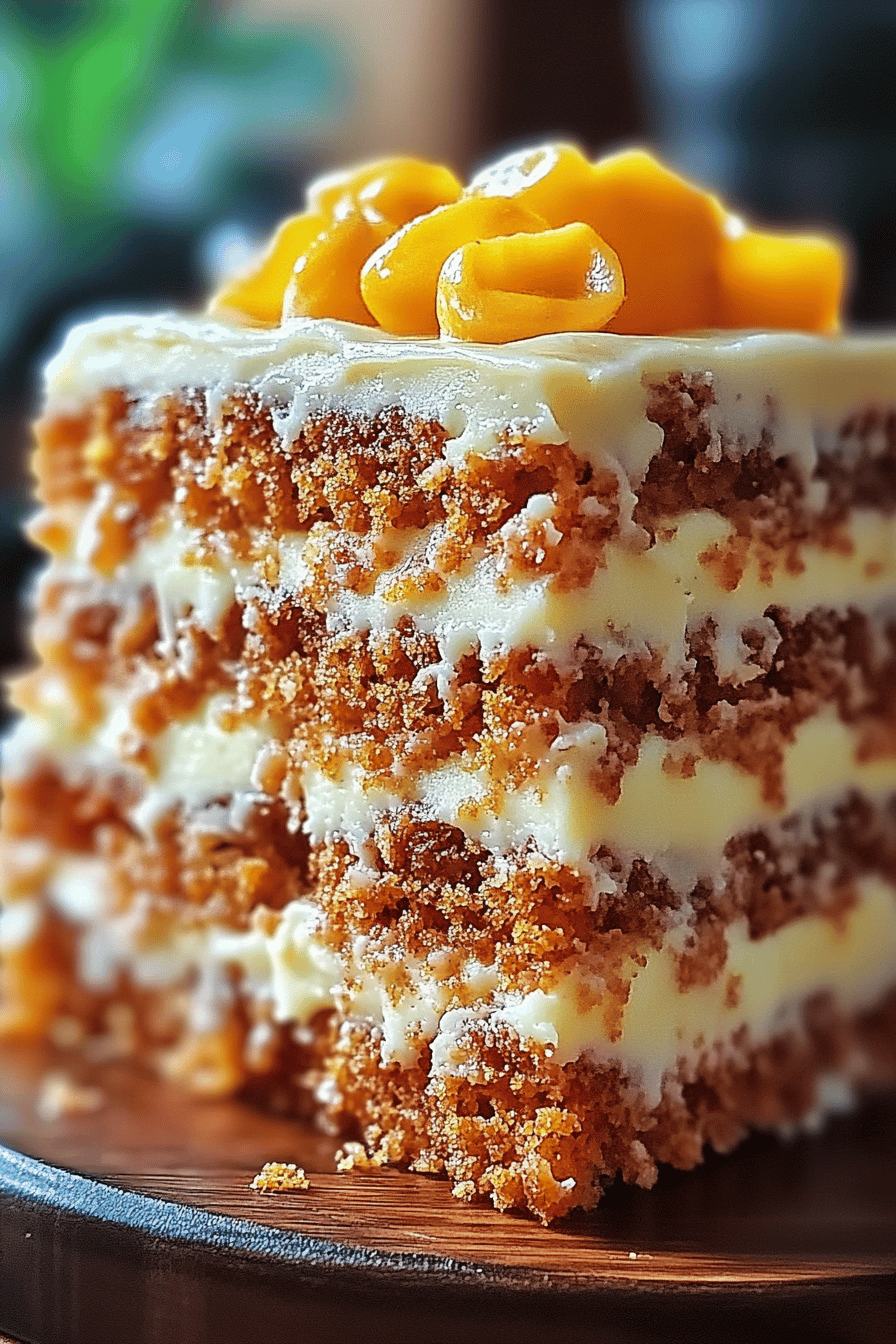
So there you have it – my absolute favorite Hawaiian carrot cake recipe! It’s a recipe born out of a love for comforting, spiced cakes with a little something extra. The vibrant flavors, the incredibly moist crumb, and that tangy cream cheese frosting all come together to create something truly special. It’s the kind of cake that makes people pause and say, “Wow, what is this?” and I just smile because I know it’s going to be a hit. If you’re a fan of carrot cake, or just love a good, moist, flavorful baked good, you absolutely have to give this one a try. I’m always so eager to hear how it turns out for you all, so please, if you bake it, let me know in the comments below! Share your variations, your favorite serving moments, or any questions you might have. And if you enjoyed this, you might also like my Spiced Apple Crumble Pie or my Lemon Blueberry Scones. Happy baking, and I hope this cake brings as much joy to your kitchen as it does to mine!

Hawaiian Carrot Cake
Ingredients
Cake Ingredients
- 2.5 cups all-purpose flour
- 2 teaspoon baking soda
- 0.5 teaspoon salt
- 2 teaspoon ground cinnamon
- 0.5 teaspoon ground nutmeg
- 1.5 cups granulated sugar
- 1 cup vegetable oil
- 4 large eggs
- 1 can crushed pineapple drained
- 1 cup shredded unsweetened coconut
- 1 cup chopped walnuts or pecans
Cream Cheese Frosting
- 8 ounces cream cheese softened
- 0.5 cup unsalted butter softened
- 4 cups powdered sugar
- 1 teaspoon vanilla extract
Instructions
Preparation Steps
- Preheat oven to 350°F (175°C). Grease and flour a 9x13 inch baking pan.
- In a large bowl, whisk together the flour, baking soda, salt, cinnamon, and nutmeg.
- In another bowl, whisk together the sugar, vegetable oil, and eggs until well combined.
- Add the wet ingredients to the dry ingredients and mix until just combined. Do not overmix.
- Fold in the crushed pineapple, coconut, and nuts.
- Pour the batter into the prepared baking pan and spread evenly.
- Bake for 30-35 minutes, or until a wooden skewer inserted into the center comes out clean.
- Let the cake cool in the pan for 10 minutes before inverting it onto a wire rack to cool completely.
- While the cake cools, prepare the frosting. In a medium bowl, beat together the cream cheese and butter until smooth.
- Gradually add the powdered sugar, beating until combined and fluffy. Stir in the vanilla extract.
- Once the cake is completely cool, spread the cream cheese frosting over the top.


