Grinch Cookies: The Most Misunderstood Holiday Cookie
Let’s be honest, when we think of holiday baking, the Grinch doesn’t usually come to mind. He’s the guy who stole presents, trampled trees, and generally made everyone miserable. But what if I told you that the real spirit of Christmas isn’t about how green your cookies are—it’s about sharing joy with someone who needs it most? Enter Grinch Cookies: not the kind that steal your heart (though they might do that too), but a recipe so simple, so forgiving, and so deliciously fun to make, that even the Grinch would have second thoughts about ruining them. These aren’t your grandma’s delicate shortbreads or your aunt’s fancy gingerbread men. They’re bold, slightly messy, full of personality, and perfect for spreading cheer where it’s needed most.
Thank you for reading this post, don't forget to subscribe!
What Is Grinch Cookies?
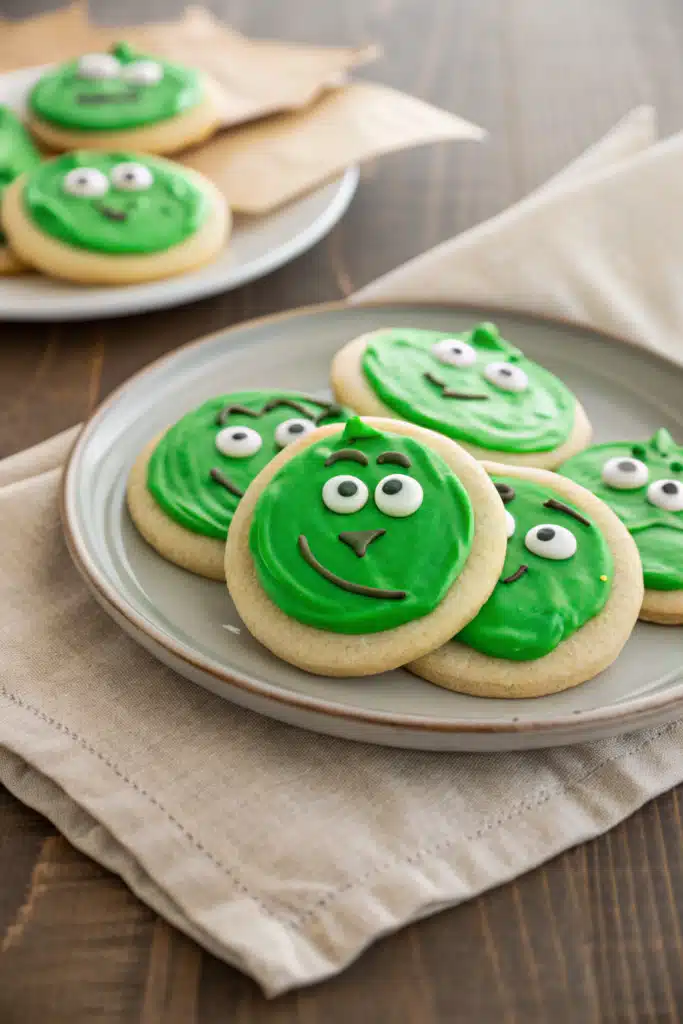
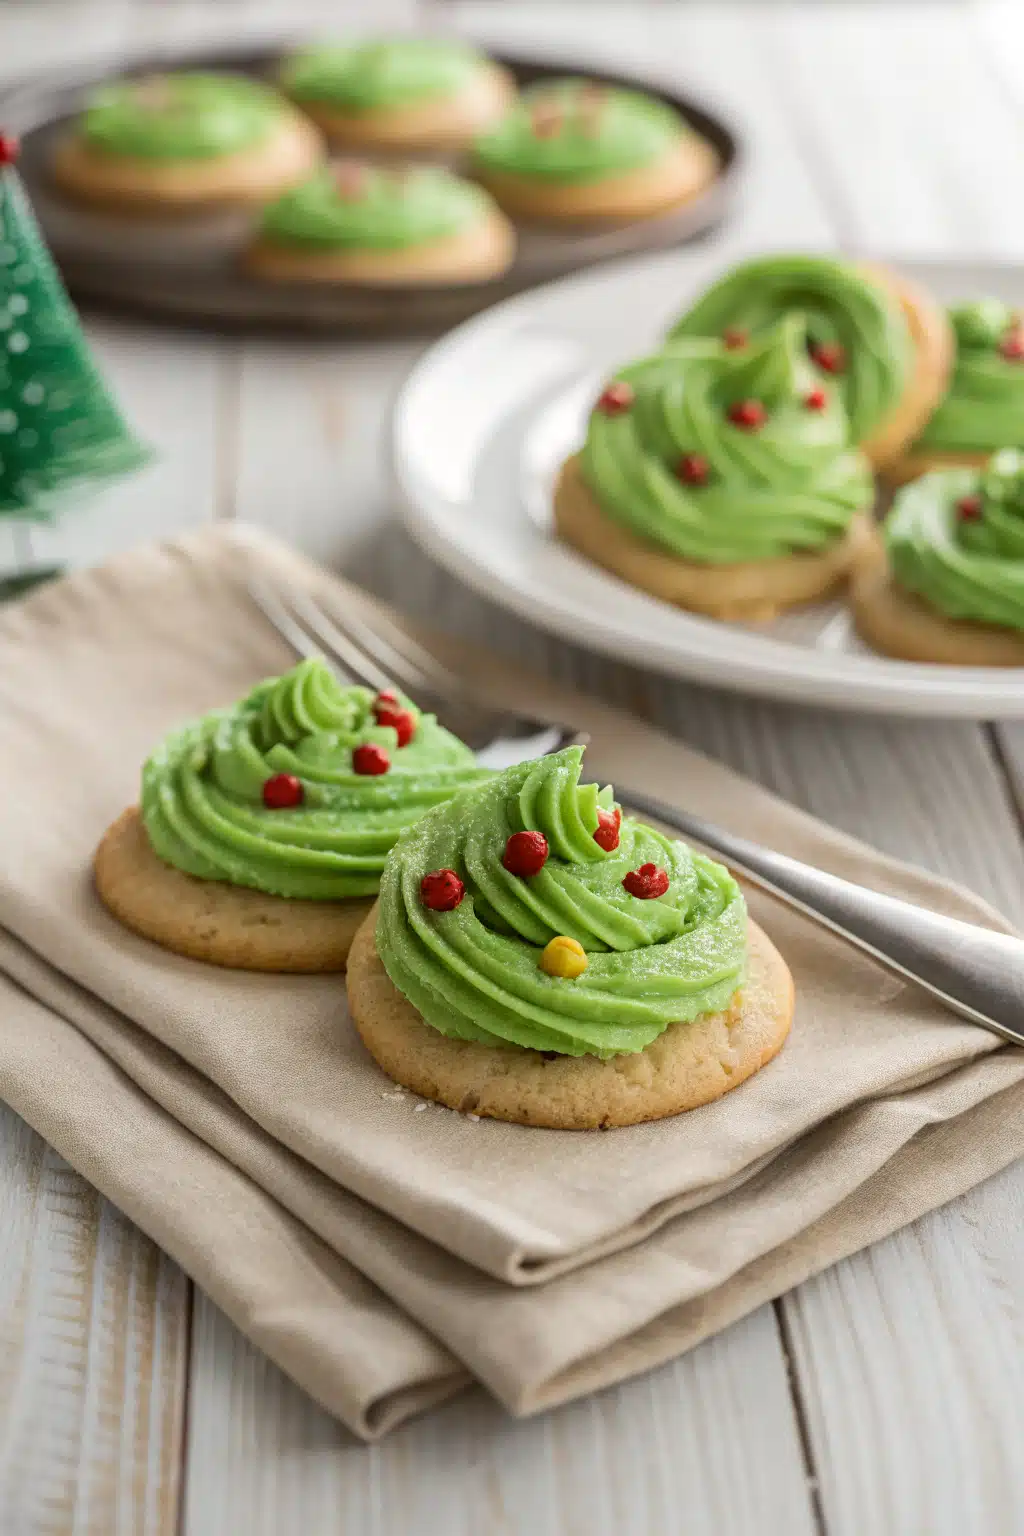
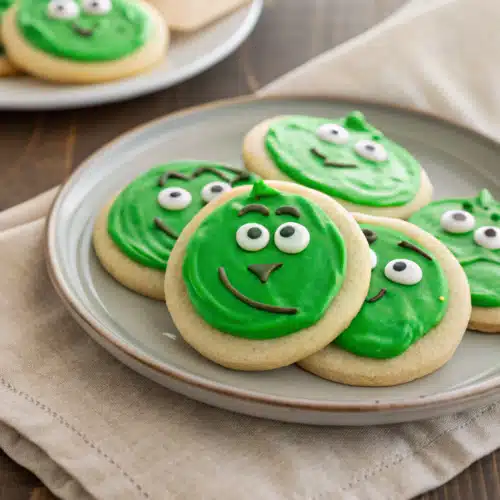
Grinch Cookies are a playful twist on classic sugar cookies, designed to look like the Grinch himself. Think vibrant green dough swirled with festive red stripes, topped with White Chocolate chips (for his iconic heart!), and dusted with a little powdered sugar for that “snowy” mountain peak. The texture is soft and chewy, with just enough sweetness to remind you that kindness always wins—even if you’re wearing striped pajamas and living in a cave.
This isn’t just about looks. It’s about transformation. Just like the Grinch’s change of heart, these cookies start with humble ingredients—but end up something magical. They’re easy to make, require no special skills, and can be customized with sprinkles, edible glitter, or whatever makes you smile. Whether you’re making them for kids, adults, or a last-minute gift, Grinch Cookies bring laughter, color, and warmth into any kitchen. Plus, they’re gluten-free-friendly and vegan-adaptable, so everyone can join in the fun.
Why You’ll Love This Recipe
First off, let’s talk about the joy of making something whimsical. Baking shouldn’t feel like a chore; it should feel like play. With Grinch Cookies, there’s no precise piping, no temperamental frosting—just dough, creativity, and a whole lot of love. Kids adore rolling and shaping them, and adults appreciate how quick and forgiving the process is. One batch yields about 2 dozen cookies, perfect for gifting, decorating together, or sneaking one (or three) straight from the cooling rack.
Another reason this recipe shines is its adaptability. Got dietary restrictions? Swap regular flour for almond or oat flour. Want it vegan? Use flax eggs and plant-based milk. Prefer less sugar? Reduce the sweetener slightly—these cookies still taste amazing. And let’s not forget the visual impact. When friends see a plate of bright green cookies with red stripes and little white hearts staring back at them, they don’t just see treats—they see a moment of delight.
Plus, making Grinch Cookies is a conversation starter. Imagine handing someone a box of these and saying, “I made these because I know life’s been tough lately.” That’s real holiday magic right there. They’re more than food—they’re messages of hope wrapped in dough.
How to Make Grinch Cookies
Quick Overview
In just 30 minutes, you’ll go from mixing bowl to mouth-ready cookies. No complicated steps, no specialty tools—just basic kitchen equipment and a sprinkle of imagination. You’ll mix the dough, roll it out, cut shapes, bake, cool, and decorate. It’s meditative, fast, and deeply satisfying. Best part? Leftovers keep fresh for up to a week (if they last that long).
Ingredients
- 1 cup all-purpose flour (or 1:1 GF blend)
- 1/2 tsp baking powder
- 1/4 tsp salt
- 1/2 cup unsalted butter, softened
- 3/4 cup granulated sugar
- 1 large egg (or flax egg for vegan)
- 1 tsp vanilla extract
- 2 tbsp vegetable oil
- Food coloring gel (green)
- Red gel food coloring
- White chocolate chips (or chunks)
- Powdered sugar (for dusting)
Step-by-Step Instructions
Step 1: Preheat & Prep Pan
Set your oven to 350°F (175°C). Line a baking sheet with parchment paper or a silicone mat—this prevents sticking and makes cleanup a breeze.
“The Grinch Cookies turned out amazing. My kids asked for seconds. Saving this one!”
Step 2: Mix Dry Ingredients
In a medium bowl, whisk together flour, baking powder, and salt. Set aside. If using a substitute flour, check package instructions for adjustments.
Step 3: Cream Butter & Sugar
In a large bowl, beat softened butter and sugar until light and fluffy—about 2–3 minutes. Scrape down the sides as needed.
Step 4: Add Wet Ingredients
Beat in the egg, vanilla, and oil until fully combined. Then, add green food coloring a little at a time until you reach your desired shade. Don’t worry if it’s not perfectly uniform—that adds character!
Step 5: Combine Everything
Gradually add the dry ingredients to the wet mixture, mixing just until incorporated. Fold in half the White Chocolate chips.
Step 6: Roll & Cut
On a lightly floured surface, roll dough to about 1/4-inch thickness. Use cookie cutters (circles work best) or simply shape by hand. Place on prepared baking sheet.
Step 7: Add Red Stripes & Chips
Drizzle thin lines of red food coloring along each cookie. Press remaining White Chocolate chips into the top.
Step 8: Bake
Bake for 10–12 minutes, until edges look set but centers still look soft. Overbaking = tough cookies. Underbaking = sticky mess. Trust the timer!
Step 9: Cool & Decorate
Let cool on the pan for 5 minutes, then transfer to a wire rack. Once completely cool, dust generously with powdered sugar. Store in an airtight container.
What to Serve It With
Pair these cheeky treats with Hot Cocoa spiked with peppermint schnapps, eggnog latte, or even plain old milk—because sometimes simplicity is best. Serve alongside a cheerful note: “You’ve got the best heart!” They’re also fantastic with a glass of sparkling cider or winter spritzer for a non-alcoholic option.
If you’re hosting, arrange them on a rustic wooden board with evergreen sprigs, cinnamon sticks, and tiny signs reading “Peace, Love & Cookies.” For gifts, pop them in a mason jar tied with ribbon—no need for wrapping paper!
Top Tips for Perfecting Your Grinch Cookies
- Don’t Overmix: Mixing too much develops gluten, leading to tough cookies. Stop when everything is combined.
- Color Gradually: Add food coloring slowly to control intensity. Too much too soon can make streaks instead of smooth swirls.
- Chill If Sticky: If dough is too soft, chill for 15–20 minutes before rolling. Makes cutting much easier.
- Vary the Shapes: Hearts, stars, or even Grinch-shaped cutters (if you’re feeling fancy!) add extra charm.
- Experiment with Toppings: Try rainbow sprinkles, edible gold dust, or mini marshmallows for “snow.”
Storing and Reheating Tips
Store cooled cookies in an airtight container at room temperature for up to 5 days. Layer with parchment paper to prevent sticking. For longer storage, freeze unbaked dough balls for up to 3 months—just bake from frozen, adding 1–2 minutes to cooking time.
“New family favorite! This Grinch Cookies was so flavorful and ridiculously easy. Crowd-pleaser for sure.”
To reheat, place cookies in a 300°F oven for 3–5 minutes. This restores their softness and brings back that bakery-fresh aroma. Avoid microwaving—it tends to make cookies soggy.
Frequently Asked Questions
Final Thoughts

There you have it—Grinch Cookies, a recipe that proves even the grumpiest among us can learn to love. They’re not just about taste; they’re about intention, connection, and the quiet power of a homemade treat. So next time you’re craving something sweet, don’t reach for the store-bought stuff. Grab some flour, butter, and a sense of humor. Roll up your sleeves, turn on your favorite holiday playlist, and bake a batch that says, “You matter.” Because in the end… the smallest hearts make the biggest difference.
Grinch Cookies
Ingredients
Dry Ingredients
- 2.25 cups all-purpose flour
- 1 teaspoon baking soda
- 0.5 teaspoon salt
Wet Ingredients
- 1 cup unsalted butter, softened
- 1 cup granulated sugar
- 0.5 cup packed light brown sugar
- 2 large eggs
- 2 teaspoon pure vanilla extract
- 0.5 teaspoon peppermint extract
- 1 teaspoon green food coloring (gel preferred)
Add-ins
- 0.5 cup white chocolate chips
- 0.5 cup crushed candy canes optional
Instructions
Preparation Steps
- Preheat oven to 375°F (190°C). Line baking sheets with parchment paper.
- In a medium bowl, whisk together flour, baking soda, and salt. Set aside.
- In a large bowl, beat softened butter, granulated sugar, and brown sugar until creamy. Add eggs one at a time, then mix in vanilla and peppermint extracts.
- Gradually add dry ingredients to wet ingredients and mix until just combined. Fold in green food coloring until dough is evenly colored.
- Stir in white chocolate chips and crushed candy canes, if using.
- Drop rounded tablespoons of dough onto prepared baking sheets, spacing them about 2 inches apart.
- Bake for 10–12 minutes, or until edges are lightly golden. Cool on baking sheet for 5 minutes before transferring to a wire rack.


