Okay, friend, let me tell you about these things.Gluten-free pumpkin bars.If you’re anything like me, you love pumpkin season but sometimes you want something different. What is better than pumpkin pie? These bars are the answers. What are they? What’s your favorite pumpkin Pie Recipe? Is it the kind of dessert that makes you want to curl up with a blanket and snooze? What are some of the easiest recipes to throw together, even on a busy weeknight? What is your kitchen while they bake? What is the best thing about these sweets? They taste like a dream. Why is it so hard to believe a product is gluten free?
Thank you for reading this post, don't forget to subscribe!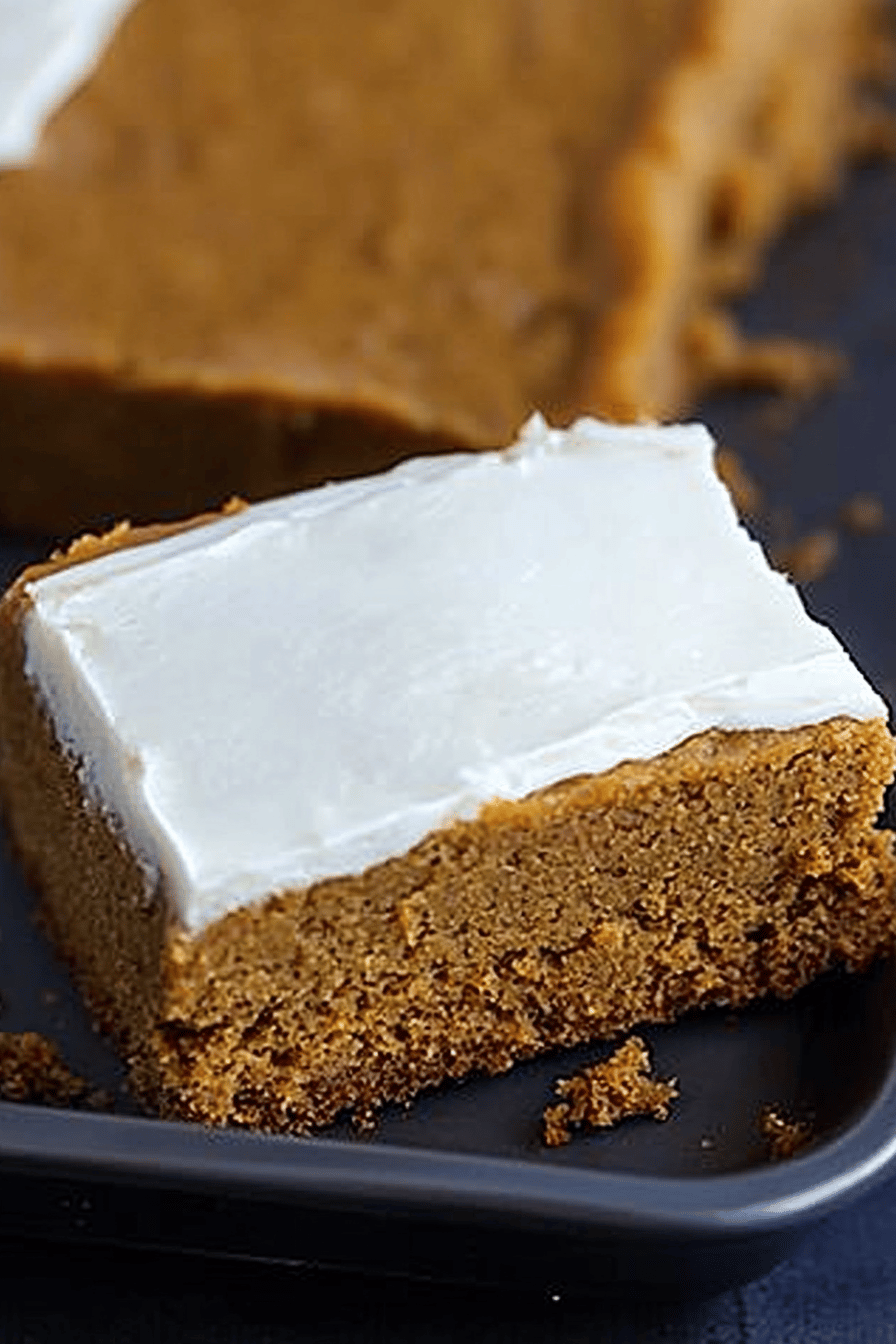
What is gluten free pumpkin bar?
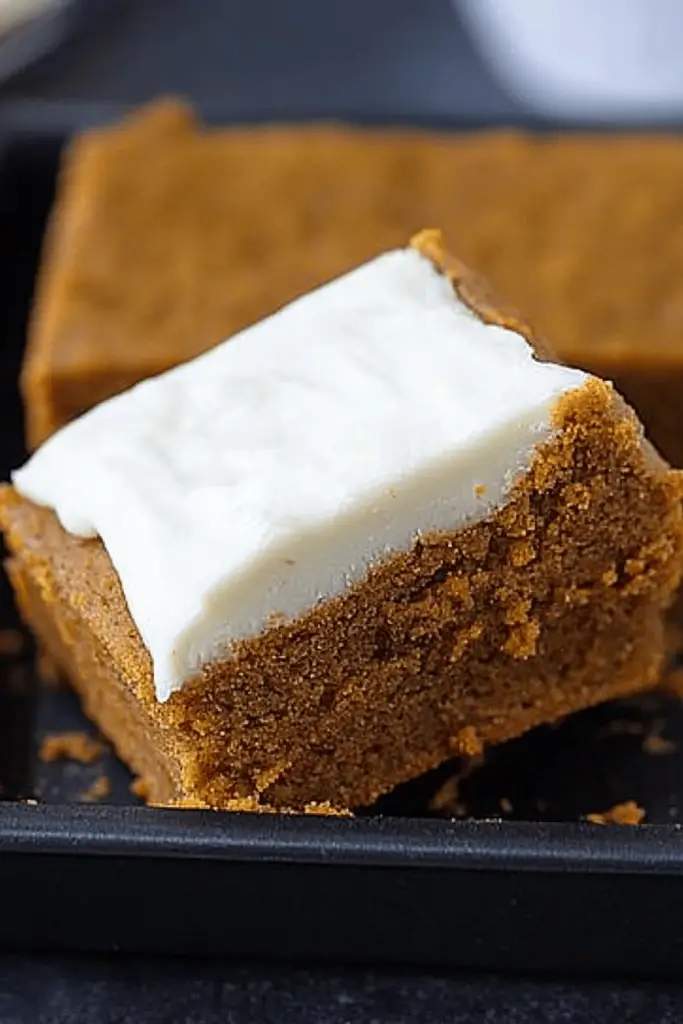
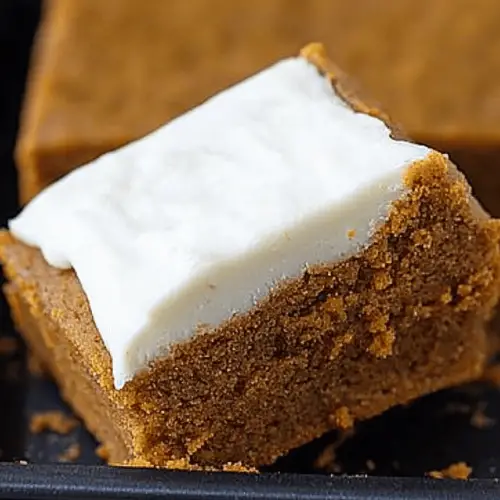
What exactly are these glorious things?Gluten-free pumpkin bars.Think of them as a cross between coffee cake and pumpkin bread, but in bar form – way. Is it easier to slice and share? What is essentially a moist, spiced pumpkin base swirled with tangy Cream Cheese mixture and baked to perfection. Golden perfection. I love the combination of pumpkin spice and cream cheese. They’re incredibly soft and tender. Is it heavenly? The name speaks for itself! What are some great sweet treats for a birthday party?
Why you’ll love this recipe?
Let me count the ways I love these people.gluten-free pumpkin bars! First and foremost, the flavor is insane. You get that warm, comforting pumpkin spice – cinnamon, nutmeg, ginger – all playing together beautifully. Then there’s the Cream Cheese Swirl, which adds a delightful tanginess and creamy texture. Seriously, the flavor combination is just spot on. What I also love about this recipe is how simple it is. You don’t need any fancy equipment or techniques. It’s all pretty straightforward, and even a beginner baker can nail it. And let’s talk about versatility! These bars are amazing on their own, but they’re also fantastic with a scoop of vanilla ice cream or a dollop of whipped cream. They are budget friendly too, all of the ingredients I use are available at my local store. When I’m craving some fall flavours, this recipe comes to mind!
How do I make gluten-free pumpkin bars?
Quick Overview
Making these Gluten-free pumpkin bars. Gluten Free is surprisingly easy! You’ll start by mixing the dry ingredients for the pumpkin base, then whisking together the wet ingredients. Combine the wet and dry, spread half of it in a pan, dollop spoonfuls of the Cream Cheese filling and swirl and then pour the remaining batter and swirl again. The magic happens in the oven, where the flavors meld together and the bars become perfectly moist and tender. It really is a no-fuss recipe that delivers amazing results every time.
Ingredients
For the Main Batter:
* 1 1/2 cups gluten-free all-purpose Flour Blend (I recommend one with xanthan gum already added)
* 1 teaspoon baking powder
* 1/2 teaspoon baking soda
* 1 teaspoon ground cinnamon
* 1/2 teaspoon ground nutmeg
* 1/4 teaspoon ground ginger
* 1/4 teaspoon ground cloves
* 1/2 teaspoon salt
* 1 cup granulated sugar
* 1/2 cup packed light brown sugar
* 1/2 cup vegetable oil
* 1 cup pumpkin puree (not pumpkin pie filling!)
* 2 large eggs
* 1 teaspoon vanilla extract
For the Cream Cheese Swirl:
* 4 ounces cream cheese, softened
* 1/4 cup granulated sugar
* 1 large egg yolk
* 1/2 teaspoon vanilla extract
For the Glaze:
* 2 cups powdered sugar * 1/4 cup milk (or more, to desired consistency) * 1/2 teaspoon vanilla
What are the steps to
Step 1: Preheat & Prep Pan
Preheat your oven to 350°F (175°C). Grease and lightly flour (use Gluten-Free Flour! ) a 9×13 inch baking pan. I like to line the bottom with parchment paper, leaving some overhang on the sides, for easy removal. Why do you want the bottom to stick?
Step 2: Mix Dry Ingredients
In a medium bowl, whisk together the Gluten-Free Flour, baking powder, cinnamon, and salt. Set aside. What are some good spices to use: cinnamon, ginger, cloves What is the best way to whisk everything together? It ensures that the spices are evenly distributed throughout the batter.
Step 3: Mix Wet Ingredients
In a large bowl, whisk together the granulated sugar, Brown Sugar, vegetable oil, pumpkin puree, eggs, and vanilla extract until smooth. Make sure there are no lumps of sugar.
Step 4: Combine
Gradually add the dry ingredients to the wet ingredients, mixing on low speed until just combined. Be careful not to overmix! Overmixing can lead to tough bars. The batter will be thick, that’s completely normal. This part is always so satisfying.
“New family favorite! This gluten-free pumpkin bars was so flavorful and ridiculously easy. Crowd-pleaser for sure.”
Step 5: Prepare Filling
In a small bowl, beat together the softened Cream Cheese, sugar, egg yolk, and vanilla extract until smooth and creamy. Make sure your cream cheese is truly softened; otherwise, you’ll end up with lumps.
Step 6: Layer & Swirl
Pour half of the pumpkin batter into the prepared baking pan, spreading it evenly. Drop spoonfuls of the cream cheese filling over the batter. Pour the remaining pumpkin batter over the cream cheese filling. Use a knife or skewer to swirl the cream cheese filling into the pumpkin batter. Don’t over-swirl, you want to see distinct pockets of cream cheese.
Step 7: Bake
Bake for 25-30 minutes, or until a toothpick inserted into the center comes out clean. The edges should be golden brown, and the center should be set. Keep an eye on them! Ovens can vary, so start checking for doneness around 25 minutes.
Step 8: Cool & Glaze
Let the bars cool completely in the pan before frosting. Once the bars are cool, whisk together the powdered sugar, milk, and vanilla extract until smooth. Add more milk if needed to reach your desired consistency. Drizzle the glaze over the cooled bars. You can also spread the glaze evenly for a more uniform look.
Step 9: Slice & Serve
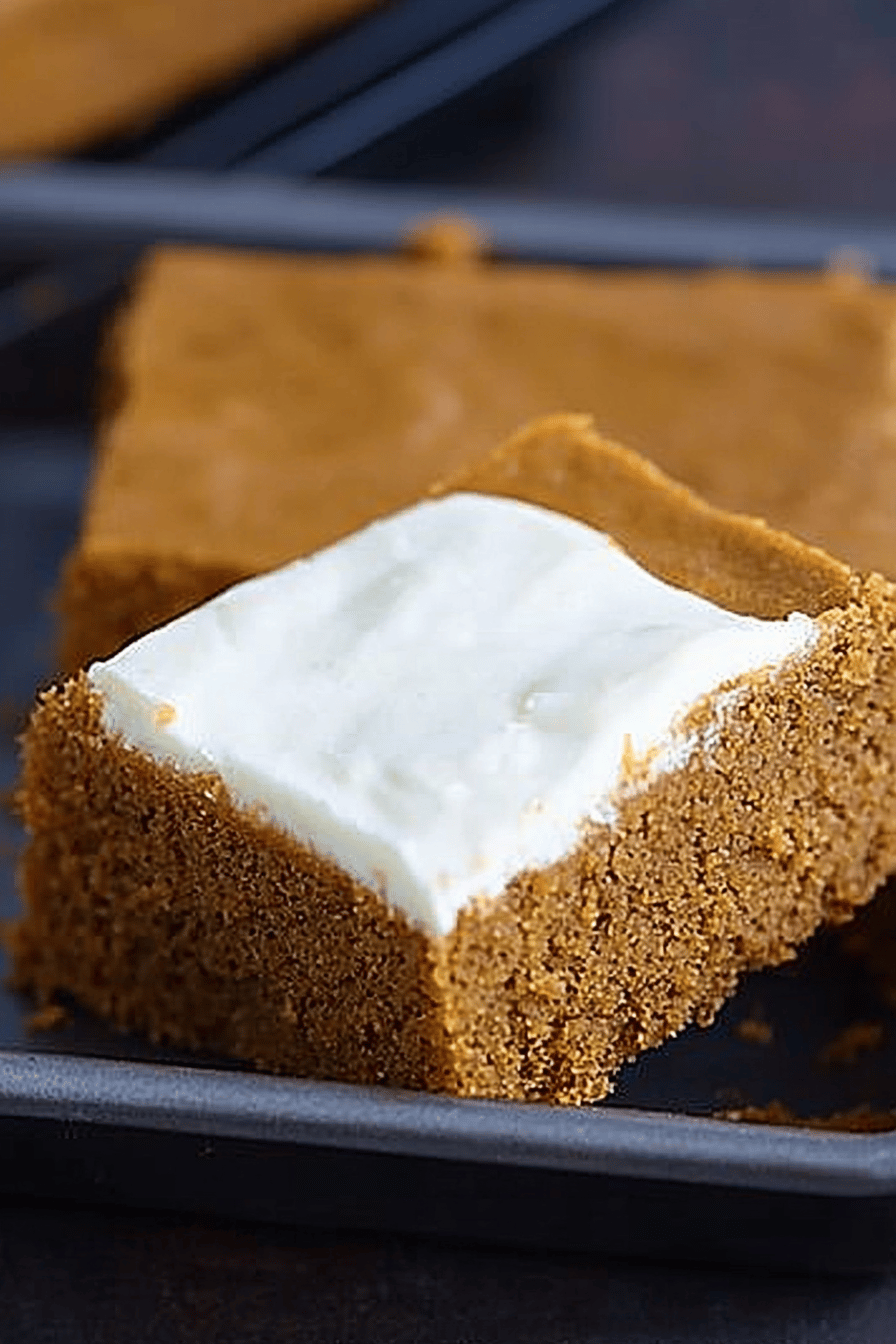
Cut the bars into squares and serve. These are best enjoyed slightly chilled or at room temperature. I like to sprinkle a little extra cinnamon on top for a finishing touch.
What should I serve it with?
These Gluten-free pumpkin bars. are so versatile! Here are some of my favorite ways to enjoy them:
For Breakfast: Pair a warm bar with a cup of coffee or chai latte. It’s the perfect way to start a crisp autumn morning. You could also crumble it over some greek yogurt for a fall twist.
For Brunch: Arrange the bars on a platter with other fall-themed treats like apple cider donuts and cranberry scones. They’re a great addition to any brunch spread. My family loves it for Thanksgiving.
As Dessert: Serve the bars with a scoop of vanilla ice cream or a dollop of whipped cream. A drizzle of caramel sauce would also be delicious! I love adding a few pecans to the top as well.
For Cozy Snacks: Enjoy a bar with a glass of milk or a cup of hot chocolate on a chilly evening. It’s the ultimate comfort food! It makes me so happy and cozy, every single time.
How do I make gluten-free pumpkin bars?
How do I make sure my husband is happy?Gluten free pumpkin bars.What are some tips to make your wedding cake turn out perfect?
Gluten-Free Flour: Use a high-quality gluten-free all-purpose flour blend that contains xanthan gum. This will help to bind the ingredients together and create a moist, tender texture. I find the blends including xanthan gum are the best!
Don’t Overmix: Be careful not to overmix the batter, as this can lead to tough bars. Mix until just combined, then stop. It can ruin the texture.
Softened Cream Cheese: Make sure your cream cheese is softened before making the swirl. This will prevent lumps and ensure a smooth, creamy texture. I made this mistake before, and now I always make sure to bring it to room temperature.
Swirl Gently: When swirling the cream cheese filling into the pumpkin batter, don’t over-swirl. You want to see distinct pockets of cream cheese for the best flavor and appearance. Less is more when it comes to swirling!
“I don’t know if I’ve ever eaten a better gluten-free pumpkin bars. The rub alone is wonderful, but the sauce??? Over the top!”
Baking Time: Keep an eye on the bars while they’re baking. Ovens can vary, so start checking for doneness around 25 minutes. They’re done when a toothpick inserted into the center comes out clean.
Cool Completely: Let the bars cool completely in the pan before frosting. This will prevent the glaze from melting and running off.
Storing and Reheating Tips
These gluten-free pumpkin bars are even better the next day! Here’s how to store them:
Room Temperature: Store the bars in an airtight container at room temperature for up to 2 days. I always cover mine tightly to prevent them from drying out.
Refrigerator Storage: Store the bars in an airtight container in the refrigerator for up to 5 days. This will help to keep them moist and fresh.
Freezer Instructions: Freeze the bars individually wrapped in plastic wrap, then place them in a freezer-safe bag or container. They can be frozen for up to 2 months. Thaw overnight in the refrigerator or at room temperature.
Glaze Timing Advice: If you’re planning to freeze the bars, it’s best to glaze them after thawing. This will prevent the glaze from becoming sticky or watery.
Frequently Asked Questions
Final Thoughts
These gluten-free pumpkin bars are truly a fall favorite in my house, and I hope they become one in yours too! They’re easy to make, incredibly delicious, and perfect for sharing with friends and family. If you love this recipe, be sure to check out my other gluten-free treats, like my gluten-free apple crisp and gluten-free chocolate chip cookies. Happy baking, and can’t wait to hear how yours turn out! Leave a comment below and let me know what you think, and don’t forget to rate the recipe. I love seeing your creations too, so feel free to share a photo of your pumpkin bars on social media!
Gluten-Free Pumpkin Bars
Ingredients
Main Ingredients
- 1.5 cups gluten-free all-purpose flour blend
- 1 tsp baking soda
- 1 tsp baking powder
- 1 tsp ground cinnamon
- 0.5 tsp ground nutmeg
- 0.5 tsp salt
- 1 cup pumpkin puree
- 1 cup granulated sugar
- 0.5 cup packed brown sugar
- 0.5 cup vegetable oil
- 2 large eggs
- 1 tsp vanilla extract
Instructions
Preparation Steps
- Preheat oven to 350°F (175°C). Grease and flour a 9x13 inch baking pan.
- In a large bowl, whisk together gluten-free flour, baking soda, baking powder, cinnamon, nutmeg, and salt.
- In a separate bowl, combine pumpkin puree, granulated sugar, brown sugar, oil, eggs, and vanilla extract. Mix well.
- Gradually add the dry ingredients to the wet ingredients, mixing until just combined. Do not overmix.
- Pour batter into the prepared pan and spread evenly.
- Bake for 30-35 minutes, or until a toothpick inserted into the center comes out clean.
- Let cool completely before cutting into bars.


