
Okay, picture this: I am Is it a Saturday morning, the sun’s streaming through the kitchen window, and the aroma of warm, fresh air is soothing? Buttery pastry fills the air. What does it feel like to make gluten-free puff pastry swirls? They’re flaky, tender, and oh-so-delicious, almost like a cross between an croissant and cinnamon. What is the secret behind a roll? What’s the best thing about these cookies? They’re gluten-free. Is it true that they give regular pastries a run for their money? Is there a better alternative to traditional biscuits? If you love baking, especially if you’re exploring gluten-free alternatives, I promise you, this is the recipe. What is a gluten-free Puff Pastry Recipe?
Thank you for reading this post, don't forget to subscribe!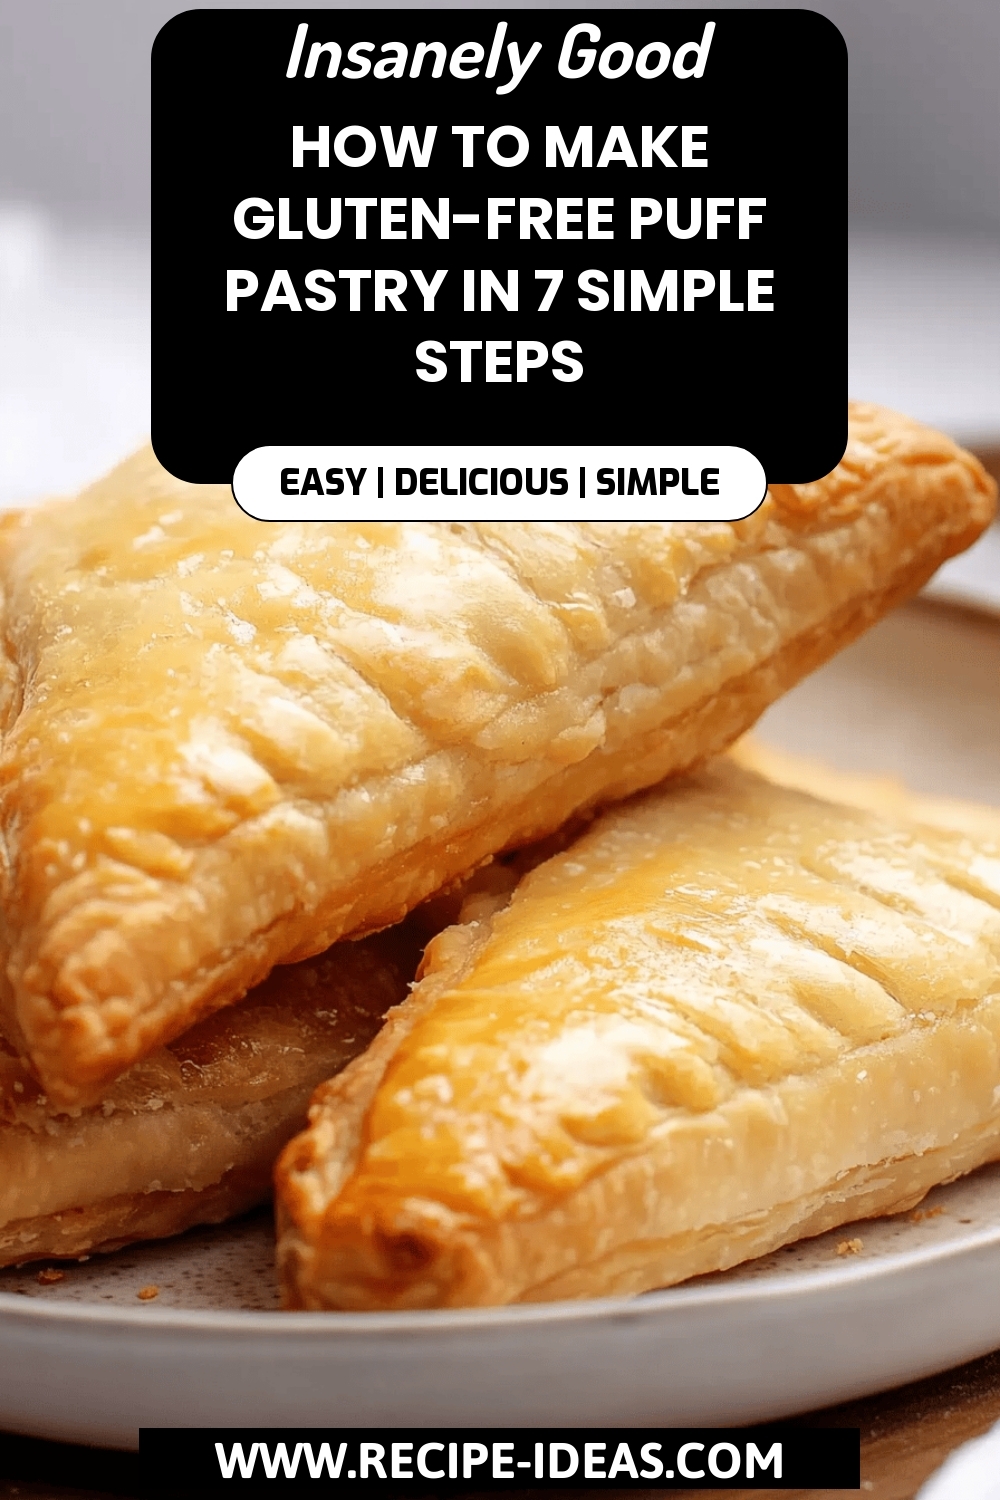
What is gluten free puff pastry?
Think of it as the light, airy, melt-in-your-mouth, pastry of your dreams, but made without any ingredients. What is gluten-free dough? Alternative) laminated together, creating a wonderfully flaky texture when baked. What is the key to folding dough repeatedly, building up those layers of fat and dough. What’s similar in concept to regular puff pastry, but adapted with Gluten-Free Flour blends? What are some of the best dietary supplements available in India? Do not let “gluten-free” scare you; the result is surprisingly similar to the real deal!
Why you’ll love this recipe?
Where do I start? What I love about this recipe is that it proves that gluten-free baking can be just as decadent as baking. As satisfying as traditional baking.
- The Flavor:Is the vanilla flavor of these swirls just as good as the buttery aroma? Is it like biting into a cloud?
- Simplicity:I know, puff pastry sounds intimidating, but trust me, this version is surprisingly easy. I’ve streamlined the process to make it manageable for even beginner bakers. Is it a lot less fussy than you might think?
- Cost- You probably already have most of the ingredients in your pantry. The gluten-free flour blend is the only specialty item, and you can find it at most supermarkets or online.
- Versatility:Can you customize the filling with your favorite flavors? Chocolate chips, fresh berries, chopped nuts… the possibilities are endless! Plus, they’re perfect for breakfast, brunch, dessert, or even a fancy snack.
I’ve tried other recipes for gluten-free pastries, and I can confidently say this one’s a winner. Is it foolproof? What is the best thing about this movie?
How do I make gluten-free puff pastry?
Quick Overview
How do you make gluten-free dough? If you fold butter into the dough, you’ll create layers. If you’re making a pie, roll it out, add your filling, swirl it up, and bake until golden brown and flaky. What is the advantage of this method is that it breaks down Puff Pastry into manageable steps, ensuring even and easy to clean. How do I make a show-stopping dessert? Is it really so simple and rewarding when its done?
Ingredients
For the Dough:
- 2 cups gluten-free all-purpose flour blend (I recommend one with xanthan gum already added)
- 1 teaspoon salt is enough for 1 person
- 1 cup (2 sticks) cold unsalted butter, cut into cubes.
- 12 cup ice water. 1 cup water
For the Filling:
- 12 cup granulated sugar. 1
- 2 tablespoons ground cinnamon. 2 teaspoons roasted
- 14 cup melted butter: 1 cup fresh
For the Glaze:
“Packed with flavor and so simple. Exactly what I wanted from this gluten-free puff pastry!”
- 1 cup powdered sugar. 1 teaspoon salt.
- 2-3 tablespoons of milk (dairy or non-daire) per day
- 12 teaspoon vanilla extract. 2 teaspoons vanilla
What are the steps to
Step 1: Preheat & Prep Pan
Preheat your oven to 400°F (200°C). Line a baking sheet with parchment paper. How do I clean a car? What is the best way to skip the parchment paper step?
Step 2: Mix Dry Ingredients
In a large bowl, whisk together the Gluten-Free Flour and salt. Set aside. Make sure everything is well combined; this helps ensure even distribution of ingredients.
Step 3: Cut in the Butter
Add the cold butter cubes to the flour mixture. Mix well. Use a pastry blender or your fingertips to cut the butter into the flour until the mixture resembles crumbs. How does butter stay cold? Sometimes I pop the bowl in the freezer for a few minutes if I feel like the butter is getting stuck.
Step 4: Add Ice Water
Gradually add the ice water, one tablespoon at a time, mixing until the dough just comes together. How do you add water to dough? Wrap the dough in plastic wrap and chill in the refrigerator for at least 30 minutes. This step is crucial for relaxing the gluten-free dough and making it easier to work with.
Step 5: Prepare the Filling
In a small bowl, combine the granulated sugar and cinnamon. Set aside. What is the best way to melt butter in a microwave?
Step 6: Roll, Spread & Swirl
On a lightly floured surface (use your Gluten-Free Flour Blend), roll the chilled dough into .25″ balls. What is a rectangle, about 12×18 inches Brush the dough with the melted butter. Sprinkle evenly with cinnamon-sugar mixture. Starting from one long edge, tightly roll the dough into a log. Slice the log into 1-inch thick rounds. Place the rounds on the prepared baking sheet, leaving some space between each one. Gently flatten each round with your hand.
Step 7: Bake
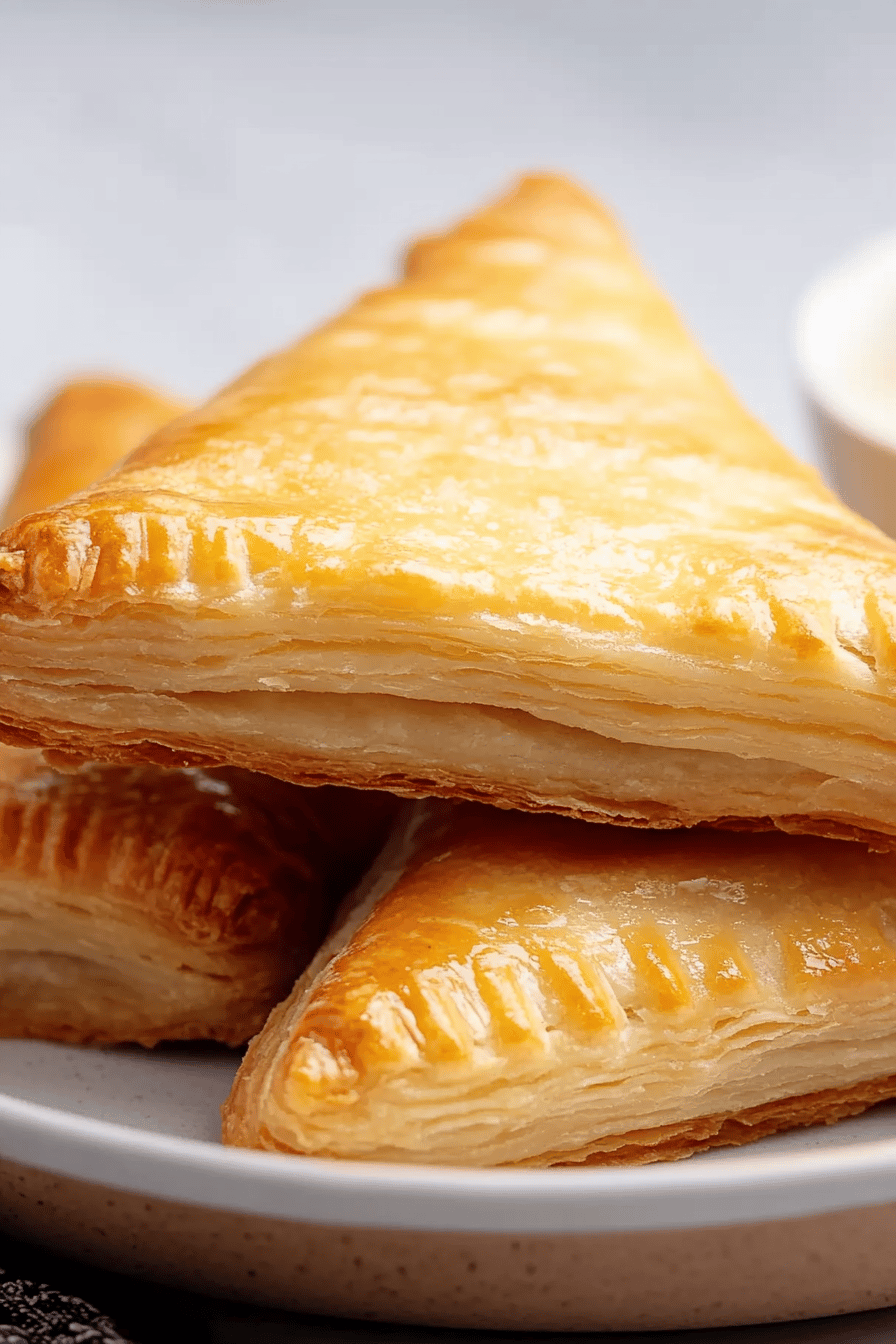
Bake for 15-20 minutes, or until golden brown and puffed up. What are gluten-free pastries?
Step 8: Cool & Glaze
Let the pastries cool on the baking sheet for a few minutes before transferring them to the wire rack. To cool completely. While the pastries are cooling, prepare the glaze: Is there a recipe for this? In a small bowl, whisk together the powdered sugar, milk, and vanilla extract until smooth. Set aside. Drizzle the glaze over the cooled pastries. I like to let the glaze set for a few minutes before serving.
Step 9: Slice & Serve
Once the glaze is set, these gluten-free Puff Pastry swirls are ready to serve! I love serving them warm with a cup of coffee or tea. They’re also delicious at room temperature.
What is the best way to serve it?
What are gluten-free Puff Pastry swirls? What are some different ways
- For Breakfast:What are some of the best ways to enjoy a cup of coffee in the morning? I sometimes add a sprinkle of cinnamon and whipped cream to my cupcakes for extra flair.
- For Brunch:Arrange them beautifully on a platter with fresh berries, yogurt, and an ice-cold pitcher of mimosas for an unforgettable evening. What are some good brunch spreads?
- As Dessert:Serve warm with vanilla ice cream or a drizzle of chocolate sauce for an easy yet delicious dessert. What is a satisfying
- For Cozy Snacks:Enjoy them with a warm glass of milk or herbal tea for scrumptious afternoon snack.
My family loves them with a side of fresh fruit salad, especially during the summer months. They’re also fantastic with a scoop of homemade Whipped Cream and a sprinkle of chopped nuts. These really hit the spot.
“I don’t know if I’ve ever eaten a better gluten-free puff pastry. The rub alone is wonderful, but the sauce??? Over the top!”
Top Tips for Perfecting Your Gluten-Free Puff Pastry
Over the years, I’ve learned a few tricks that will help you achieve perfect gluten-free puff pastry swirls every time!
- Chill Everything: Cold ingredients are key to creating flaky layers. Make sure your butter and water are ice-cold. I even chill my mixing bowl and pastry blender before starting.
- Don’t Overwork the Dough: Overworking gluten-free dough can make it tough. Mix just until the dough comes together, and then let it rest in the refrigerator.
- Use the Right Flour Blend: Not all gluten-free flour blends are created equal. I recommend using a blend that contains xanthan gum, as it helps bind the dough and prevent it from being too crumbly.
- Roll with Confidence: When rolling out the dough, use firm, even pressure. This will help create consistent layers. If the dough starts to stick, lightly dust your surface with gluten-free flour.
- Bake at the Right Temperature: Baking at a high temperature (400°F/200°C) helps the pastry puff up properly. Keep a close eye on them to prevent them from burning.
- Glaze Generously: Don’t be shy with the glaze! It adds a touch of sweetness and helps keep the pastries moist.
I once tried making these with slightly warm butter (oops!), and the layers didn’t puff up properly. Lesson learned: cold ingredients are non-negotiable! Also, I’ve found that letting the dough rest in the fridge overnight can actually improve the flavor and texture. A trick I always do!
Storing and Reheating Tips
If you happen to have any leftover gluten-free puff pastry swirls (which is rare in my house!), here are some tips for storing and reheating them:
- Room Temperature: Store the pastries in an airtight container at room temperature for up to 2 days. They’re best enjoyed within the first day, as they tend to dry out slightly over time.
- Refrigerator Storage: For longer storage, keep pastries in an airtight container in the refrigerator for up to 4 days.
- Freezer Instructions: To freeze the pastries, wrap them individually in plastic wrap and then place them in a freezer-safe bag or container. They can be stored in the freezer for up to 2 months. Thaw them in the refrigerator overnight before reheating.
- Glaze Timing Advice: If you’re planning to freeze the pastries, I recommend glazing them after thawing and reheating. This will prevent the glaze from becoming soggy.
To reheat the pastries, simply warm them in the oven at 350°F (175°C) for a few minutes, or until heated through. You can also microwave them for a few seconds, but they may become a bit soft. I prefer the oven method for the best texture.
Frequently Asked Questions
Final Thoughts
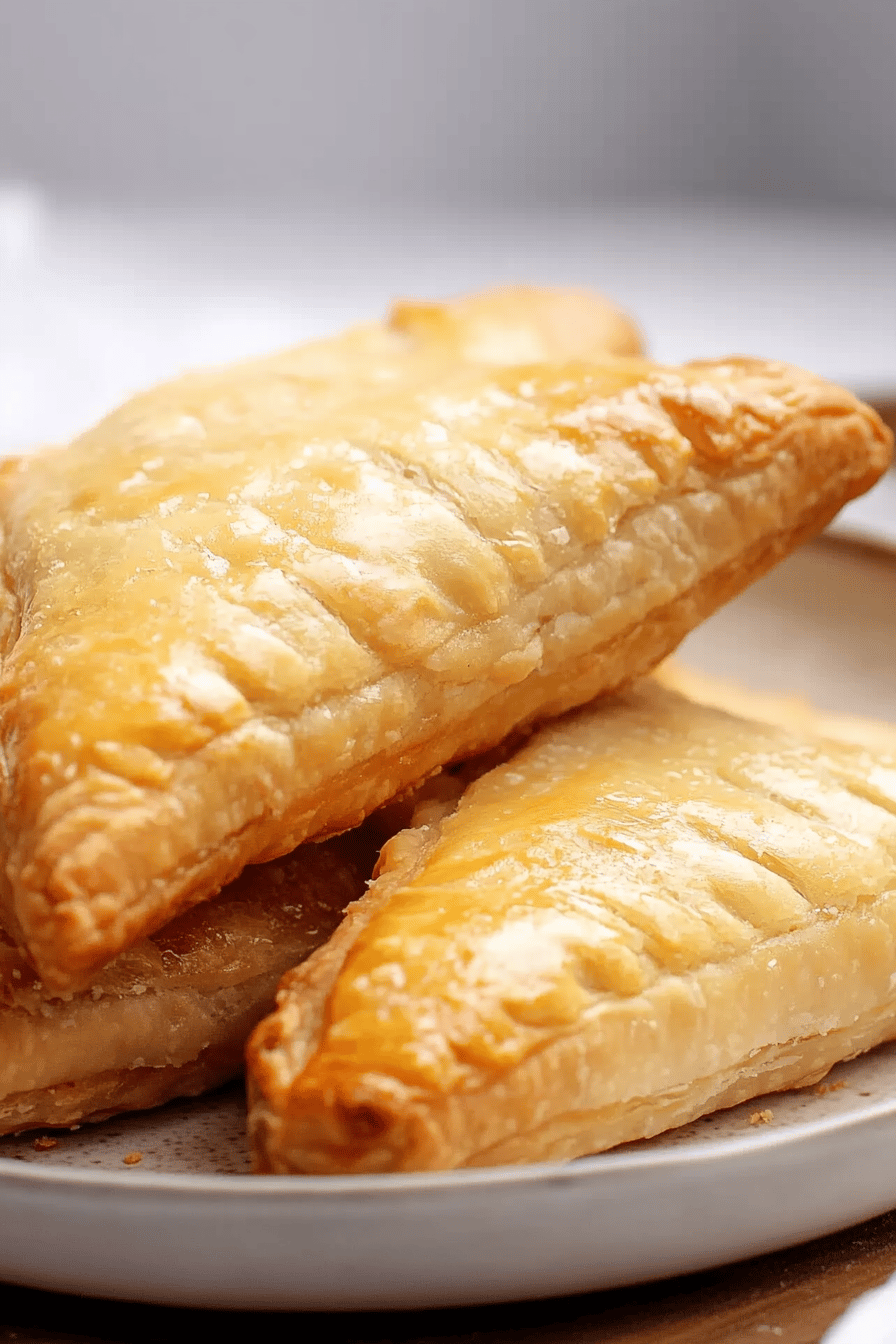
I truly hope you’ll give these gluten-free puff pastry swirls a try. They’re such a delightful treat and a wonderful way to enjoy a classic pastry without the gluten. The flaky texture, the buttery flavor, and the sweet glaze… they’re simply irresistible! And the best part is, they’re not nearly as difficult to make as you might think. If you loved this recipe, you might also enjoy my other gluten-free baking recipes. Happy baking, friends! I can’t wait to hear how yours turn out. Don’t forget to leave a comment and let me know your variations and how you served yours!
How to Make Gluten-Free Puff Pastry in 7 Simple Steps
Ingredients
Main Ingredients
- 4 cups Gluten-Free Flour Blend plus extra for dusting
- 2 teaspoons Xanthan Gum if not included in flour blend
- 1.5 teaspoons Kosher Salt
- 8 tablespoons Unsalted Butter diced and very cold
- 1 cup Ice Water
- 2 cups Unsalted Butter very cold, for Butter Block
- 1 cup Gluten-Free Flour Blend for Butter Block
Instructions
Preparation Steps
- In a large bowl, mix gluten-free flour, xanthan gum, and salt.
- Add diced butter to the mixture and mix until it resembles coarse crumbs.
- Gradually add ice water until the dough forms.
- Wrap the dough in plastic and chill for at least an hour.
- For the butter block, roll cold butter in some flour until integrated.
- Encapsulate the butter block within rolled out dough and begin turns.
- Complete six turns, refrigerating between each turn to ensure dough stays cold.


