Let’s talk about something. Okay, let’Gluten-Free Nilla Wafer. Remember those little vanilla cookies we all devoured as kids? What are some of the best, melt-in-your-mouth, Sweet Treats that go perfectly with a glass of milk? Imagine all that nostalgic goodness, but without gluten! Seriously, these taste so close to the original, you might just shed a happy tear. Think of them as the gluten-free cousin of the classic shortbread cookie, but with a delicate, delicate texture. What is the smell of vanilla? My grandmother used to make something similar, though not gluten-free, bless her heart – and the recipe was delicious. I can’t get out of my mother’s kitchen without smelling her scent.Gluten-Free Nilla WaferWhat is comfort in every bite?
Thank you for reading this post, don't forget to subscribe!
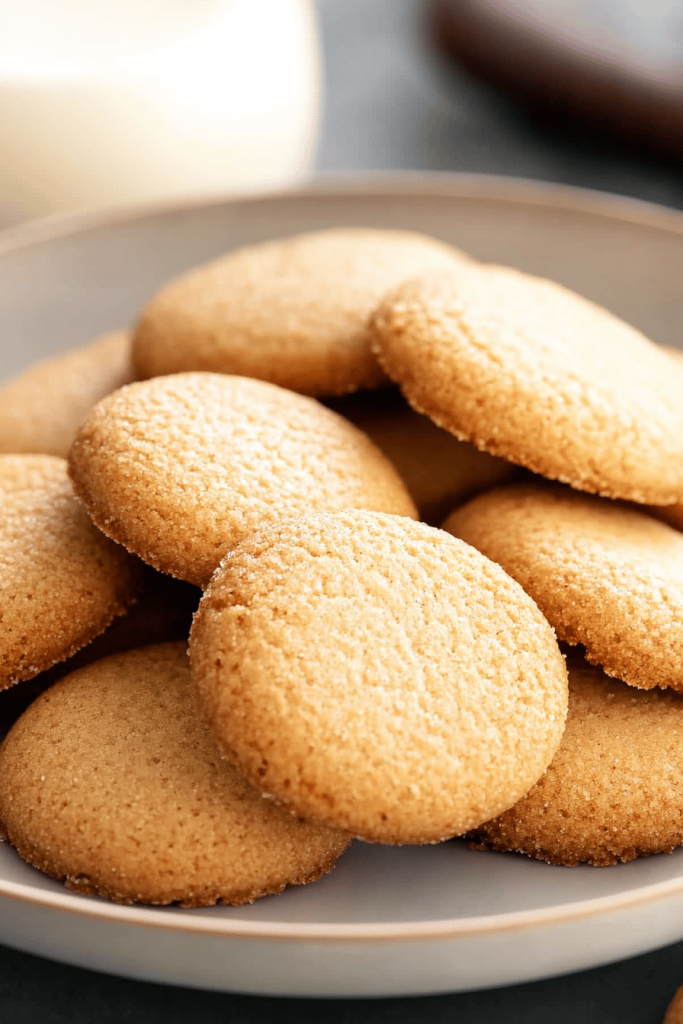
What is gluten free Nilla Wafers?
Simply put, Gluten-Free Nilla WaferAre gluten-free versions of the classic vanilla wafer cookie? They’re small, round, and have a slightly crisp texture that gives way to softer, almost crumbly texture. They are made of cotton. Think of it as a blank canvas for flavor, subtly sweet and infused with vanilla. Is it a Sugar Cookie that’s not as intensely flavored? What are some good banana pudding recipes? What is an afternoon snack The name “Nilla Wafer” has become synonymous with these types of cookies, and even though we’re using a cookie maker, we still use it. What makes a Nilla Wafer gluten free?
Why do I love this recipe?
Oh, where do I even begin? First and foremost, the flavor is absolutely divine! They capture that subtle vanilla sweetness that’s so characteristic of Nilla Wafers. What I love most about this is how simple they are to make. Seriously, don’t be intimidated! This recipe uses ingredients you probably already have in your pantry. Plus, they’re incredibly cost-effective. You can whip up a batch of these for a fraction of the price of buying store-bought Gluten-Free Cookies, which, let’s be honest, can be ridiculously expensive.
But the real magic lies in their versatility. I use them in everything! Crushed as a topping for yogurt, layered in parfaits, or even as a sneaky little addition to my morning coffee (don’t judge!). And let’s talk Banana Pudding. These are absolutely essential for the perfect gluten-free banana pudding. I’ve tried other gluten-free cookies, but nothing quite compares to the texture and flavor these bring to the table. My family? They are obsessed. They request these cookies all the time, and I never feel guilty making them because they’re so simple and relatively wholesome. Honestly, if you’re looking for a gluten-free treat that’s both nostalgic and delicious, look no further. These Gluten-Free Nilla WaferWhat are some game-changers?
How do I make gluten-free Nilla Wafers?
Quick Overview
Making these Gluten-Free Nilla WaferIs it surprisingly easy? We’re basically whisking together dry ingredients, creaming wet ingredients and combining them. What are some of the best ways to bake them, and then baking until golden brown What is the secret to a good batter? Don’t worry about making them perfectly round, either. What makes them unique is their rustic charm. This method is great because it’s straightforward and requires minimal cleanup – always a win in my opinion.
Ingredients
What is gluten free Nilla Wafers?
* 1 12 cups gluten-free all-purpose Flour Blend (I like Bob’s Red Mill 1-to-1 Baking Flour – it works!). What is xanthan gum?
* 12 teaspoon baking powder (This gives them that delicate lift and crumbly texture.)
* 14 teaspoon salt (Just a pinch to enhance the sweetness.)
* 12 cup (1 stick) unsalted butter, softened (Make sure it’s *softened*, not melted). What makes a difference?
* 34 cup granulated sugar (For that perfect sweetness.)
* 1 large egg (Adds richness and helps bind everything together.)
* 2 teaspoons vanilla extract (Don’t skimp on the vanilla! It’s the star of the show).
* 2 tablespoons milk (any kind will do; I’ve even used almond milk and it works great! ) * 1 cup water (if using)
How do I learn Step
Step 1: Preheat & Prep Pan
First things first, preheat your oven to 350°F (175°C). Line a baking sheet with parchment paper. What is the importance of parchment paper? I’ve learned the hard way. Trust me on this one.
Step 2: Mix Dry Ingredients
In a medium bowl, whisk together the Gluten-Free Flour, baking powder, and salt. Set aside. What is the key to whisking? It ensures that the baking powder is evenly distributed, which is essential for a consistent consistency. You want a light and airy mixture, not clumps of flour!
“I don’t know if I’ve ever eaten a better Gluten-Free Nilla Wafers. The rub alone is wonderful, but the sauce??? Over the top!”
Step 3: Mix Wet Ingredients
In a separate large bowl, cream together the butter and sugar until light and fluffy. Set aside. What is an electric mixer? I am ambitious. I Add the egg and vanilla extract and beat until well combined. Add salt and pepper to taste. Make sure the egg is at room temperature; it incorporates much better that way.
Step 4: Combine
Add dry ingredients to wet ingredients, mixing on low speed until just combined. Do not overmix cookies. Overmixing will result in a hard cookie. What are the lumps in the batter?
Step 5: Drop by Rounded Teaspoons
Drop by rounded teaspoons onto the prepared baking sheet, leaving about 1 inch between each cookie. I like to use a small cookie scoop to ensure they’re all the same size, but a spoon works just fine. Slightly flatten each cookie with the back of a spoon. You want them to be fairly thin, but not paper-thin.
Step 6: Bake
Bake for 8-10 minutes, or until the edges are lightly golden brown. Keep a close eye on them! Gluten-Free Cookies tend to brown quickly. When they turn golden around the edges, remove them from the oven. They’ll continue to firm up as they cool.
Step 7: Cool
Let the cookies cool on the baking sheet for a few minutes before transferring them to the wire rack. To cool completely. Is patience a virtue?
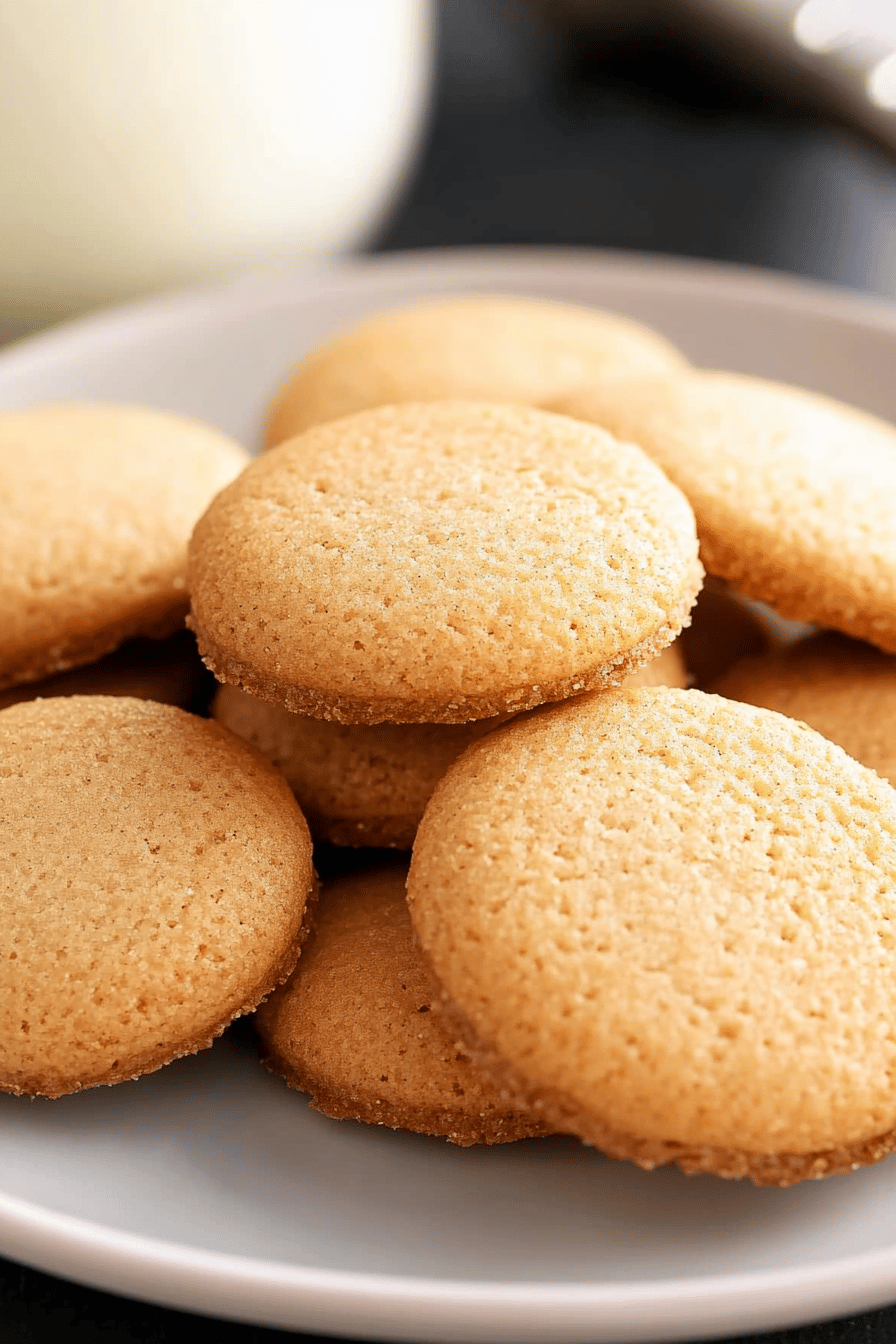
What should I serve it with?
These Gluten-Free Nilla Wafer are incredibly versatile, so the possibilities are endless!
What is a classic dessert?What is banana pudding? What are some of the best desserts to serve with bananas?What is a simple snack?Serve with a glass of cold milk or hot coffee. What are some great side dishes to serve with Ice Cream?What is a fun treat?How do you make an ice cream sandwich?For a Festive Occasion:Crush them and use them as a topping for cupcakes or cakes. They add a touch of sweetness and vanilla flavor. My family loves having these with strawberries and whipped cream as a light, delicious dessert. During the summer.
How do I make gluten-free Nilla Wafers?
Alright, let’s talk about some secrets to making these Gluten-Free Nilla Wafers absolutely perfect!
Flour Power: Using the right Gluten-Free Flour Blend is crucial. I highly recommend Bob’s Red Mill 1-to-1 Baking Flour. It’s specifically designed to mimic the texture of regular flour, and it contains xanthan gum, which is essential for binding gluten-free baked goods.
Butter Up: Make sure your butter is softened, not melted. Softened butter creams much better with sugar, resulting in a lighter and fluffier cookie.
“The Gluten-Free Nilla Wafers turned out amazing. My kids asked for seconds. Saving this one!”
Don’t Overmix: Overmixing the batter will develop the gluten (even though it’s Gluten-Free Flour!), resulting in tough cookies. Mix until just combined.
Baking Time: Gluten-Free Cookies tend to brown quickly, so keep a close eye on them! They’re done when the edges are lightly golden brown.
Cooling is Key: Let the cookies cool completely on a wire rack before storing them. This prevents them from sticking together and keeps them crisp. I also have a little trick I learned the hard way: if they seem a bit too soft after cooling, pop them back into the oven for a minute or two to crisp them up.
Storing and Reheating Tips
These Gluten-Free Nilla Wafers are best stored in an airtight container at room temperature. They’ll stay fresh for up to 5 days. You can also freeze them for longer storage. Simply place them in a freezer-safe bag or container and freeze for up to 2 months. When you’re ready to eat them, thaw them at room temperature for a few hours. I actually find that sometimes they taste even better after being frozen! The texture becomes even more delicate. If they lose a bit of their crispness after thawing, you can pop them in a low oven (around 250°F) for a few minutes to crisp them up again.
Frequently Asked Questions
Final Thoughts
These Gluten-Free Nilla Wafers are more than just a recipe; they’re a little slice of childhood, reimagined for a gluten-free lifestyle. The combination of simple ingredients, easy preparation, and that classic vanilla flavor makes them a winner every time. If you’re craving a comforting treat that’s both delicious and gluten-free, you absolutely have to try these! And if you love this recipe, be sure to check out my other Gluten-Free Cookie recipes. Happy baking, friends! And don’t forget to let me know in the comments how yours turn out. I can’t wait to hear from you!
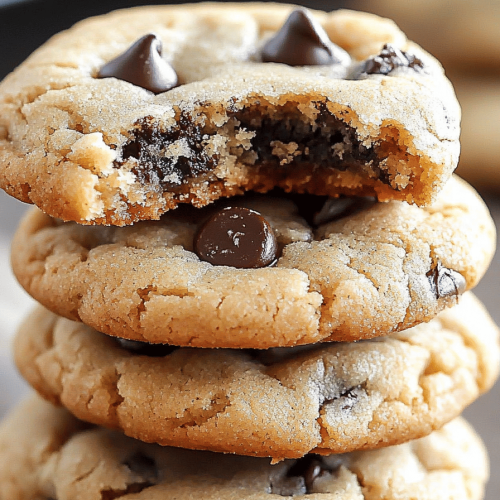
How to Make the Best Homemade Gluten-Free Chocolate Chip Cookies: 5 Tips!
Ingredients
Main Ingredients
- 3 cups gluten-free all-purpose flour Use a blend suitable for baking
- 1 teaspoon baking soda
- 0.5 teaspoon baking powder
- 1 teaspoon salt
- 1 cup unsalted butter at room temperature
- 1.5 cups granulated sugar
- 2 large eggs lightly beaten
- 2 teaspoons vanilla extract
- 2 cups chocolate chips semi-sweet
Instructions
Preparation Steps
- Preheat your oven to 350°F (175°C). Line baking sheets with parchment paper.
- In a bowl, whisk together the flour, baking soda, baking powder, and salt.
- In a separate bowl, cream the butter and sugar with an electric mixer until light and fluffy.
- Beat in the eggs one at a time, then stir in the vanilla extract.
- Gradually mix dry ingredients into the wet mixture until just combined. Fold in the chocolate chips.
- Drop dough by rounded tablespoonfuls onto prepared baking sheets.
- Bake for 10-12 minutes, or until the edges are golden brown.
- Allow cookies to cool on the baking sheet for a few minutes before transferring to wire racks to cool completely.


