What is gluten free French Bread? What is the difference between gluten-free and French bread? Is it possible to make this work? After countless attempts (and a few utter failures that I won’t even mention) I finally got the hang of it. I’ve finally nailed it. This isn’t just good for gluten-free. This is legitimately delicious, crusty, chewy bread that rivals the real deal. If you’re anything like me, you miss a good loaf of French bread – you know, the kind that’s perfect. What are some good sandwich fillings to serve with olive oil? I can’t wait to share this recipe with you!
Thank you for reading this post, don't forget to subscribe!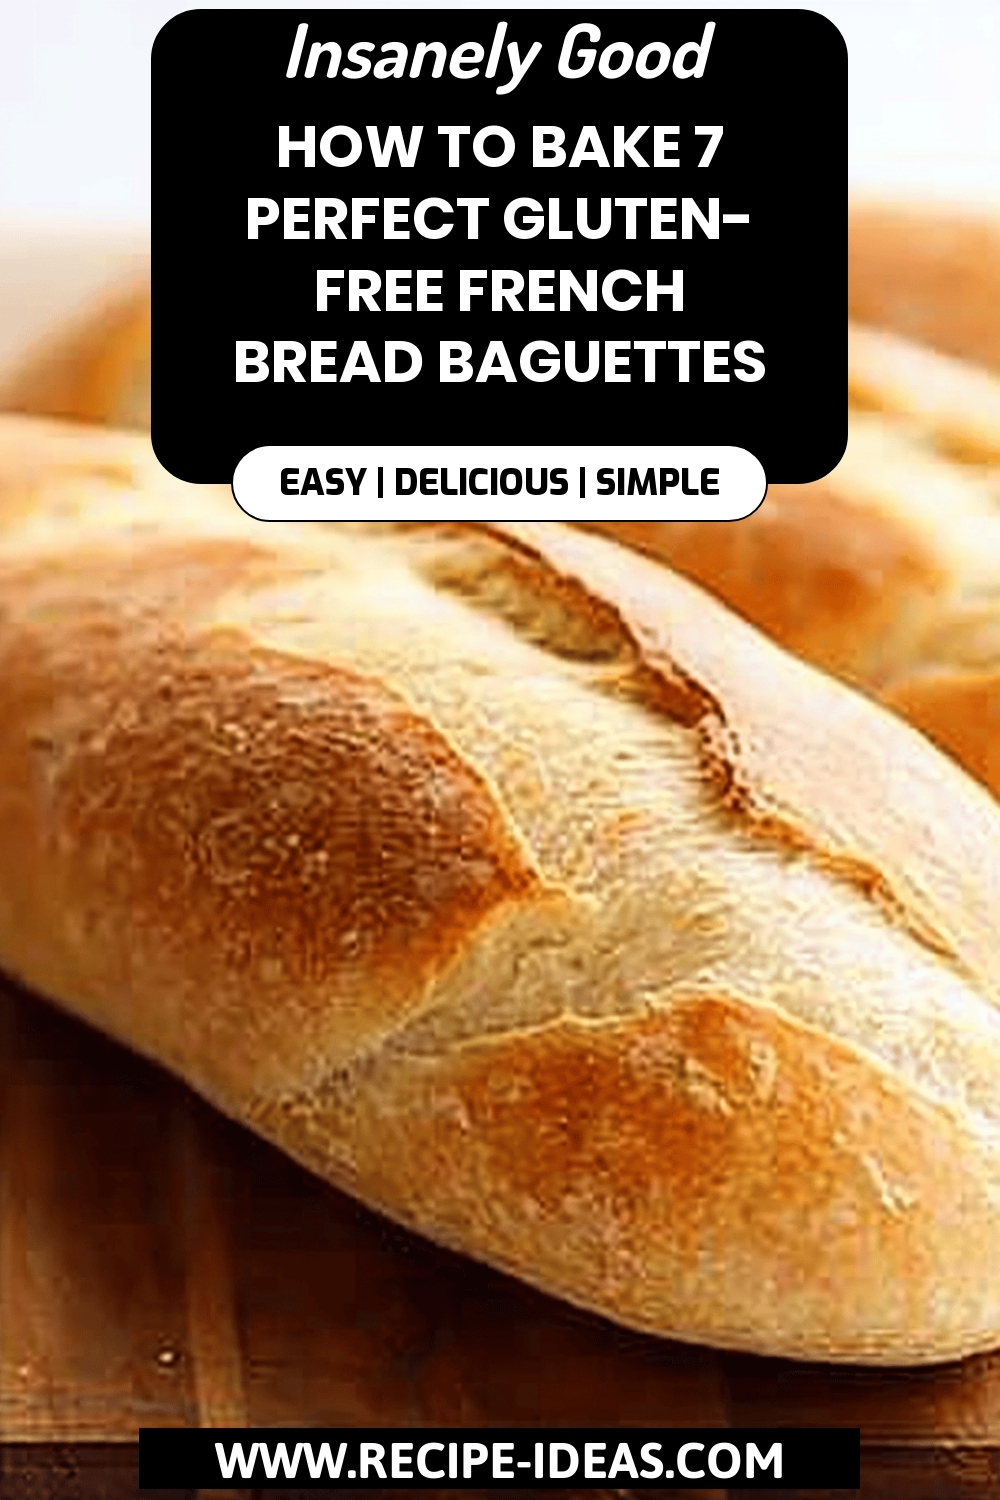
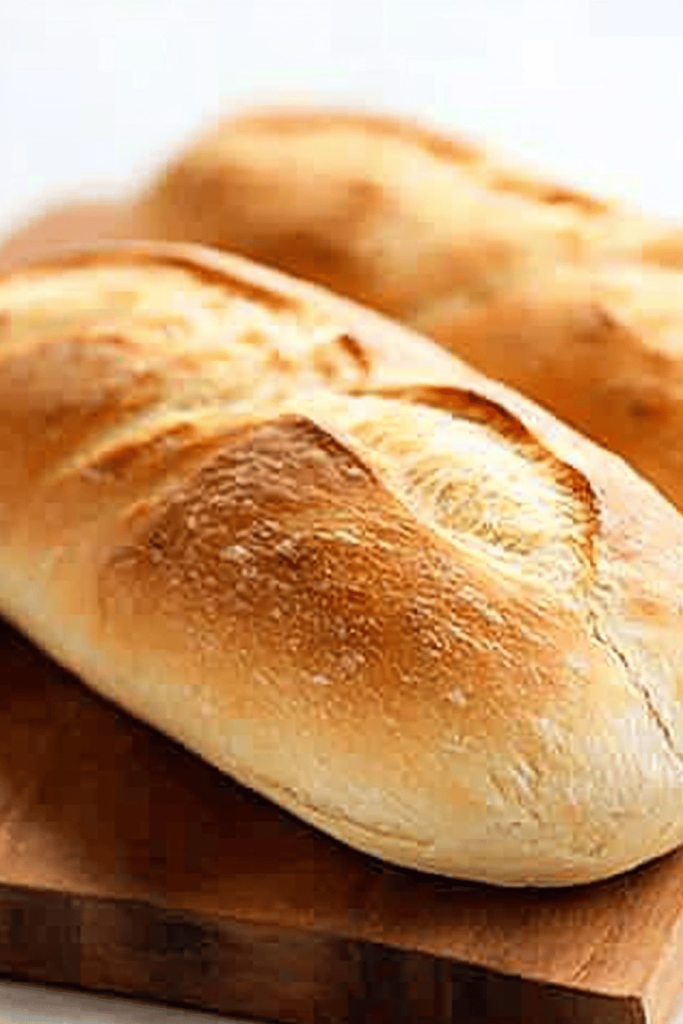
What is gluten free French bread?
What is gluten-free French Bread? What is a French baguette’s lighter, brighter, and totally gluten-free cousin? What is a loaf made without wheat flour? To mimic that perfect airy crumb and delightfully crispy crust. The beauty of French bread lies in its simplicity – it’s all about the texture. What is the best crust you’ve ever had? What makes French bread? How do I make a signature crust without gluten? Is there a way to crack the code?
Why you’ll love this recipe?
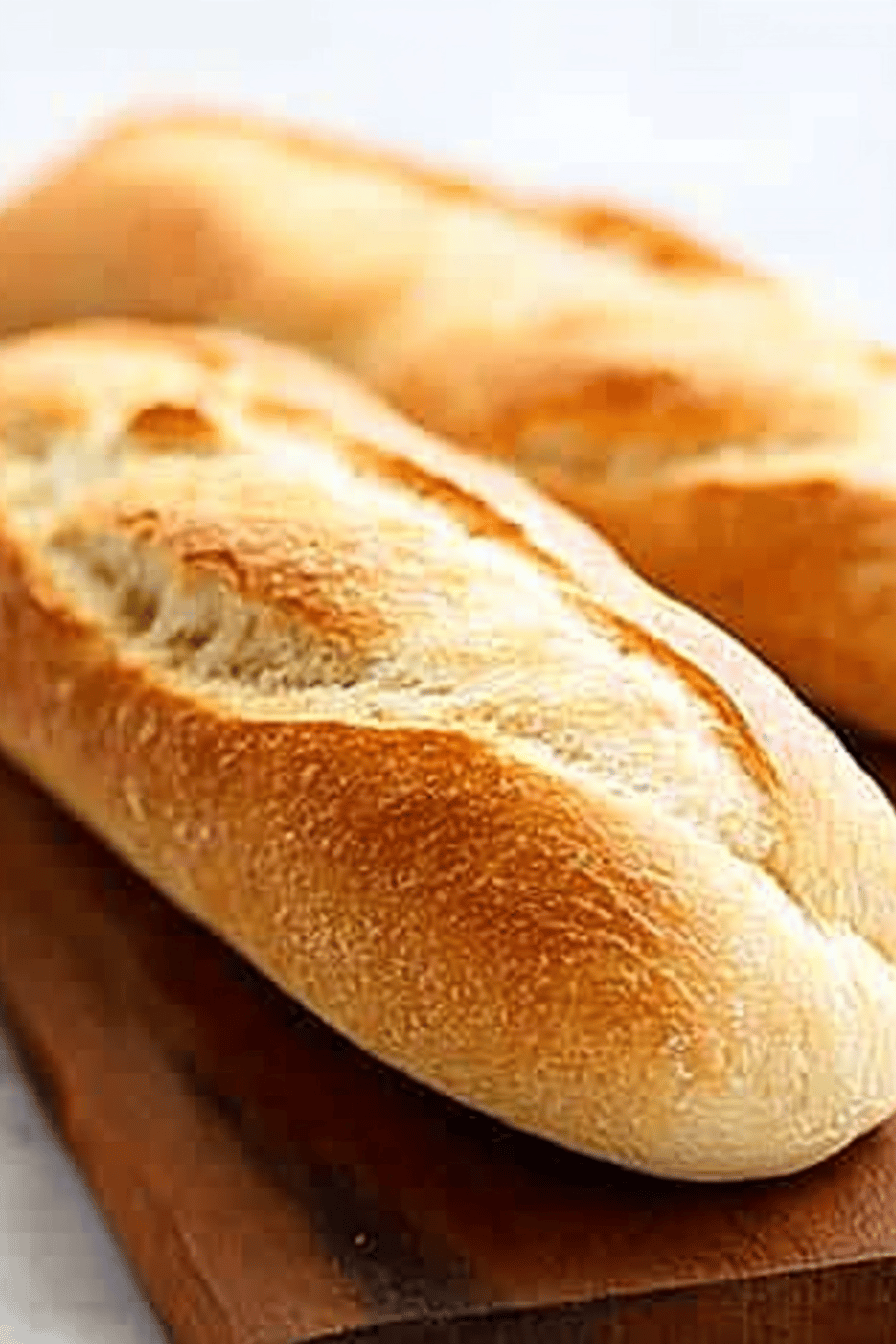
Alright, let me tell you why I’m so obsessed with this **Gluten-Free French Bread** recipe. First and foremost, the **flavor** is incredible. It has that subtle tang and slightly sweet taste that you expect from a really good French bread. What I love most about this is how easily it adapts to whatever you’re in the mood for. I’ve used it for everything from fancy crostini appetizers to simple Grilled Cheese sandwiches.
Then there’s the simplicity. Don’t let the “French Bread” part intimidate you. Seriously, this recipe is surprisingly easy. I’ve streamlined the process to make it foolproof, even for beginner bakers. The ingredients are also pretty cost-efficient. You probably already have most of them in your pantry if you bake gluten-free regularly. And if not, they’re easy to find at most grocery stores.
And the versatility! Oh, the possibilities! I’ve used this bread for sandwiches, garlic bread, French Toast, and even bread pudding. It’s fantastic toasted with butter and jam in the morning, dipped in soup at lunch, or served alongside pasta for dinner. Honestly, I can’t think of a single occasion where a loaf of good bread wouldn’t be welcome. If you love the idea of warm, crusty bread but need a gluten-free option, this is it. It’s even better than a lot of traditional French bread recipes I’ve tried!
How do I make gluten-free French bread?
Quick Overview
How do I make gluten-free French bread? We’ll start by mixing the dry and wet ingredients separately, then combining them to form a dough. After a little rise, we’ll shape it into loaf and bake it until golden brown and crusty. What is the key to success is using the right blend of gluten-free flours and starches, and resisting the temptation to eat gluten. Do not overmix dough. Is it worth the effort? What is the reward of a loaf of bread that tastes just like real bread, without the fake flavor?
Ingredients
For the Main Batter: What are some examples?
* 1 12 cups warm water (about 105-115°F – important for activating the yeast!)
I always use instant yeast, it seems to work better. * 2 14 teaspoons (1 packet) active dry yeast.
* 1 tablespoon sugar – gives the yeast something to feed on.
* 2 cups gluten-free all-purpose Flour Blend (make sure it contains xanthan gum! I like Bob’s Red Mill 1-to-1.
* 12 cup tapioca starch – for that perfect chewy texture.
* 14 cup brown rice flour – adds a little nutty flavor and structure.
* 1 teaspoon salt – essential for flavor balance.
* 2 tablespoons olive oil – for moisture and a little richness.
How do I get
Step 1: Preheat & Prep Pan
Preheat your oven to 375°F (190°C). While the oven is heating, line a baking sheet with parchment paper. This will prevent the bread from sticking and make cleanup a breeze.
Step 2: Mix Dry Ingredients
In a large bowl, whisk together the Gluten-Free Flour, tapioca starch, brown rice flour and salt. Set aside. Make sure everything is well combined so that the texture is as consistent as possible.
“The Gluten-Free French Bread turned out amazing. My kids asked for seconds. Saving this one!”
Step 3: Mix Wet Ingredients
In a separate bowl, dissolve the sugar in the warm water. Is it safe to add yeast to water? This means the yeast is active and ready to go! If it doesn’t foam, your yeast might be old or the water was too hot or too cold. Start again with fresh yeast.
Step 4: Combine
Add the Olive oil to the yeast mixture. Mix well. Then, pour the wet ingredients into the dry ingredients and mix until just combined. What is gluten free bread? What is the key here is to avoid overmixing, which can result in a tough loaf.
Step 5: First Rise
Cover the bowl with plastic wrap or a clean kitchen towel and let the dough rise for about 5 minutes. Is it possible to freeze a chicken for 60-90 minutes? This is a crucial step for developing the flavor and texture of the bread. I like to put mine near the oven so it stays nice and warm. If it hasn’t doubled after 90 minutes, give it another 30 minutes or so.
Step 6: Shape the Loaf
Gently deflate the dough and turn it out onto a lightly floured surface. How do you shape a loaf of bread? Gluten-free dough can be tricky to work with, so don’t worry if it’s not perfect. What should I do to create a uniform shape?
Step 7: Second Rise
Carefully transfer the loaf to the prepared baking sheet. Cover it loosely with plastic wrap and let it rise again for about 30 minutes. This second rise will help the bread become even lighter and airier.
Step 8: Bake
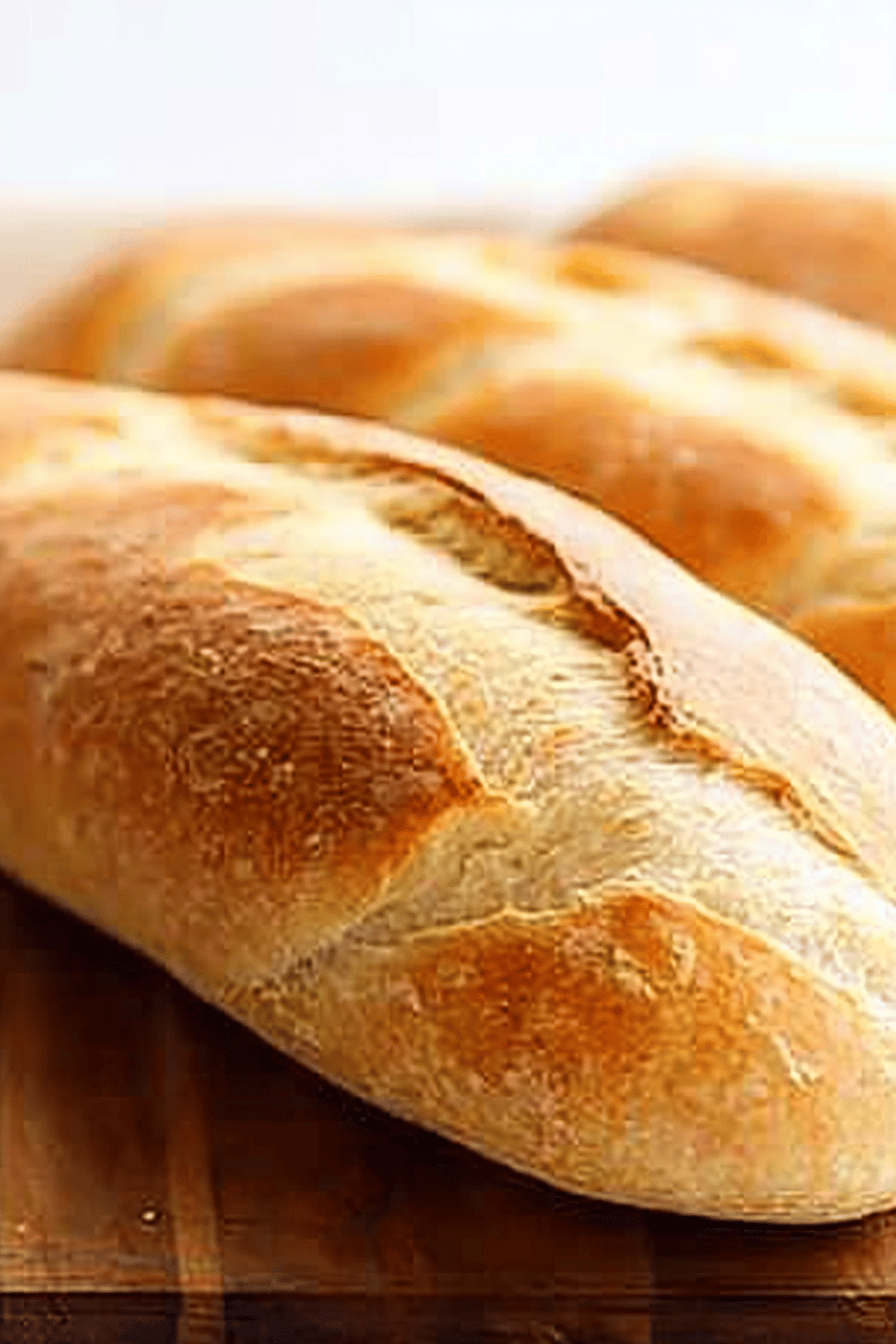
With a sharp knife or razor blade, make several diagonal slashes across the top of the loaf. What is the best way to create crusty ridges in bread? Bake for 30-35 minutes, or until the loaf is golden brown and sounds hollow when tapped on the top. The internal temperature should reach around 200°F (93°C).
Step 9: Cool & Serve
Let the bread cool on a wire rack for at least 30 minutes before slicing and serving. How do I stop my gummy bears from becoming sucky?
What should I serve it with?
What are some of the best gluten free French bread recipes? For breakfast: Serve it toasted with butter and your favorite jam. Is it good dipped in a soft-boiled egg? I love having it with my morning coffee – a simple pleasure that makes my day spookier. ** Create a beautiful cheese and Charcuterie Board and use the bread for dipping and spreading. Is it good for making mini sandwiches? What makes a quick brunch feel special? ** Toast bread and top with Nutella and sliced bananas. How do you make bread pudding? I want a sweet cake, but don’t want to bake it. What are some good ways to make it? What are some good cozy snacks to serve alongside a bowl of warm soup or chili? What are some good ways to make a balsamic vinegar dip? My family loves this on cold, rainy days.
How do I make gluten-free French bread?
Want to take your **Gluten-Free French Bread** to the next level? Here are some tips I’ve learned over the years:
Yeast Activation: Make sure your water is not too hot, or it will kill the yeast. Aim for a temperature between 105-115°F (40-46°C). This is crucial for a good rise and a light, airy texture. I’ve ruined several batches by being impatient and using water that was too hot!
Flour Blend: The quality of your Gluten-Free Flour Blend matters. I highly recommend using a blend that already contains xanthan gum, as this helps to bind the ingredients together and create a more elastic dough.
Mixing Advice: Don’t overmix the dough! Overmixing can result in a tough, dense loaf. Mix until just combined, and don’t worry if the dough is a bit lumpy.
Shaping Tips: Gluten-free dough can be tricky to work with, so don’t be afraid to use a little extra flour to prevent sticking. You can also use wet hands to shape the loaf.
Baking Tips: Baking times can vary depending on your oven, so keep an eye on the bread and adjust the baking time as needed. If the top is browning too quickly, tent it with foil.
Cooling Advice: Resist the urge to slice into the bread while it’s still hot! Let it cool completely on a wire rack before slicing. This will prevent it from becoming gummy and ensure a perfect texture.
“Packed with flavor and so simple. Exactly what I wanted from this Gluten-Free French Bread!”
What are some Storing and Reheating Tips?
Here’s how to keep your **Gluten-Free French Bread** fresh and delicious:
Room Temperature: Store the bread in an airtight container at room temperature for up to 2 days. This will help to prevent it from drying out.
Refrigerator Storage: For longer storage, wrap the bread tightly in plastic wrap and store it in the refrigerator for up to 5 days.
Freezer Instructions: For best results, slice the bread before freezing. Wrap the slices tightly in plastic wrap and store them in a freezer-safe bag for up to 2 months. To thaw, simply remove the slices from the freezer and let them sit at room temperature for about 30 minutes.
Reheating Advice: To reheat the bread, wrap it in foil and bake it in a preheated oven at 350°F (175°C) for about 10-15 minutes, or until warmed through. You can also toast the bread in a toaster or toaster oven.
What are some frequently asked questions?
Final Thoughts
I truly hope you give this **Gluten-Free French Bread** recipe a try. It’s a labor of love, but the reward is well worth it. There’s nothing quite like the smell of freshly baked bread wafting through your kitchen, and this recipe delivers that experience without the gluten. This recipe brings back a little bit of that joy that I thought I was missing out on by going gluten free. If you enjoy this recipe, you might also like my gluten-free pizza crust or gluten-free chocolate chip cookies. Happy baking! I can’t wait to hear how yours turns out!
How to Bake 7 Perfect Gluten-Free French Bread Baguettes
Ingredients
Main Ingredients
- 4 cups Gluten-Free All-Purpose Flour Ensure it contains xanthan gum
- 3 tablespoons Instant Yeast
- 1 teaspoon Salt
- 1.5 cups Warm Water 95-105°F is ideal for activating yeast
- 2 large Egg Whites at room temperature
- 3 tablespoons Honey adds sweetness and aids fermentation
- 2 tablespoons Apple Cider Vinegar enhances flavor
- 3 tablespoons Unsalted Butter softened
- 0.5 cup Tapioca Starch extra for dusting
- 1 cup Cornstarch
- 1 spray Cooking Oil Spray
- 1 handful Ice cubes for creating steam
Instructions
Preparation Steps
- In a large mixing bowl, combine the gluten-free flour, instant yeast, and salt. Stir with a whisk for even distribution.
- Create a well in the center of your mixed dry ingredients. Add the warm water, egg whites, honey, apple cider vinegar, and softened butter to the well.
- Mix using a stand mixer on medium speed for a minute. Increase speed to medium-high, mixing until dough reaches a whipped consistency.
- Transfer dough to a sealed container and refrigerate for at least 45 minutes.
- Lightly dust a surface with tapioca starch. From refrigerator, place dough on dusted surface and divide into seven portions.
- Shape each portion into a cylinder, rolling gently to form tapered ends. Use extra tapioca starch to prevent sticking.
- On a parchment-lined baking sheet, place the baguettes to rise, covered lightly with greased plastic wrap, until they've expanded 150% in size.
- Preheat oven to 475°F and prepare a rack in the upper third. As the baguettes finish rising, make diagonal slashes across the tops.
- Spray the baguettes with cooking oil and place them on the oven's upper rack. Toss ice cubes into the bottom of the oven and close quickly.
- Bake for approximately 18-20 minutes, turning halfway through, until golden brown and the internal temperature hits 190°F.
- Wrap baguettes in a clean towel post-bake for a softer crust and allow to cool for 10 minutes before serving.


