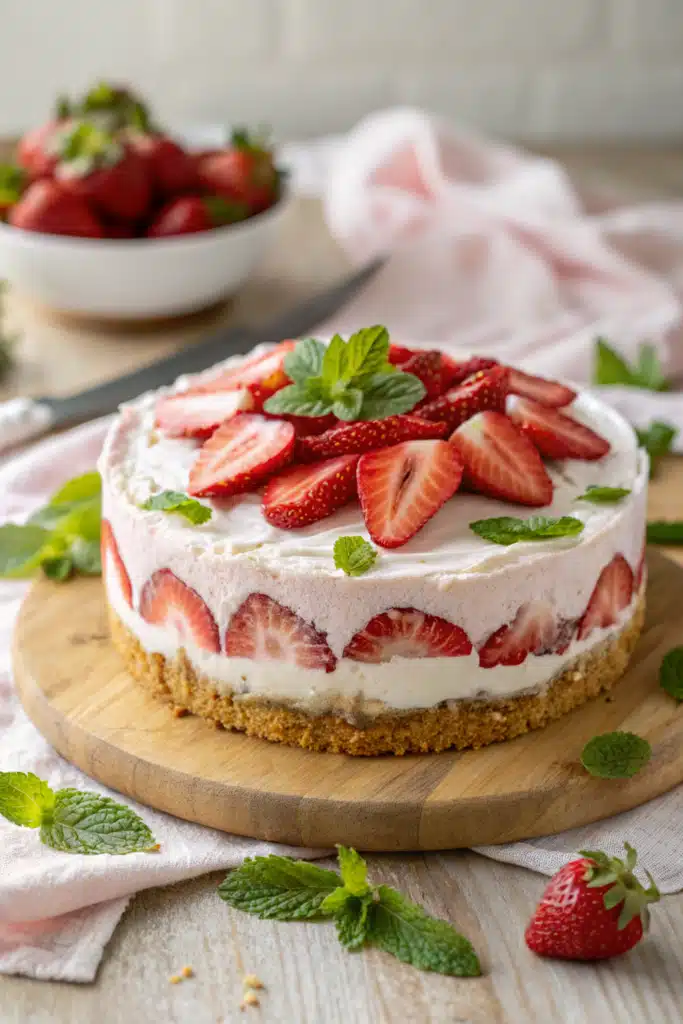
Easy Strawberry Cream Ice Cream Cake
There’s something magical about a dessert that feels both effortless and extraordinary—like you pulled it straight out of a bakery window, but it actually came from your own kitchen. That’s exactly what this Easy Strawberry Cream Ice Cream Cake is: a showstopper in the making, yet so simple you’ll wonder why you ever bothered with complicated recipes. Picture this: velvety layers of Homemade Strawberry Ice Cream swirled into a tender, golden cake base, all held together by a whisper of whipped cream and fresh berries. It’s cool, creamy, and bursting with summer flavor—perfect for backyard BBQs, dinner parties, or just treating yourself after a long day. What makes it truly special? No churning required (though trust me, you’ll want to anyway), no overnight freezing, and absolutely zero stress. Just pure joy on a plate.
Thank you for reading this post, don't forget to subscribe!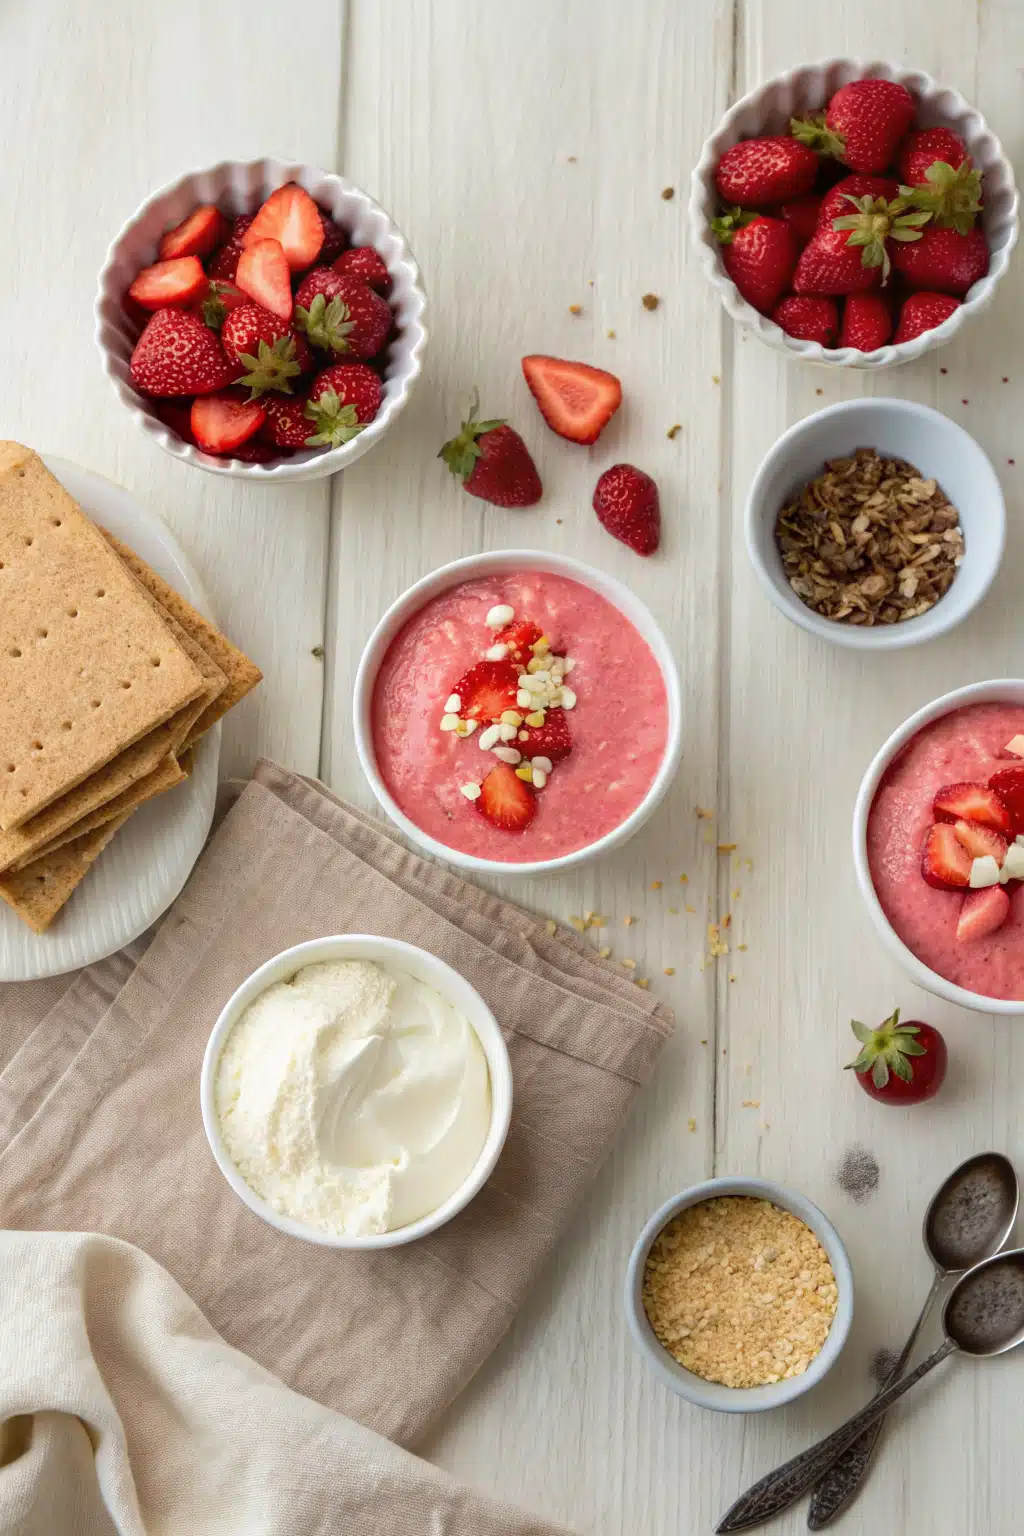
What Is Easy Strawberry Cream Ice Cream Cake?
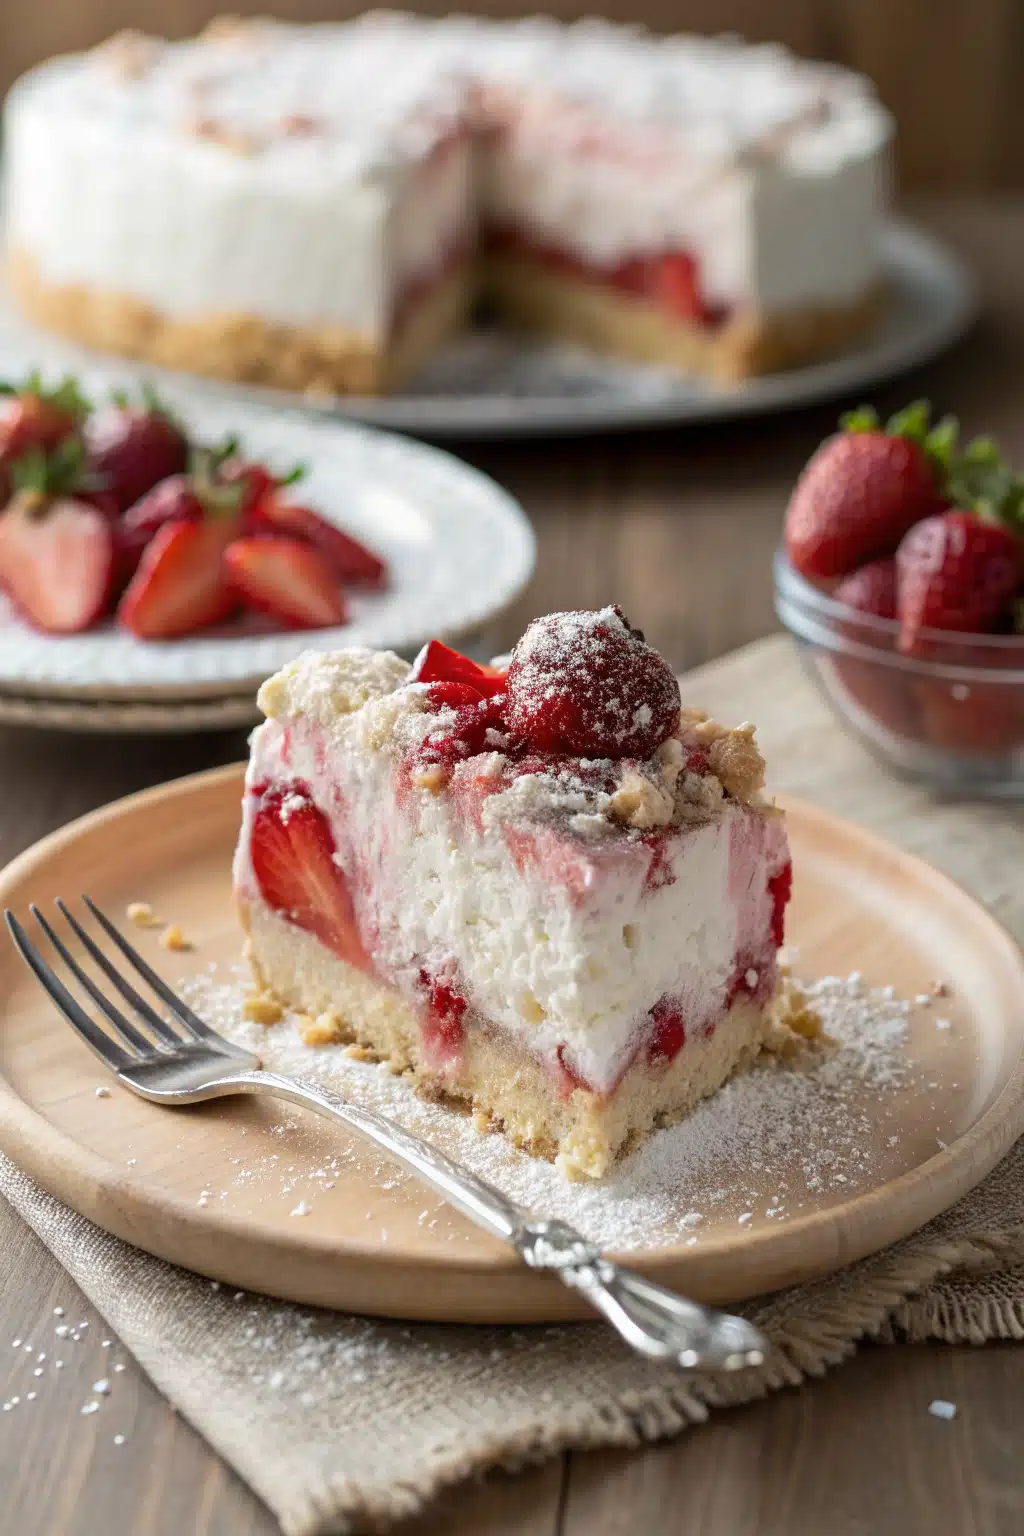
This isn’t your average SHEET CAKE with a scoop of ice cream plopped on top—oh no. This is a harmonious marriage of textures and temperatures where each bite delivers a surprise: the soft crumb gives way to cold, luscious ice cream, then melts gently into a ribbon of fresh strawberry jam or compote. Think of it as a reverse sundae built layer by dreamy layer. The base is a moist, buttery sponge cake—light enough not to overpower the fruity center—while the filling is a no-fail strawberry ice cream made with real fruit purée and just enough sweetness to make your taste buds do a happy dance. We finish it off with a light dusting of powdered sugar and a few halved strawberries for that Instagram-worthy pop of color. It’s equal parts nostalgic and modern, comforting yet elegant. Whether you’re serving eight or eighty, this cake always feels like a celebration.
Why You’ll Love This Recipe
If you’ve ever craved a dessert that tastes like sunshine and happiness rolled into one, this is it. First off—it’s ridiculously easy. Seriously. No fancy equipment, no hours spent babysitting a gelato machine. Just mix, bake, freeze, and assemble. And speaking of freezing… there’s no waiting around for the perfect consistency because we keep it simple: use store-bought cake if you’re short on time (yes, really!), or bake your own for extra fluff. The Ice Cream layer? Made from scratch using only five ingredients: cream, milk, sugar, vanilla, and fresh strawberries. That’s it. No stabilizers, no gums—just clean, vibrant flavor. Plus, it’s a crowd-pleaser through and through. Kids go wild for the cold, adults appreciate the balance between sweet and tart. And let’s be honest—who doesn’t love a slice that looks like it cost $50 at a high-end patisserie but took you under an hour to pull off?
Another reason to fall in love? It’s customizable. Want raspberries instead? Go for it. Whip in some lemon zest for brightness? Absolutely. This recipe is a canvas, and your imagination (and pantry) are the brushes. Oh, and it travels well! Perfect for potlucks, picnics, or taking to a neighbor who’s having a rough week. Just pack it upright in a sturdy box and voilà—you’ve just become the neighborhood hero.
How to Make Easy Strawberry Cream Ice Cream Cake
Quick Overview
Ready to impress without breaking a sweat? Here’s the quick version: Bake or buy a cake, chill it. Meanwhile, blend up fresh strawberries into a silky purée, then whip heavy cream with sugar and vanilla until stiff peaks form. Fold in the purée gently, pour over the cooled cake, freeze for at least 4 hours (or overnight), then decorate before serving. Total active time? Maybe 20 minutes. Freeze time aside, obviously. The result? A stunning, restaurant-quality dessert that tastes like you spent all day perfecting it—but really, you didn’t.
Ingredients
- 1 (9×13-inch) yellow or white cake (baked from scratch or store-bought)
- 2 cups heavy whipping cream
- 1/2 cup whole milk
- 3/4 cup granulated sugar (divided: 1/2 cup for ice cream, 1/4 cup for cake if baking from scratch)
- 1 teaspoon pure vanilla extract
- 1 pound fresh strawberries (hulled and chopped)
- Optional garnish: additional sliced strawberries, mint leaves, powdered sugar
Step-by-Step Instructions
Step 1: Preheat & Prep Pan
If you’re baking the cake from scratch, preheat your oven to 350°F (175°C). Grease and line a 9×13-inch baking pan with parchment paper. In a large bowl, whisk together flour, baking powder, salt, and half of the sugar. In another bowl, beat eggs, melted butter, milk, and vanilla until smooth. Gradually add wet ingredients to dry, mixing just until combined. Pour batter into the prepared pan and bake for 28–32 minutes, or until a toothpick comes out clean. Let cool completely on a wire rack.
Step 2: Make the Strawberry Purée
While the cake cools, place half of the chopped strawberries in a small saucepan over medium heat. Cook for 5–7 minutes, stirring occasionally, until softened and juicy. Remove from heat and press through a fine-mesh sieve to remove seeds. You should have about 1/2 cup of smooth purée. Set aside to cool.
“The Easy Strawberry Cream Ice Cream Cake turned out amazing. My kids asked for seconds. Saving this one!”
Step 3: Whip the Ice Cream Base
In a chilled mixing bowl, combine heavy cream, remaining sugar, vanilla, and milk. Using an electric mixer, whip on high speed until stiff peaks form—this should take about 3–4 minutes. Gently fold in the cooled strawberry purée until fully incorporated and swirled throughout.
Step 4: Assemble and Freeze
Once the cake is completely cool, place it on a parchment-lined baking sheet or platter. Spread the strawberry Ice Cream mixture evenly over the top, creating a thick, even layer. Smooth the surface with a spatula. Cover tightly with plastic wrap or aluminum foil and freeze for at least 4 hours, preferably overnight, until firm.
Step 5: Decorate and Serve
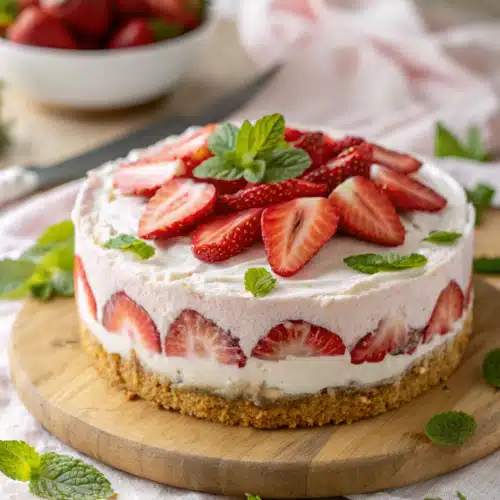
About 15 minutes before serving, remove the cake from the freezer to soften slightly. Unwrap carefully and arrange fresh strawberry slices on top in a decorative pattern. Dust lightly with powdered sugar and add a sprig of mint if desired. Slice with a warm, serrated knife for clean cuts.
What to Serve It With
This cake shines brightest when paired with something light and refreshing. A dollop of lightly sweetened whipped cream on the side adds richness without heaviness. For a grown-up twist, serve with a drizzle of balsamic glaze—the tanginess cuts through the sweetness beautifully. If you’re hosting, pair it with sparkling rosé or a chilled mint lemonade. And don’t skip the fork! While spoons work, a fork lets you conquer every layer—cake, Ice Cream, fruit—in perfect harmony. For a decadent finale, add a scoop of vanilla bean ice cream alongside your slice. It’s like double the fun.
Top Tips for Perfecting Your Easy Strawberry Cream Ice Cream Cake
Freeze it solid: Don’t rush this step. The longer it freezes, the easier it slices and holds its shape. Overnight is ideal.
Use room-temperature tools: Chilled bowls and beaters whip cream faster and help achieve stiffer peaks.
Don’t overmix the purée into the cream: Fold gently to keep the texture light and airy.
Slice warm knife: Run your knife under hot water, wipe dry, and cut between layers for clean edges every time.
Fresh is best: Use ripe, in-season strawberries for maximum flavor. Frozen ones work in a pinch but may dilute intensity.
Cake choice matters: A dense pound cake or yellow cake works better than angel food—they support the ice cream without getting soggy.
Storing and Reheating Tips
This cake keeps best frozen. Store wrapped tightly in plastic wrap and placed inside a freezer-safe container or resealable bag for up to 1 month. Thaw in the refrigerator for 4–6 hours before serving. Never microwave—it will melt too fast and lose structure. If you must reheat, warm individual slices in a 300°F (150°C) oven for 5 minutes, then let cool slightly. Note: the cake layer will soften over time, so eat within 2 days of thawing for optimal texture.
“Made the Easy Strawberry Cream Ice Cream Cake tonight and wow — perfect weeknight dinner. Will definitely make again!”
Frequently Asked Questions
Final Thoughts

There’s a quiet magic in creating something beautiful from simple ingredients. This Easy Strawberry Cream Ice Cream Cake isn’t just dessert—it’s a moment of joy, shared across plates and smiles. Whether you’re feeding a family or wowing a room full of guests, it delivers on every front: flavor, ease, and visual charm. And the best part? You get to enjoy the fruits of your labor without the guilt of complicated prep. So go ahead—strawberries first, then cream, then that first glorious slice. Life’s too short for boring cakes.
Easy Strawberry Cream Ice Cream Cake
Ingredients
Main Ingredients
- 24 squares graham crackers
- 1 quart vanilla ice cream slightly softened
- 2 cups fresh strawberries hulled and sliced
- 0.5 cup strawberry jam
- 0.25 cup heavy cream optional, for whipped topping
- 1 tablespoon powdered sugar optional, for whipped topping
- 1 fresh mint leaves for garnish
Instructions
Preparation Steps
- Line the bottom of a 9-inch springform pan or round cake pan with graham crackers, pressing them firmly to form an even layer.
- Spread half of the softened vanilla ice cream over the graham cracker layer. Smooth the top evenly.
- Arrange half of the sliced strawberries on top of the ice cream layer.
- Drizzle half of the strawberry jam over the strawberries.
- Repeat the layers: graham crackers, remaining ice cream, remaining strawberries, and remaining jam.
- Cover the cake and freeze for at least 4 hours, or until firm.
- If desired, whip the heavy cream with powdered sugar until soft peaks form, and pipe or spoon around the edge of the cake before serving.
- Garnish with fresh mint leaves and serve directly from the freezer.


