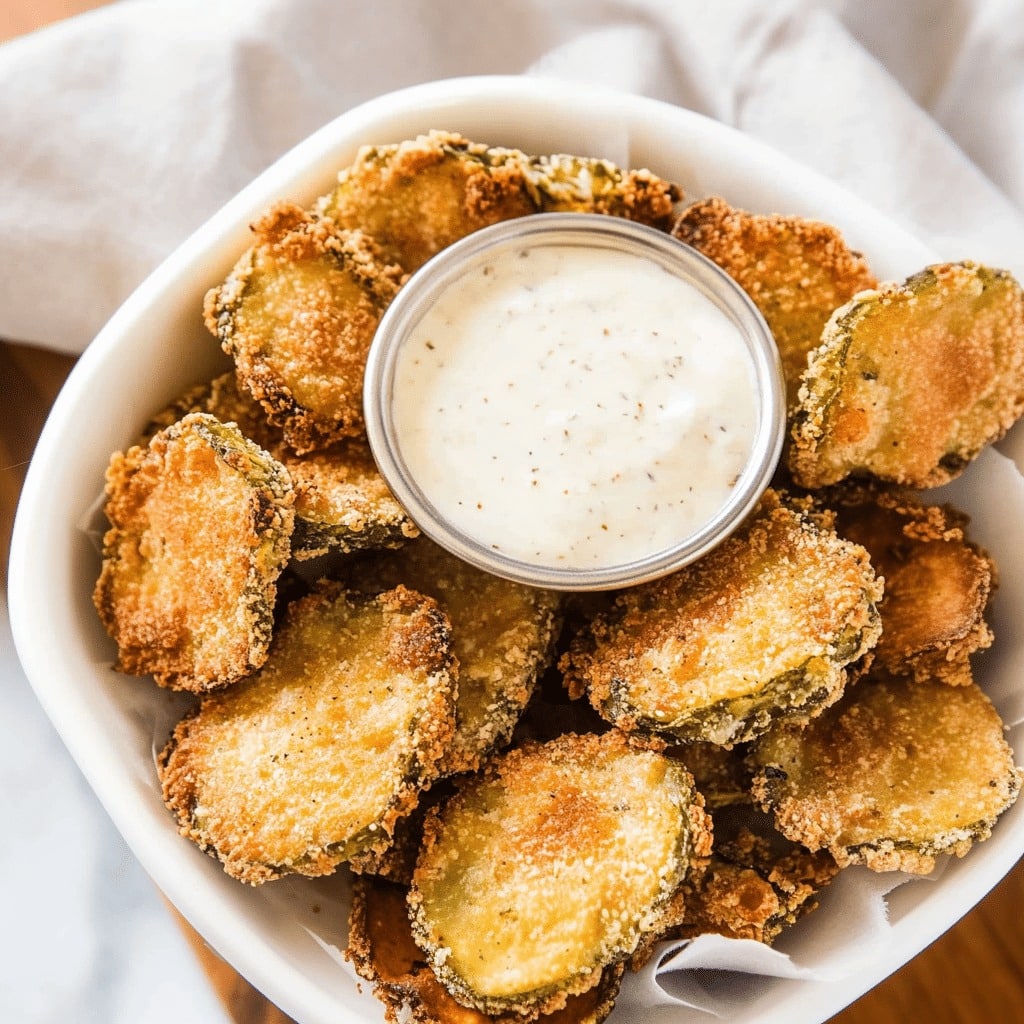
These Crispy Cheesy Dill Pickle Chips are the ultimate low-carb, crunchy snack, packed with bold dill pickle flavor and melted cheese goodness. Baked or air-fried until golden and crispy, these bite-sized treats are perfect for snacking, party appetizers, or as a side for burgers and sandwiches. With only a few ingredients and minimal prep, they’re quick, easy, and addictively delicious! 🧀🥒✨
Thank you for reading this post, don't forget to subscribe!Ingredients
- 1 cup (100 g) shredded cheddar cheese (or a mix of cheddar & mozzarella)
- ½ cup (50 g) Parmesan cheese, grated
- 1 cup dill pickle slices, patted dry
- ½ tsp garlic powder
- ½ tsp paprika
- ½ tsp black pepper
- 1 tbsp chopped fresh dill (optional, for extra flavor)
Directions
Step 1: Preheat the Oven or Air Fryer
- Oven Method: Preheat oven to 400°F (200°C) and line a baking sheet with parchment paper.
- Air Fryer Method: Preheat to 375°F (190°C) and lightly grease the air fryer basket.
Step 2: Prepare the Cheese Base
- In a bowl, mix shredded cheddar, Parmesan, garlic powder, paprika, and black pepper.
Step 3: Assemble the Pickle Chips
- Place small mounds of the cheese mixture (about 1 tbsp each) onto the baking sheet or air fryer basket, spacing them 2 inches apart.
- Press a dill pickle slice into the center of each cheese mound.
- Sprinkle with a little more cheese on top for extra crispiness.
Step 4: Bake or Air Fry
Oven Method:
- Bake for 10-12 minutes, or until the edges are golden and crispy.
Air Fryer Method:
- Air fry for 5-7 minutes, checking for crispiness.
Step 5: Cool and Serve
- Let the pickle chips cool for 2-3 minutes before removing them from the tray (they crisp up as they cool).
- Garnish with chopped fresh dill and serve with ranch dressing, spicy mayo, or your favorite dip.
Notes
- Make them spicier: Add a pinch of cayenne or red pepper flakes.
- Best cheese options: Cheddar, mozzarella, Parmesan, or a mix for the best crispiness.
- Storage: Store in an airtight container at room temperature for up to 2 days, but they’re best fresh.
Why This Recipe Works
The sharp, melty cheese forms a crispy crust, while the tangy pickle adds crunch and flavor, creating an irresistible balance of textures and tastes.
Conclusion
These Crispy Cheesy Dill Pickle Chips are an easy, crunchy, and cheesy snack that’s perfect for pickle lovers and keto-friendly too! Whether as a snack, appetizer, or burger side, they’re irresistibly good. Try them today and enjoy a bite of crispy, cheesy goodness! 🧀🥒✨
“I don’t know if I’ve ever eaten a better Crispy Cheesy Dill Pickle Chips. The rub alone is wonderful, but the sauce??? Over the top!”
Frequently Asked Questions
“The Crispy Cheesy Dill Pickle Chips turned out amazing. My kids asked for seconds. Saving this one!”

Crispy Cheesy Dill Pickle Chips
Ingredients
Main Ingredients
- 2 cups dill pickles sliced thin
- 1 cup shredded cheddar cheese or cheese of your choice
- 1 tablespoon olive oil
Instructions
Preparation Steps
- Preheat your oven to 400°F (200°C).
- Line a baking sheet with parchment paper and brush with olive oil.
- Arrange the pickle slices on the prepared baking sheet.
- Sprinkle shredded cheddar cheese over each pickle slice.
- Bake in the preheated oven for 15 minutes or until the cheese is crispy and golden.


