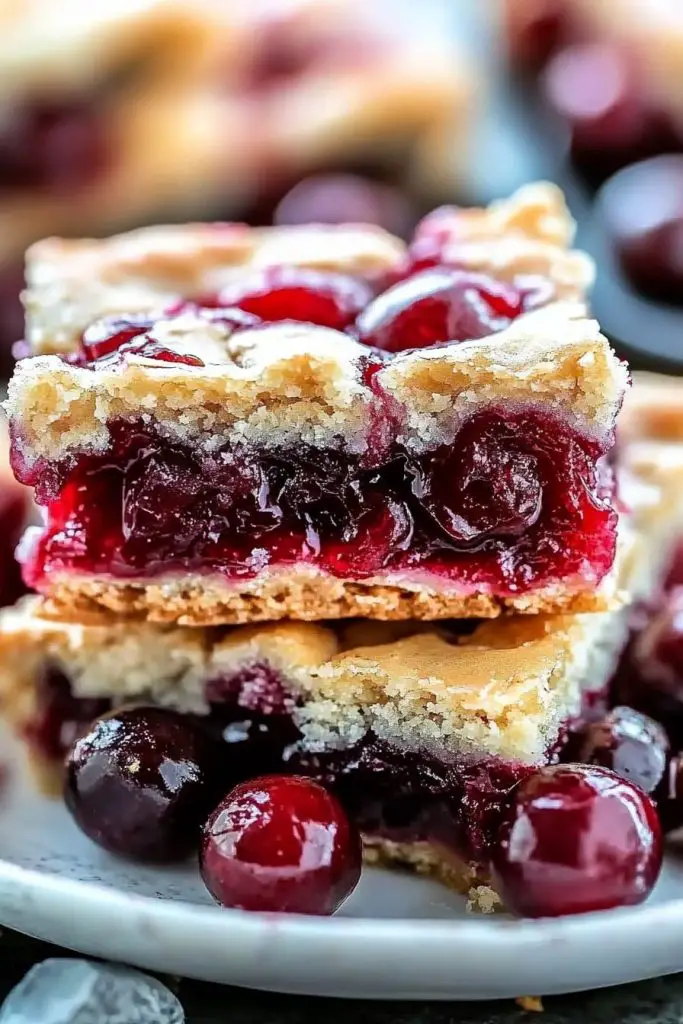
These christmas CHERRY BARS are a festive, buttery, and fruity dessert that’s perfect for the holiday season! With a soft shortbread-like base, a luscious cherry filling, and a crumbly, golden topping, these bars are easy to make and great for holiday gatherings, cookie exchanges, or gifting. The bright red cherries add a festive pop of color, making them a holiday must-have! 🍒🎄✨
Thank you for reading this post, don't forget to subscribe!Ingredients
For the Crust and Topping:
- 1 cup (225 g) unsalted butter, softened
- 1 ¾ cups (350 g) granulated sugar
- 4 large eggs
- 1 tsp vanilla extract
- ½ tsp almond extract (optional, but enhances the cherry flavor)
- 3 cups (375 g) all-purpose flour
- ½ tsp salt
For the Cherry Filling:
- 1 (21 oz / 595 g) can cherry pie filling
- ½ tsp cinnamon (optional, for extra holiday warmth)
For the Glaze (Optional but Recommended):
- 1 cup (120 g) powdered sugar
- 2 tbsp milk
- ½ tsp vanilla or almond extract
Directions
Step 1: Preheat and Prepare the Pan
- Preheat oven to 350°F (175°C).
- Grease a 9×13-inch baking dish or line it with parchment paper.
Step 2: Make the Crust and Topping
- In a large bowl, beat butter and sugar until light and fluffy (about 2 minutes).
- Add the eggs, one at a time, mixing well after each addition.
- Stir in vanilla and almond extract.
- In a separate bowl, whisk together flour and salt.
- Gradually add the dry ingredients to the wet mixture, mixing until just combined.
Step 3: Assemble the Bars
- Spread ⅔ of the dough evenly into the prepared baking dish.
- Spread the cherry pie filling over the dough in an even layer.
- Drop spoonfuls of the remaining dough over the cherry filling (it won’t fully cover it, but that’s okay—it creates a pretty, rustic look!).
Step 4: Bake the Bars
- Bake for 35-40 minutes, or until the top is golden brown and set.
- Remove from the oven and let cool completely before glazing.
Step 5: Make the Glaze (Optional but Delicious!)
- In a small bowl, whisk together powdered sugar, milk, and vanilla or almond extract until smooth.
- Drizzle over the cooled bars.
Step 6: Slice and Serve
- Cut into squares and enjoy! Perfect for holiday platters, gifting, or a festive dessert.
Notes
- Want extra crunch? Sprinkle sliced almonds or chopped pecans on top before baking.
- Use different fruit: Swap cherry pie filling for raspberry, strawberry, or apple.
- Storage: Keep in an airtight container at room temperature for up to 3 days, or refrigerate for up to a week.
- Freezing: Freeze bars without the glaze for up to 2 months.
Why This Recipe Works
The buttery crust and crumbly topping balance perfectly with the sweet-Tart Cherry filling, creating a festive, bakery-style bar that’s easy to make and impossible to resist!
Conclusion
These Christmas CHERRY BARS are a delicious, eye-catching holiday dessert that’s perfect for Christmas parties, potlucks, and cookie trays. Simple, festive, and full of cherry goodness, they’ll quickly become a family favorite! 🎄🍒✨ Try them today and add a little holiday cheer to your dessert table!
“Packed with flavor and so simple. Exactly what I wanted from this Christmas Cherry Bars!”
Frequently Asked Questions
“I don’t know if I’ve ever eaten a better Christmas Cherry Bars. The rub alone is wonderful, but the sauce??? Over the top!”

Christmas Cherry Bars
Ingredients
Main Ingredients
- 1.5 cups all-purpose flour sifted
- 1 cup granulated sugar
- 0.75 cup butter softened
- 0.5 teaspoon baking soda
- 0.25 teaspoon salt
- 2 large eggs
- 1 teaspoon vanilla extract
- 21 ounces cherry pie filling
Instructions
Preparation Steps
- Preheat oven to 350°F (175°C). Grease a 9x13 inch baking pan.
- In a medium bowl, combine flour, sugar, butter, baking soda, and salt. Mix until crumbly.
- Reserve 1 cup of mixture for topping. Press the remaining mixture into the prepared pan.
- Spread cherry pie filling over the crust.
- Sprinkle reserved crumb mixture over the cherry filling.
- Bake for 25 minutes or until golden brown. Allow to cool before cutting into bars.


