Chocolate Chip Cookies: The Ultimate Comfort Bite
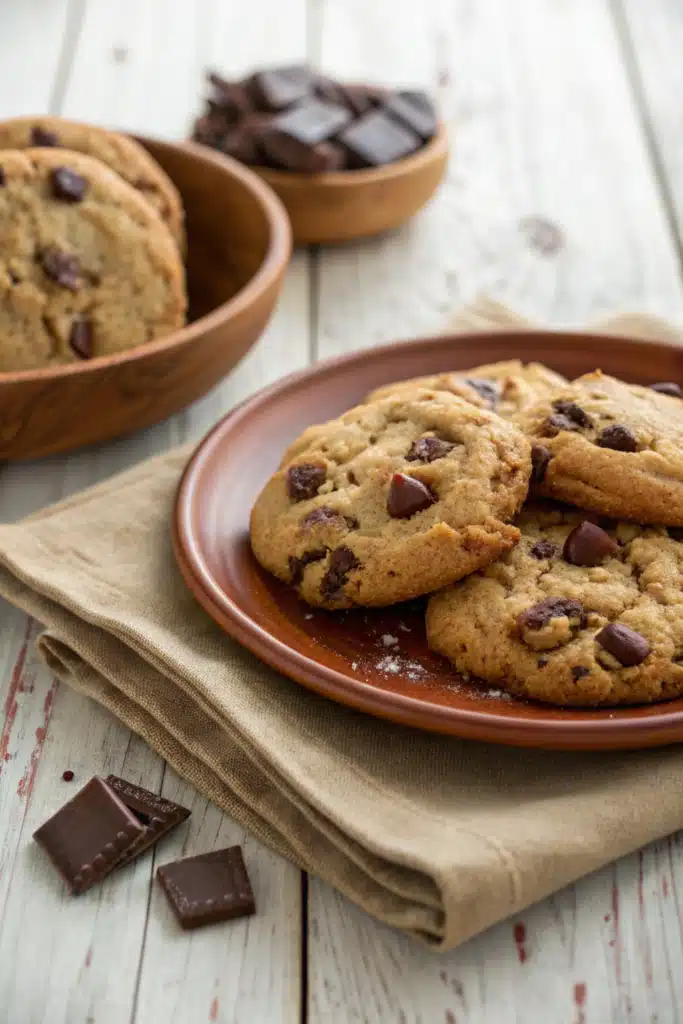
If you’ve ever taken a bite of a warm, gooey chocolate chip cookie straight out of the oven, you know it’s pure magic. That perfect balance of crisp edges and soft, chewy centers—drizzled with rich melted chocolate—is what dreams are made of. I remember my first time baking them; my hands were covered in flour, the kitchen smelled like heaven, and I couldn’t stop sneaking bites before they cooled. That moment sparked a lifelong love affair with this classic treat. Today, I want to share with you my favorite homemade Chocolate Chip Cookie Recipe—the one that never fails to impress friends and family. These cookies are more than just dessert; they’re a little hug in every bite.
Thank you for reading this post, don't forget to subscribe!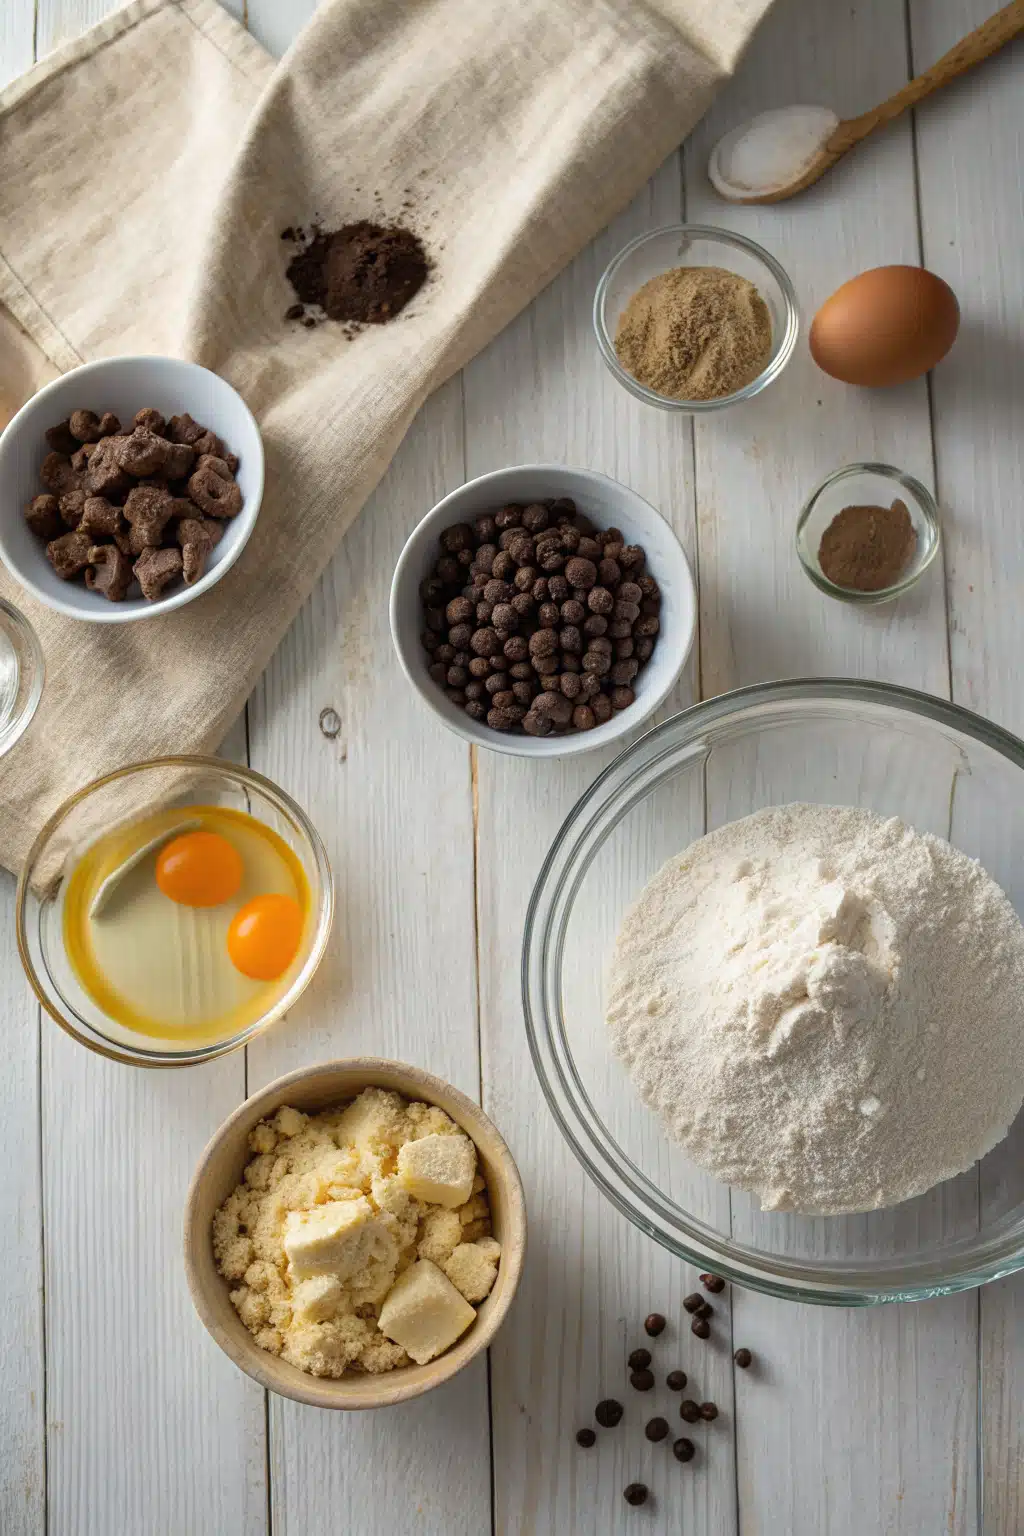
What Is Chocolate Chip Cookies?
Chocolate Chip Cookies are a beloved American classic—soft, slightly crisp-edged, and packed with chunks or chips of melty chocolate. First invented by Ruth Wakefield in 1938 at her Toll House Inn, these cookies were born from a happy accident when she mistook semi-sweet chocolate bars for baker’s chocolate and chopped them into nuggets instead of melting them. The result? A fluffy, golden-brown cookie with a tender crumb and bursts of chocolatey goodness in every bite. Today, variations exist everywhere—from snickerdoodle twists to salted caramel swirls—but the original remains timeless. What makes a great chocolate chip cookie? It’s all about texture, flavor balance, and that irresistible aroma that fills your entire home while baking.
Why You’ll Love This Recipe
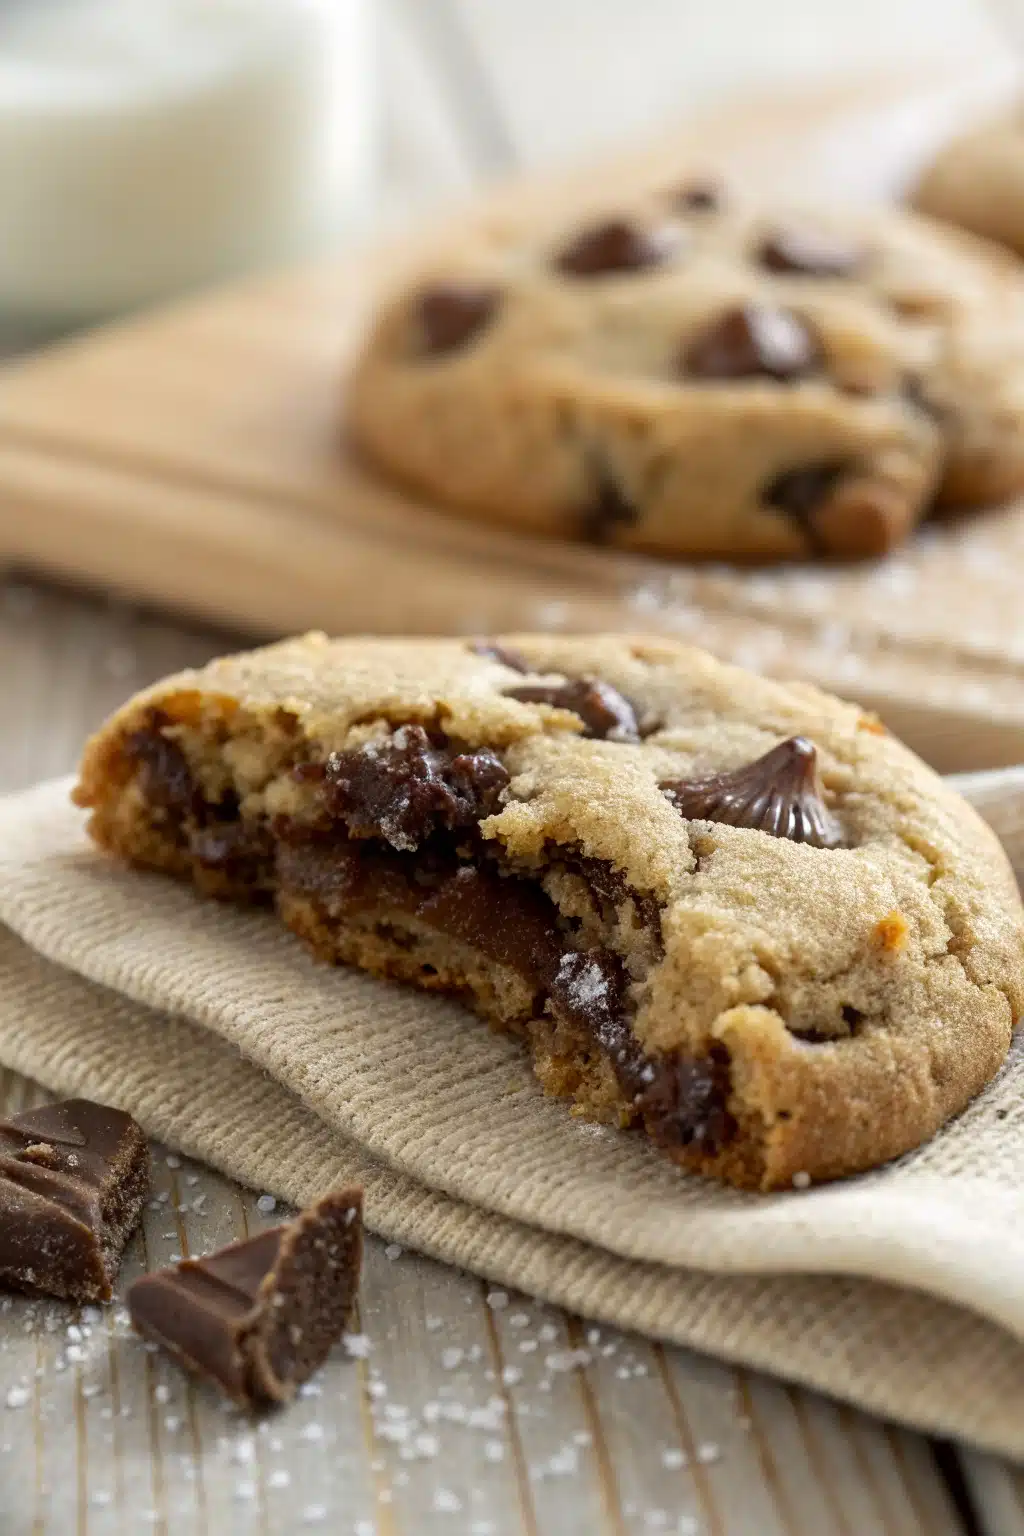
This isn’t just any Chocolate Chip Cookie recipe—it’s the one you’ll keep coming back to again and again. First off, these cookies have the ideal texture: crispy on the outside but still wonderfully soft and chewy inside. No more hard, dry cookies that crumble apart! We use a mix of brown sugar and white sugar to create that signature chew, while a touch of vanilla and a hint of sea salt elevate the flavor to next-level deliciousness. Another reason to fall in love? They’re incredibly forgiving. Whether you’re a beginner baker or a seasoned pro, this recipe works every time. Plus, they’re customizable—add nuts, swap chocolate for white chocolate, or even toss in some espresso powder for a deep, coffee-kissed flavor. Oh, and let’s talk about how fast they come together. Most ingredients are pantry staples, and mixing takes less than ten minutes. Best of all? The smell! Just imagine walking into your kitchen filled with the heavenly scent of butter, sugar, and baking chocolate. It instantly lifts your mood and makes everything feel cozy and comforting.
How to Make Chocolate Chip Cookies
Quick Overview
Baking these Chocolate Chip Cookies is simple and satisfying. Start by preheating your oven and preparing your baking sheet. Cream together softened butter and sugars until light and fluffy, then beat in eggs and vanilla. In a separate bowl, whisk together flour, baking soda, and salt. Gradually add the dry ingredients to the wet, mixing just until combined. Fold in chocolate chips and scoop onto the prepared sheet. Bake for 10–12 minutes until golden around the edges but still soft in the center. Let cool slightly before enjoying. The whole process takes about 30 minutes from start to finish—and trust me, it’s worth every second.
Ingredients
- 1 cup (2 sticks) unsalted butter, softened
- ¾ cup granulated sugar
- ¾ cup packed light brown sugar
- 2 large eggs
- 2 teaspoons pure vanilla extract
- 2¼ cups all-purpose flour
- 1 teaspoon baking soda
- 1 teaspoon salt
- 2 cups semisweet chocolate chips
Step-by-Step Instructions
Step 1: Preheat & Prep Pan
Preheat your oven to 375°F (190°C). Line two baking sheets with parchment paper or silicone mats—this prevents sticking and makes cleanup easy. Having everything ready before you start ensures a smooth baking experience.
Step 2: Cream Butter & Sugars
In a large mixing bowl, beat the softened butter with both granulated and brown sugars until light, fluffy, and pale in color—about 2–3 minutes with a hand mixer or stand mixer. This step incorporates air, which helps create a tender texture.
“Packed with flavor and so simple. Exactly what I wanted from this chocolate chip cookies!”
Step 3: Add Eggs & Vanilla
Beat in the eggs one at a time, making sure each is fully incorporated before adding the next. Then mix in the vanilla extract. Scrape down the sides of the bowl as needed to ensure everything mixes evenly.
Step 4: Combine Dry Ingredients
In another bowl, whisk together the flour, baking soda, and salt. This ensures even distribution so your Cookies Bake uniformly without pockets of too much leavening agent.
Step 5: Mix Wet & Dry
Gradually add the dry mixture to the wet ingredients, mixing on low speed until just combined. Overmixing can lead to tough cookies, so stop as soon as the dough comes together.
Step 6: Fold in Chocolate Chips
Using a spatula, gently fold in the chocolate chips until evenly scattered throughout the dough.
Step 7: Scoop & Bake
Scoop tablespoon-sized portions of dough onto the prepared baking sheets, spacing them about 2 inches apart. Bake for 10–12 minutes—cookies should be golden around the edges but still look soft in the center. For chewier cookies, don’t overbake!
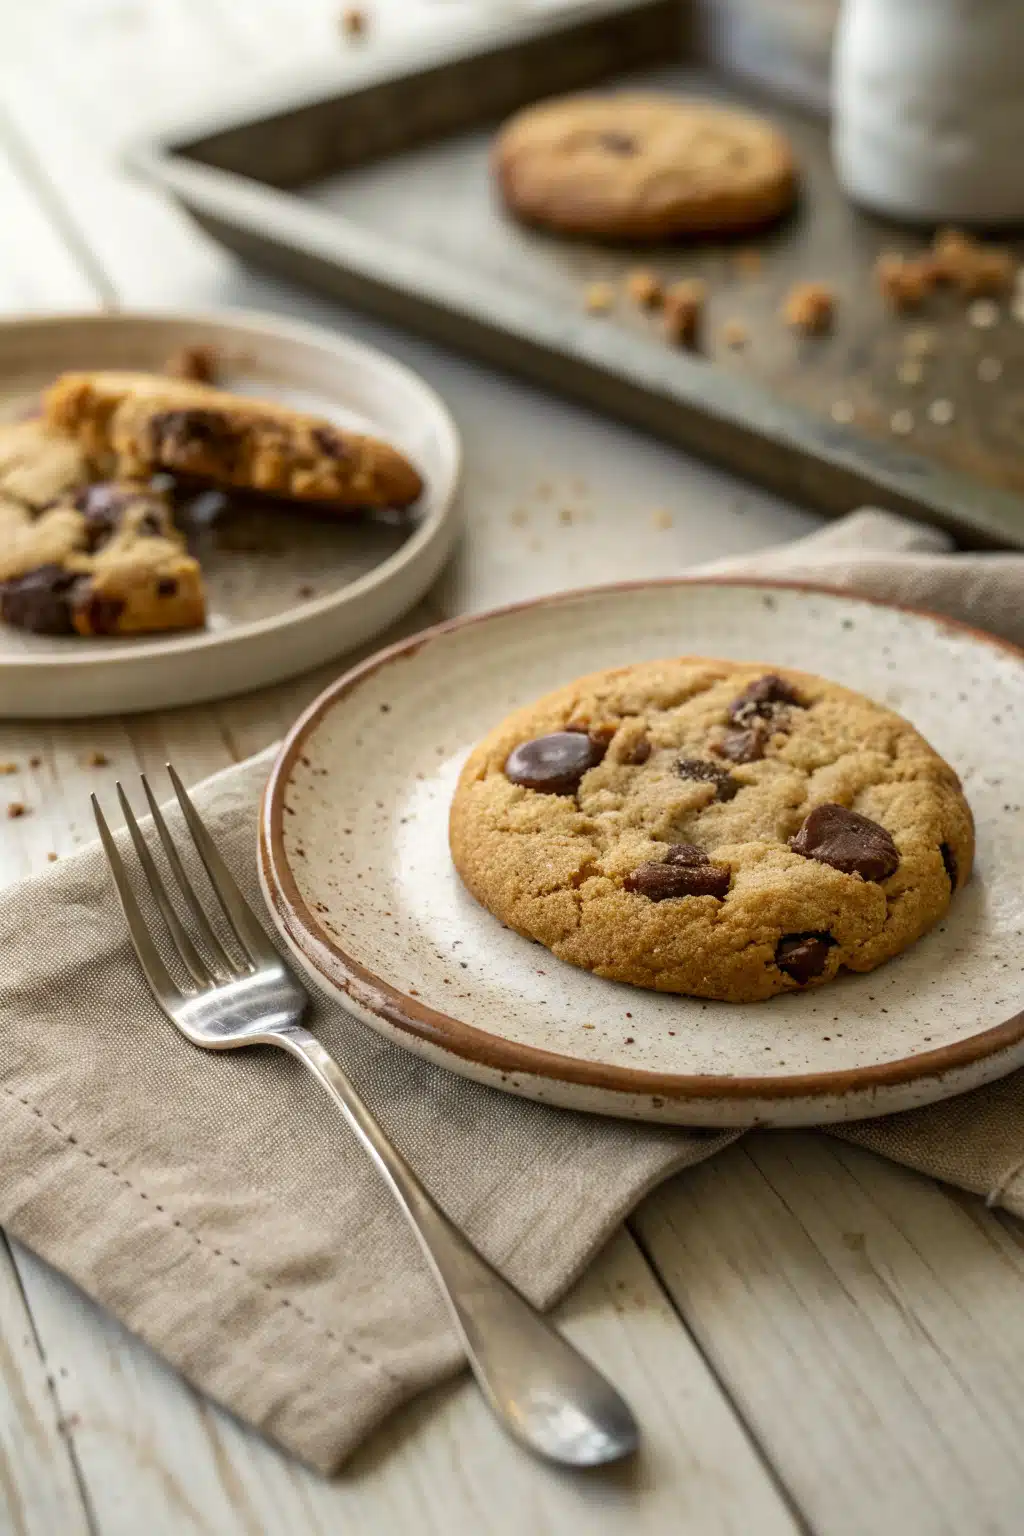
Step 8: Cool & Enjoy
Let cookies cool on the baking sheet for 5 minutes before transferring to a wire rack. They’ll firm up as they cool. Serve warm with milk or store for later—they stay fresh for days.
What to Serve It With
These chocolate chip cookies are versatile enough to pair with almost anything. Pour yourself a glass of cold milk—classic and always satisfying. Or serve with a scoop of vanilla ice cream for a decadent dessert combo. If you’re feeling fancy, pair them with a cup of hot coffee or tea. For brunch or afternoon tea, slice them and serve with whipped cream and fresh berries. And don’t forget—these cookies make amazing gifts! Pack them in a cute tin with a handwritten note, and you’ve got instant joy delivered.
Top Tips for Perfecting Your Chocolate Chip Cookies
Want your cookies to turn out bakery-worthy every time? Here are my tried-and-true tips. First, use room-temperature butter and eggs—this helps everything blend smoothly. Second, don’t skip chilling the dough for at least 30 minutes (or up to 24 hours). Chilling firms up the fat, preventing overly spread-out cookies. Third, measure flour correctly. Spoon flour into your measuring cup and level it off—don’t pack it down! Too much flour = dense cookies. Fourth, use quality chocolate. Better brands melt richer and taste brighter. Finally, resist the urge to overbake. Pull them out when edges are set but centers still look slightly underdone. They’ll continue cooking on the hot pan even after cooling.
Storing and Reheating Tips
Freshly baked cookies taste incredible, but they also last beautifully. Store them in an airtight container at room temperature for up to 5 days. To extend freshness, place a piece of bread in the container—it absorbs excess moisture and keeps cookies soft. For longer storage, freeze dough balls for up to 3 months, or baked cookies for up to 2 months. When ready to enjoy, reheat frozen cookies in the oven at 300°F for 8–10 minutes. Avoid microwaving—it dries them out. Instead, warm them slightly in the oven to revive that gooey interior and crisp edges.
“The chocolate chip cookies turned out amazing. My kids asked for seconds. Saving this one!”
Frequently Asked Questions
Final Thoughts
There’s something truly special about baking chocolate chip cookies—not just because they taste amazing, but because they bring people together. Whether you’re sharing them with loved ones, gifting them to a neighbor, or simply treating yourself after a long day, these cookies deliver comfort and joy in every bite. Remember, baking is an art, not a science. Don’t stress if your first batch isn’t perfect—just enjoy the process and savor the results. And when you pull that first warm cookie from the oven, take a deep breath. You’ve just created happiness, one delicious chip at a time.
Classic Chocolate Chip Cookies
Ingredients
Dry Ingredients
- 2.5 cups all-purpose flour
- 1 tsp baking soda
- 1 tsp salt
Wet Ingredients
- 1 cup unsalted butter, softened
- 0.5 cup granulated sugar
- 0.5 cup packed brown sugar
- 1 tsp vanilla extract
- 2 large eggs
Add-ins
- 2 cups semisweet chocolate chips
Instructions
Preparation Steps
- Preheat the oven to 375°F (190°C). Line baking sheets with parchment paper.
- In a medium bowl, whisk together the flour, baking soda, and salt. Set aside.
- In a large bowl, beat the softened butter, granulated sugar, brown sugar, and vanilla extract until creamy and smooth.
- Add the eggs one at a time, beating well after each addition.
- Gradually add the dry ingredients to the wet ingredients, mixing just until combined.
- Fold in the chocolate chips until evenly distributed throughout the dough.
- Drop rounded tablespoons of dough onto the prepared baking sheets, spacing them about 2 inches apart.
- Bake for 9–11 minutes, or until the edges are lightly golden but the centers still look soft.
- Cool on the baking sheet for 5 minutes before transferring to a wire rack to cool completely.


