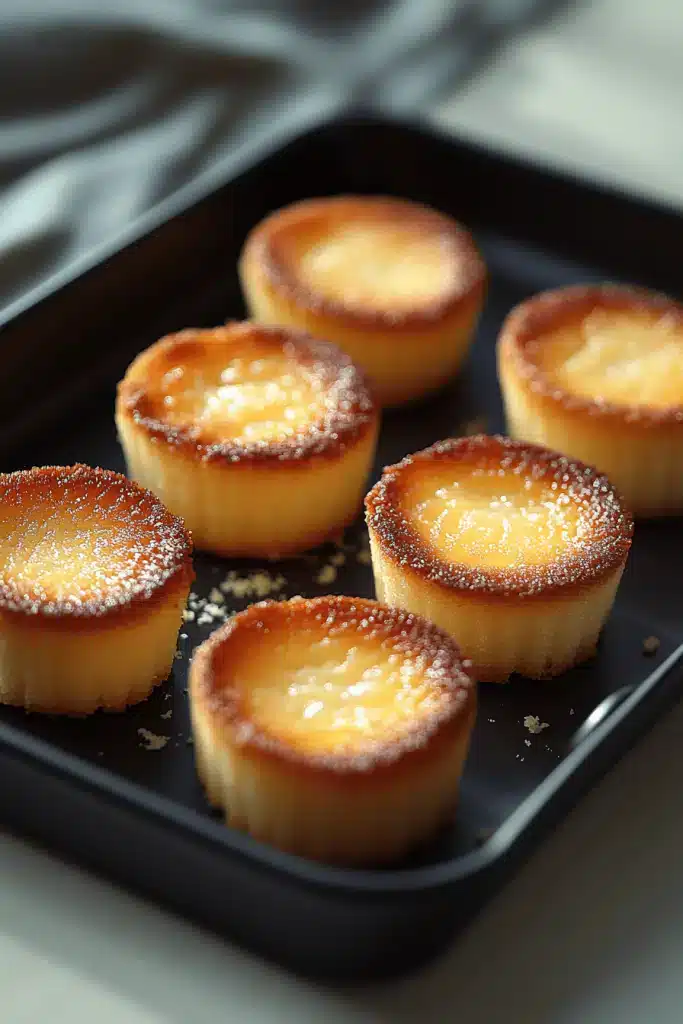
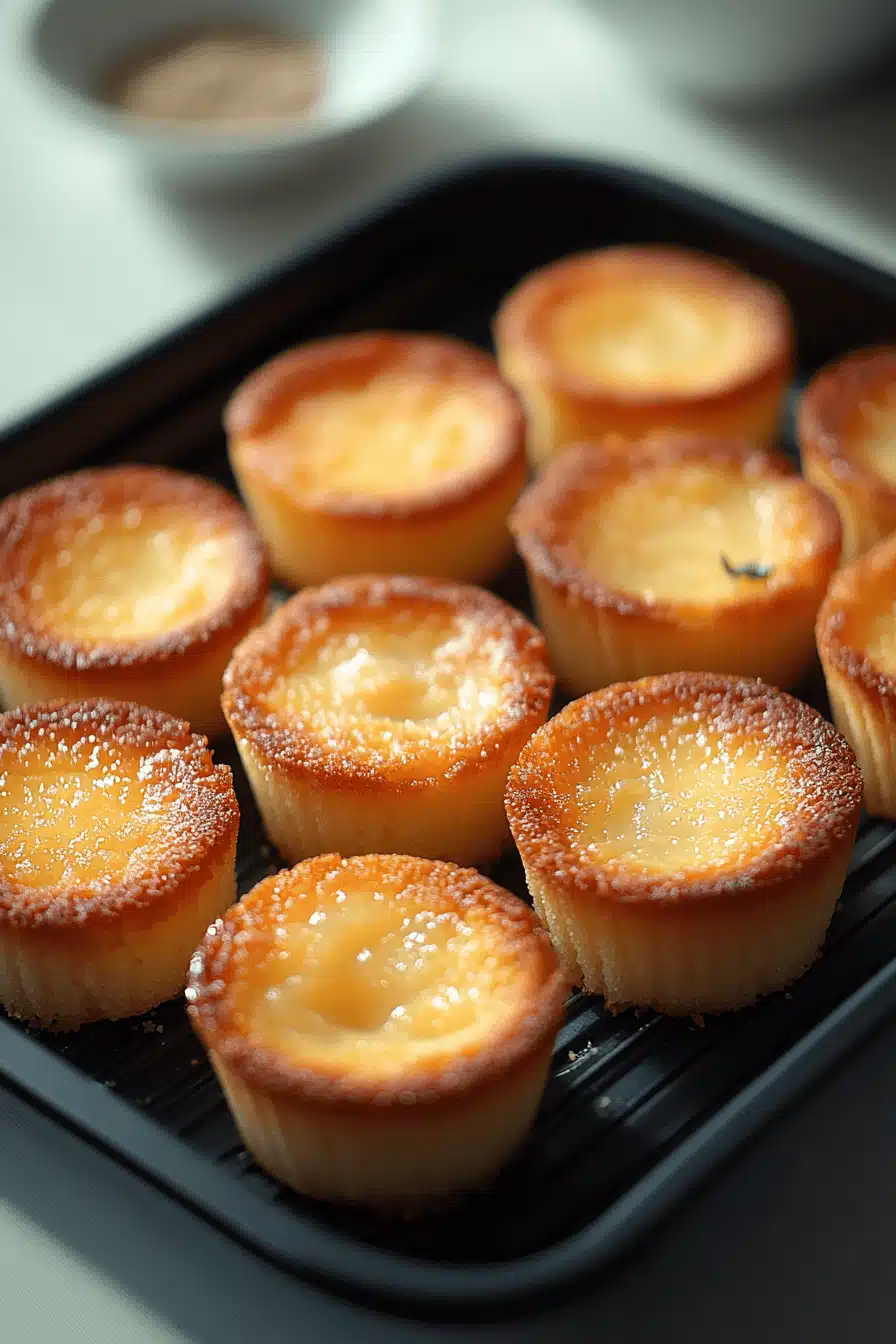
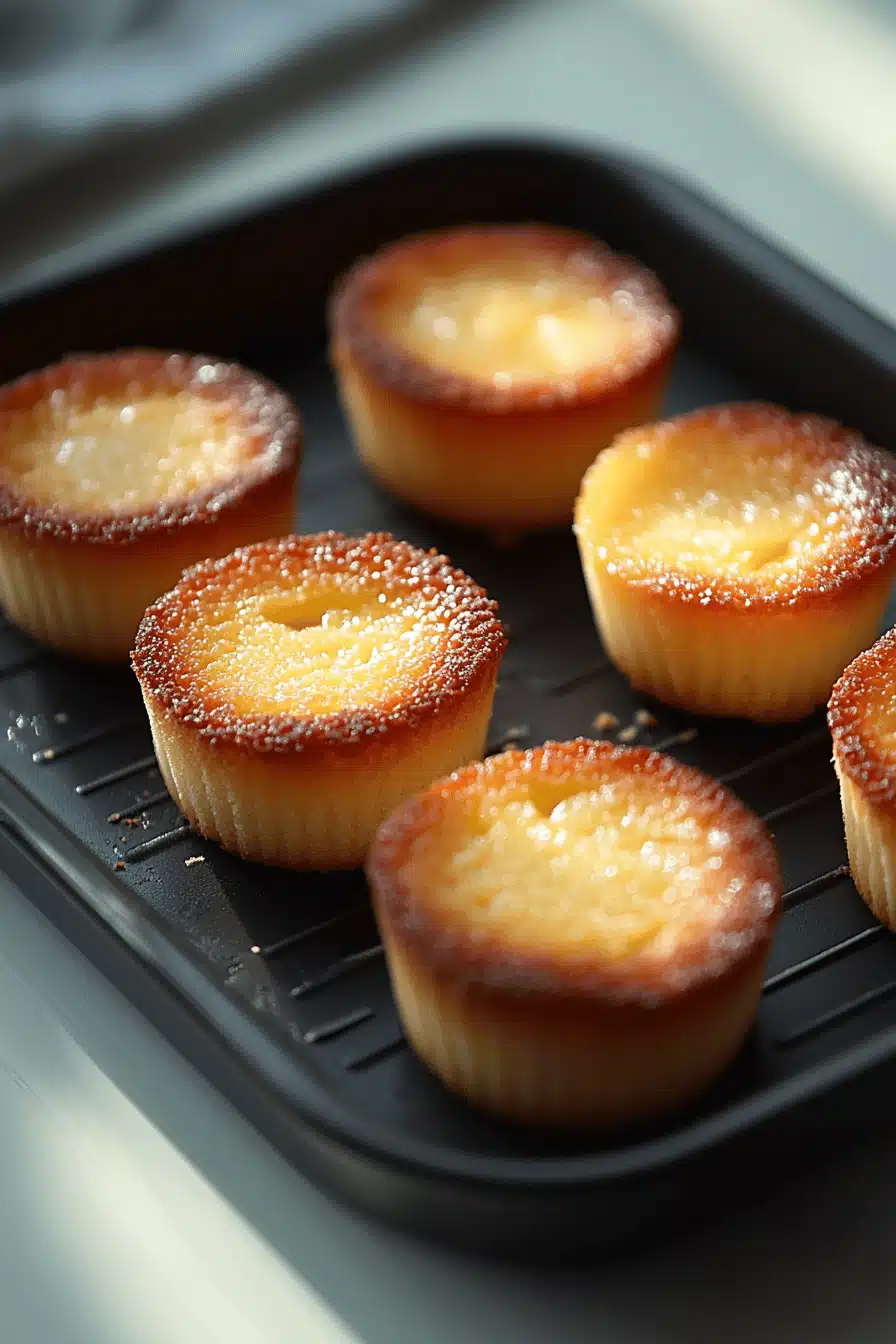
Okay, friends, gather ’round because I’m about to share a recipe that’s been passed down in my family for generations: Chinese Egg Cake. I know, I know, you might be thinking, “Cake? Eggs? What’s the deal?” But trust me on this one. It’s nothing like your standard vanilla sponge. Think of it as the fluffiest, most subtly sweet cloud you’ve ever tasted, with a texture that practically melts in your mouth. It’s similar in some ways to a Japanese souffle pancake, but even easier to make and perfect for a quick treat or a special occasion. The gentle sweetness and airy texture of this Chinese Egg Cake Recipe will have everyone begging for seconds… and the recipe!
Thank you for reading this post, don't forget to subscribe!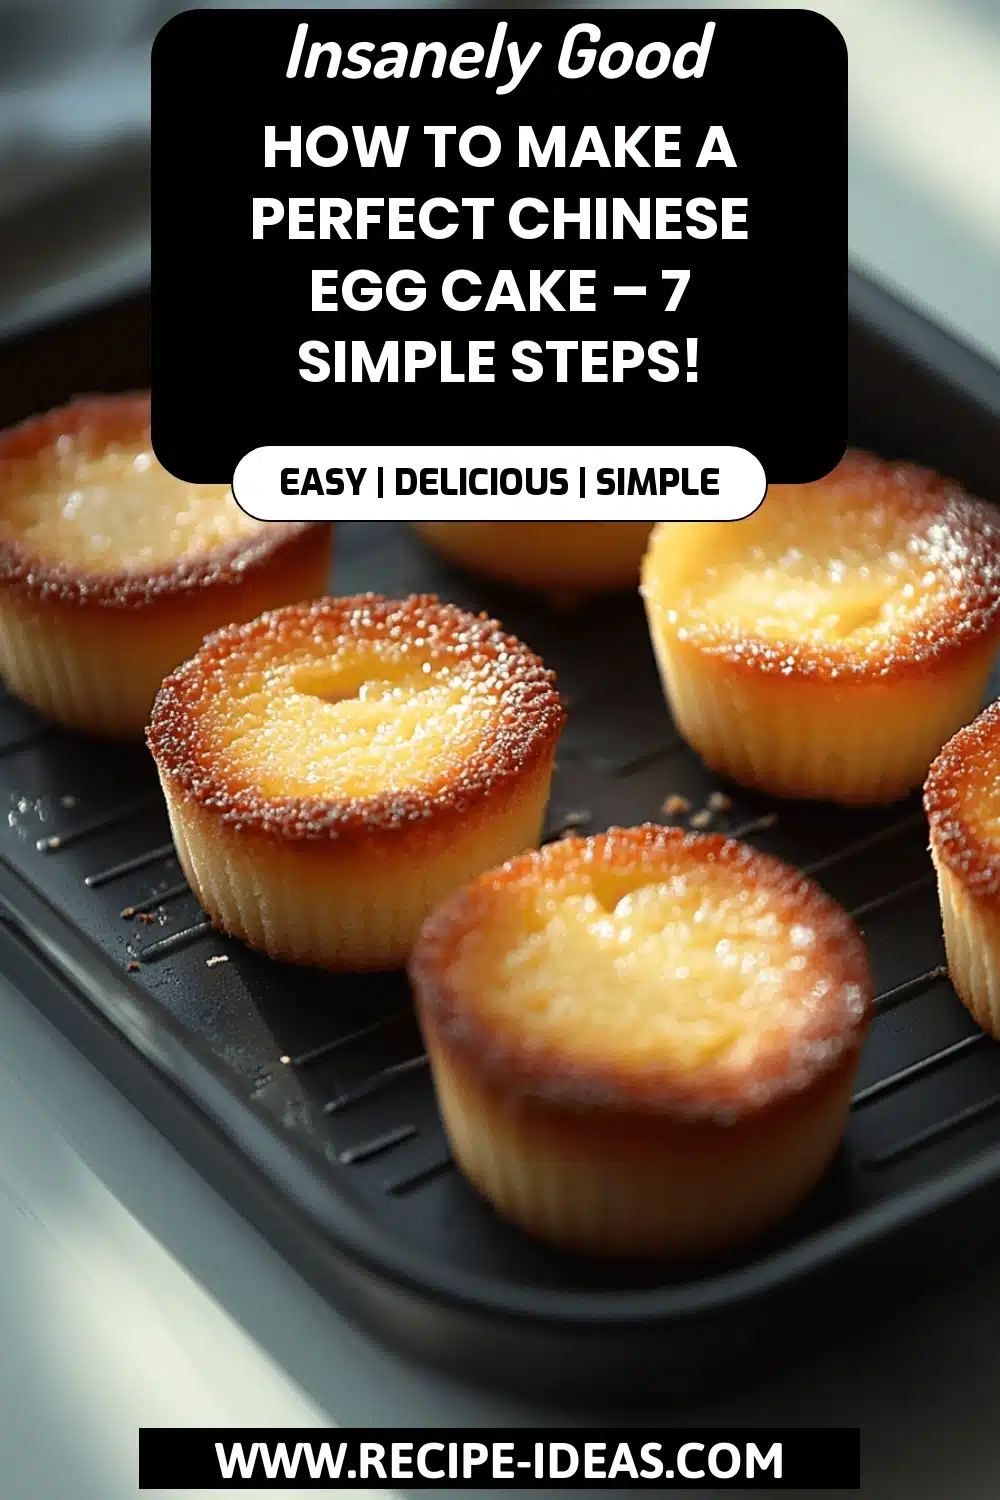
What is a Chinese egg cake?
So, what exactly *is* Chinese Egg Cake? Well, it’s a classic treat enjoyed for generations, especially during celebrations like Chinese New Year, but honestly, any day is a good day for egg cake. It’s essentially a light and airy sponge cake, characterized by its delicate sweetness and incredibly soft, almost bouncy texture. Think of it as a cross between a sponge cake and a chiffon cake, but with a distinct eggy flavor (in the best way possible!). The name comes from the prominent use of eggs in the batter, which are what gives it that signature light and fluffy texture. It’s definitely not your typical heavy, sugary cake; instead, it’s a more refined and delicate treat, perfect with a cup of tea or coffee.
Why you will love this recipe?
Honestly, where do I even begin? There are so many reasons why this Chinese Egg Cake Recipe is a staple in my kitchen. First and foremost, the flavor is just incredible. It’s subtly sweet, with a hint of vanilla and that lovely eggy richness that makes it so unique. It’s not overpowering, making it the perfect canvas for all sorts of toppings or enjoying all on its own. What I also love most about this recipe is how surprisingly easy it is to make. Don’t be intimidated by the “cake” part; it’s actually much simpler than you might think. I’ve made this countless times, and it never fails to impress. The ingredients are super cost-effective too. We are not talking about exotic things. We are talking about eggs, sugar, flour, and a little bit of love! It’s a budget-friendly dessert that tastes like a million bucks. And finally, it’s incredibly versatile! Enjoy it for breakfast with a drizzle of honey, serve it as a light dessert after dinner, or even pack it in a lunchbox for a sweet treat. It’s delicious warm, at room temperature, or even cold straight from the fridge (though it rarely lasts that long in my house!). Compared to a more complex dessert like a multi-layered chocolate cake, this egg cake offers a simplicity and elegance that really shines. It’s a great introduction to baking for beginners, and a reliable recipe for seasoned bakers looking for a quick and delicious treat.
How do I make Chinese Egg Cake?
Quick Overview
Making this Chinese Egg Cake is easier than you think! First, you’ll prep your pan and preheat the oven. Then, you’ll mix the dry and wet ingredients separately before gently combining them. A little whisking, folding, and baking later, and you’ll have a golden-brown, airy cake that’s ready to be devoured. The key is to not overmix the batter – gentle is the name of the game! This ensures the cake stays light and fluffy.
Ingredients
For the Main Batter:
* 4 large eggs, separated (make sure they’re at room temperature) * 5 small eggs.
* 1/2 cup granulated sugar, plus 2 tablespoons for the egg whites.
* 1/2 cup cake flour (this is essential for the light texture, but all-purpose works in a pinch)
* 1/4 cup milk (I’ve tested this with almond milk, and it makes it even creamier! ).
* 2 tablespoons unsalted butter, melted
* 1 teaspoon vanilla extract
* 1/4 teaspoon salt
For the Glaze (optional):
* 2 tablespoons powdered sugar
* 1-2 teaspoons milk or water
How do I follow step
Step 1: Preheat & Prep Pan
Preheat your oven to 325°F (160°C). Grease and flour an 8-inch round cake pan. I like to use a springform pan for easy removal, but I also like the regular cake pan. Just be sure to line the bottom with parchment paper to prevent sticking. Trust me on this one. Is it possible to save a headache later on?
Step 2: Mix Dry Ingredients
In a medium bowl, whisk together the flour and sugar. Set aside. This helps to evenly distribute the salt and prevents lumps in the batter. Don’t skip this step – it makes a difference in the final texture!
Step 3: Mix Wet Ingredients
In a separate large bowl, whisk together the egg yolks and 1/2 cup of granulated sugar until pale. Set aside. Is there a way to make Gradually whisk in the milk, melted butter, and vanilla extract until well combined. The mixture should be smooth and creamy.
Step 4: Combine
Gradually add the dry ingredients to the wet ingredients, whisking gently until just combined. How do you not overmix? Overmixing will develop the gluten in the flour, resulting in a tough cake. A few lumps are okay. I always do this by hand, even though my stand mixer is RIGHT THERE. I just think it’s easier to control.
Step 5: Whip Egg Whites
In a clean, dry bowl, beat the egg whites with an electric mixer until soft peaks form. Repeat with the remaining ingredients. Gradually add the remaining 2 tablespoons of sugar and continue beating until stiff, glossy peaks form. What is the best way to keep egg whites moist?
“Made the Chinese Egg Cake Recipe tonight and wow — perfect weeknight dinner. Will definitely make again!”
Step 6: Fold in Egg Whites
Gently fold one-third of the beaten egg whites into the yolk mixture to lighten it. Then, gently fold in the remaining egg whites in two additions, being careful not to deflate the batter. This is the most important step for achieving that light and airy texture! Be patient and fold gently, lifting the batter from the bottom and folding it over the top.
Step 7: Bake
If you have a toothpick, pour the batter into the prepared cake pan and bake for 30 minutes, or until inserted in the center of the cake comes out clean. In the center comes out clean. The cake should be golden brown and springy. If the top is browning too quickly, you can loosely tent it with foil. I always rotate the pan halfway through baking to ensure even browning.
Step 8: Cool & Glaze
Let the cake cool in the pan for 10 minutes before inverting it onto a wire rack to cool completely. While the cake is cooling, prepare the glaze by whisking together the powdered sugar and milk. How do I make a smooth paste Once the cake is completely cool, drizzle the glaze over the top. Is it okay to dust it with powdered sugar or leave it plain?
Step 9: Slice & Serve
Slice the cake into wedges and serve immediately. Chinese Egg Cake is best enjoyed fresh, but can be stored in an airtight container at room temperature. Temperature for 2 days. Although, it’s never lasted that long in my house!
What should I serve it with?
What is the best way to serve Chinese Egg Cake? What are some of my favorite serving suggestions?
For Breakfast:How do you enjoy a slice of bread with ice-cold tea? A drizzle of honey or maple syrup adds a touch of sweetness. What is the best way to start the day?
For Brunch: Serve it alongside fresh fruit, yogurt, and a glass of sparkling wine for an elegant brunch spread. The light and airy texture is a refreshing contrast to richer brunch dishes.
As Dessert:What is better: serve it with vanilla Ice Cream or whipped cream for a simple yet satisfying dessert. A sprinkle of fresh berries adds color and flavor.
For Cozy Snacks:Enjoy a slice of bread with warm milk or Hot Chocolate on an evening. What is the ultimate comfort food? My kids love this cake with a side of fresh strawberries.
My family tradition is to serve this cake with a strong cup of black tea. The subtle sweetness of the cake complements the bitterness of tea perfectly. I’ve also found that it pairs well with a light and fruity White Wine, like Riesling. What is the best way to test it out?
How do I make a Chinese egg cake?
What are some tips for making Chinese Egg Cake? What are some kitchen mistakes?
Egg Prep:Make sure your eggs are at room temperature. This will help them whip up to a greater volume, resulting in softer and fluffier cake. I usually take them out of the fridge about 30 minutes before I start baking.
Mixing Advice:Do not overmix the batter! Overmixing will develop gluten in the flour, resulting in a tough cake. Mix until just combined. A few lumps are okay.
What is folding technique? When folding in the egg whites, be gentle! Use a spatula and fold from the bottom up, being careful not to deflate the batter. This is the key to achieving that light and airy texture.
Ingredient Swaps: If you don’t have cake flour, you can use all-purpose flour. Just be sure to remove 2 tablespoons of the all-purpose flour and replace it with 2 tablespoons of cornstarch. This will help to lighten the texture. I’ve also successfully substituted the milk with almond milk or even coconut milk for a dairy-free version. The taste is amazing.
Baking Tips: Keep an eye on the cake while it’s baking! If the top is browning too quickly, you can loosely tent it with foil. Also, be sure to test for doneness by inserting a toothpick into the center. If it comes out clean, the cake is done.
“New family favorite! This Chinese Egg Cake Recipe was so flavorful and ridiculously easy. Crowd-pleaser for sure.”
Glaze Variations: Feel free to experiment with different glazes! You can add a few drops of lemon juice or vanilla extract to the glaze for extra flavor. You can also use a chocolate glaze or a simple dusting of powdered sugar. I once tried adding a hint of almond extract to the glaze, and it was a total game-changer!
Storing and Reheating Tips
Here’s how to properly store and reheat your Chinese Egg Cake to keep it fresh and delicious:
Room Temperature: You can store the cake at room temperature for up to 2 days. Be sure to cover it tightly to prevent it from drying out. I usually store it in an airtight container or wrap it in plastic wrap.
Refrigerator Storage: For longer storage, you can store the cake in the refrigerator for up to 5 days. Again, be sure to cover it tightly. The cake may become slightly drier in the fridge, so you may want to warm it up slightly before serving.
Freezer Instructions: If you want to freeze the cake, wrap it tightly in plastic wrap and then in foil. It can be frozen for up to 2 months. Thaw it in the refrigerator overnight before serving.
Glaze Timing Advice: If you plan to freeze the cake, it’s best to wait to glaze it until after it has thawed. This will prevent the glaze from becoming soggy or cracked.
I’ve found that the best way to reheat the cake is to microwave it for a few seconds until it’s slightly warm. You can also warm it in the oven at a low temperature (around 200°F) for a few minutes. Just be careful not to overheat it, or it will become dry.
Frequently Asked Questions
Final Thoughts
So there you have it, my family’s treasured Chinese Egg Cake Recipe. I truly hope you give it a try – it’s one of those recipes that just brings so much joy and comfort. It’s simple enough for a weeknight treat, yet elegant enough for a special occasion. Plus, it’s a wonderful way to connect with my family’s history and share a little piece of our heritage. If you enjoy this recipe, be sure to check out my other cake recipes for more delicious baking inspiration! Happy baking, friends! I can’t wait to hear how yours turns out. Please leave a comment below to share your experience, and don’t forget to rate the recipe if you loved it. And if you try any variations, I’d love to hear about those too!

How to Make a Perfect Chinese Egg Cake – 7 Simple Steps!
Ingredients
Main Ingredients
- 4 large eggs room temperature
- 0.33 cup granulated sugar plus 2 tablespoons
- 1 cup cake flour sifted
- 2 teaspoons vegetable oil such as canola or sunflower
- 2 tablespoons warm water optional, to aid in whipping
Instructions
Preparation Steps
- Preheat your oven to 350°F. Line two 12-cup muffin tins with paper liners.
- In a large, clean mixing bowl, combine the eggs and granulated sugar. Place the bowl over simmering water (not touching the water).
- Using an electric mixer, beat on medium-high speed for 8-12 minutes until the mixture is light, pale, and fluffy. Add warm water if needed.
- Gently sift the cake flour over the egg mixture in two additions, folding carefully with a spatula to combine.
- Pour the oil over the batter and gently fold it in until distributed.
- Divide the batter among the muffin cups, filling each about ¾ full.
- Bake for 18-22 minutes or until golden brown and a toothpick comes out clean.
- Let the cakes cool in the tins before transferring to a wire rack.
- Serve warm or at room temperature.


