There are certain foods that just wrap you up like a warm hug, aren’t there? For me, that’s this cheesy rice bake. It’s the kind of dish that smells incredible while it’s baking, filling the whole house with this unbelievably comforting aroma. I honestly can’t remember the first time I made it, but I can picture my mom making something similar when I was a kid. It wasn’t exactly the same, but that feeling of pure, unadulterated comfort food is what I chased when I first started experimenting. It’s got that perfect balance of creamy, savory, and just a hint of tanginess that makes it utterly irresistible. Think of it as elevated comfort food, something you can whip up on a weeknight but still feels special enough for company. It’s definitely my go-to when I need a little something to chase away the blues, and honestly, it’s even better than those boxed rice mixes you used to get, but a fraction of the effort for something so much tastier. This cheesy rice creation has become a staple at our table, and I can’t wait to share it with you!
Thank you for reading this post, don't forget to subscribe!
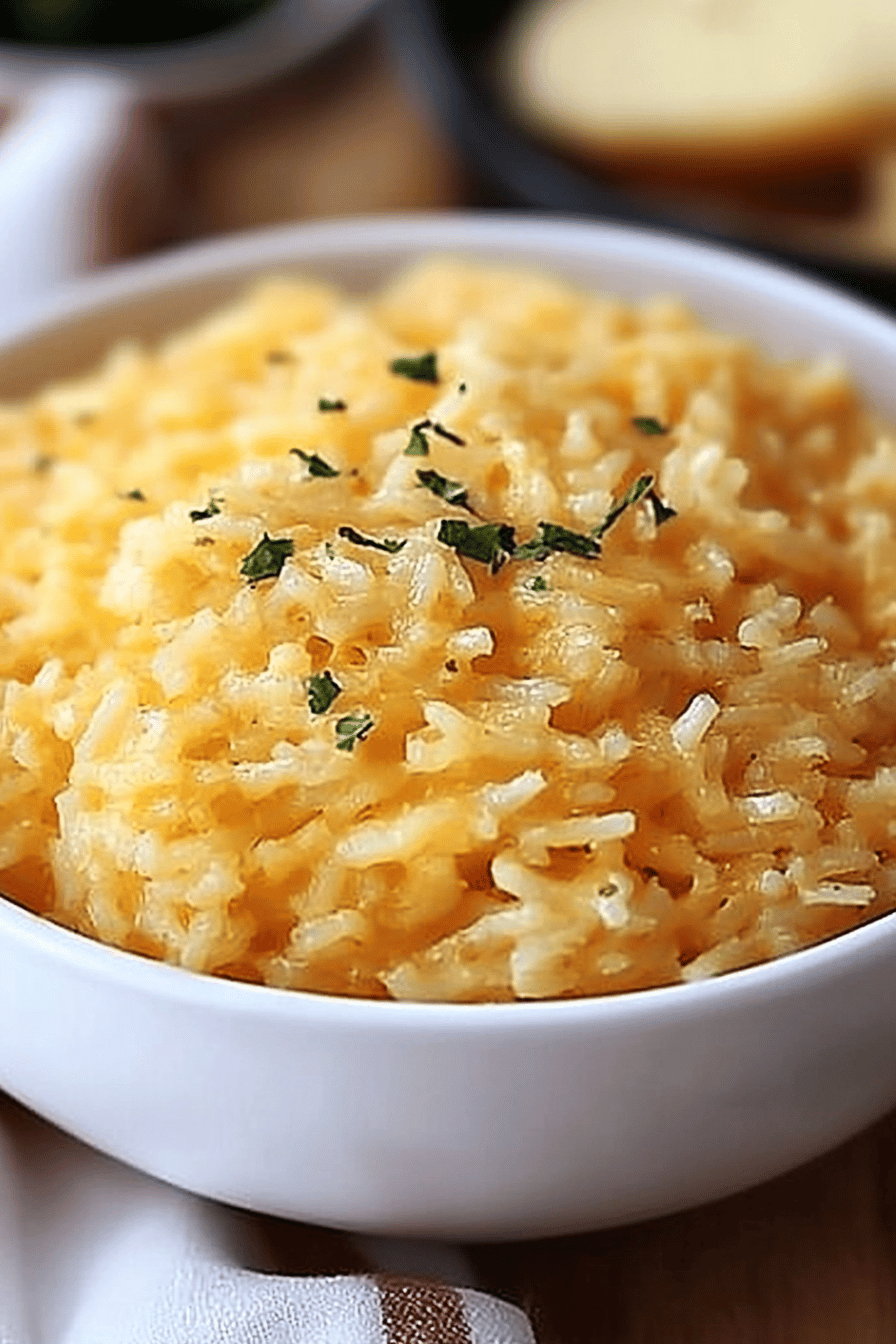
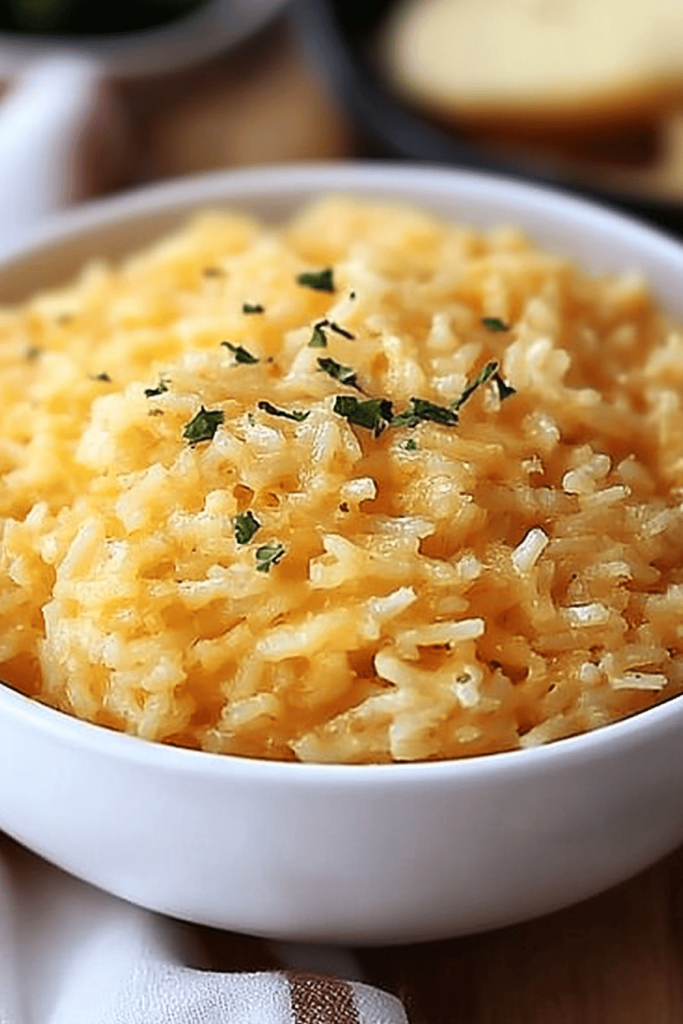
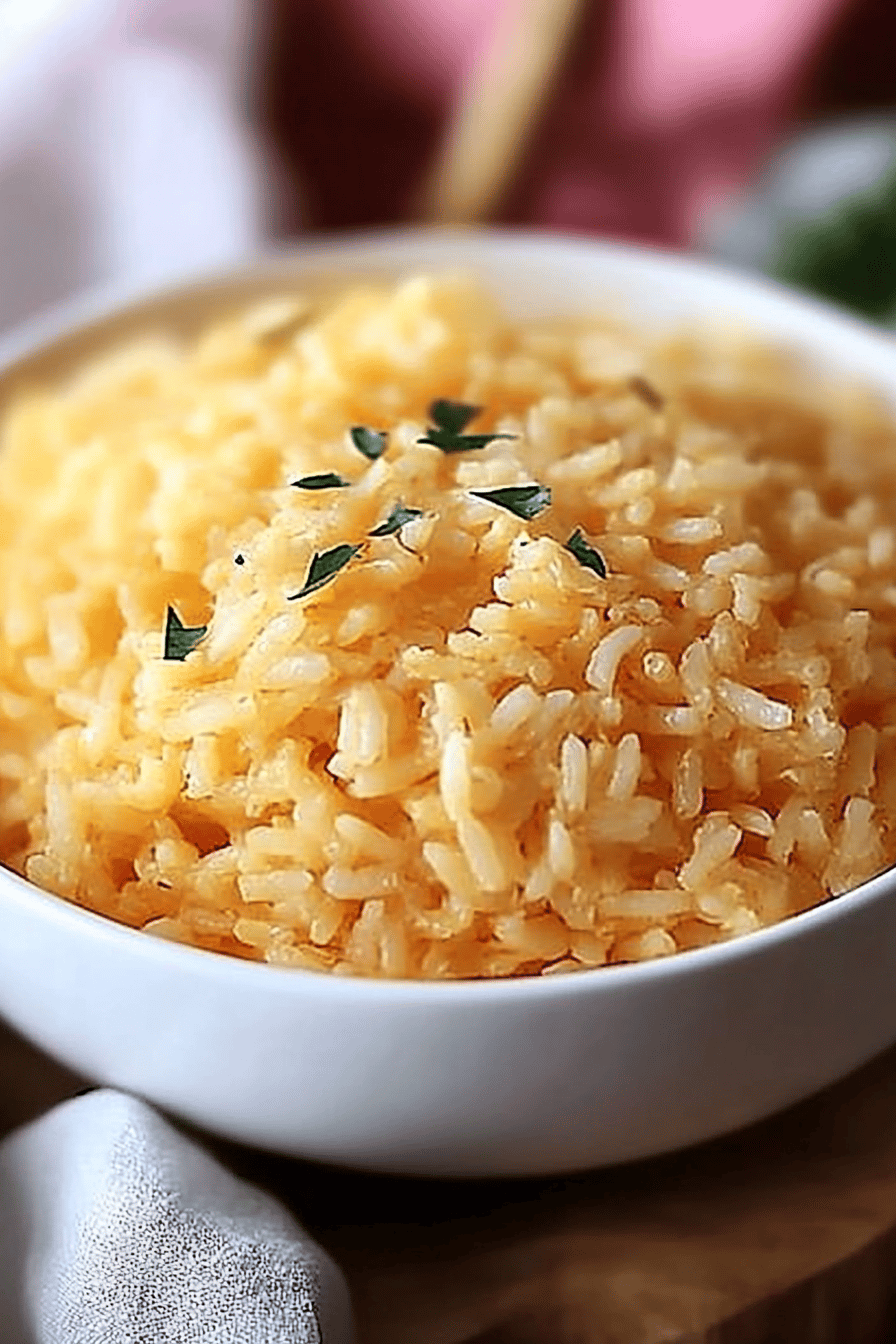
What is a Cheesy Rice Bake?
So, what exactly is this magical dish I keep raving about? At its heart, it’s a ridiculously easy, creamy, and utterly delicious baked rice casserole. But calling it just a casserole feels like a disservice! It’s more like a warm, savory hug for your taste buds. Imagine perfectly cooked rice, swimming in a luscious, cheesy sauce, with maybe a few little surprises mixed in that make it sing. The name “cheesy rice” is pretty straightforward, but the beauty is in how we build the flavor and texture. It’s essentially a symphony of simple ingredients coming together to create something truly spectacular. It’s the kind of food that doesn’t demand a lot of fuss, but delivers big on flavor and satisfaction. If you’ve ever enjoyed a good gratin or a creamy pasta dish, you’ll understand the appeal. It’s that level of comfort, but with rice as the star. It’s humble, yet it always manages to impress.
Why you’ll love this recipe?
Honestly, there are so many reasons why this cheesy rice bake has earned a permanent spot in my recipe rotation. First and foremost, the FLAVOR. Oh my goodness, the flavor! It’s this incredible combination of creamy, tangy, and savory that just hits all the right notes. The cheese melts into this luscious sauce that coats every grain of rice, making each bite pure bliss. Then there’s the SIMPLICITY. This is not one of those recipes that requires a culinary degree or hours of your time. I’m talking minimal prep, straightforward steps, and before you know it, you have a bubbling pan of deliciousness ready to go. It’s a lifesaver on those nights when you’re exhausted but still want a home-cooked meal. Plus, it’s incredibly COST-EFFECTIVE. The ingredients are all pantry staples or easily found at any grocery store, meaning you can whip up this gourmet-tasting dish without breaking the bank. And let’s talk VERSATILITY! This cheesy rice bake is fantastic on its own, but it’s also a brilliant side dish. It pairs perfectly with roasted chicken, grilled salmon, or even just a simple green salad. What I love most about this recipe is how it feels both comforting and a little bit fancy. It’s the ultimate crowd-pleaser, and my kids actually ask for this all the time, which is saying something! It’s honestly a winner on all fronts.
How do I make Cheesy Rice?
Quick Overview
Making this cheesy rice bake is wonderfully straightforward. You’ll basically cook your rice, whisk together a luscious, cheesy sauce, combine them, and then bake it until it’s bubbly and golden. The beauty is in the simplicity and the way the flavors meld together in the oven. It’s designed to be fuss-free, so you can get a comforting, delicious meal on the table with minimal stress. This recipe is perfect for when you want something truly satisfying without a lot of complicated steps.
Ingredients
For the Main Batter:
2 cups uncooked long-grain white rice (like Basmati or Jasmine) – using a fragrant rice really makes a difference here!
4 cups chicken broth or water – chicken broth adds a bit more depth, but water works perfectly fine if that’s what you have.
1 teaspoon salt – for seasoning the rice as it cooks.
2 tablespoons unsalted butter – this adds a little richness to the rice itself.
For the Filling:
2 tablespoons unsalted butter
1 medium onion, finely chopped – I usually aim for about 1 cup chopped. Sweet onions are lovely here.
2 cloves garlic, minced – don’t skimp on the garlic, it’s crucial!
1/4 cup all-purpose flour – this is our thickening agent for the cheese sauce.
2 cups milk (whole or 2% works best) – I’ve tried with skim, but it’s not quite as creamy. You could even test with a bit of half-and-half for extra decadence.
1 teaspoon Dijon mustard – this adds a subtle tang that cuts through the richness beautifully.
1/2 teaspoon smoked paprika – for a little smoky depth and color.
Salt and freshly ground black pepper to taste – always season as you go!
For the Glaze:
1.5 cups shredded sharp cheddar cheese – a good quality sharp cheddar is key for maximum flavor!
1/2 cup shredded Monterey Jack cheese – this melts beautifully and adds to the creaminess.
Optional: A pinch of cayenne pepper for a little kick, or a tablespoon of chopped fresh chives for garnish.
Step-by-Step Instructions
Step 1: Preheat & Prep Pan
First things first, preheat your oven to 375°F (190°C). Get a good-sized baking dish ready – something around 9×13 inches works perfectly. I usually give mine a quick spray with non-stick cooking spray or a little butter just to ensure nothing sticks. This step is simple but so important for easy cleanup later!
Step 2: Mix Dry Ingredients
In a medium saucepan, combine the uncooked rice, chicken broth (or water), 1 teaspoon of salt, and 2 tablespoons of butter. Give it a good stir to make sure the rice is submerged and the butter is distributed. This is where we start building flavor right from the base.
Step 3: Mix Wet Ingredients
Now, let’s get that glorious cheese sauce going. In a separate, large saucepan or Dutch oven, melt the remaining 2 tablespoons of butter over medium heat. Add the chopped onion and cook until it’s softened and translucent, about 5-7 minutes. Stir in the minced garlic and cook for another minute until fragrant. Sprinkle in the flour and whisk constantly for about 1-2 minutes to cook out that raw flour taste. This is what makes our sauce wonderfully thick and creamy. Gradually whisk in the milk, making sure to scrape up any bits from the bottom of the pan. Bring the mixture to a simmer, whisking frequently, until it starts to thicken. Don’t rush this part; you want a nice, smooth, thick sauce.
Step 4: Combine
Once the rice has cooked according to package directions (usually about 15-20 minutes for long-grain white rice), fluff it gently with a fork. You want it cooked but still with a little bit of bite, not mushy. Stir the Dijon mustard and smoked paprika into the thickened milk mixture. Season generously with salt and freshly ground black pepper to your liking. Taste it! This is your chance to adjust the seasoning. Then, gently fold the cooked rice into the cheese sauce until everything is well combined and coated in that creamy goodness.
Step 5: Prepare Filling
This step is already mostly done in Step 3 when we made the sauce! The “filling” is really the creamy, cheesy rice mixture you’ve just created. The magic happens when it all bakes together. Ensure the rice is evenly distributed throughout the sauce.
Step 6: Layer & Swirl
Pour the rice and cheese mixture into your prepared baking dish and spread it out evenly. Now for the crowning glory: sprinkle the shredded cheddar and Monterey Jack cheeses evenly over the top. If you’re feeling fancy, you can sprinkle a pinch of cayenne pepper here for a little heat, or save some chives to sprinkle on top after baking.
Step 7: Bake
Pop the baking dish into your preheated oven. Bake for 20-25 minutes, or until the cheese is melted, bubbly, and just starting to turn golden brown around the edges. You want to see those gorgeous little pockets of molten cheese! The aroma that fills your kitchen during this time is pure heaven.
Step 8: Cool & Glaze
Once it’s out of the oven, let it rest for about 5-10 minutes before serving. This resting period is crucial for the bake to set slightly, making it easier to slice and serve neatly. While it’s resting, if you opted for chives, you can sprinkle them on top now.
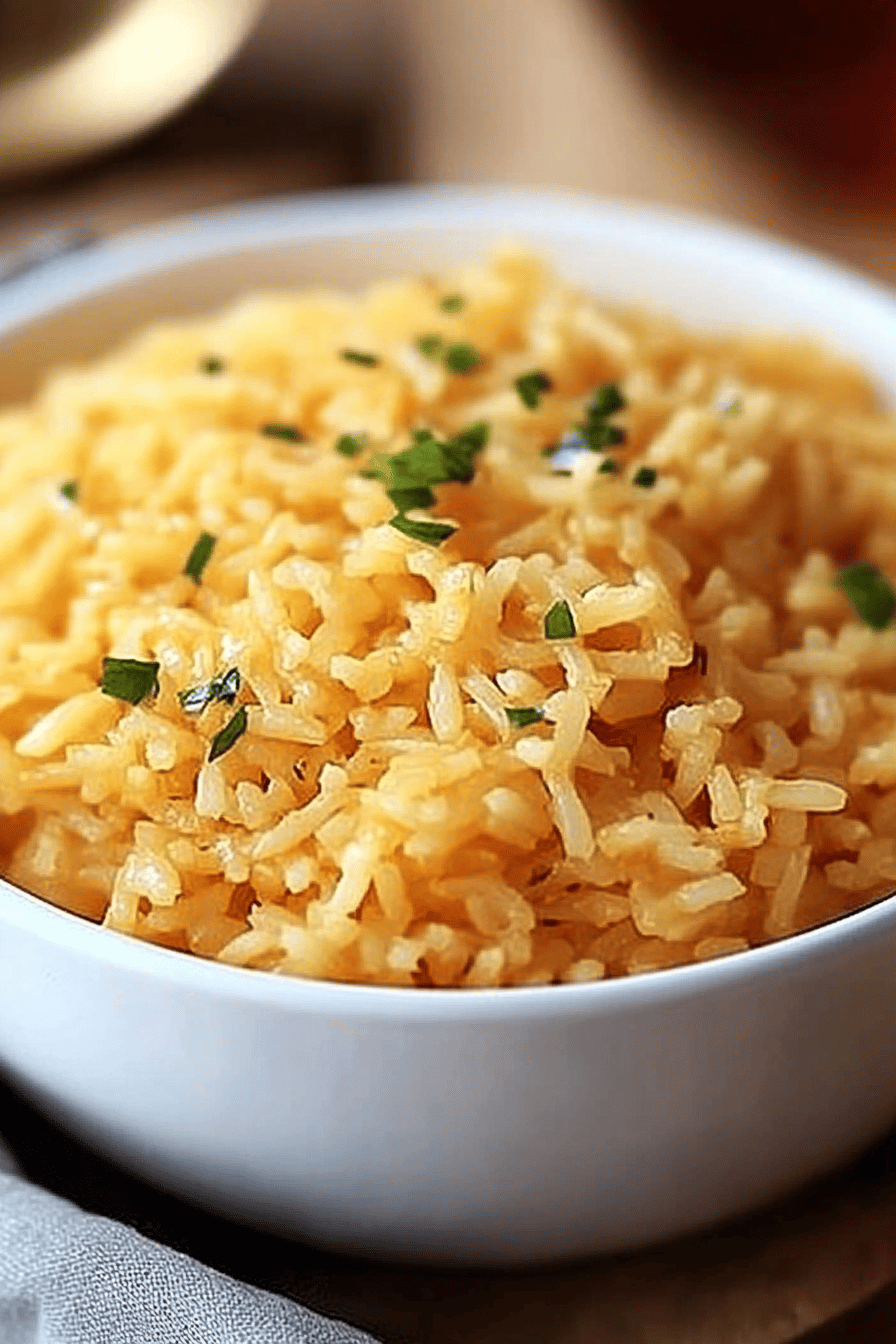
Step 9: Slice & Serve
Cut into generous portions and serve warm. This cheesy rice bake is wonderful served straight from the dish. The texture should be creamy and comforting, with distinct grains of rice, all held together by that glorious, melted cheese.
What to Serve It With
This cheesy rice bake is so versatile, it’s practically a chameleon in the kitchen! For BREAKFAST, I love having a small portion alongside some perfectly cooked scrambled eggs and a side of crispy bacon. It’s decadent but in the best way. For BRUNCH, it’s a showstopper. I’ll serve it in a nice casserole dish with a sprig of parsley on top, alongside a fresh fruit salad and maybe some mini quiches. It feels elegant without being fussy. As DESSERT? Okay, hear me out! If you slightly reduce the salt and add a touch more sugar to the sauce, and serve it with a drizzle of caramel or a dollop of whipped cream, it’s surprisingly delightful. It’s like a baked rice pudding but with that irresistible savory-cheesy undertone. And for COZY SNACKS? This is its natural habitat! I’ll just scoop some into a small bowl and curl up on the couch with a good book. It’s the ultimate comfort food companion. I’ve also found it pairs beautifully with simple roasted chicken, grilled sausages, or even just a big, hearty green salad to balance out the richness.
Top Tips for Perfecting Your Cheesy Rice
Over the years, I’ve learned a few tricks that really elevate this cheesy rice bake from good to absolutely phenomenal. First, about the RICE PREP: Make sure you rinse your rice thoroughly before cooking. This gets rid of excess starch, which can make the final dish gummy. Also, don’t overcook the rice initially; it will continue to cook in the oven, so you want it just tender. For MIXING ADVICE, be gentle when you combine the rice and the cheese sauce. You want to coat everything without mashing the rice. Think of it as a gentle embrace! If your sauce seems a little too thick before adding the rice, just whisk in a splash more milk until it reaches your desired consistency. When it comes to SWIRL CUSTOMIZATION, while this recipe doesn’t have a distinct swirl, you can play with the cheese topping. Try a mix of cheddar, Gruyère, and maybe a little Parmesan for a more complex flavor. For INGREDIENT SWAPS, if you don’t have chicken broth, vegetable broth or even just water works perfectly fine. For the milk, while whole milk is best, I’ve had success with 2% and even a mix of milk and heavy cream for an extra luxurious texture. I’ve even tested this with a touch of nutritional yeast stirred into the sauce for a cheesy, umami boost, which is great for a dairy-free option if you swap out the cheese for vegan alternatives. BAKE TIPS are crucial: keep an eye on it! Ovens can vary wildly. You want that beautiful golden-brown top, but you don’t want it to burn. If the top is browning too quickly but the inside isn’t heated through, just loosely tent it with foil. For GLAZE VARIATIONS, while the cheddar and Monterey Jack are my go-to, feel free to experiment! A smoked gouda adds a lovely depth, or a pepper jack for some heat. A sprinkle of panko breadcrumbs mixed with a little melted butter on top before baking can give you a fantastic crunchy topping.
Storing and Reheating Tips
One of the best things about this cheesy rice bake is how well it stores and reheats. If you have any leftovers (which is rare in my house!), let the bake cool completely before storing. At ROOM TEMPERATURE, it’s best to let it sit for no more than two hours. For longer storage, pop it into the REFRIGERATOR. Store it in an airtight container or cover the baking dish tightly with plastic wrap or foil. It will keep well in the fridge for about 3-4 days. The quality remains excellent, and it’s just as comforting the next day. If you want to FREEZER INSTRUCTIONS, this bake freezes beautifully. Wrap individual portions or the entire dish tightly in plastic wrap, then in aluminum foil, or place in a freezer-safe container. It can be stored in the freezer for up to 2-3 months. For reheating, the easiest method is to place a portion in a microwave-safe dish and heat until warmed through, stirring halfway for even heating. If reheating from frozen, it’s best to thaw it in the refrigerator overnight first, then reheat. Alternatively, you can reheat a slice in a 350°F (175°C) oven for about 15-20 minutes, or until heated through. For the GLAZE TIMING ADVICE, if you’re planning on storing leftovers, I find it’s best to add the cheese topping just before baking. If you know you’ll be storing it for a few days, you can even leave the cheese off until you’re ready to reheat and bake it fresh. This helps keep the cheese from getting a slightly rubbery texture.
Frequently Asked Questions
Final Thoughts
I truly hope you give this cheesy rice bake a try. It’s more than just a recipe to me; it’s a source of comfort, a family favorite, and a dish that always brings smiles to the table. It’s proof that simple ingredients can create something truly magical. If you’re a fan of comforting, cheesy dishes, you might also adore my Creamy Mac and Cheese or my Baked Ziti – they have that same heartwarming appeal! Don’t be shy about making this your own; experiment with different cheeses or add-ins. I can’t wait to hear how yours turns out! Please leave a comment below and let me know your thoughts, or share your own favorite tips and variations. Happy cooking!

cheesy rice
Ingredients
Main Ingredients
- 2 cups Cooked White Rice
- 1 cup Shredded Cheddar Cheese
- 0.5 cup Milk
- 2 tablespoons Butter
- 0.25 teaspoon Salt
- 0.125 teaspoon Black Pepper
Instructions
Preparation Steps
- Preheat oven to 375°F (190°C).
- In a medium saucepan, melt butter over medium heat.
- Add cooked rice, milk, salt, and pepper to the saucepan. Stir to combine.
- Cook, stirring occasionally, until the mixture is heated through and slightly thickened, about 5 minutes.
- Remove from heat and stir in the shredded cheddar cheese until melted and smooth.
- Pour the cheesy rice mixture into a small baking dish.
- Bake for 15 minutes, or until bubbly and lightly golden on top.
- Let stand for a few minutes before serving.