
Boston Cream Cupcakes: A Homage to New England’s Classic Dessert
There’s something deeply comforting about biting into a Boston cream cupcake—soft vanilla cake giving way to silky custard, all wrapped up in a glossy chocolate glaze. I remember the first time I tried one at a little bakery in Cambridge during a rainy autumn afternoon. It was love at first bite. Since then, I’ve been on a mission to recreate that magic at home, and after countless batches (and a few custard disasters), I finally nailed it. These Boston Cream Cupcakes are my tribute to that original treat—individually portioned, impossibly moist, and layered with the kind of rich, creamy filling that makes you close your eyes just to savor it. If you’ve never made custard from scratch or worried about chocolate glaze turning grainy, don’t fret. I’ll walk you through every step like we’re baking together in my cozy kitchen. Trust me, once you taste these, you’ll wonder why you ever settled for store-bought.
Thank you for reading this post, don't forget to subscribe!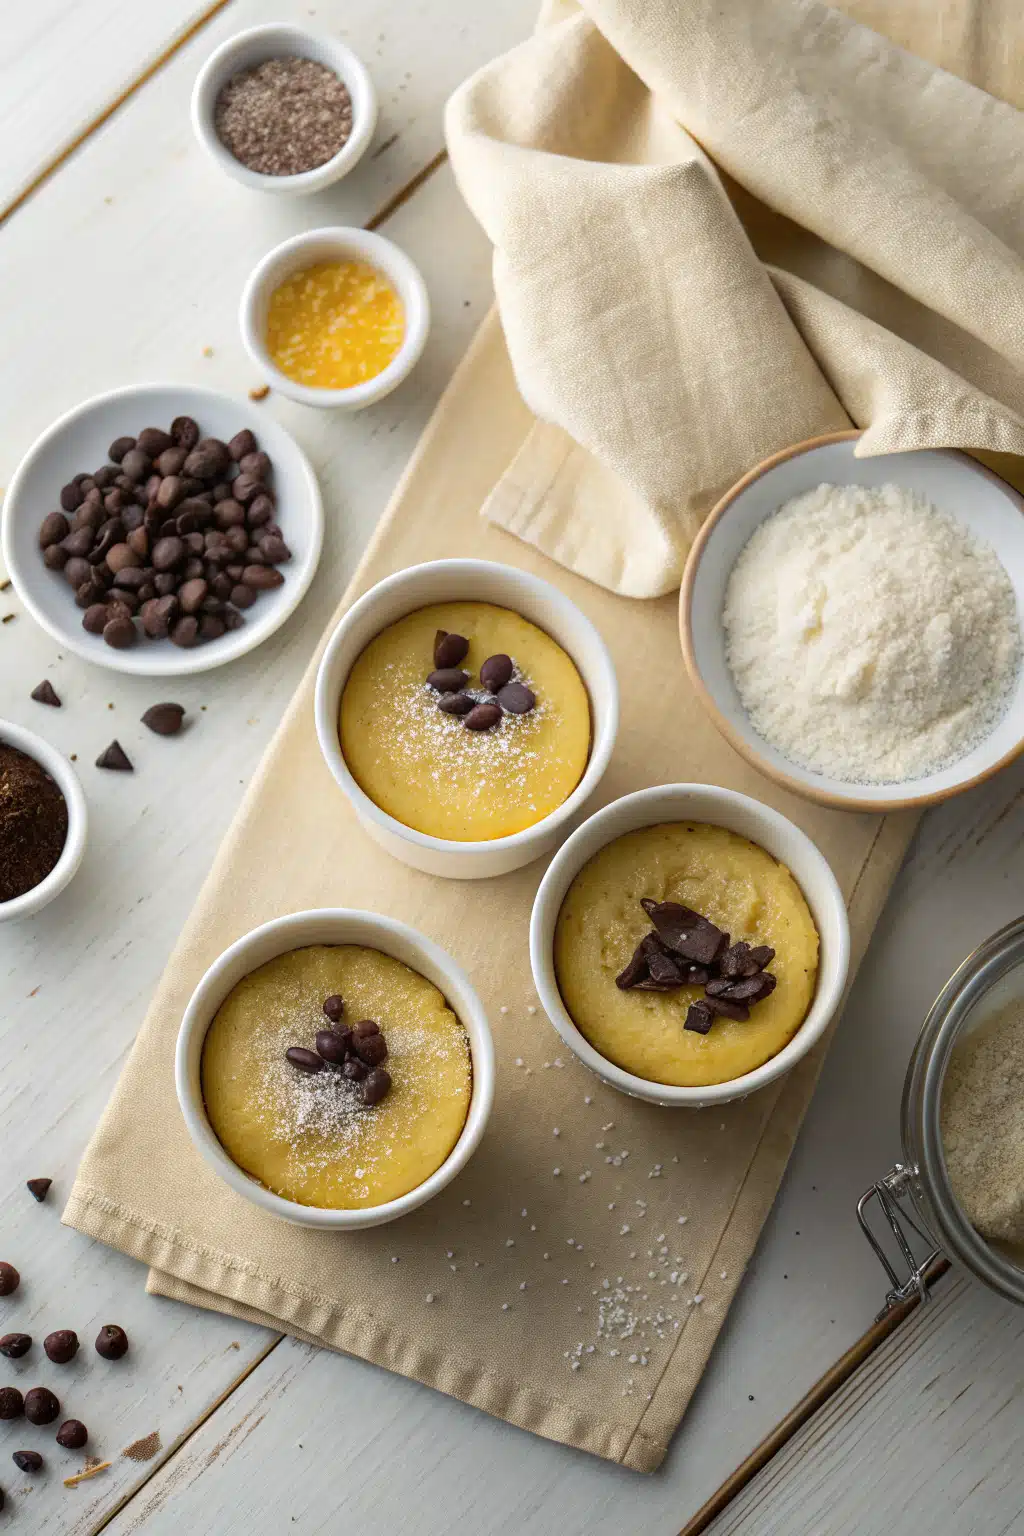
What Is Boston Cream Cupcakes?
Boston cream cupcakes are a miniature twist on Boston Cream Pie—a beloved New England dessert that’s been around since the 1850s. Traditionally, it’s a sponge cake layered with rich vanilla custard and topped with chocolate glaze. My cupcake version keeps all those classic elements but scales them down into perfectly portioned treats that are easier to share (or not share—no judgment here!). Each cupcake starts with a tender vanilla base, gets a generous dollop of homemade pastry cream tucked right in the center, and is finished with a smooth, glossy chocolate glaze that sets just enough to give a slight snap when you bite through it. They’re elegant enough for a dinner party but simple enough for a Tuesday night pick-me-up. Think of them as your favorite childhood dessert, grown up and dressed in its Sunday best.
Why You’ll Love This Recipe
First off, these cupcakes are ridiculously delicious—but beyond that, they’re a joy to make. The cake is light and fluffy thanks to whipped egg whites, which also means it won’t weigh down the delicate custard filling. Speaking of custard: yes, it requires a bit of patience (and constant stirring), but I promise it’s worth it. Store-bought pudding just can’t compete with the silkiness of real pastry cream made with egg yolks, cream, and a hint of vanilla bean. And the chocolate glaze? It’s foolproof—just three ingredients melted together until shiny and smooth. No fancy techniques, no tempering, no stress. Plus, these cupcakes look stunning on a platter: the dark glaze contrasts beautifully with the pale cake, and if you pipe a little extra Whipped Cream on top (optional but highly recommended), they’ll steal the show at any gathering. Whether you’re baking for a holiday, a birthday, or just because you deserve something sweet, these deliver comfort and elegance in every bite.
How to Make Boston Cream Cupcakes
Quick Overview
This recipe makes 12 cupcakes and takes about 2 hours from start to finish, including cooling and chilling time. You’ll bake a vanilla sponge, whip up a rich pastry cream filling, and top it all off with a Simple Chocolate glaze. The key is timing: the custard needs to chill completely before filling, so I usually make it first (or even the day before). Don’t worry—it’s easier than it sounds, and I’ll guide you through each step with tips I’ve learned from trial, error, and way too many taste tests.
Ingredients
For the Vanilla Cupcakes:
• 1 ½ cups (190g) all-purpose flour
• 1 ½ tsp baking powder
• ¼ tsp salt
• ½ cup (113g) unsalted butter, softened
• ¾ cup (150g) granulated sugar
• 2 large eggs, separated
• 1 tsp pure vanilla extract
• ½ cup (120ml) whole milk
For the Pastry Cream Filling:
• 2 cups (480ml) whole milk
• ½ vanilla bean (or 1 tsp vanilla extract)
• 3 large egg yolks
• ¼ cup (50g) granulated sugar
• 2 tbsp cornstarch
• 2 tbsp unsalted butter
“New family favorite! This Boston Cream Cupcakes was so flavorful and ridiculously easy. Crowd-pleaser for sure.”
For the Chocolate Glaze:
• 4 oz (115g) semi-sweet chocolate, chopped
• ¼ cup (60ml) heavy cream
• 1 tbsp light corn syrup (optional, for shine)
Step-by-Step Instructions
Step 1: Preheat & Prep Pan
Preheat your oven to 350°F (175°C). Line a 12-cup muffin tin with paper liners and set aside. This ensures even baking and easy removal later.
Step 2: Make the Pastry Cream
In a saucepan, heat the milk and vanilla bean (split and scraped) over medium heat until just simmering. In a bowl, whisk egg yolks, sugar, and cornstarch until pale. Slowly pour the hot milk into the yolk mixture while whisking constantly. Return everything to the saucepan and cook over medium heat, stirring continuously, until thickened (about 2–3 minutes). Remove from heat, stir in butter, and strain through a fine-mesh sieve. Cover with plastic wrap directly on the surface to prevent a skin from forming. Chill for at least 2 hours—or overnight if you’re planning ahead.
Step 3: Bake the Cupcakes
Whisk flour, baking powder, and salt in a bowl. In another bowl, beat butter and sugar until fluffy. Add egg yolks and vanilla; mix well. Alternate adding the dry ingredients and milk, beginning and ending with dry. In a clean bowl, whip egg whites to stiff peaks and gently fold into the batter. Divide among prepared cups (about ⅔ full). Bake 18–20 minutes until a toothpick comes out clean. Cool completely.
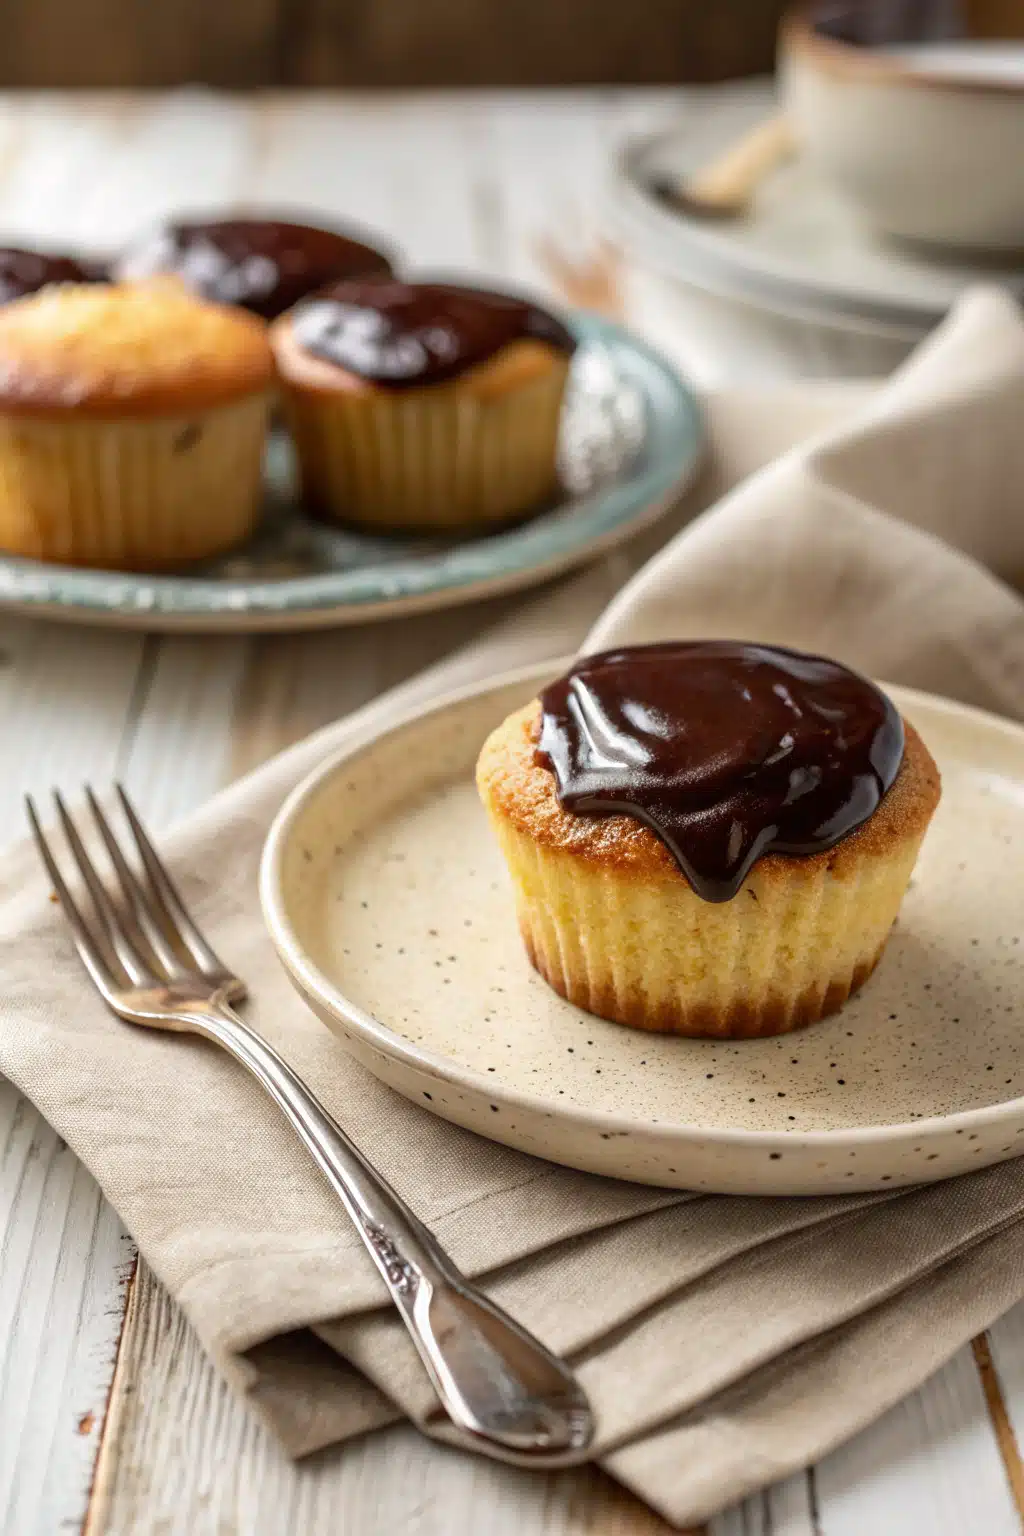
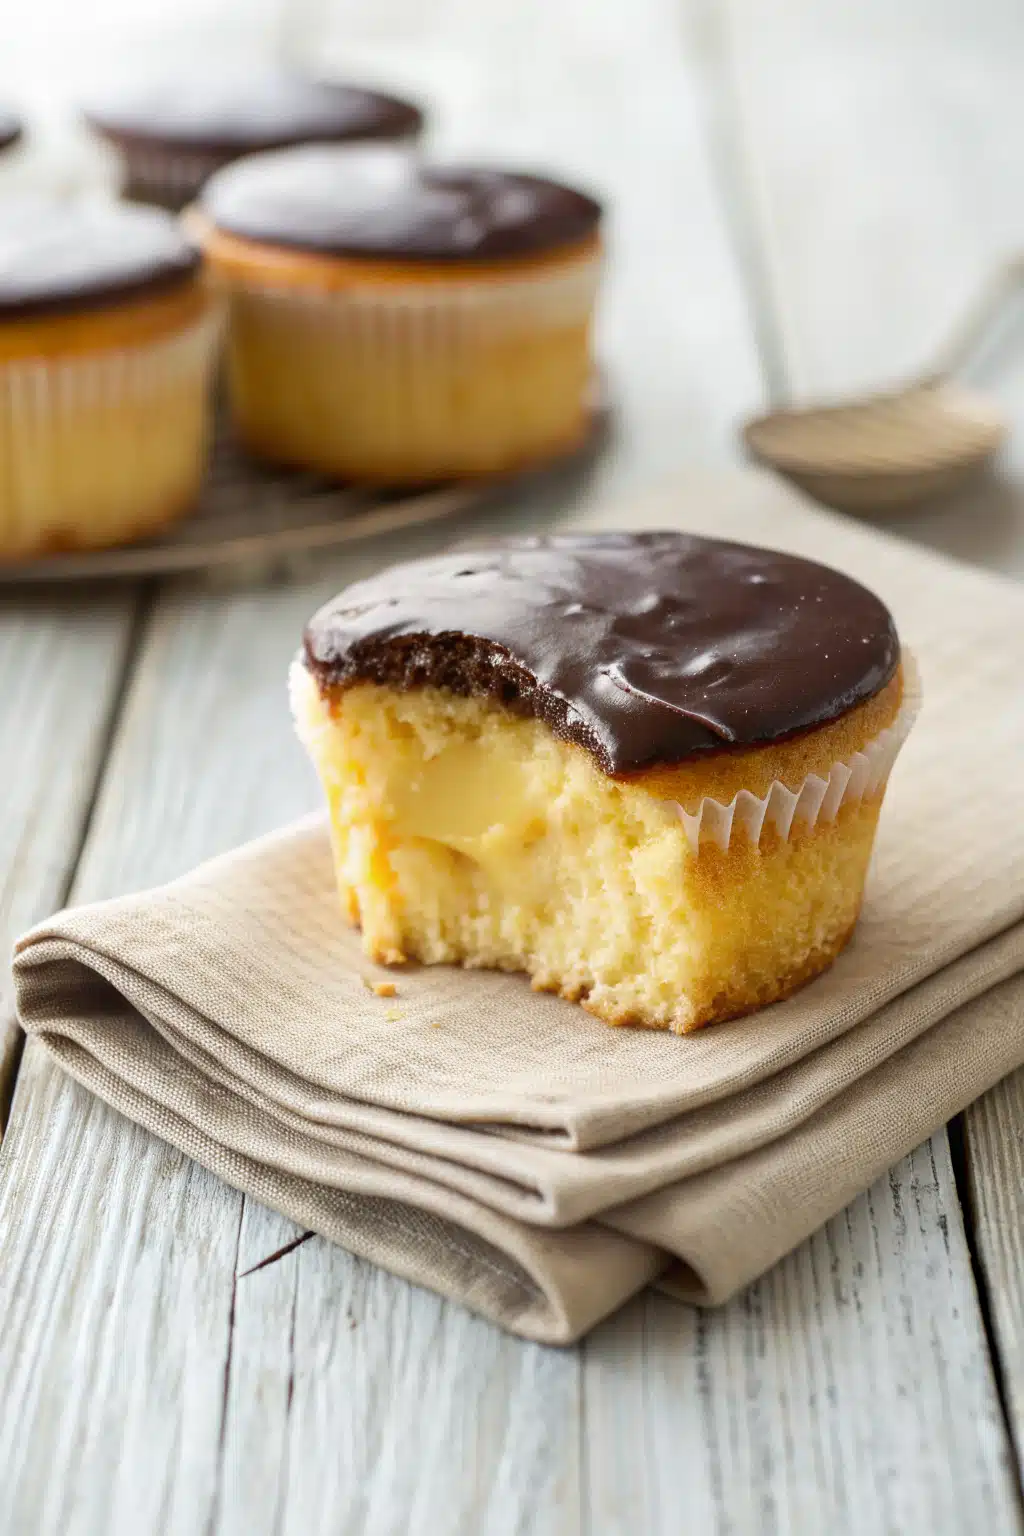
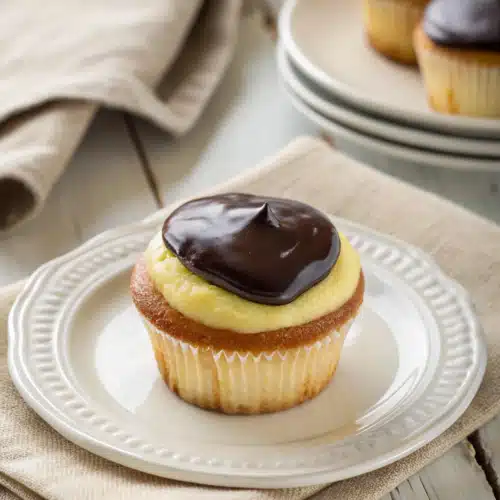
Step 4: Fill and Glaze
Use a small melon baller or paring knife to cut a shallow cone-shaped well in the center of each cooled cupcake. Pipe or spoon chilled pastry cream into each cavity until full. For the glaze, heat cream until steaming, pour over chocolate and corn syrup, let sit 1 minute, then stir until smooth. Dip each filled cupcake into the glaze, let excess drip off, and place on a wire rack to set. Enjoy within 24 hours for best texture!
What to Serve It With
These cupcakes shine on their own, but if you’re serving them at a party, pair them with fresh berries (raspberries or strawberries work beautifully) and a dollop of lightly sweetened whipped cream. A cup of strong coffee or a glass of cold milk balances the sweetness perfectly. They’re also lovely alongside other classic desserts like Apple Pie or lemon bars—because why choose just one?
Top Tips for Perfecting Your Boston Cream Cupcakes
• Don’t skip straining the custard—it removes any lumps and ensures silkiness.
• Chill the custard thoroughly; warm filling will make the cake soggy.
• Whip the egg whites last and fold gently to keep the cupcakes light.
• Let the glaze cool slightly before dipping—too hot, and it’ll melt the custard.
• Store in the fridge if not eating right away, but bring to room temperature before serving for the best texture.
Storing and Reheating Tips
Store filled and glazed cupcakes in an airtight container in the refrigerator for up to 3 days. The glaze may soften slightly, but they’ll still taste amazing. To serve, let them sit at room temperature for 15–20 minutes. These are not ideal for freezing due to the custard filling—it can separate upon thawing.
“Made the Boston Cream Cupcakes tonight and wow — perfect weeknight dinner. Will definitely make again!”
Frequently Asked Questions
Final Thoughts
Baking these Boston cream cupcakes reminded me why I fell in love with desserts in the first place—they’re more than just sweetness; they’re memories, comfort, and a little bit of magic baked into each bite. Whether you’re making them for a special occasion or just to brighten an ordinary day, I hope they bring you as much joy as they’ve brought me. Don’t be afraid to get your hands messy, taste the batter (responsibly!), and share them with someone you love. After all, the best recipes aren’t just about the result—they’re about the moments we create along the way.
Boston Cream Cupcakes
Ingredients
Main Ingredients
- 1.5 cup all-purpose flour
- 1.5 tsp baking powder
- 0.25 tsp salt
- 0.5 cup unsalted butter, softened
- 1 cup granulated sugar
- 2 large eggs
- 1 tsp vanilla extract
- 0.5 cup whole milk
- 0.5 cup heavy cream
- 0.25 cup granulated sugar (for custard)
- 2 tbsp cornstarch
- 0.25 tsp salt (for custard)
- 1 tsp vanilla extract (for custard)
- 0.5 cup whole milk (for custard)
- 4 oz semi-sweet chocolate, chopped
- 0.25 cup unsalted butter (for glaze)
- 2 tbsp light corn syrup
- 0.5 tsp vanilla extract (for glaze)
Instructions
Preparation Steps
- Preheat oven to 350°F (175°C). Line a 12-cup muffin tin with cupcake liners.
- In a medium bowl, whisk together flour, baking powder, and salt. Set aside.
- In a large bowl, beat butter and sugar with an electric mixer until light and fluffy, about 3 minutes.
- Add eggs one at a time, beating well after each addition. Mix in vanilla.
- Alternately add the flour mixture and milk to the butter mixture, beginning and ending with flour. Mix until just combined.
- Divide batter evenly among cupcake liners, filling each about 2/3 full.
- Bake for 18–20 minutes, or until a toothpick inserted into the center comes out clean. Cool in pan for 5 minutes, then transfer to a wire rack to cool completely.
- While cupcakes cool, prepare the custard: In a saucepan, whisk together 1/4 cup sugar, cornstarch, and 1/4 tsp salt.
- Gradually whisk in 1/2 cup milk and 1/2 cup heavy cream until smooth.
- Cook over medium heat, stirring constantly, until mixture thickens and boils. Boil for 1 minute, then remove from heat.
- Stir in 1 tsp vanilla. Transfer custard to a bowl, cover surface with plastic wrap to prevent skin from forming, and chill for at least 2 hours.
- Once cupcakes are cool, use a cupcake corer or small knife to cut a small cone-shaped hole in the center of each cupcake, leaving about 1/2 inch at the bottom.
- Spoon or pipe chilled custard into each cupcake cavity.
- To make the glaze: In a small saucepan, combine chocolate, butter, and corn syrup. Heat over low heat, stirring constantly, until smooth. Remove from heat and stir in 1/2 tsp vanilla.
- Let glaze cool slightly until thickened but still pourable, about 5–10 minutes.
- Spoon or drizzle glaze over each filled cupcake, allowing it to drip down the sides.
- Let glaze set for at least 30 minutes before serving. Store covered in the refrigerator.


