Okay, you know those days when you’re craving something sweet, something comforting, but you absolutely *cannot* be bothered to spend hours in the kitchen? This recipe for baked Apple Fritters is your answer. Think of it as a cross between an apple pie and a fluffy doughnut, but way easier to make. Forget deep frying! We’re baking these beauties to golden perfection. My grandma used to make the most incredible apple fritters, but they were always such a production. This version captures that warm, cinnamony goodness with a fraction of the effort. It’s the perfect fall treat, but honestly, I make it all year round because it’s just that good.
Thank you for reading this post, don't forget to subscribe!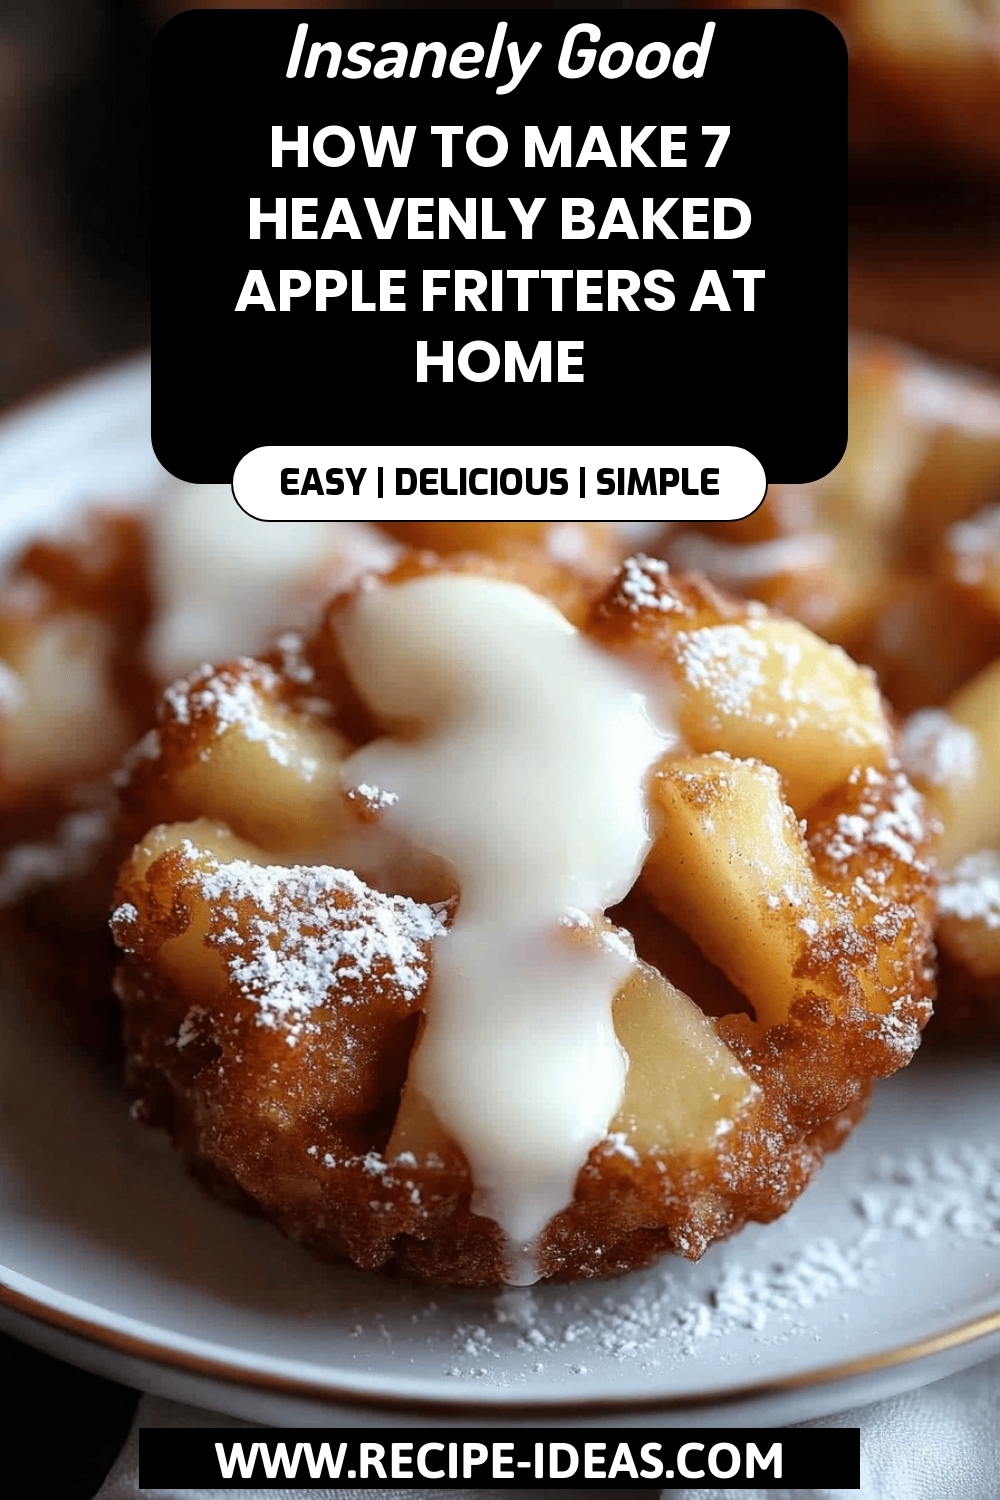
What is baked apple fritters?
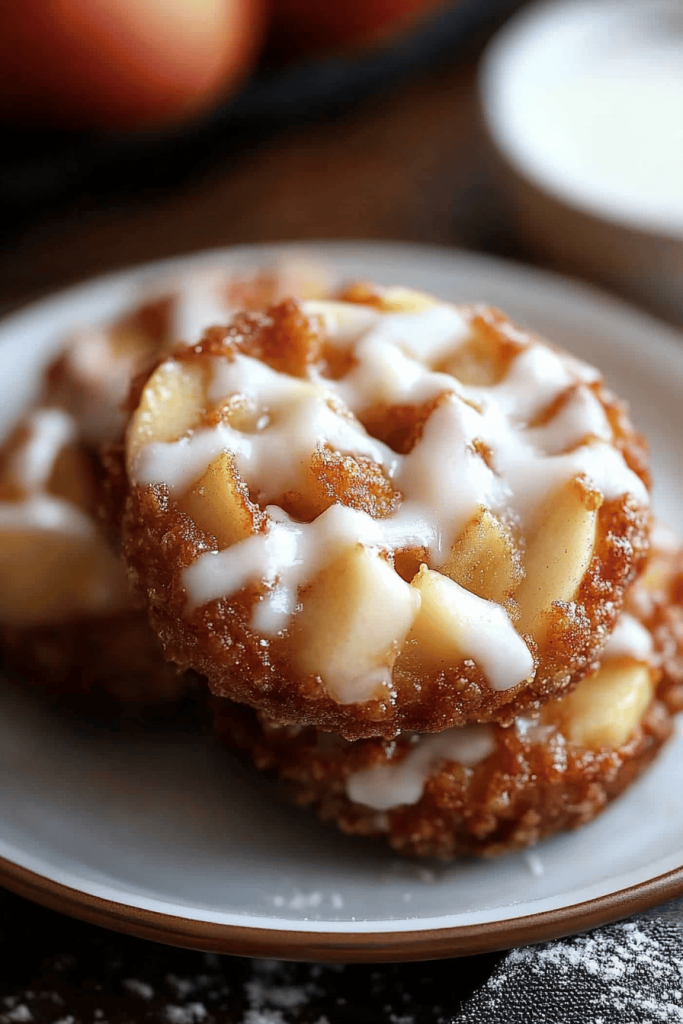
What are baked apple fritters? What is essentially a baked cake-like treat studded with tender, spiced apples and finished with Whipped Cream? What is a healthier alternative to deep fried fritters? The batter is light and airy, and the apples become meltingly soft during baking. The glaze adds that perfect touch of sweetness and makes them irresistible. What kind of dessert can you whip up on a weeknight? I spent hours slaving away in the kitchen. Is it that impressive?
Why you’ll love this recipe?
There are so many reasons to adore these baked apple fritters, but let me narrow it down to my top four. What I love most about this recipe is how the cinnamon and apples just meld together in a symphony of flavors. It’s warm, comforting, and tastes like autumn in a bite. Secondly, this is probably one of the easiest dessert recipes you’ll ever make. Seriously, it’s just a matter of mixing the ingredients and baking – no fancy techniques needed. My 10-year-old even helps me with this one! Next, let’s talk budget. Apples are relatively inexpensive, and you probably already have most of the other ingredients in your pantry. So, you can have a delicious dessert without breaking the bank. And finally, you can enjoy this in so many different ways! You can eat them warm, cold, with a scoop of vanilla Ice Cream, or a dollop of whipped cream. Honestly, they’re amazing any way you slice it. If you like apple pie, you’re going to LOVE this baked version. It’s easier, quicker, and just as satisfying.
How do I make baked apple fritters?
Quick Overview
How do I make baked Apple Fritters? What is the best way to make a simple batter, fold in some diced, spiced apples, swirl it all into sprayed pan, and serve. Bake until golden brown. The glaze is a simple mixture of powdered sugar and milk, drizzled over the top while they’re still warm. Is there a process that takes about an hour from start to finish? Is it so easy to bake a cake?
Ingredients
For the Main Batter: What is the significance of
* 1 1/2 cups all-purpose flour – unbleached is my preference, but either works!
* 1/2 cup granulated sugar – you can use cane sugar too
* 2 teaspoons baking powder – make sure it’s fresh!
* 1/2 teaspoon salt – just a pinch
* 1 cup milk – I’ve even used almond milk and it was amazing!
* 1/4 cup melted butter – unsalted, please!
* 1 large egg – adds richness and helps bind the batter
* 1 teaspoon vanilla extract – pure vanilla is always best.
For the Filling:
* 2 medium apples – I prefer Honeycrisp or Granny Smith, peeled and diced
* 2 tablespoons granulated sugar – for coating the apples. * 1 tablespoon of sugar per apple.
* 1 teaspoon ground cinnamon – the star of the show!
* 1/4 teaspoon ground cinnamon – adds a warm, cozy touch.
For the Glaze:
* 1 cup powdered sugar – sifted, for a smooth glaze.
* 2-3 tablespoons milk – add gradually until you reach your desired consistency.
* 1/2 teaspoon vanilla extract – optional but recommended!
“New family favorite! This Baked Apple Fritters was so flavorful and ridiculously easy. Crowd-pleaser for sure.”
Step-by-Step Instructions
Step 1: Preheat & Prep Pan
First, preheat your oven to 375°F (190°C). While the oven is heating, grease and flour a 9×13 inch baking pan. I sometimes use baking spray with flour already in it. It’s a lifesaver! How do you remove fritters from a baking pan?
Step 2: Mix Dry Ingredients
In a large bowl, whisk together the flour, sugar, baking powder, and salt. Set aside. Make sure everything is well combined. How does baking powder work?
Step 3: Mix Wet Ingredients
In a separate bowl, whisk together the milk, melted butter, egg, and vanilla extract. The melted butter should be cooled slightly so it doesn’t cook the egg. This step is all about creating a smooth and consistent liquid mixture to incorporate into the dry ingredients.
Step 4: Combine
How do you mix wet and dry ingredients in a bowl? How do you not overmix? Overmixing can develop the gluten in the flour, resulting in tough fritters. A few lumps are okay. I always stop mixing as soon as I don’t see anymore obvious flour pockets.
Step 5: Prepare Filling
In a medium bowl, combine the diced apples, sugar, cinnamon, and nutmeg. Toss until the apples are evenly coated. This step infuses the apples with warm spices, which will add a wonderful flavor to the fritters. Sometimes I add a squeeze of lemon juice to the apples to keep them from browning!
Step 6: Layer & Swirl
How do I pour half of the batter into a baking pan? Do not overmix the apples with the batter. Pour the remaining batter over the apple mixture. Use a knife or skewer to gently swirl the batter, creating an marbled effect. Don’t overdo it, though; a few swirls are all you need. How do you distribute apples in the batter?
Step 7: Bake
If you have a toothpick inserted into the center of the cake and it comes out clean, bake for 30-35 minutes. If the top starts to brown too quickly, you can tent it with foil. Every oven is different, so keep an eye on it. I always rotate the pan halfway through baking to ensure even browning.
Step 8: Cool & Glaze
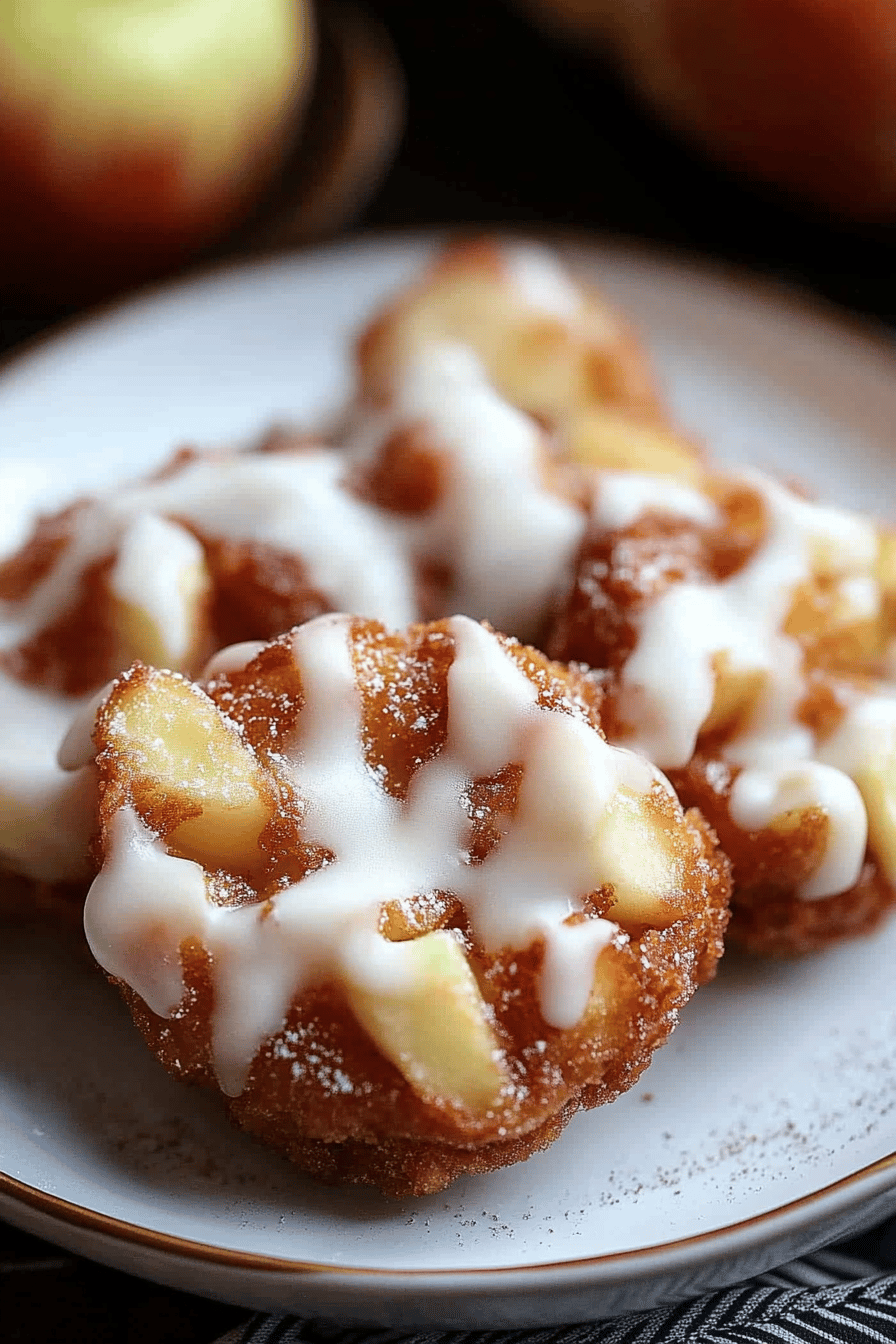
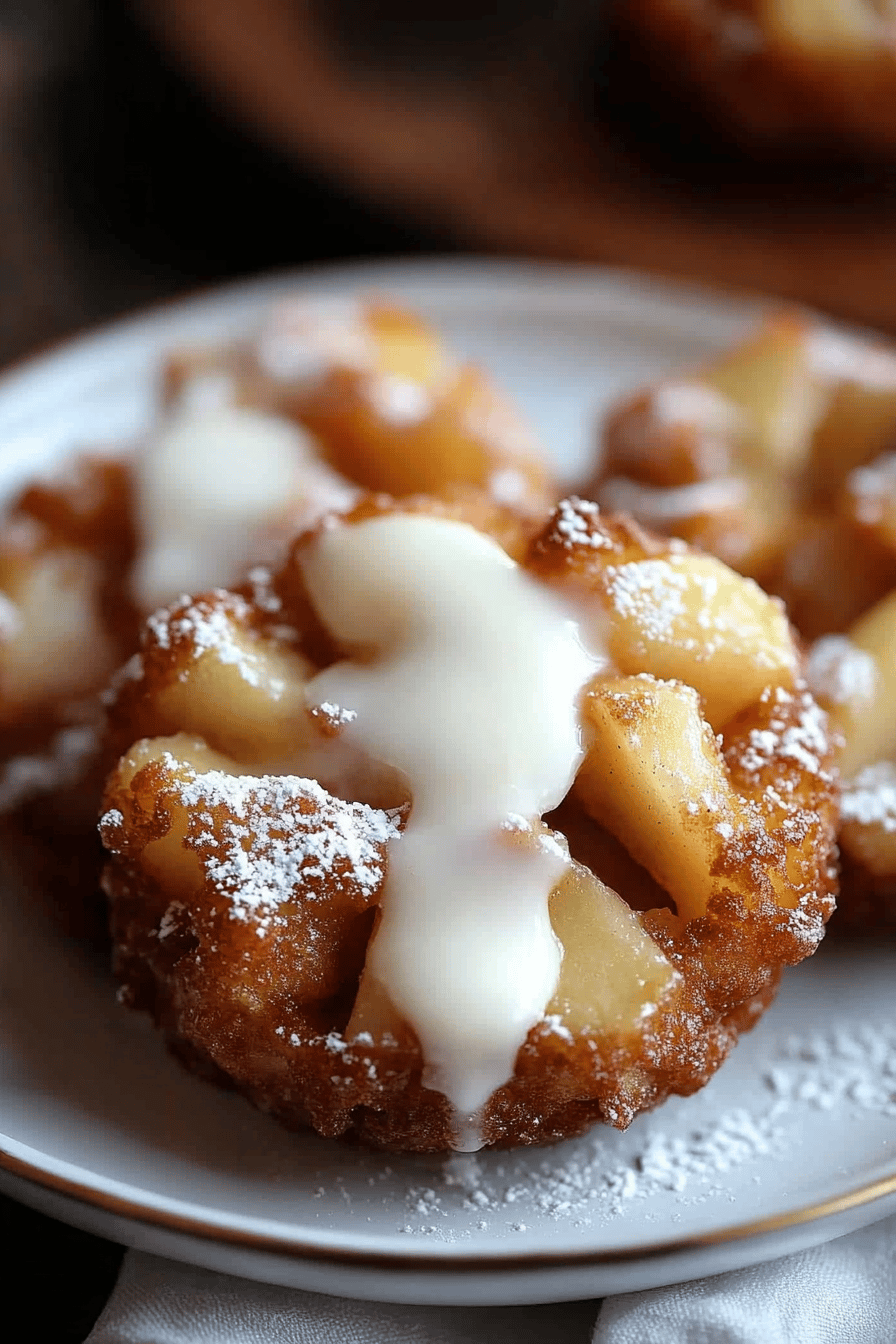
Let the fritters cool in the pan for about 10 minutes before glazing. While the fritters are cooling, whisk together the powdered sugar, milk, and vanilla extract (if using) until smooth. The glaze should be thick enough to coat the fritters but thin enough to drizzle easily. Drizzle the glaze over the warm fritters. I like to use a spoon for a rustic look, but you can use a piping bag for a neater finish.
Step 9: Slice & Serve
Let the glaze set for a few minutes before slicing. The fritters are best served warm, but they’re also delicious at room temperature. Serve with whipped cream or vanilla Ice Cream for an extra special treat. I always sprinkle cinnamon on top of everything I eat!
“Packed with flavor and so simple. Exactly what I wanted from this Baked Apple Fritters!”
What is the best way to serve it?
How do you bake an apple fritter? For breakfast, serve them with a cup of hot coffee or tea. What are some of the best morning brews? For brunch, dress them up with a dusting of powdered sugar and fresh berries. What are some good ways to serve a mimosa or sparkling cider? As a dessert, these fritters are fantastic on their own or with Ice Cream. What are some great accompaniments to a glass of wine or herbal tea? What are some cozy snacks to serve with a glass of milk or hot chocolate? My family loves to curl up on the couch with these fritters on a chilly evening. What’s your favorite way to serve vanilla bean ice cream with caramel sauce? On top – pure heaven!
How do you bake an apple fritter?
Want to take your baked apple fritters to the next level? Here are a few tips I’ve learned over the years. For the best flavor, use high-quality apples. Honeycrisp and Granny Smith are my go-to choices, but feel free to experiment with other varieties. Don’t overmix the batter! Overmixing can lead to tough fritters. Mix until just combined, and don’t worry about a few lumps. The swirl is key to creating a beautiful marbled effect. Use a knife or skewer to gently swirl the batter after pouring it into the pan. Be careful not to overdo it, though; a few swirls are all you need. Feel free to customize the filling! You can add other spices like ginger or cardamom, or even dried fruits like raisins or cranberries. I once added a handful of chopped walnuts, and it was amazing! Keep a close eye on the fritters while they’re baking. Every oven is different, so the baking time may vary. If the top starts to brown too quickly, you can tent it with foil. For an extra-special glaze, try adding a splash of bourbon or rum. It adds a wonderful depth of flavor. I accidentally added some once, and it turned out amazing! Serve these fritters warm for the best flavor and texture. They’re also delicious at room temperature, but the warm glaze is especially irresistible.
What are some Storing and Reheating Tips?
These baked apple fritters are best enjoyed fresh, but they can be stored for later. At room temperature, they’ll stay fresh for up to 2 days if stored in an airtight container. In the refrigerator, they’ll last for up to 4 days. Make sure to store them in an airtight container to prevent them from drying out. For longer storage, you can freeze them for up to 2 months. Wrap them individually in plastic wrap and then place them in a freezer-safe bag or container. To reheat, thaw the fritters in the refrigerator overnight or at room temperature for a few hours. You can then warm them in the oven at 350°F (175°C) for about 10 minutes, or microwave them for a few seconds until heated through. I prefer the oven method, as it helps to restore the crispness of the edges. If you’re planning to store the fritters, I recommend glazing them just before serving. This will prevent the glaze from becoming soggy during storage.
What are the most frequently asked questions on
Final Thoughts
These baked apple fritters are more than just a recipe; they’re a taste of home, a warm hug on a chilly day, and a simple way to bring joy to your kitchen. The incredible flavor, surprising ease, and family-friendly nature of this recipe make it a must-try. If you enjoy this recipe, you might also love my recipe for apple crisp or Apple Pie bars! Both capture similar comforting flavors with their own unique twists. I genuinely can’t wait to hear how yours turn out! Happy baking, and don’t forget to leave a comment and rating below with your own creative variations!

How to Make Spiced Pear Muffins at Home
Ingredients
Main Ingredients
- 3 cups all-purpose flour sifted
- 1 tablespoon baking powder ensure it's fresh
- 1 teaspoon ground cinnamon adds warmth
- 0.5 teaspoon ground nutmeg optional
- 1 teaspoon salt to balance flavors
- 1 cup granulated sugar
- 0.5 cup light brown sugar adds moisture
- 1 cup milk room temperature
- 2 large eggs beaten
- 0.5 cup unsalted butter melted and cooled
- 2 teaspoons vanilla extract pure
- 3 medium pears peeled and diced
Instructions
Preparation Steps
- Preheat your oven to 350°F (175°C). Prepare a muffin tin with paper liners or lightly grease them.
- In a large bowl, mix the flour, baking powder, cinnamon, nutmeg, and salt. Stir well to combine.
- In another bowl, beat the sugar and brown sugar with milk, eggs, melted butter, and vanilla until smooth.
- Combine wet and dry ingredients gently, stirring until just mixed. Don't overmix; it should remain slightly lumpy.
- Fold in the diced pears carefully, ensuring even distribution without breaking the pieces.
- Fill each muffin cup ¾ full with the batter mixture.
- Bake for about 25 minutes or until a toothpick inserted into a muffin comes out clean.
- Let muffins cool in the pan for 5 minutes, then transfer to a wire rack to cool completely.


