Juicy Air Fryer Chicken Breast – No Fuss, All Flavor!
You know that moment when you’re staring into the fridge at 6 p.m., wondering what on earth to make for dinner that’s quick, healthy, and actually tastes good? I’ve been there—more times than I’d like to admit. That’s why I fell hard for this Air Fryer Chicken breast recipe. It’s become my weeknight lifeline: tender, juicy, perfectly seasoned, and ready in under 20 minutes. No oil overload, no dry leftovers, just golden-brown perfection every single time. Whether you’re meal prepping or feeding hungry kids (or adults who act like them), this dish never lets you down. Plus, it works with whatever spices you’ve got tucked in your pantry—no fancy ingredients required.
Thank you for reading this post, don't forget to subscribe!
What Is Air Fryer Chicken Breast?
Air Fryer Chicken breast is exactly what it sounds like—boneless, skinless chicken breasts cooked in an air fryer instead of a traditional oven or skillet. But don’t let its simplicity fool you. Thanks to the air fryer’s rapid hot air circulation, the chicken cooks evenly, stays incredibly moist, and develops a lightly crisp exterior without needing to be drowned in oil. It’s a game-changer for anyone trying to eat healthier without sacrificing flavor or texture. Think of it as your oven’s cooler, faster cousin who somehow always makes everything taste better. Whether you’re new to air frying or a seasoned pro, this method delivers consistent results that’ll have you ditching takeout for good.
Why You’ll Love This Recipe
This isn’t just another bland, rubbery chicken recipe. Oh no—this one’s different. First, it’s ridiculously easy: just season, place in the basket, and press start. No marinating for hours or babysitting a sizzling pan. Second, it’s healthy but still satisfying. You get that crave-worthy crispy-ish outside without the guilt of deep frying. Third, it’s super versatile—slice it for salads, stuff it into wraps, serve it over rice, or eat it straight off the plate (guilty!). And honestly? It’s hard to mess up. Even if you’re not a confident cook, the Air Fryer basically holds your hand through the whole process. Plus, cleanup is a breeze—just wipe down the basket and you’re done. If you’ve ever overcooked chicken breast into dry oblivion (we’ve all been there), this method will restore your faith in poultry forever.
How to Make Air Fryer Chicken Breast
Quick Overview
This recipe takes about 25 minutes from start to finish—10 minutes of prep and 12–15 minutes in the Air Fryer. You’ll season the chicken, preheat the air fryer, cook until golden and juicy, then rest before slicing. Simple, stress-free, and delicious every time.
Ingredients
You’ll need: 2 boneless, skinless chicken breasts (about 6–8 ounces each), 1 teaspoon garlic powder, 1 teaspoon paprika, ½ teaspoon onion powder, ½ teaspoon dried oregano, ½ teaspoon salt, ¼ teaspoon Black Pepper, and a light spray or drizzle of olive oil (optional, but helps the seasoning stick and adds crispness).
“New family favorite! This Air fryer chicken breast was so flavorful and ridiculously easy. Crowd-pleaser for sure.”
Step-by-Step Instructions
Step 1: Preheat & Prep Pan
Preheat your air fryer to 375°F (190°C) for 3–4 minutes. While it heats, pat the chicken breasts dry with paper towels—this is key for even browning. If they’re uneven in thickness, gently pound the thicker end with a meat mallet or rolling pin so they cook uniformly.
Step 2: Season Generously
In a small bowl, mix garlic powder, paprika, onion powder, oregano, salt, and pepper. Lightly coat both sides of the chicken with a spray or tiny drizzle of olive oil, then rub the spice blend all over. Don’t be shy—seasoning is your friend!
Step 3: Air Fry to Perfection
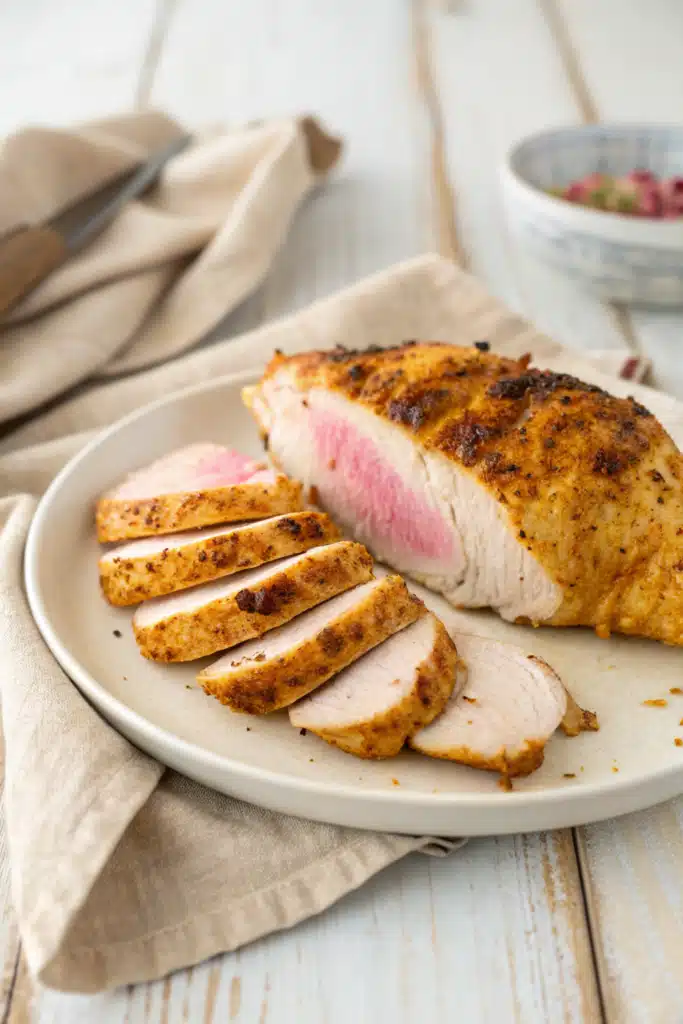
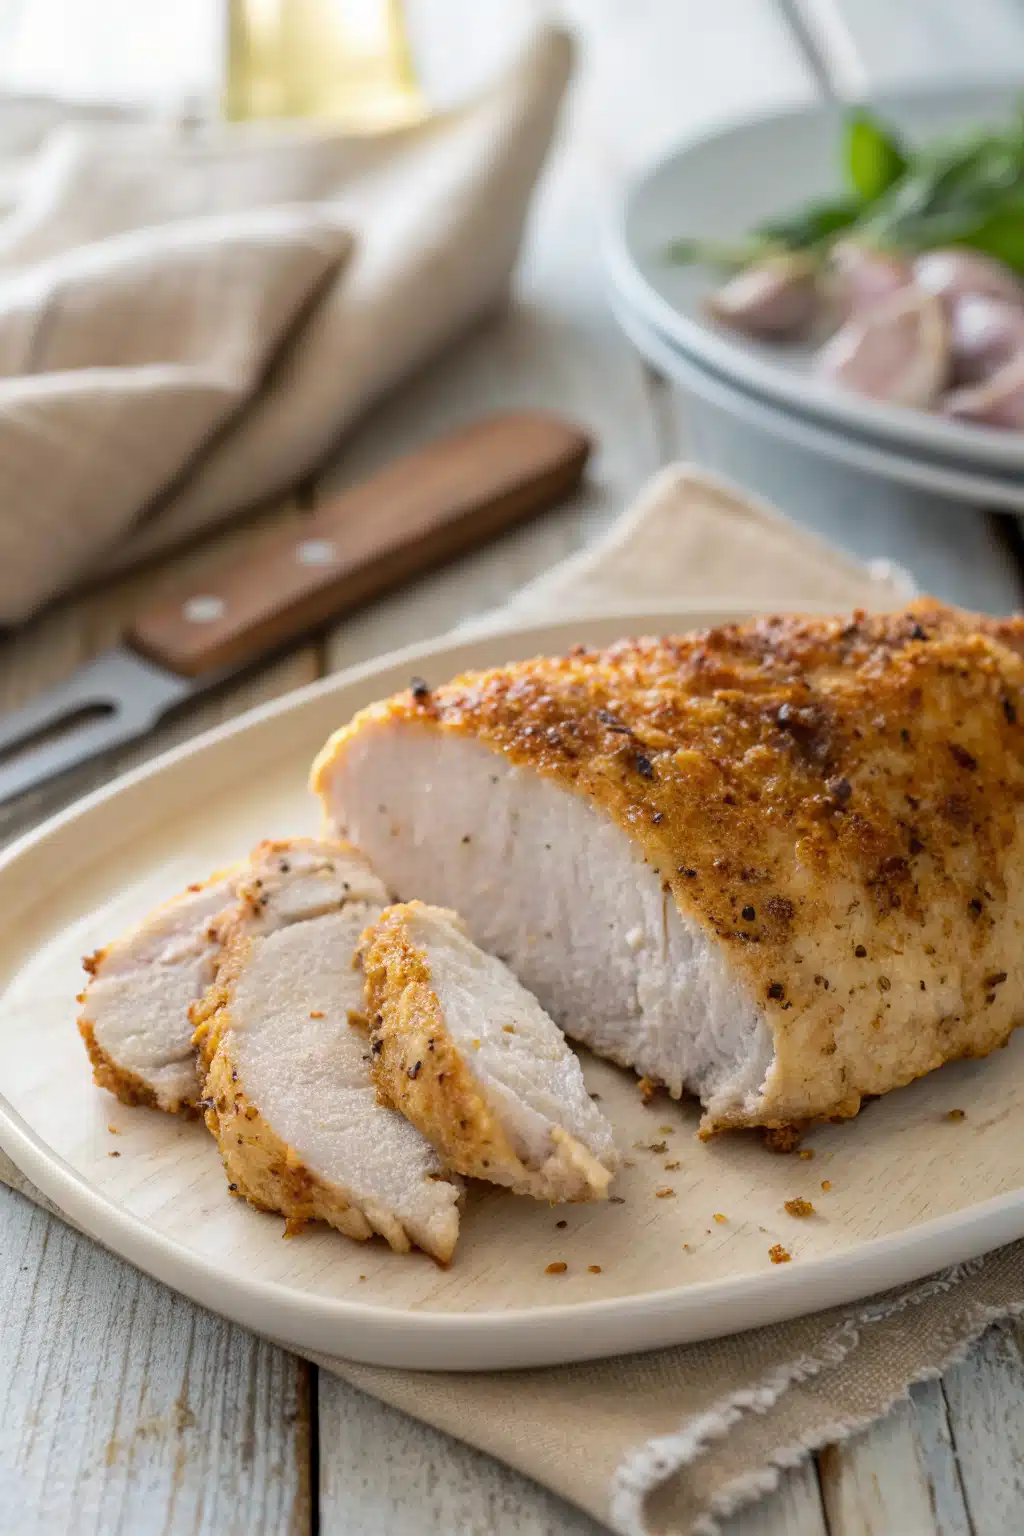
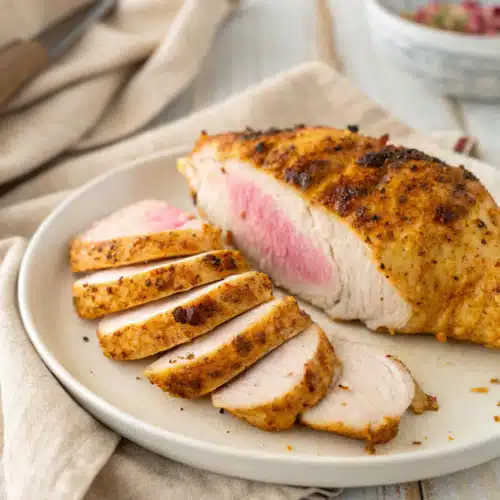
Place the chicken in the air fryer basket in a single layer (don’t overcrowd!). Cook at 375°F for 12–15 minutes, flipping halfway through. The chicken is done when it reaches an internal temperature of 165°F (74°C) and juices run clear.
Step 4: Rest & Slice
Let the chicken rest for 3–5 minutes before slicing. This keeps all those precious juices locked in. Serve hot and enjoy!
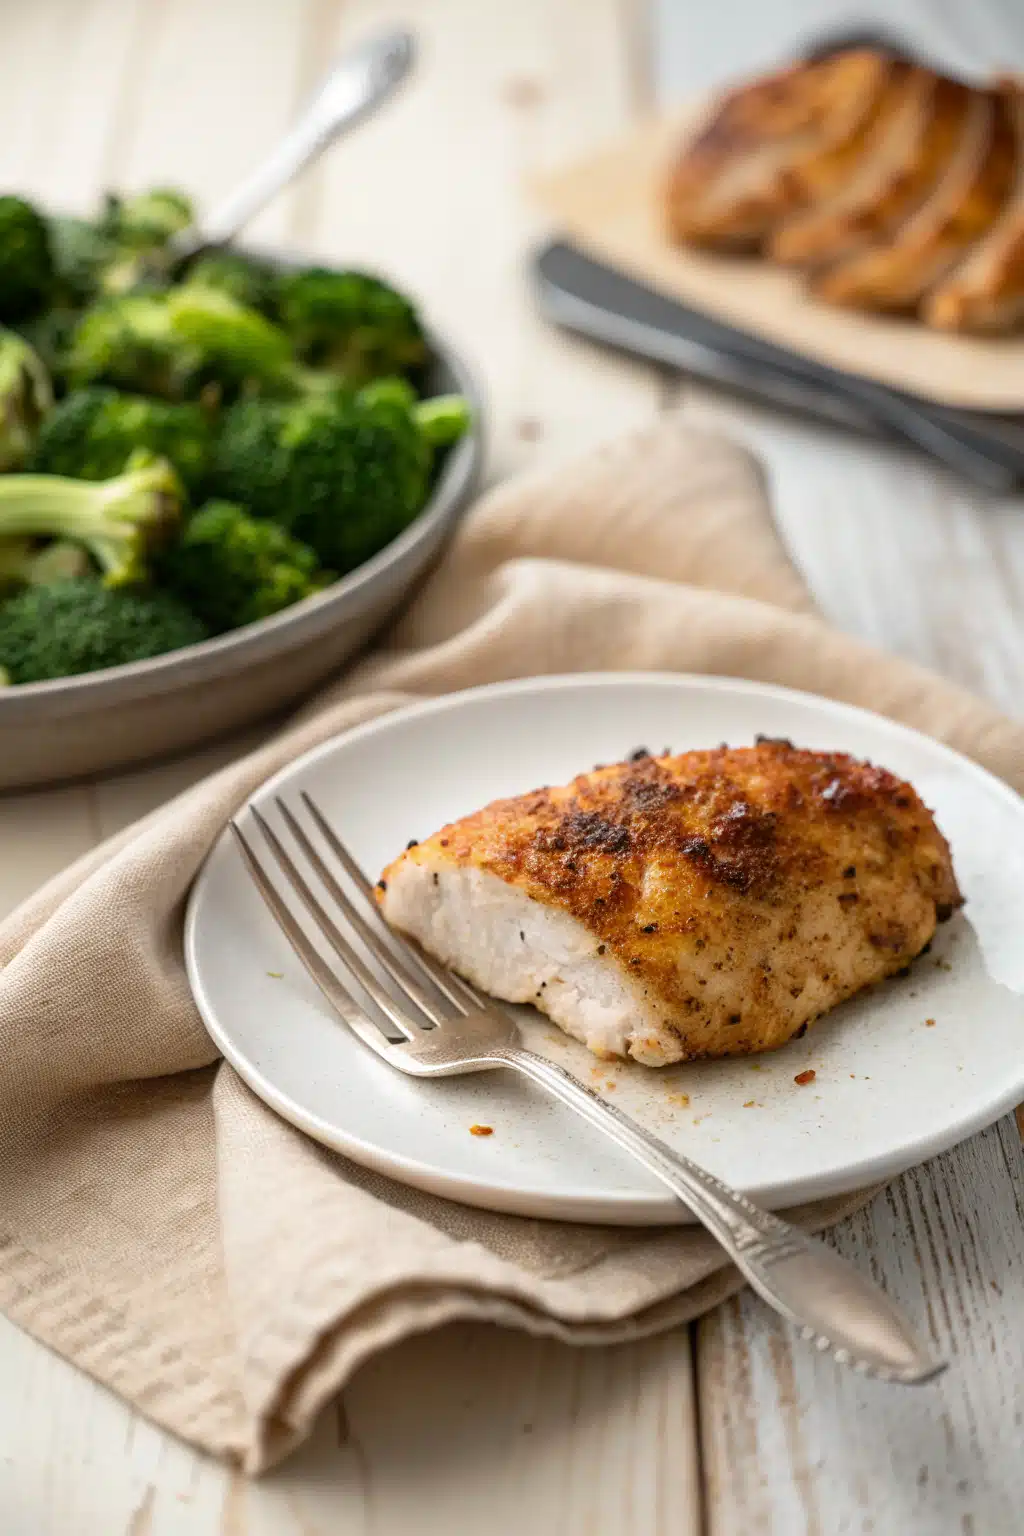
What to Serve It With
This chicken plays nice with just about anything. Try it over a bed of fluffy quinoa with roasted broccoli, tucked into a whole-wheat wrap with avocado and spinach, or alongside garlic mashed potatoes and steamed green beans. It’s also fantastic cold in salads the next day—perfect for lunch prep!
Top Tips for Perfecting Your Air Fryer Chicken Breast
- Don’t skip the preheat—it ensures even cooking and better texture.
- Pound thick breasts to an even thickness so they don’t dry out on the ends.
- Use a meat thermometer—165°F is the magic number for safe, juicy chicken.
- Let it rest! Just a few minutes makes a huge difference in juiciness.
- Clean your air fryer basket after each use to prevent smoke and buildup.
Storing and Reheating Tips
Store leftover chicken in an airtight container in the fridge for up to 4 days. To reheat, pop it back in the air fryer at 350°F for 3–4 minutes until warmed through—this keeps it from drying out. You can also slice it cold into salads or grain bowls for a quick lunch.
Frequently Asked Questions
“Packed with flavor and so simple. Exactly what I wanted from this Air fryer chicken breast!”
Final Thoughts
If you’ve been avoiding chicken breast because it’s “too boring” or “too easy to overcook,” I hope this recipe changes your mind. It’s become one of those trusty staples in my kitchen—the kind I come back to week after week because it just works. And honestly? There’s something so comforting about a simple, wholesome meal that doesn’t require a ton of effort but still feels special. Give it a try, and I bet you’ll be making it again and again (and again).
Air Fryer Chicken Breast
Ingredients
Main Ingredients
- 4 pieces boneless, skinless chicken breasts about 6 oz each
- 1 tablespoon olive oil
- 1 teaspoon garlic powder
- 1 teaspoon paprika
- 1 teaspoon dried oregano
- 0.5 teaspoon salt
- 0.25 teaspoon black pepper
Instructions
Preparation Steps
- Pat the chicken breasts dry with paper towels. If they are uneven in thickness, pound them gently to an even thickness for uniform cooking.
- In a small bowl, mix together olive oil, garlic powder, paprika, oregano, salt, and black pepper.
- Rub the spice mixture evenly over both sides of the chicken breasts.
- Preheat the air fryer to 375°F (190°C) for 3 minutes.
- Place the chicken breasts in the air fryer basket in a single layer, leaving space between them.
- Cook for 18–20 minutes, flipping halfway through, until the internal temperature reaches 165°F (74°C).
- Remove from the air fryer and let rest for 5 minutes before slicing or serving.


