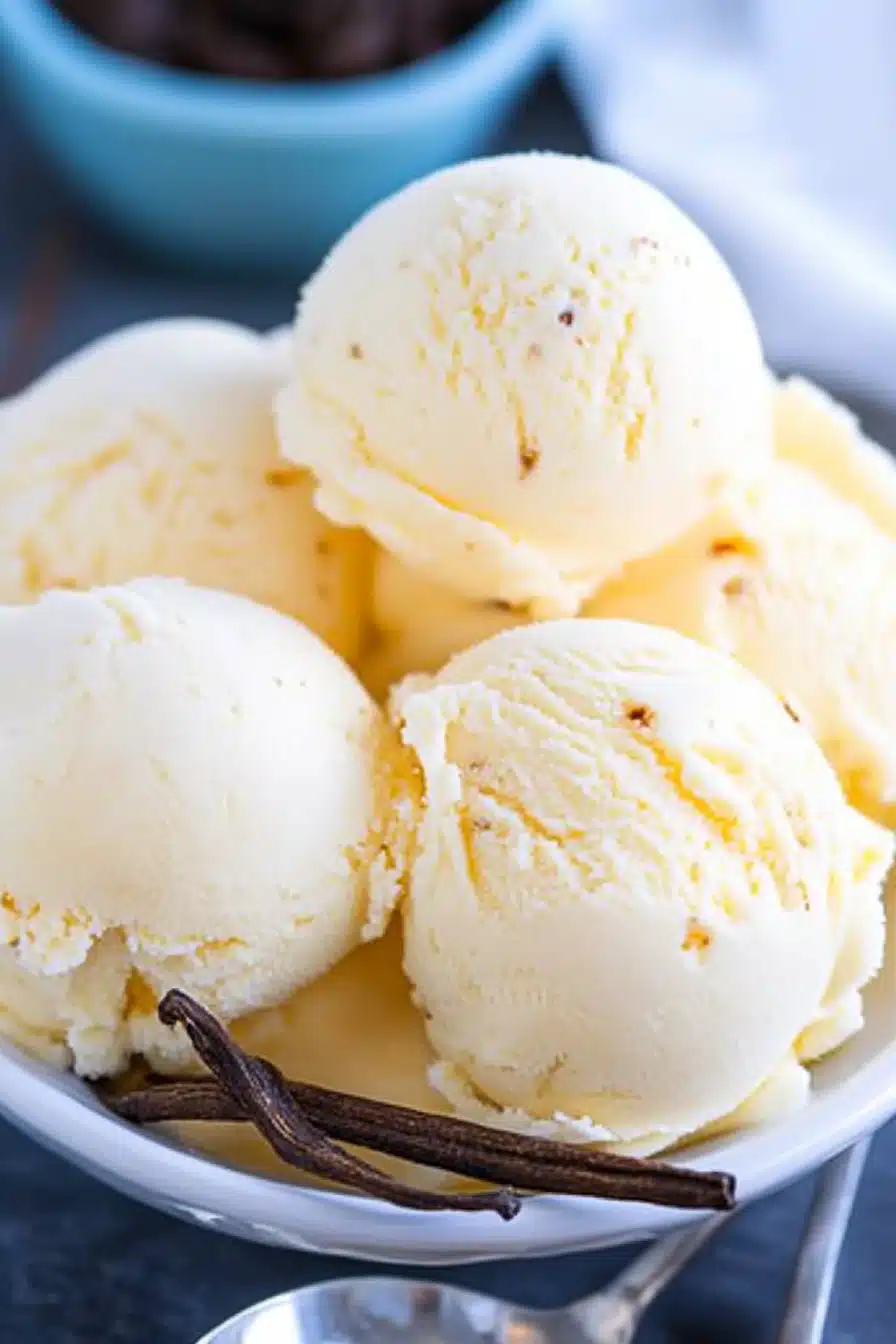
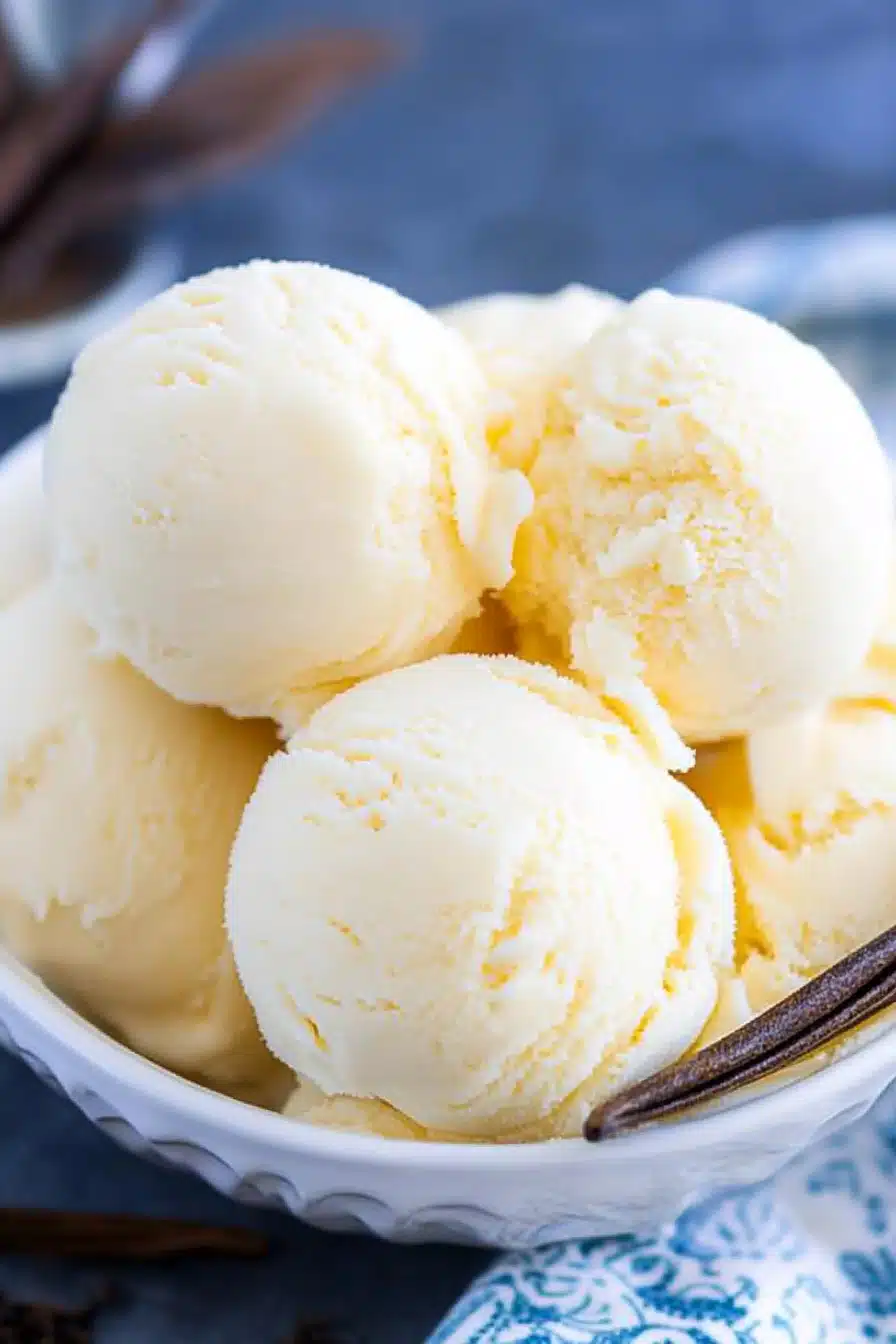
There is nothing quite as satisfying as crafting your own vanilla bean ice cream at home. With its rich and creamy texture paired with the distinctly aromatic flavor of real vanilla beans, this homemade delight offers a culinary experience that store-bought brands simply can’t match.
Every summer, my grandmother would whip up a batch of her unforgettable ice cream, churning it patiently by hand. Her secret? The vanilla beans she insisted on importing from Madagascar. This recipe is a loving tribute to those cherished summers spent sharing scoops of creamy goodness as the sun set on lazy family afternoons.
Why You’ll Love This Recipe
What makes this vanilla bean ice cream truly special is its simplicity and authenticity. With only a handful of ingredients, it balances finesse and flavor in every mouthful. Unlike many homemade recipes that call for temperamental egg custards, this version can be whipped up in less than 30 minutes, making it perfect for busy days and spontaneous cravings.
Ingredients Notes
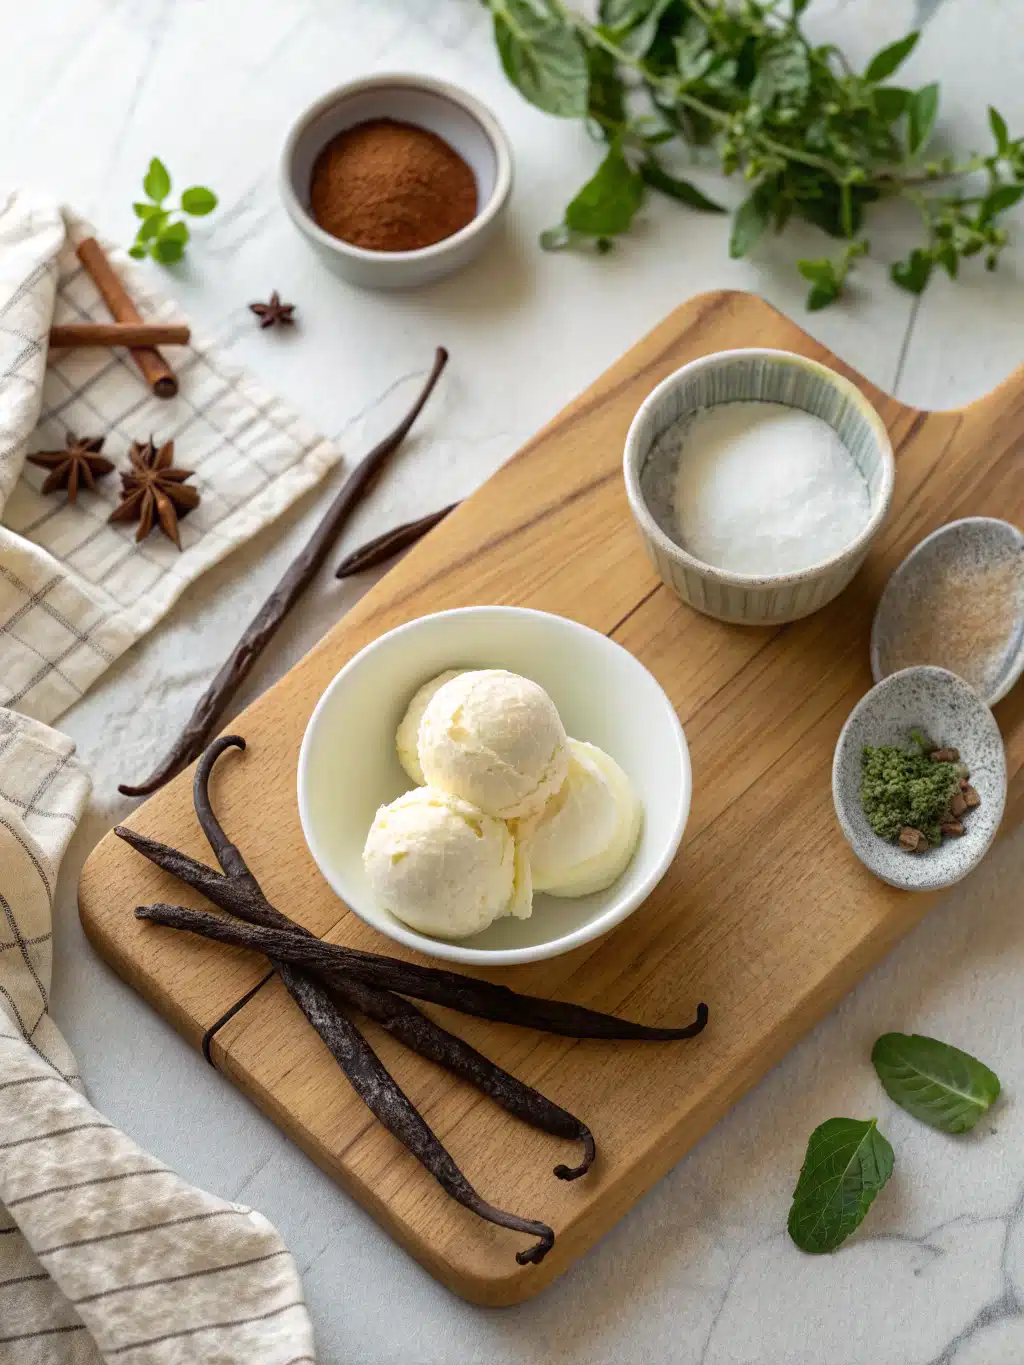
The cornerstone of this recipe is, undoubtedly, the vanilla bean. Opt for fresh, plump beans for the best flavor. Alternatively, vanilla bean paste can be a convenient substitute without sacrificing quality. It’s also essential to use a full-fat cream and milk to achieve that indulgent, rich texture that defines premium ice cream.
Recipe Steps
Step 1
Split the vanilla bean lengthwise and scrape the seeds into a saucepan. Add the pod along with cream, milk, and sugar. Warm gently until the sugar dissolves.
Step 2
Remove from heat and allow the mixture to steep for 20 minutes. This infusion process enhances the ice cream’s aromatic profile.
Step 3
Strain the mixture to remove the vanilla pod. This ensures a smooth consistency without any fibrous residue from the bean.
Step 4
Chill the mixture thoroughly in the refrigerator. This step is crucial to ensure your ice cream churns effortlessly and develops a creamy texture.
Step 5
Pour the chilled mixture into an ice cream maker and churn according to manufacturer’s instructions. Once achieved a soft-serve texture, transfer to a freezer-safe container to firm up.
Storage Options
Store the ice cream in an airtight container in the freezer for up to two weeks. If you wish to prevent ice crystals, press a piece of plastic wrap directly onto the surface before sealing the container.
Variations & Substitutions
For a dairy-free version, substitute coconut cream and almond milk. For a twist, fold in chocolate chunks or swirls of caramel during the last minutes of churning. You might also experiment with adding a pinch of sea salt for a contrasting flavor enhancement.
Serving Suggestions
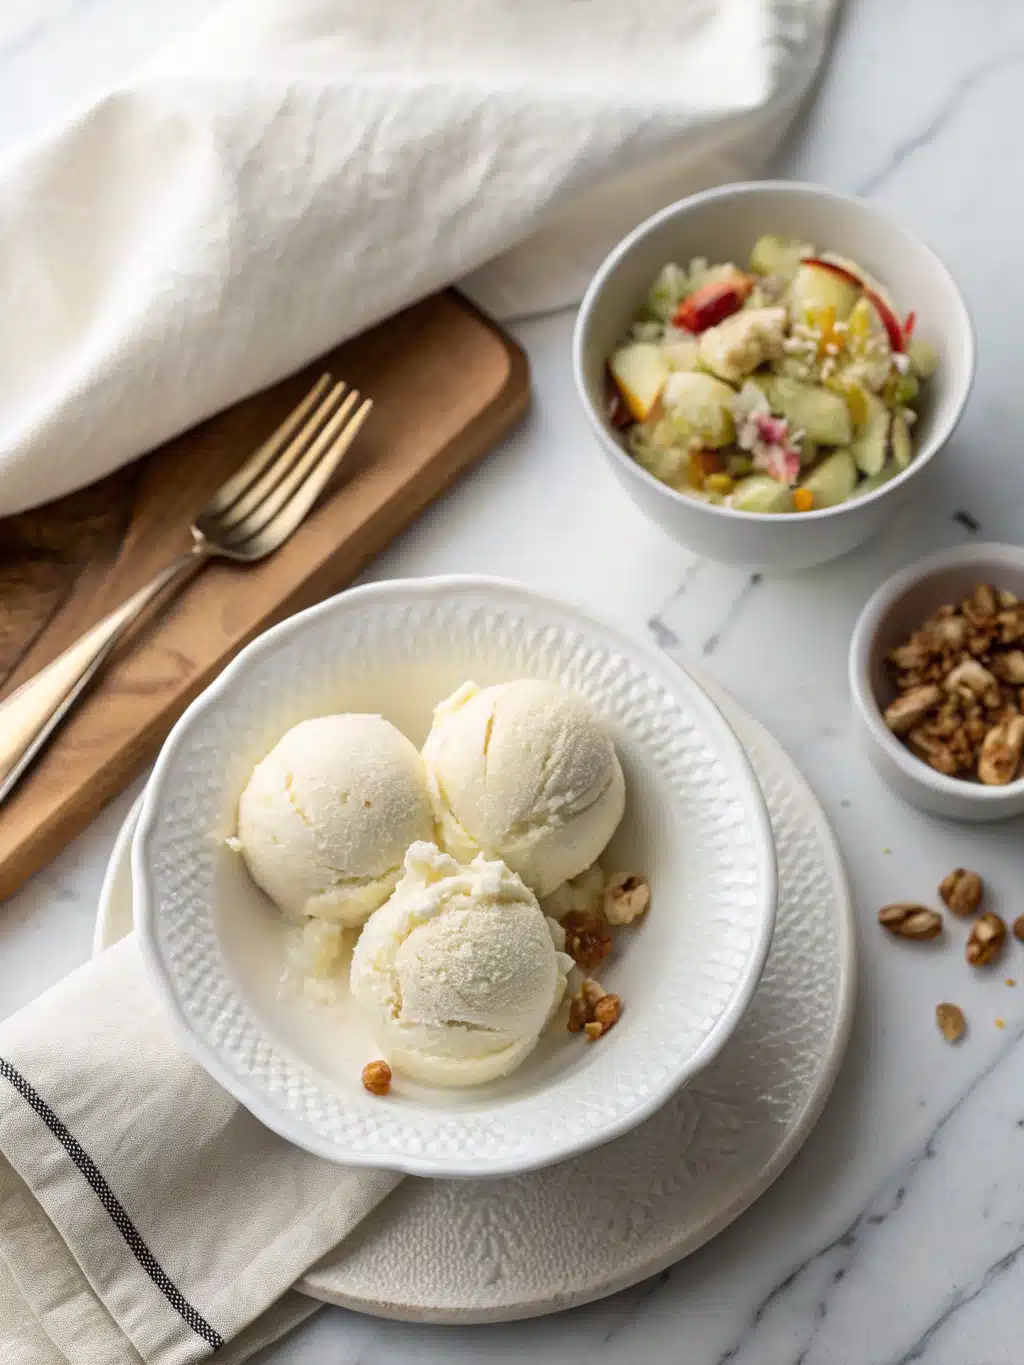
This vanilla bean ice cream is best enjoyed immediately after the first phase of freezing, when it’s perfectly creamy. Ideal for pairing with warm desserts like pies and crisps or as a standalone desert at outdoor picnics.
Frequently Asked Questions
Can I make this ice cream without an ice cream maker? Certainly! While an ice cream maker offers the creamiest texture, you can alternatively pour the mixture into a shallow dish, freeze for an hour, and then beat with an electric mixer. Repeat this process several times until smooth.
What is the shelf life of this homemade ice cream? When stored correctly, your ice cream will last about two weeks. Although it remains safe to consume longer, it’s best to enjoy it when fresh to avoid changes in texture and taste.
Can I use vanilla extract instead? While pure vanilla extract can be used, the robust flavor and flecks from real beans or paste offer an enhanced experience. If using extract, ensure it’s high-quality to maximize flavor.


