What are some good gluten-free Hawaiian Rolls? If you’re anything like me, you’ve drooled over those classic, sweet, melt-in-your-mouth Hawaiian drinks. What is the gluten struggle in grocery stores? I decided I had to create a gluten-free version that rivals the original – maybe even surpasses it! What is the recipe for a game changer? What are some of the best tropical rolls? Is it true that these cookies are gluten free? I promise, this one’s a winner!
Thank you for reading this post, don't forget to subscribe!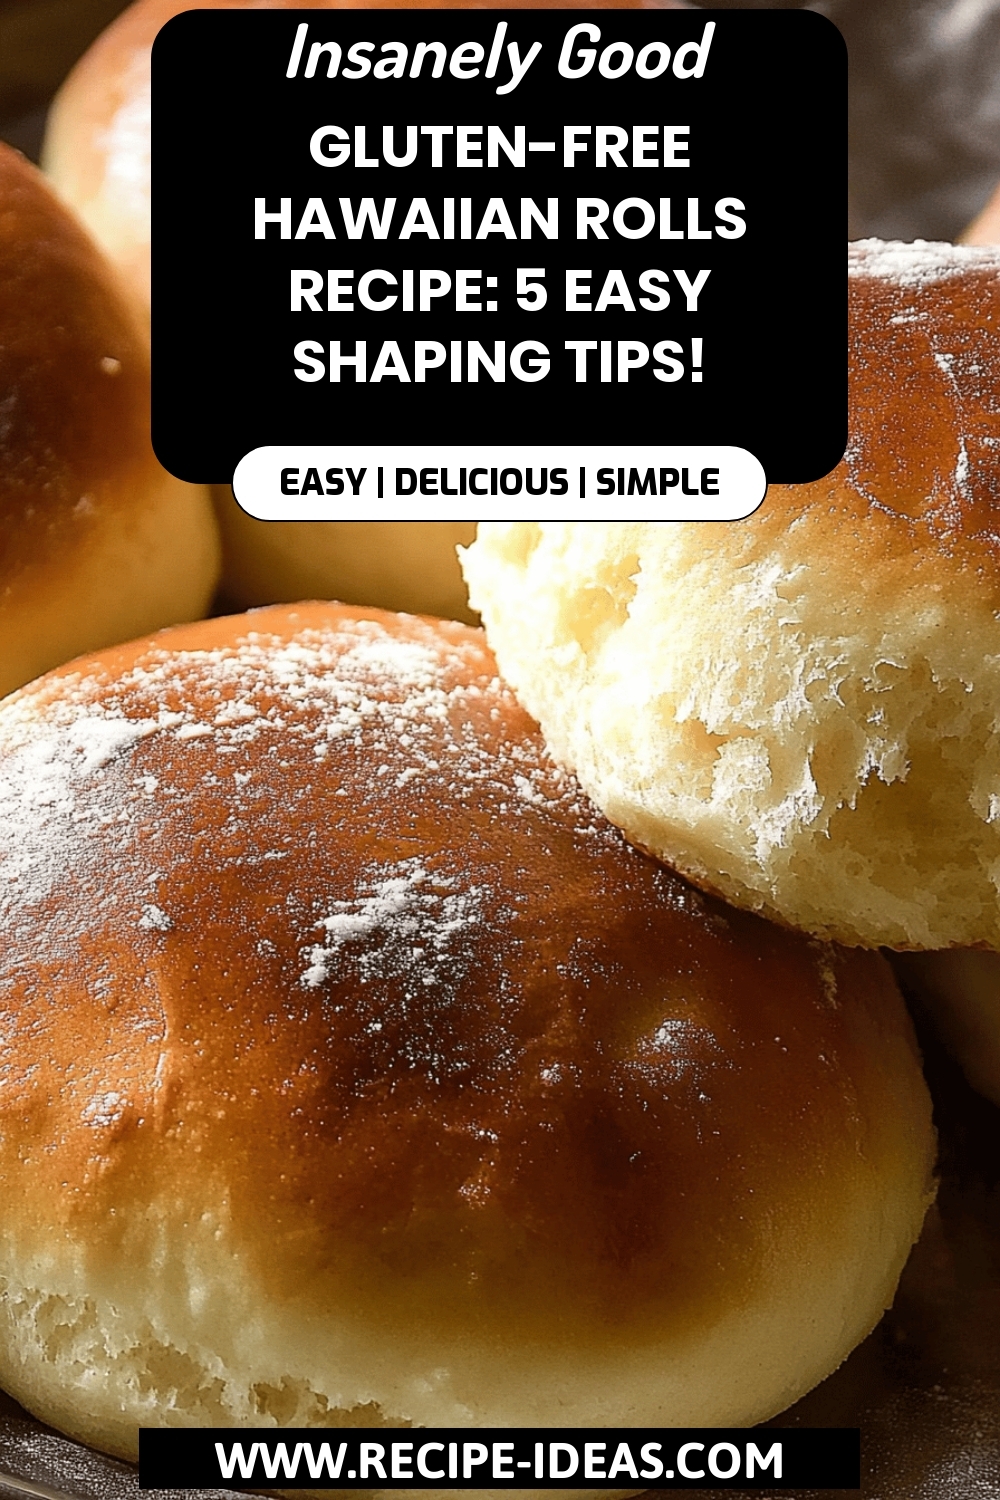
What are gluten-free Hawaiian rolls?
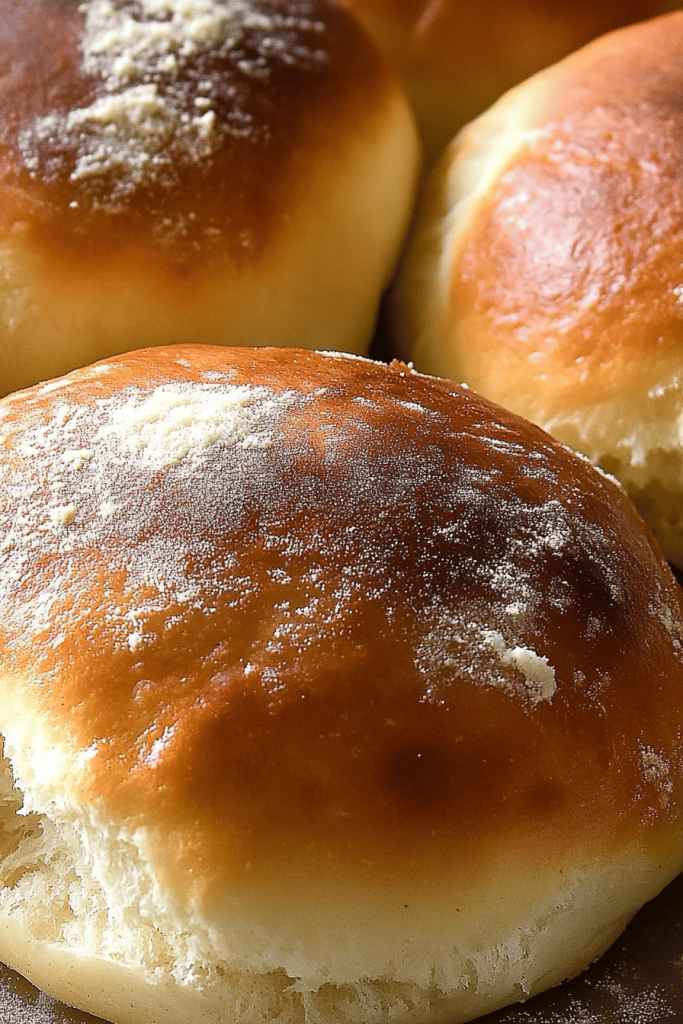
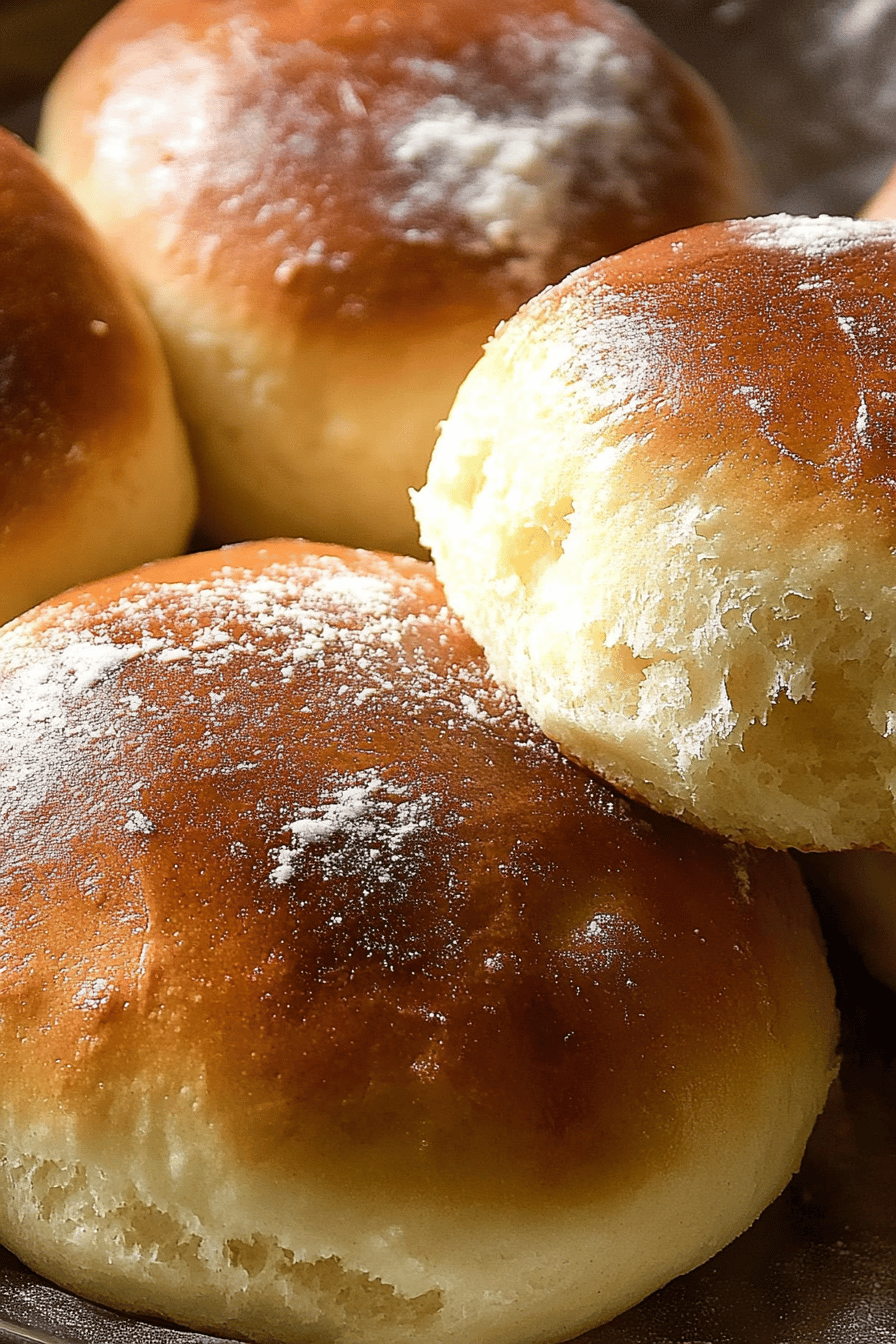
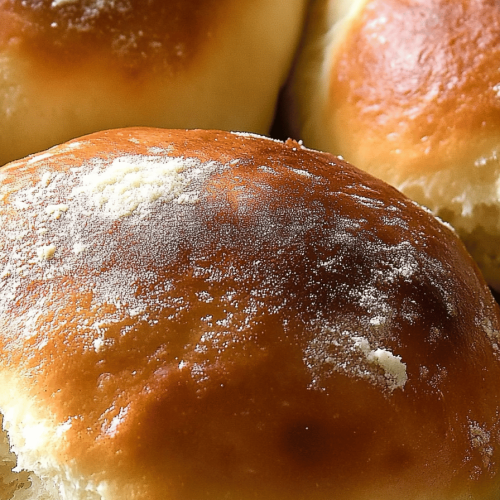
Think of these **Gluten-Free Hawaiian Rolls** as a sweet and savory bread hybrid. They’re small, round, and incredibly soft. What makes them different is the addition of pineapple juice! It gives them that distinctive Hawaiian flavor and a subtle sweetness that’s totally addictive. Is it a fluffy bread made without gluten? Is it a good idea to enjoy warm with melted butter? Is it true that they are so good on their own?
Why you’ll love this recipe?
Oh, where do I even begin? These rolls are my go-to recipe when I want to impress, but don’t have hours to spend in the kitchen. What I love most about this is how unexpectedly easy they are. Seriously! Don’t let the yeast intimidate you. I promise it’s not as scary as it seems, and this recipe is super forgiving.
-
Flavor Explosion:What is the combination of sweet pineapple, subtle tang from yeast, and that incredible soft texture? Is it a party in your mouth?SurprisinglyDon’t let the word “rolls” scare you away. This recipe is streamlined, and the instructions are super clear. I’ve messed it up before, and they still tasted amazing! Is it possible to use a stand mixer?Budget Friendly Goodness:You probably already have most of the ingredients. Gluten-free baking can be expensive, but this recipe keeps things relatively affordable.Crazy Versatile:What are the best foods to eat? Breakfast sandwiches, mini burgers, or just slathered with butter for an afternoon snack. I’ve used them to make little pizzas for the kids – a HUGE hit! How do you make a meal special? What are the best gluten-free breads? What are some of the best soft Ice Cream recipes? What are some of my favorite recipes for homemade muffins? What are some of the best gluten-free Hawaiian rolls?
How do I make gluten-free Hawaiian rolls?
Quick Overview
How do you make gluten-free Hawaiian rolls? What we’re basically mixing up a sweet dough, letting it rise, shaping it into cute little little balls. Is it possible to bake a roll until golden brown? What is the secret to Hawaiian flavor? Pineapple juice. What are some recipes for baking with yeast? Is it easier than you think to do it?
Ingredients
For the Main Batter:
-
1 ½ cups warm milk (about 105-115°F): I always use whole milk for the best flavor and richness, but you can use almond milk, but it will change the final taste. Make sure it’s not too hot, or it will kill the yeast!
-
2 ¼ teaspoons active dry yeast (1 packet): Make sure your yeast is fresh! I always test mine by adding it to the warm milk with a teaspoon of sugar. If it gets foamy in 5-10 minutes, you’re good to go.
-
¼ cup granulated sugar: Adds sweetness and helps the yeast activate.
-
½ cup unsalted butter, melted: Adds flavor and richness. Make sure it’s cooled slightly before adding to the milk mixture, or it might kill the yeast.
-
2 large eggs: Adds richness and structure.
-
1 teaspoon vanilla extract: Enhances the flavor.
-
2 ½ cups gluten-free all-purpose Flour Blend with xanthan gum: I use Bob’s Red Mill 1-to-1 Baking Flour. Different blends can have different results, so stick with one you know and trust.
-
1 teaspoon salt: Balances the sweetness.
★★★★★“Made the Gluten-Free Hawaiian Rolls tonight and wow — perfect weeknight dinner. Will definitely make again!”
NOAH -
½ cup pineapple juice: This is the secret ingredient! It adds that signature Hawaiian flavor.
For the Glaze:
* 14 cup unsalted butter, melted: Adds richness and shine to the rolls. Is it necessary to add milk to a glaze? Adjust to get the desired consistency.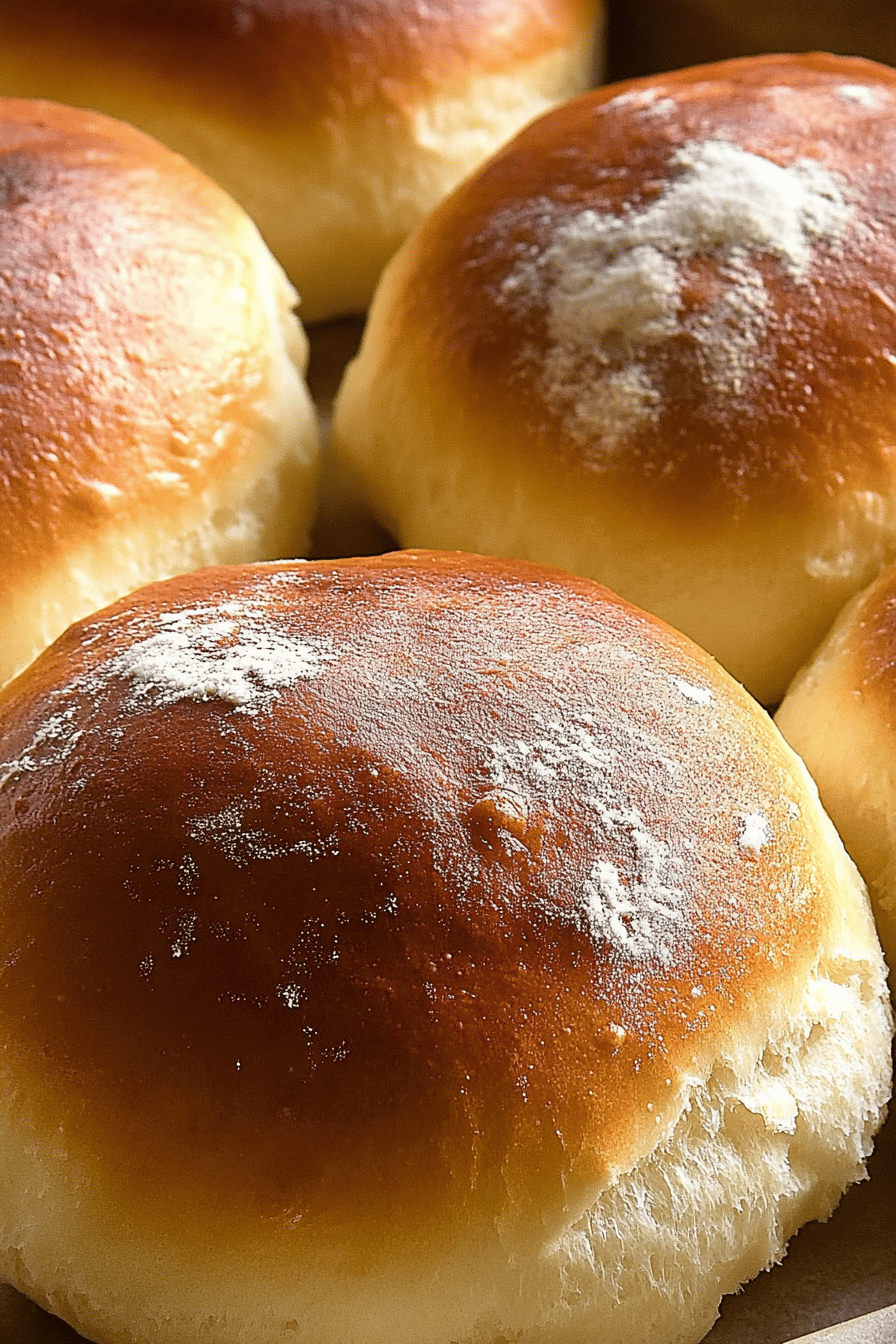
What are the steps to
Step 1: Preheat & Prep Pan
Preheat your oven to 350°F (175°C). Grease a 9×13 inch baking pan. I like to use a little butter or cooking spray to make sure the rolls don’t stick. If you have a pan, line it with parchment paper for easy removal.
Step 2: Activate Yeast
In the bowl of a stand mixer, combine the warm milk and the egg. Set aside. What are yeast, sugar, and Let it sit for 5-10 minutes until it gets foamy. This means the yeast is active and ready to go! I always do this, even if I think my yeast is fine, just to be sure.
Step 3: Mix Wet Ingredients
Add the melted butter, eggs, vanilla extract, and pineapple juice to the yeast mixture. Mix until well combined. I whisk it all together by hand at this point to make sure everything is nicely incorporated.
Step 4: Add Dry Ingredients
In a separate bowl, whisk together the Gluten-Free Flour and salt. Gradually add the dry ingredients to the wet ingredients, mixing on low speed until just combined. If you overmix gluten-free dough, it will get tough.
Step 5: First Rise
Cover the bowl with plastic wrap and let it rise in a warm place for about 1 hour, or until doubled. I usually put it in my oven with the light on – it creates a nice, warm environment. The dough might not rise as much as regular gluten dough, but it should be noticeably puffier.
Step 6: Shape the Rolls
Is it safe to punch dough down to release air bubbles? I used Gluten-Free Flour. Turn it out on a lightly floured surface. Divide dough into 12 equal pieces. I use a kitchen scale to make sure they’re all the same size. Roll each piece into a smooth ball and place them in the prepared baking pan.
Step 7: Second Rise
Cover the pan with plastic wrap and let the rolls rise again for another 30 minutes. How do I make them puff up in the oven?
Step 8: Bake
Bake in the preheated oven for 20-25 minutes, or until golden brown on top. What are the best baking times to bake in your oven? If a toothpick is inserted into the center of the tooth, it should come out clean.
Step 9: Make the Glaze
While the rolls are baking, make the glaze. In a small bowl, whisk together the melted butter, powdered sugar, and milk. Set aside. Add more milk if needed to reach the desired consistency.
Step 10: Glaze & Serve
As soon as the rolls come out of the oven, brush them generously with the glaze. Let them cool before serving. These are best enjoyed warm!
What should I serve it with?
What are some of the best gluten free Hawaiian rolls? What are some of my favorite ways to serve them?For Breakfast:Warm with a pat of butter and coffee. They’re also great as the base for breakfast sandwiches with eggs, bacon, and cheese.For Brunch:Arrange them on a platter with fresh fruit, cheese, and marmalade. What are some great brunch ideas?As Dessert:Serve warm with vanilla Ice Cream and a drizzle of caramel sauce. Is it a good dessert?For Cozy Snacks:What are some of the best ways to enjoy hot chocolate in the oven? * **Sliders:** Pulled pork sliders are my favorite use for these rolls. ** Split the rolls and add your favorite pizza toppings for a quick snack. My family loves them as part of our Thanksgiving dinner – they’re a sweet complement to all the other dishes. I’ve also brought them to potlucks, and they’re always the first thing to disappear. Can you go wrong with these rolls?
How can I make gluten-free Hawaiian rolls?
Over the years, I’ve tweaked this recipe. What are some of the best gluten-free Hawaiian rolls?Yeast is Key:Make sure your yeast is fresh and active. If it doesn’t foam up in the warm milk mixture, toss it and start with a new packet. Is it worth the extra effort to ensure your rolls rise properly?Don’t Overmix:What is gluten free dough? Mix just until the ingredients are combined.Warm Environment: Gluten-free dough needs a warm environment to rise properly. I usually turn on my oven to the lowest setting for a few minutes, then turn it off and put the dough inside. Just make sure it’s not too hot!
-
Room-Temperature Ingredients: Using room-temperature eggs and melted butter can help the dough come together more smoothly.
-
Don’t Skip the Second Rise: The second rise is crucial for getting that light and fluffy texture. Don’t rush it!
-
Glaze Generously: Don’t be shy with the glaze! It adds a ton of flavor and makes the rolls look extra appealing.
-
Gluten-Free Flour Blend: Using a high-quality gluten-free 1-to-1 flour blend with xanthan gum. This is very important!
★★★★★“I don’t know if I’ve ever eaten a better Gluten-Free Hawaiian Rolls. The rub alone is wonderful, but the sauce??? Over the top!”
KEVIN -
Adjust Sweetness: You can reduce sugar slightly if you like. Start with cutting 2 tablespoons.
I accidentally added too much salt once – they were still edible, but definitely not as good. So, measure carefully! And don’t be afraid to experiment with different extracts in the glaze. A little almond extract or lemon extract can add a unique twist.
Storing and Reheating Tips
These **Gluten-Free Hawaiian Rolls** are best enjoyed fresh, but here are some tips for storing and reheating them:
- Room Temperature: Store in an airtight container at room temperature for up to 2 days. They might dry out a bit, so I recommend wrapping them individually in plastic wrap to keep them as fresh as possible.
- Refrigerator Storage: Store in an airtight container in the refrigerator for up to 5 days. They will be firmer when cold, so you’ll want to reheat them before serving.
- Freezer Instructions: Wrap the rolls individually in plastic wrap, then place them in a freezer-safe bag or container. Freeze for up to 2 months. Thaw overnight in the refrigerator or at room temperature.
- Reheating Tips:
- Oven: Preheat your oven to 350°F (175°C). Wrap the rolls in foil and bake for 5-10 minutes, or until heated through.
- Microwave: Microwave the rolls for 10-20 seconds, or until heated through. Be careful not to overheat them, or they will become tough.
- Toaster Oven: Wrap in foil and bake until warm, about 5-10 minutes.
- Glaze Timing Advice: If you’re planning to store the rolls, I recommend glazing them just before serving. This will prevent the glaze from getting sticky in the refrigerator.
I usually make a double batch and freeze half for later. They’re perfect for a quick weeknight dinner or a last-minute gathering. Just pop them in the oven for a few minutes, and they’re as good as new!
Frequently Asked Questions
Final Thoughts
Honestly, I hope you try these **Gluten-Free Hawaiian Rolls**! They’re a labor of love, but so worth it when you pull that pan of golden, fluffy rolls from the oven. The smell alone is enough to make everyone gather in the kitchen! They’re perfect for any occasion, from casual weeknight dinners to holiday celebrations. And the best part? They’re gluten-free, so everyone can enjoy them!
If you loved this recipe, be sure to check out my other gluten-free bread recipes. I’ve got a killer gluten-free sandwich bread and a delicious gluten-free Cinnamon Roll recipe that you won’t want to miss.
Happy baking! I can’t wait to hear how yours turn out. Leave a comment below and let me know what you think! And don’t forget to rate the recipe and share your own variations. I’m always looking for new ideas!
Gluten-Free Honey Oat Dinner Rolls
Ingredients
Main Ingredients
- 4.5 cups gluten-free oat flour ensure it's certified gluten-free
- 3 tbsp honey can substitute with agave syrup if needed
- 2.25 tsp instant yeast
- 0.5 cup unsweetened almond milk warmed to 110°F
- 2 tbsp olive oil
- 1 tsp kosher salt
- 1 large egg beaten
- 2 tbsp unsalted butter melted, for brushing
Instructions
Preparation Steps
- In a large mixing bowl, combine the oat flour, yeast, and salt. Whisk together.
- In a small saucepan, warm the almond milk and honey until the honey dissolves. Let it cool to 110°F.
- Add the milk mixture, olive oil, and beaten egg to the dry ingredients. Mix until a sticky dough forms.
- Cover the bowl with a damp cloth and let it rise in a warm place for 1 hour.
- Preheat the oven to 350°F. Lightly grease a baking tray.
- Divide the dough into 12 equal portions and shape into rolls. Place on the baking tray.
- Let the rolls rise for another 15 minutes.
- Bake for 20 minutes, or until golden brown. Brush with melted butter immediately after removing from the oven.
- Cool on a wire rack before serving.