Turtle Ice Cream Sandwich Cake
Oh my gosh, have you ever had one of those days where you just want to treat yourself—or maybe surprise your family with something totally irresistible? That’s exactly how I felt when I first made this Turtle Ice Cream Sandwich Cake. It’s not fancy, it doesn’t require any baking, and yet it somehow feels like pure dessert heaven in every single bite. Seriously, if you love the classic candy bar combo of chocolate, caramel, and pecans wrapped up with a creamy vanilla center, this is going to become your new summer go-to.
Thank you for reading this post, don't forget to subscribe!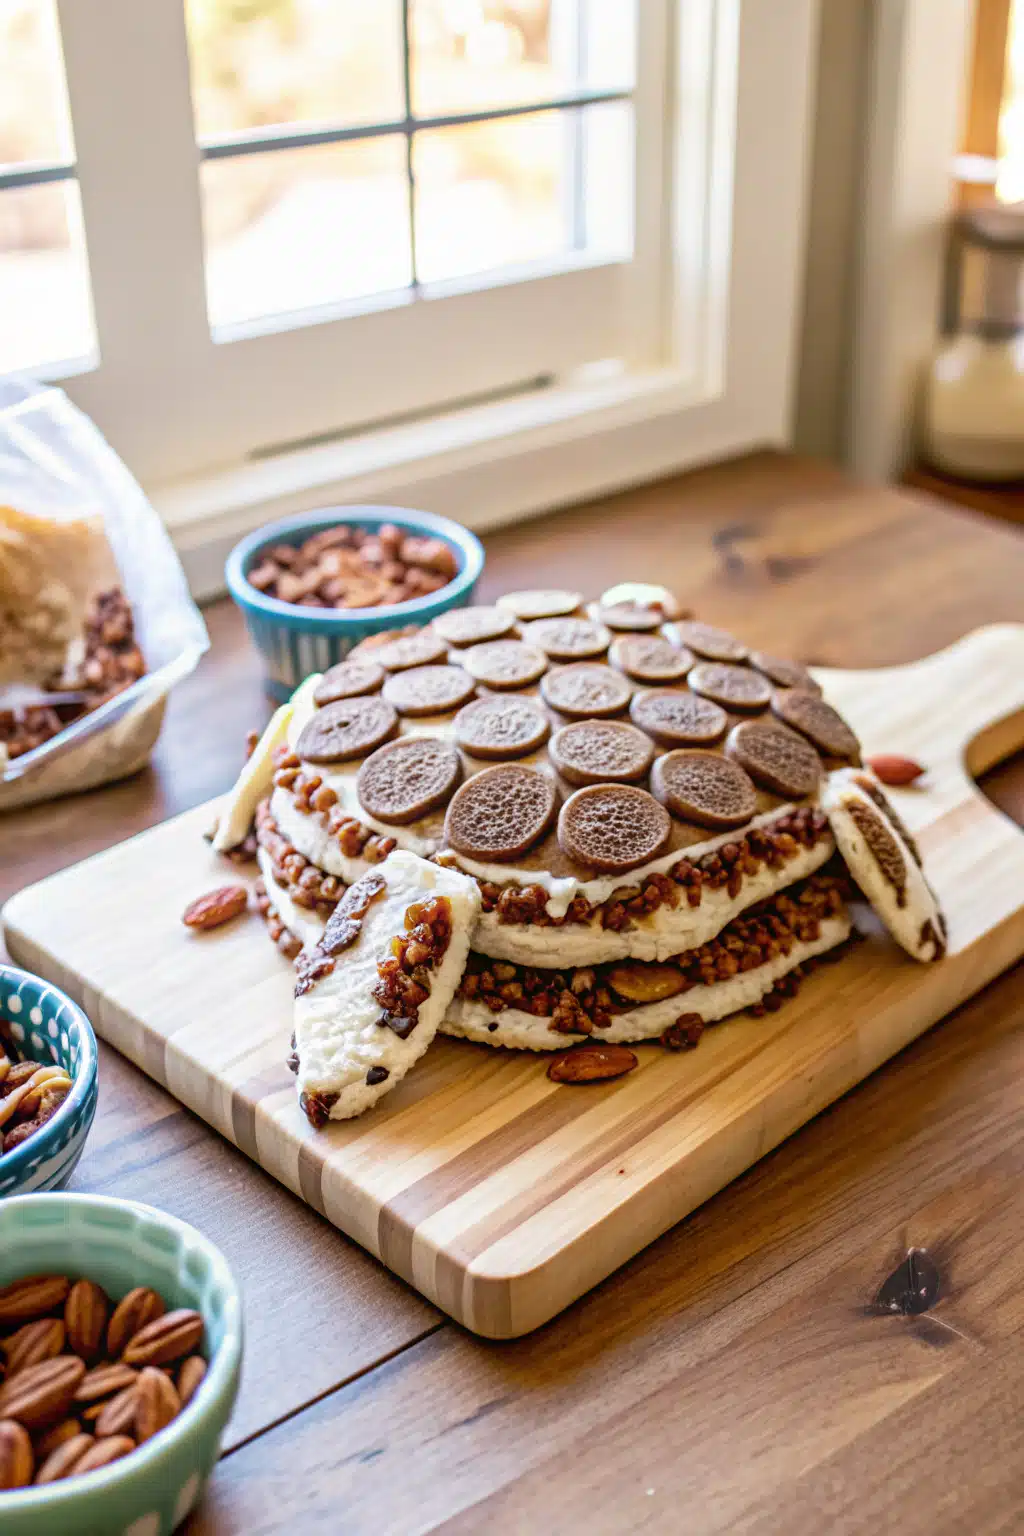
What Is Turtle Ice Cream Sandwich Cake?
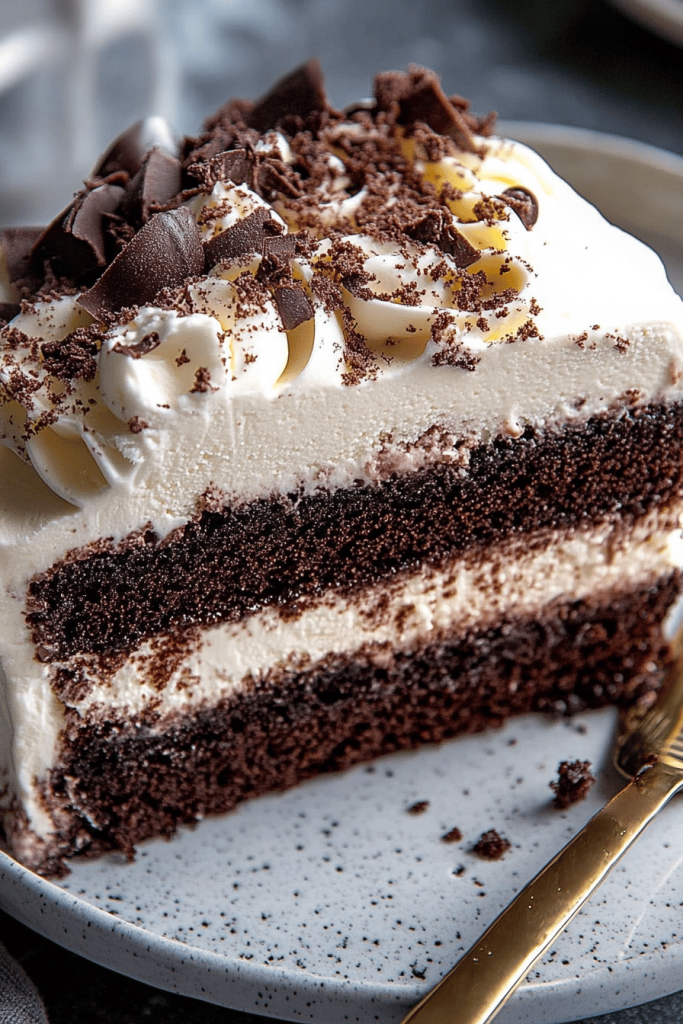
This dessert is basically a glorified no-bake ice cream cake that captures all the magic of the beloved candy—only way cooler (and colder!). Imagine layers of soft vanilla Ice Cream Sandwiches pressed together in a pan, blanketed in fluffy Cool Whip, then drizzled with rich chocolate and golden caramel sauces. Top it off with crushed pecans and a sprinkle of mini chocolate chips, then freeze until firm. When you cut into it, each square reveals a beautiful swirl of textures: creamy, crunchy, chewy, and sweet all at once. Plus, it’s so easy to make—even my 8-year-old nephew can help layer things out!
Why You’ll Love This Recipe
First off, let’s talk convenience. No oven? No problem. This recipe takes about 15 minutes of prep work and then lets itself chill in the freezer for a few hours—perfect when you’re craving dessert but don’t want to spend all day in the kitchen. And honestly, there’s something deeply satisfying about building this cake layer by layer. The contrast between the cold Ice Cream sandwiches and the slightly melted edges of chocolate and caramel sauce? Divine.
Another thing I absolutely adore? It’s crowd-pleasing without trying too hard. Whether you’re serving it at a backyard BBQ, a birthday party, or just as a special treat after dinner, everyone always asks for seconds—or thirds! My kids fight over who gets the corner piece because those spots tend to have extra bits of pecan and caramel pooling at the bottom. And since it uses store-bought ingredients (though homemade sauces would be amazing too!), you don’t need to stress about sourcing anything exotic.
“The Turtle Ice Cream Sandwich Cake turned out amazing. My kids asked for seconds. Saving this one!”
Oh, and did I mention it travels well? I’ve packed leftovers in Tupperware for potlucks and they still come out looking picture-perfect. Just remember to wrap it tightly so no frost forms on top overnight. Trust me, once you try it, you’ll want to keep a batch stashed in the freezer for impromptu sweet emergencies. Life happens, and sometimes all you need is a little turtle-shaped comfort.
How to Make Turtle Ice Cream Sandwich Cake
Quick Overview
You’ll line a 9×13-inch pan with Ice Cream sandwiches, add a fluffy layer of Cool Whip, then alternate drizzles of chocolate and caramel sauces with chopped pecans and chocolate chips. Repeat the layers, cover, and freeze for at least 3–4 hours before slicing. That’s it! Total time: under 20 minutes active prep plus freezing.
Ingredients
- 24 vanilla ice cream sandwiches (thawed slightly if needed)
- 16 oz Cool Whip (thawed for easier spreading)
- ½ cup chocolate sauce
- ½ cup caramel sauce
- ½ cup pecans, chopped
- ⅓ cup mini chocolate chips
Step-by-Step Instructions
- Line the pan: Place 12 ice cream sandwiches on the bottom of a 9×13-inch baking dish. If they don’t fit perfectly, slice a couple in half—don’t worry, they’ll hold together once frozen.
- Add first Cool Whip layer: Spread half of the thawed Cool Whip evenly over the ice cream sandwiches.
- Drizzle sauces & add toppings: Pour about ¼ cup chocolate sauce over the Cool Whip, followed by ¼ cup caramel sauce. Sprinkle half the pecans and half the chocolate chips on top.
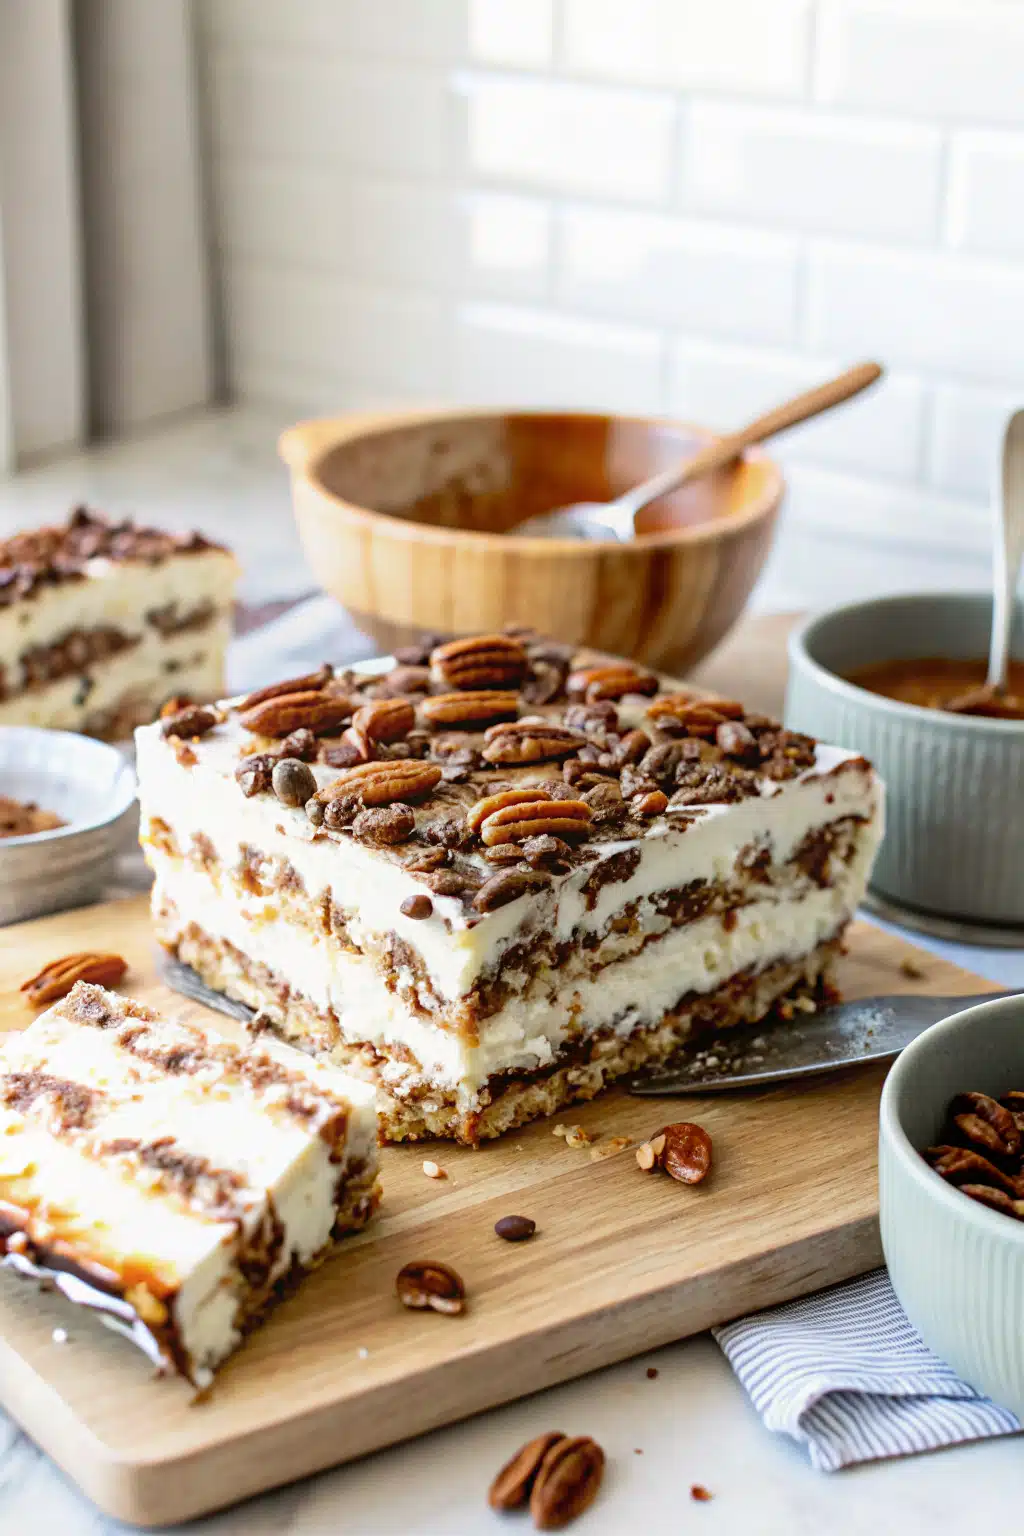
- Repeat layers: Add the remaining ice cream sandwiches (slice as needed), then spread the rest of the Cool Whip. Drizzle the leftover chocolate and caramel sauces, then finish with the remaining pecans and chocolate chips.
- Freeze & serve: Cover loosely with aluminum foil and freeze for 3–4 hours, or until firm. Slice into squares using a sharp knife dipped in hot water for clean cuts.
What to Serve It With
This cake stands beautifully on its own, but if you want to take it up a notch, pair it with a scoop of vanilla ice cream or a slice of chocolate cake nearby. A drizzle of Peanut Butter magic shell or extra caramel sauce just before serving makes it extra decadent. For brunch or holiday spreads, it also pairs wonderfully with coffee or milk—though honestly, who needs coffee when you’ve got this?
Top Tips for Perfecting Your Turtle Ice Cream Sandwich Cake
- Thaw the Cool Whip: Make sure your Cool Whip is fully thawed before using—it spreads much more smoothly that way.
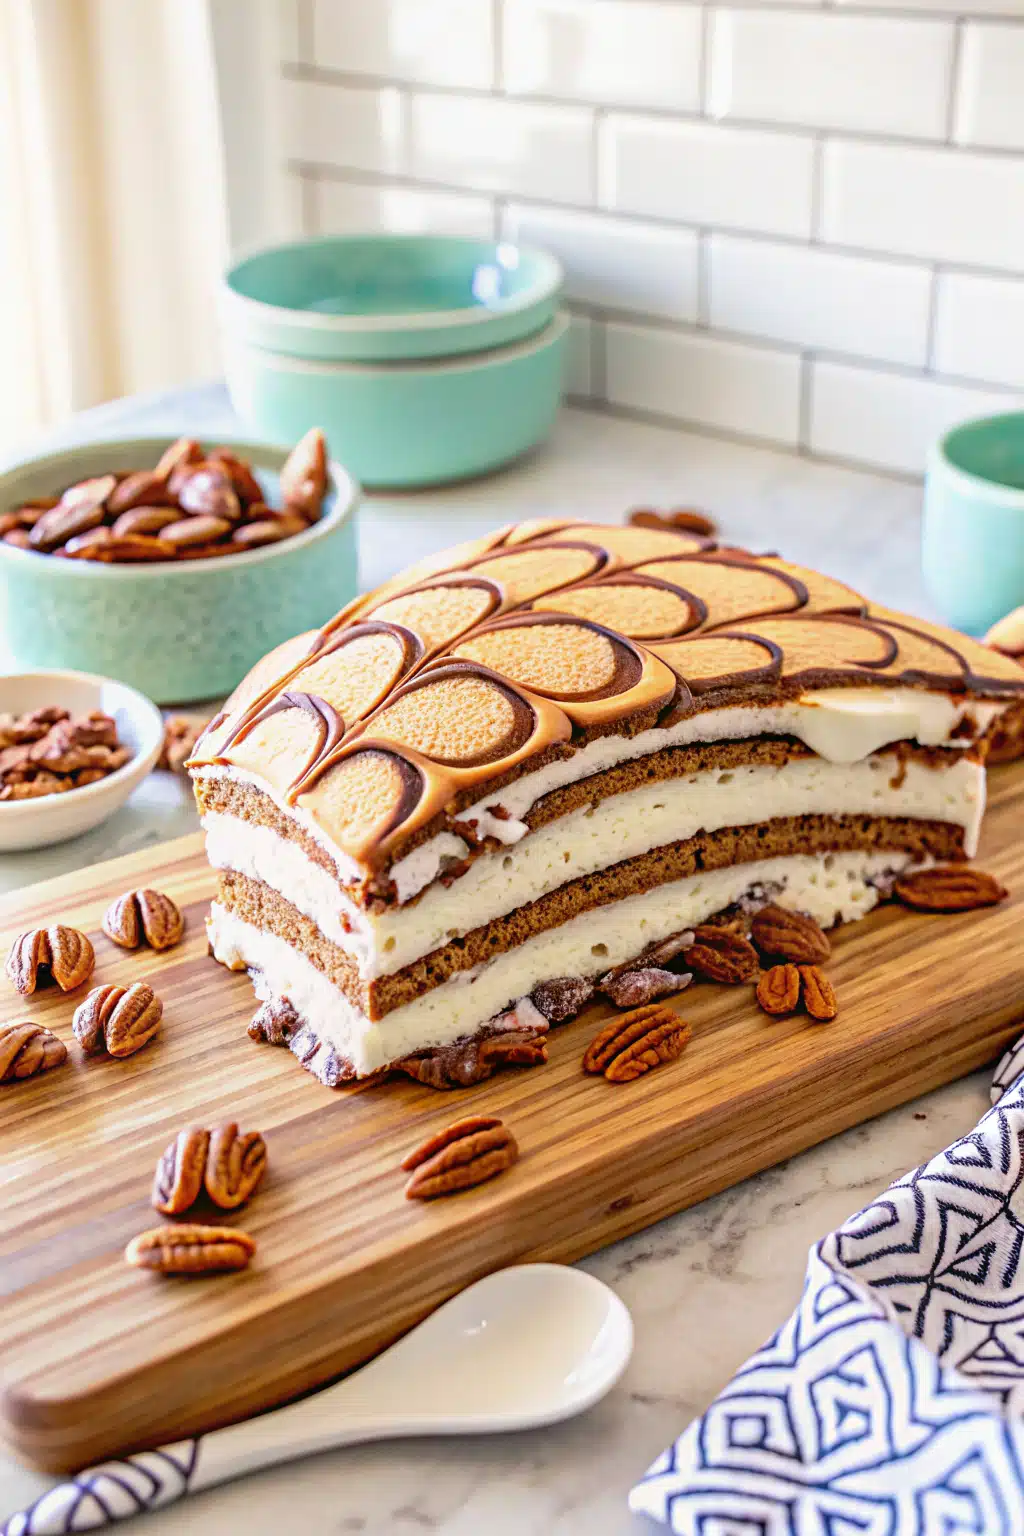
- Slice neatly: Run your knife under hot water, wipe it dry, and cut between layers for clean squares.
- Make ahead: Prep this up to a day in advance and store covered in the freezer. It actually tastes even better after a night chilling!
- Switch up flavors: Try brownie or Neapolitan ice cream sandwiches instead of vanilla for a fun twist.
- Nut-free option: Skip the pecans or swap them with crushed pretzels or sunflower seeds for a crunchy alternative.
Storing and Reheating Tips
Leftovers should be kept tightly wrapped in an airtight container in the freezer for up to 7 days. Don’t microwave it—this dessert is best enjoyed cold and fresh. If you notice condensation forming inside the container, simply pat the surface dry with a paper towel before re-serving. And yes, I’ve eaten this straight from the freezer weeks later and it was still delicious!
Frequently Asked Questions
“Made the Turtle Ice Cream Sandwich Cake tonight and wow — perfect weeknight dinner. Will definitely make again!”
Final Thoughts
This dessert has become a staple at our house—especially during scorching summer days when we need something cool, sweet, and effortless. It’s the kind of recipe that brings people together, whether it’s your kids helping layer the Cool Whip or guests raving about how “just like the candy bar” it tastes. So grab your favorite pan, gather those ingredients, and treat yourself to a slice of pure joy. Trust me, your taste buds (and your loved ones) will thank you.

Turtle Ice Cream Sandwich Cake
Ingredients
Main Ingredients
- 24 pieces ice cream sandwiches
- 16 oz Cool Whip (thawed)
- 0.5 cup chocolate sauce
- 0.5 cup caramel sauce
- 0.5 cup pecans (chopped)
- 0.33333333333333 cup mini chocolate chips
Instructions
Preparation Steps
- Line the bottom of a 9x13 inch pan with 12 ice cream sandwiches. You may need to slice one or two sandwiches to fit all into the pan.
- Spread half of the Cool Whip over the ice cream sandwich layer.
- Drizzle about 0.25 cup of the chocolate sauce over top of the Cool Whip followed by 0.25 cup of the caramel sauce. Sprinkle half of the pecans and half the chocolate chips over the top.
- Repeat the same steps with the remaining ingredients.
- Cover the baking dish loosely with aluminum foil and place in the freeze for 3 to 4 hours before serving. Slice into squares and enjoy.


