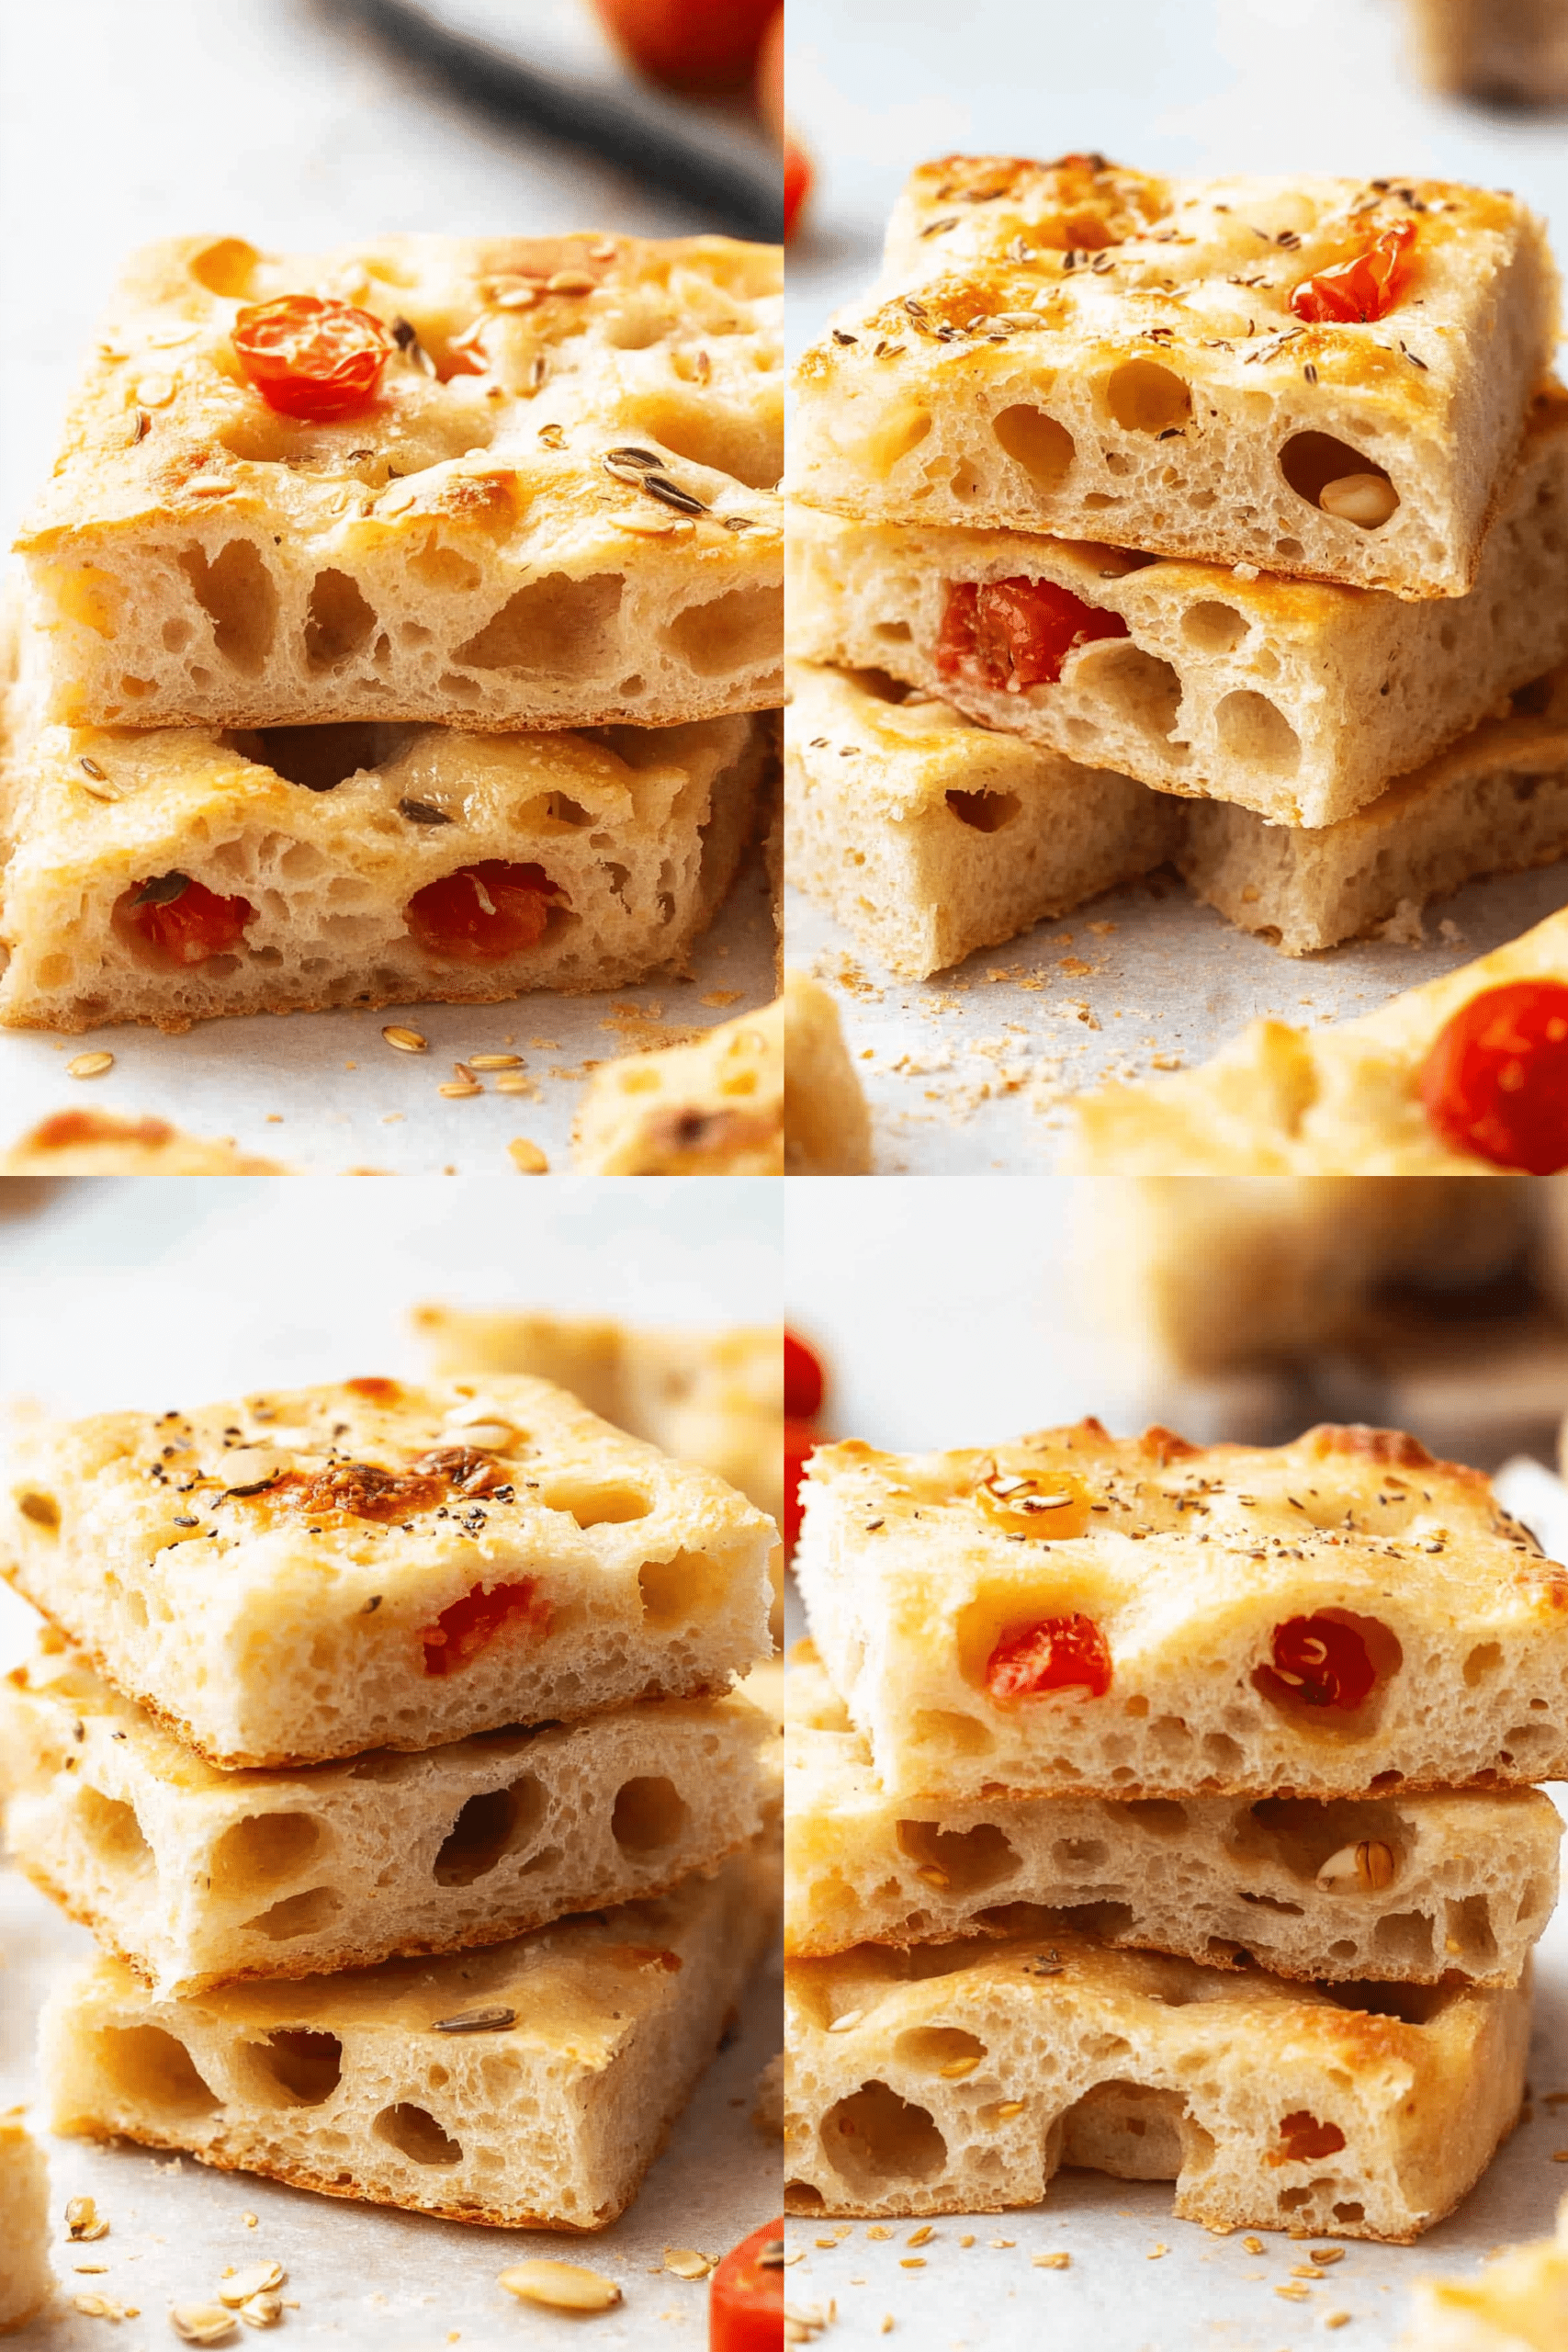
Oh, where do I even begin with Sweet Potato puree? It’s one of those things that feels like a warm hug in food form, you know? For me, it brings back memories of my grandma’s kitchen, the air thick with the sweet, earthy aroma as she’d whip up a batch for holiday dinners. But it’s not just a holiday star; this sweet potato puree is my absolute secret weapon for weeknight meals and even those late-night cravings when I need something satisfying but not overly complicated. Forget those store-bought versions that taste a bit… well, like not much at all. This homemade sweet potato puree is miles better, and honestly, it’s surprisingly simple. If you’ve ever thought about making your own baby food or just want a healthier, more delicious side dish, you’ve come to the right place. It’s like the unsung hero of the kitchen, adaptable and always a crowd-pleaser.
Thank you for reading this post, don't forget to subscribe!What is sweet potato puree?
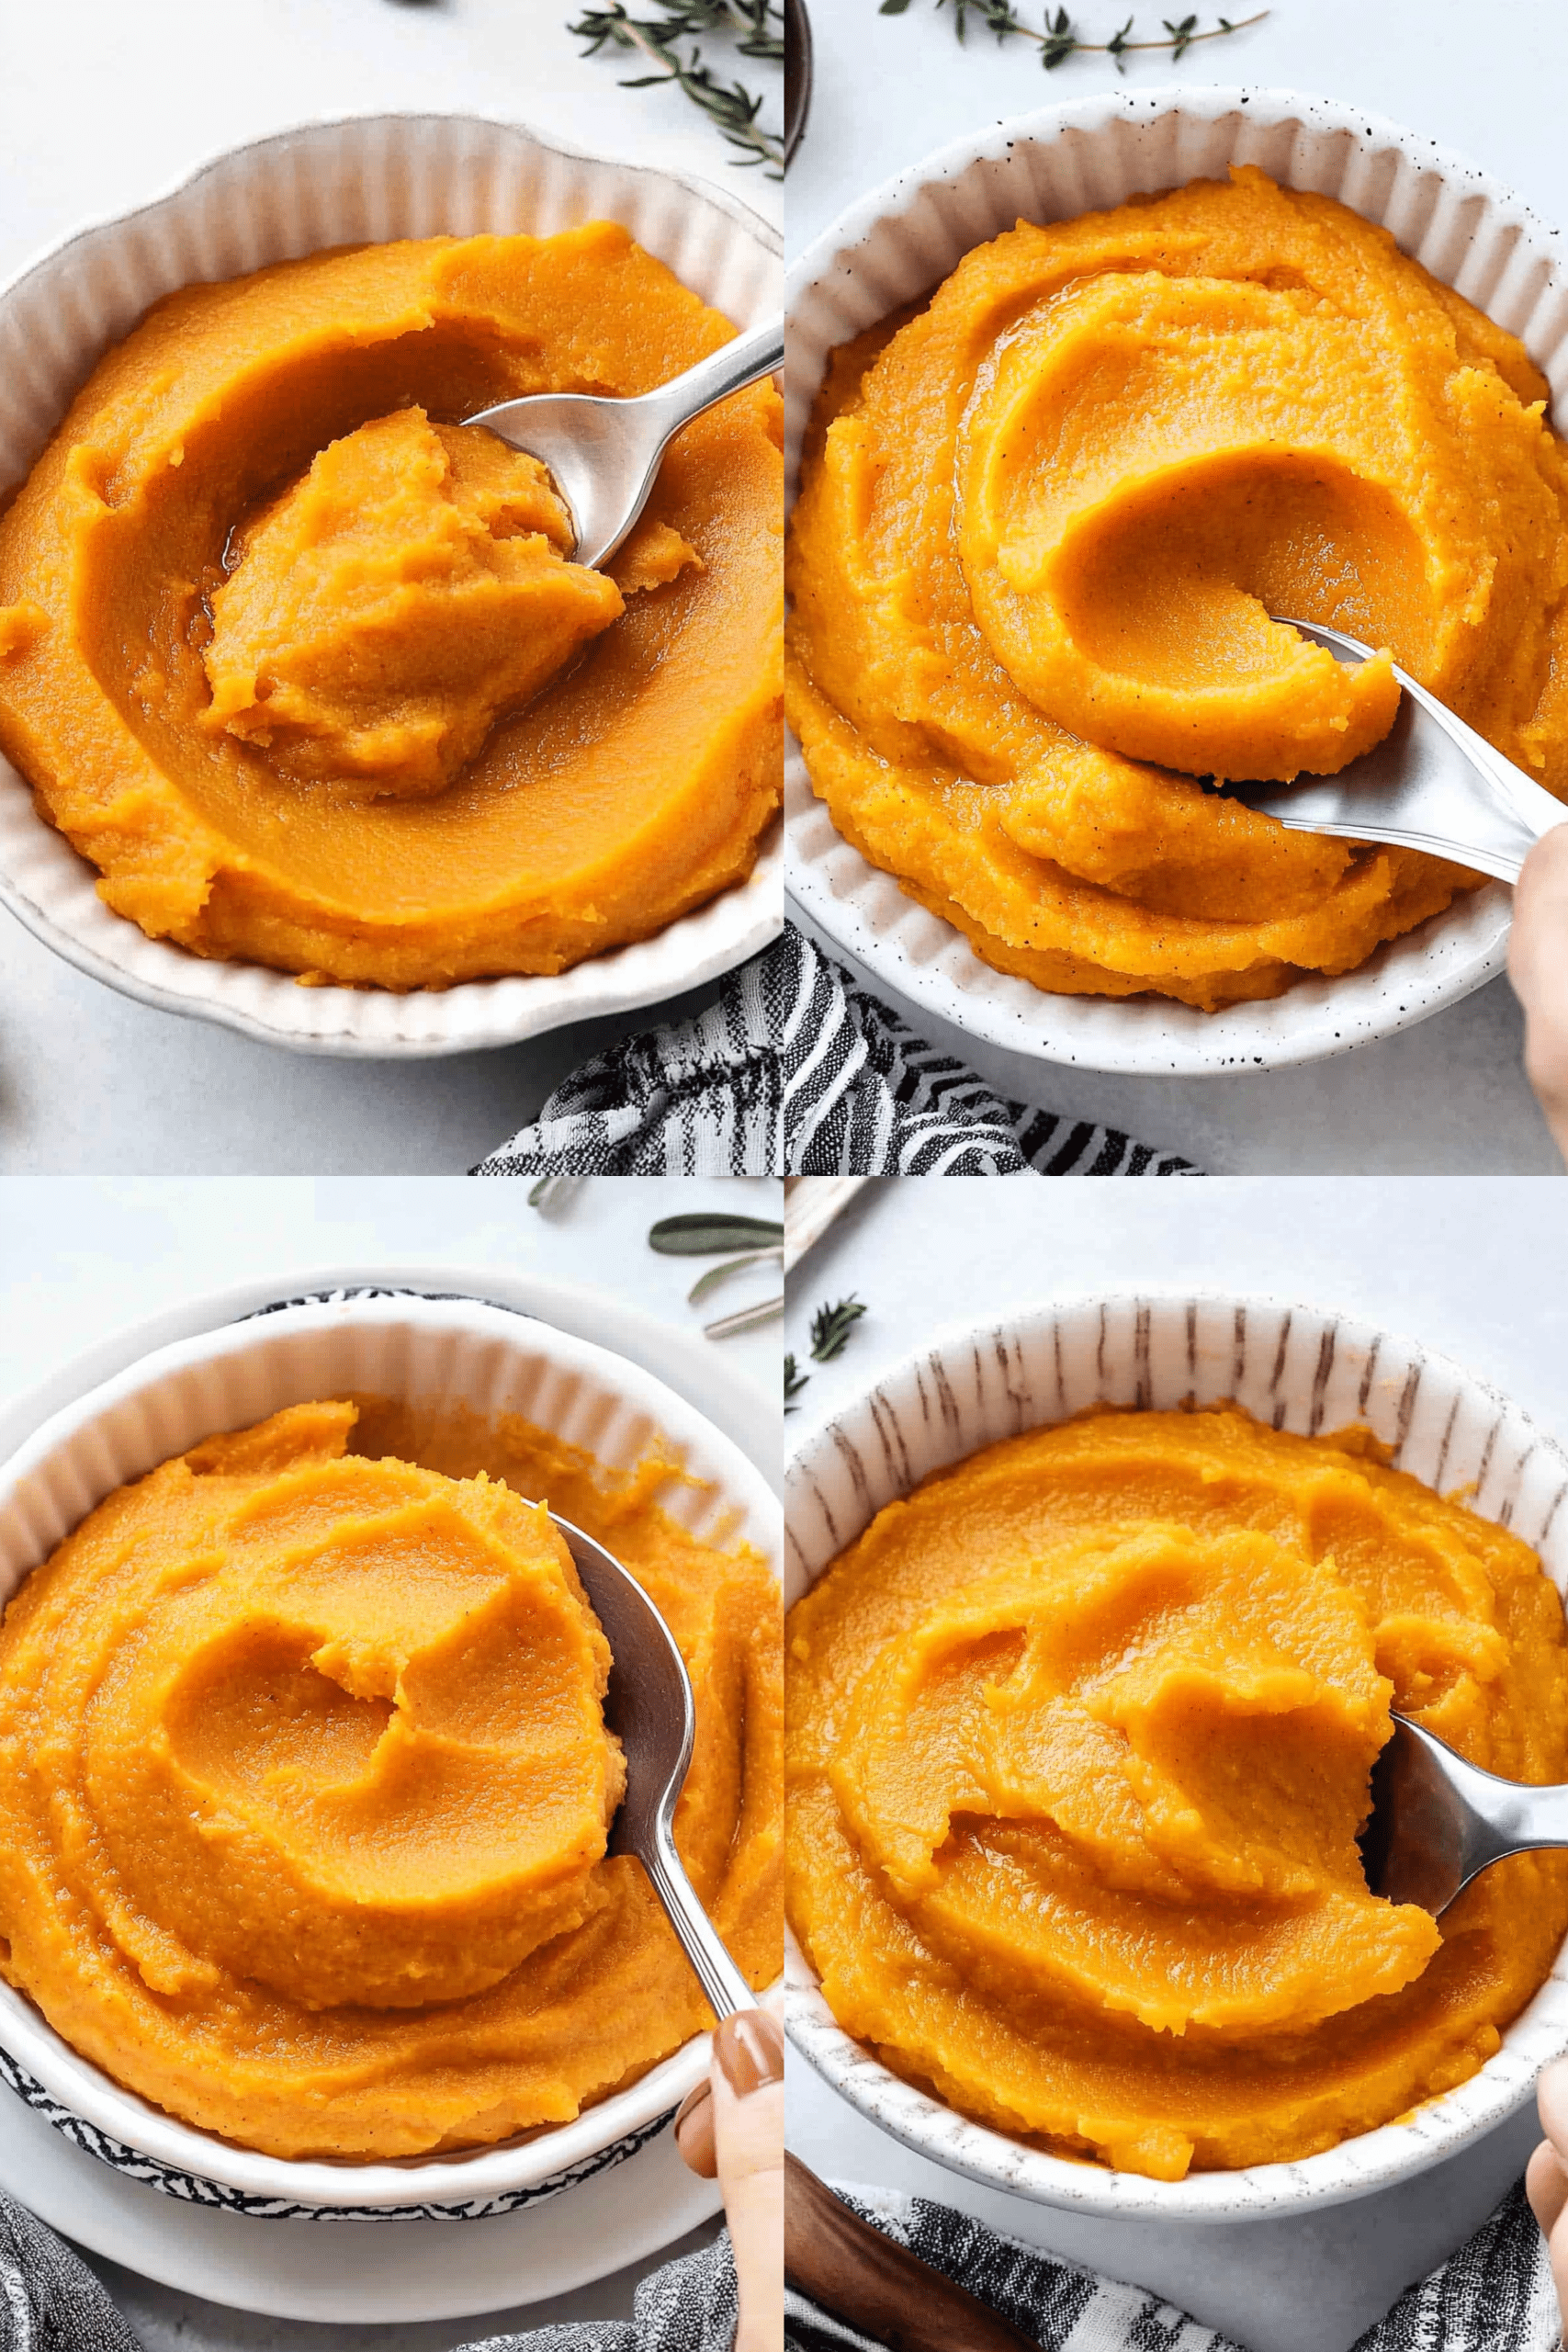
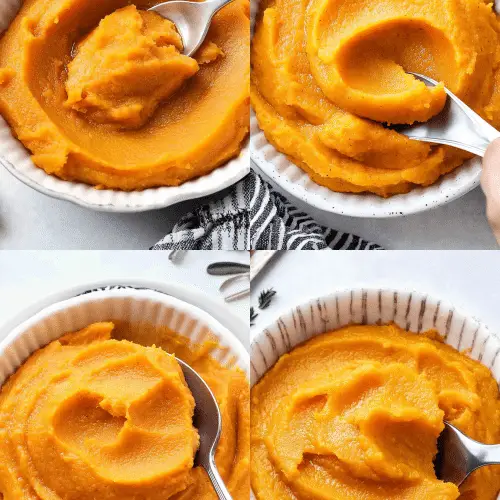
So, what exactly *is* sweet potato puree? At its heart, it’s exactly what it sounds like: cooked Sweet Potatoes, mashed or blended until they reach a wonderfully smooth, creamy consistency. Think of it as the ultimate blank canvas for flavor. It’s naturally sweet, thanks to those gorgeous orange tubers, and has a comforting, velvety texture that just melts in your mouth. The “puree” part is key – we’re not just mashing it with a fork until it’s lumpy. We’re aiming for that silken smoothness that makes it so versatile. It’s essentially the base for so many fantastic dishes, from baby food to elegant side dishes, and even some sneaky additions to baked goods. It’s that humble ingredient that punches way above its weight, bringing natural sweetness and a boost of nutrients without anyone even realizing it!
Why you’ll love this recipe?
Honestly, there are so many reasons this sweet potato puree recipe has earned a permanent spot in my recipe box, and I just know you’re going to feel the same way. First off, the FLAVOR. It’s this incredible balance of naturally sweet, earthy, and comforting. When you roast the Sweet Potatoes just right, they caramelize a bit, intensifying that sweetness and adding a depth that you just can’t get from boiling. It’s a flavor that satisfies that sweet craving without being dessert-level intense, making it perfect for any time of day. Then there’s the SIMPLICITY. I mean, it’s basically two ingredients: sweet potatoes and a little liquid. That’s it! Roasting them is mostly hands-off time, and blending is a breeze. Even on the busiest weeknights, I can whip this up. And let’s talk COST-EFFICIENCY. Sweet potatoes are usually super affordable, especially when they’re in season, making this a budget-friendly way to add a nutritious and delicious element to your meals. But the real magic? It’s the VERSATILITY. I use this sweet potato puree for everything! It’s fantastic as a simple side dish, a base for soups, a healthy addition to smoothies, or even as a binder in things like veggie burgers. It’s what I reach for when I want something nourishing and comforting. Compared to other side dishes, it’s so much more adaptable. It’s healthier than mashed potatoes with butter and cream (though I love those too!), and it feels a bit more special than plain steamed veggies. What I love most about this recipe is how it feels like such a treat, but it’s actually good for you. It’s a win-win!
How do I make sweet potato puree?
Quick Overview
Making this sweet potato puree is so straightforward, it almost feels like cheating! The secret is roasting the Sweet Potatoes – it brings out their natural sweetness and gives them an amazing depth of flavor that boiling just can’t replicate. We’ll roast them until they’re fork-tender, then scoop out the sweet flesh and blend it with a touch of liquid until it’s impossibly smooth. It’s a hands-off method that yields a superior texture and taste, perfect for everything from baby’s first food to a gourmet side dish. You’ll be amazed at how easy it is to achieve such a delicious result!
Ingredients
For the Main Batter:
4 large sweet potatoes (about 2 pounds total) – Look for sweet potatoes that feel heavy for their size and have smooth, unblemished skin. Jewel or Beauregard varieties are my favorites for their vibrant color and sweetness.
For the Creaminess & Flavor Boost:
2-4 tablespoons milk (dairy, almond, oat, or even coconut milk work wonderfully) – Start with less and add more as needed to reach your desired consistency. I’ve found almond milk gives it a wonderfully subtle richness.
“I don’t know if I’ve ever eaten a better sweet potato puree. The rub alone is wonderful, but the sauce??? Over the top!”
1-2 tablespoons unsalted butter or coconut oil (optional, for extra richness) – A little bit goes a long way to make it extra luxurious, but it’s delicious without it too!
Pinch of salt – This is crucial! Even though sweet potatoes are sweet, a little salt enhances all the other flavors and prevents it from tasting one-dimensional.
Pinch of cinnamon or nutmeg (optional, for added warmth) – Especially lovely if you’re serving this as a side dish or for breakfast.
Step-by-Step Instructions
Step 1: Preheat & Prep Pan
First things first, let’s get our oven hot! Preheat it to 400°F (200°C). While the oven is heating up, give your sweet potatoes a good scrub under running water. You don’t need to peel them for roasting – the skin helps them retain moisture and flavor. Prick each sweet potato a few times all over with a fork. This is super important to allow steam to escape while they’re baking, otherwise, they might burst! Line a baking sheet with parchment paper for easy cleanup (trust me on this one!). Place the pricked sweet potatoes on the prepared baking sheet, making sure they aren’t touching each other so they roast evenly. Let them bake for 45-60 minutes, or until they are very tender when pierced with a fork or knife. The time will vary depending on the size of your sweet potatoes, so keep an eye on them.
Step 2: Mix Dry Ingredients
This step isn’t really about mixing dry ingredients in the traditional sense since we’re roasting whole sweet potatoes. But it’s important to think about the seasonings we’ll add later. Once your sweet potatoes are roasted and tender, you’ll want to have your salt, and any optional spices like cinnamon or nutmeg, ready to go. I often have my salt shaker right on the counter, and if I’m feeling fancy, a little bowl with cinnamon. It just makes the process smoother when the potatoes are hot and ready for their flavor boost!
Step 3: Mix Wet Ingredients
For this recipe, the “wet ingredients” are essentially the liquid you’ll use to achieve that perfect puree consistency. Have your milk (dairy or non-dairy), and the optional butter or coconut oil, measured out and ready. I usually warm my milk up *very* slightly – just lukewarm. It helps everything emulsiprettyfy better and prevents cooling down the hot sweet potato too much. If you’re using butter or coconut oil, have that ready to go too. It’s good to have options because you can adjust the richness and creaminess based on what you have on hand and your personal preference. This is where we control how smooth and luxurious our puree becomes.
Step 4: Combine
This is where the magic happens! Once your sweet potatoes are roasted and cool enough to handle (be careful, they’ll be hot!), slice them in half lengthwise. Use a spoon to scoop out all that gorgeous, fluffy sweet potato flesh into a food processor or a high-powered blender. Discard the skins (or save them for another use!). Add about 2 tablespoons of your chosen milk, the pinch of salt, and any optional spices. Start by blending on low speed, then gradually increase to high. Blend until the mixture is completely smooth and creamy, with no lumps. If it’s too thick for your liking, add more milk, one tablespoon at a time, until you reach your desired consistency. Taste and adjust seasoning if needed – maybe it needs another tiny pinch of salt or a whisper more cinnamon. Blend until perfectly smooth!
Step 5: Prepare Filling
This recipe doesn’t really have a separate “filling” in the traditional sense, as the sweet potato puree is the star. However, if you were making something like sweet potato pies or stuffed sweet potatoes, you’d prepare your filling ingredients here. For our simple puree, you can think of the *seasoning* as the “filling” that enhances the base. So, this step is really about having your salt, spices, and any extra richness (butter/oil) ready to be incorporated into the sweet potato flesh. It’s all about building those delicious layers of flavor into the main component.
Step 6: Layer & Swirl
Again, for a straightforward sweet potato puree, there isn’t a “layer and swirl” step. This usually applies to recipes like cakes or casseroles where you’re combining different components visually. Our goal here is a uniform, smooth puree. If you were making a dish where you wanted a swirl, you might take a portion of the puree, mix it with cocoa powder or another flavor, and then swirl it into the main batch. But for pure, unadulterated sweet potato goodness, we’re aiming for one beautiful, consistent color and texture!
Step 7: Bake
The baking happens *before* we make the puree! As mentioned in Step 1, we preheat the oven to 400°F (200°C) and bake the sweet potatoes for about 45-60 minutes, or until they are tender when pierced with a fork. This roasting step is crucial for developing that deep, caramelized sweetness. You want them to be really soft, so the flesh easily scoots out of the skin. If your sweet potatoes are on the larger side, they might take a bit longer, so don’t be afraid to let them roast until they feel truly cooked through and almost falling apart.
“Made the sweet potato puree tonight and wow — perfect weeknight dinner. Will definitely make again!”
Step 8: Cool & Glaze
After roasting, let the sweet potatoes cool just enough so you can handle them without burning yourself – usually about 10-15 minutes. This is important because you don’t want to get steam trapped in your blender or food processor, which can affect the texture. Once cooled slightly, scoop out the flesh and proceed with blending as described in Step 4. There’s no “glaze” in this recipe because the puree itself is the final product! However, if you were serving this puree as a side and wanted to dress it up, you could drizzle a little melted butter, a touch of maple syrup, or even some toasted pecans over the top right before serving. But honestly, it’s perfection just as it is.
Step 9: Slice & Serve
Once your sweet potato puree is blended to silky perfection, it’s ready to be served! You can transfer it to a serving bowl. If you like, you can gently swirl the top with the back of a spoon for a bit of presentation. For a simple, elegant side dish, a warm bowl of this sweet potato puree is ideal. It’s delicious served immediately while still warm. It also holds up beautifully if you need to make it a bit ahead of time and gently reheat it. I love serving it in small ramekins or a pretty serving dish. It’s that simple, yet so satisfying!
What to Serve It With
This sweet potato puree is honestly the Swiss Army knife of side dishes! It fits into almost any meal and occasion. For BREAKFAST, I often swirl a spoonful into my oatmeal or pancake batter for a hidden boost of nutrients and a lovely subtle sweetness. It’s also delicious served alongside scrambled eggs or a simple breakfast sausage. For BRUNCH, it feels a little more elegant. I’ll often serve it in small individual portions, perhaps topped with a sprinkle of toasted pumpkin seeds or a tiny drizzle of maple syrup, alongside roasted chicken, a beautiful frittata, or even some smoked salmon. It adds a lovely color and a touch of sweetness that complements savory dishes perfectly. As DESSERT, it’s pure magic. You can use it as a base for a healthier pie filling, or simply serve a warm portion topped with a dollop of whipped cream and a sprinkle of cinnamon. It’s incredibly comforting after a long day. And for COZY SNACKS? This is where it shines for me. If I’m feeling peckish in the afternoon or need something to tide me over before dinner, a small bowl of warm sweet potato puree is just the ticket. It’s satisfying, naturally sweet, and feels like a real treat. My family traditions often involve this puree at Thanksgiving and Christmas, but I find myself making it year-round because it’s just that good and so adaptable. It’s truly a lifesaver when you need a nutritious and delicious component for almost any meal.
Top Tips for Perfecting Your Sweet Potato Puree
I’ve made this sweet potato puree countless times, and over the years, I’ve picked up a few little tricks that I think make a big difference. First, on ZUCCHINI PREP – wait, I mean SWEET POTATO PREP! (See? Even I get them mixed up sometimes!). My biggest tip is to roast them, not boil. Boiling sweet potatoes can make them watery, and we want that concentrated, sweet flavor. Roasting them whole, as I described, locks in all the goodness. Also, make sure they are *really* tender before you scoop the flesh out. If they’re still a bit firm, they won’t puree as smoothly. For MIXING ADVICE, the key is patience and not over-blending. Start on a lower speed in your food processor or blender, then increase. You’re looking for that silky smooth texture. If you over-blend, especially in a high-powered blender, you can sometimes break down the starches too much, which can make it a bit gummy. So, blend until smooth, then stop. When it comes to SWIRL CUSTOMIZATION, if you decide to get fancy, remember that adding other ingredients can change the consistency. If you’re swirling in something like cocoa powder, you might need to adjust the liquid slightly to keep things uniform. For ingredient swaps, I’ve tested this extensively! If you’re out of dairy milk, any plant-based milk works beautifully. I’ve even used a splash of broth in a savory version, though for the classic sweet puree, milk is best. Coconut milk adds a subtle tropical note, which is lovely. If you want it richer, a bit of cream cheese stirred in at the end is divine. For BAKING TIPS, remember that ovens vary! My 400°F might be hotter or cooler than yours. The best doneness test is the fork-tender one. If they’re not soft, they won’t puree well. Trust your oven and your sweet potatoes. Lastly, for GLAZE VARIATIONS (if you decide to add something on top), keep it simple. A sprinkle of cinnamon, a drizzle of honey or maple syrup, or a few toasted nuts are all wonderful. I’ve found that adding too much liquid or sugar on top can sometimes make the puree seem overly sweet, so a little restraint goes a long way. Remember, the natural sweetness of the roasted sweet potato is the star!
Storing and Reheating Tips
This sweet potato puree is fantastic for making ahead of time, which is a lifesaver for me. For STORAGE AT ROOM TEMPERATURE, I usually only do this if it’s going to be served within a couple of hours, especially if it’s warm out. Just keep it covered in a sealed container to prevent it from drying out or picking up any stray smells from the kitchen. For REFRIGERATOR STORAGE, this is where it really shines. Once cooled completely, transfer the puree to an airtight container. It will stay fresh and delicious in the fridge for about 3-4 days. I often make a big batch on Sunday and use it throughout the week for various meals. If you want to FREEZER INSTRUCTIONS, it freezes incredibly well! Let the puree cool completely, then portion it into freezer-safe containers or heavy-duty freezer bags. You can freeze it for up to 3 months. To thaw, transfer it to the refrigerator overnight. For THAWING METHODS, the slow thaw in the fridge is best for maintaining texture. Once thawed, you might need to give it a quick stir or a very brief blitz in the blender if it looks a bit separated. For GLAZE TIMING ADVICE, if you’re planning on adding any finishing touches like a drizzle of maple syrup or a sprinkle of cinnamon, it’s always best to do that *after* reheating, right before serving, to keep those toppings fresh and appealing. Applying a glaze or topping too early can sometimes make it soggy or lose its impact.
Frequently Asked Questions
Final Thoughts
There you have it – my go-to sweet potato puree recipe! It’s honestly one of those recipes that just makes me feel good. It’s so nourishing, wonderfully comforting, and surprisingly versatile. Whether you’re looking for a healthy addition to your baby’s diet, a simple yet elegant side dish for dinner, or even a secret ingredient for your baking adventures, this sweet potato puree is a winner. It proves that the most delicious things don’t have to be complicated. I truly hope you give this a try and that it becomes as much of a staple in your kitchen as it is in mine. If you’re a fan of sweet potato goodness, you might also love my Roasted Sweet Potato Fries or my Sweet Potato Black Bean Burgers – they use this puree as a fantastic base! I can’t wait to hear how yours turns out, so please leave a comment below and let me know what you think, or share any creative ways you’ve used your sweet potato puree. Happy cooking!
Sweet Potato Puree
Ingredients
Main Ingredients
- 2 pounds sweet potatoes
- 0.5 cup water
- 2 tablespoons unsalted butter (optional)
- 0.25 teaspoon cinnamon (optional)
Instructions
Preparation Steps
- Preheat your oven to 400°F (200°C).
- Wash the sweet potatoes thoroughly. Pierce them several times with a fork.
- Place the sweet potatoes on a baking sheet and bake for 45-60 minutes, or until fork-tender.
- Let the sweet potatoes cool slightly, then slice them in half lengthwise. Scoop out the flesh into a bowl.
- In a saucepan, combine the sweet potato flesh and water. Bring to a simmer over medium heat.
- Cook for about 5-10 minutes, stirring occasionally, until the sweet potatoes are very soft. Mash them with a fork or potato masher.
- For a smoother puree, transfer the mixture to a blender or food processor and blend until smooth. Add the butter and cinnamon, if using, and blend again.
- Serve warm.