Homemade Rice Krispie Treats Recipe: The Sweetest Way to Make Memories
There’s something undeniably comforting about the classic Rice Krispie Treats recipe. Whether you’re making them for a school bake sale, a potluck, or just because it’s Tuesday and you deserve a little sweetness, these chewy, gooey squares are an instant crowd-pleaser. I remember making my first batch in my mom’s kitchen as a kid—the sticky marshmallows, the crunch of cereal, and the way the whole house smelled like pure joy. That’s the magic of this simple recipe: it brings people together, one bite at a time.
Thank you for reading this post, don't forget to subscribe!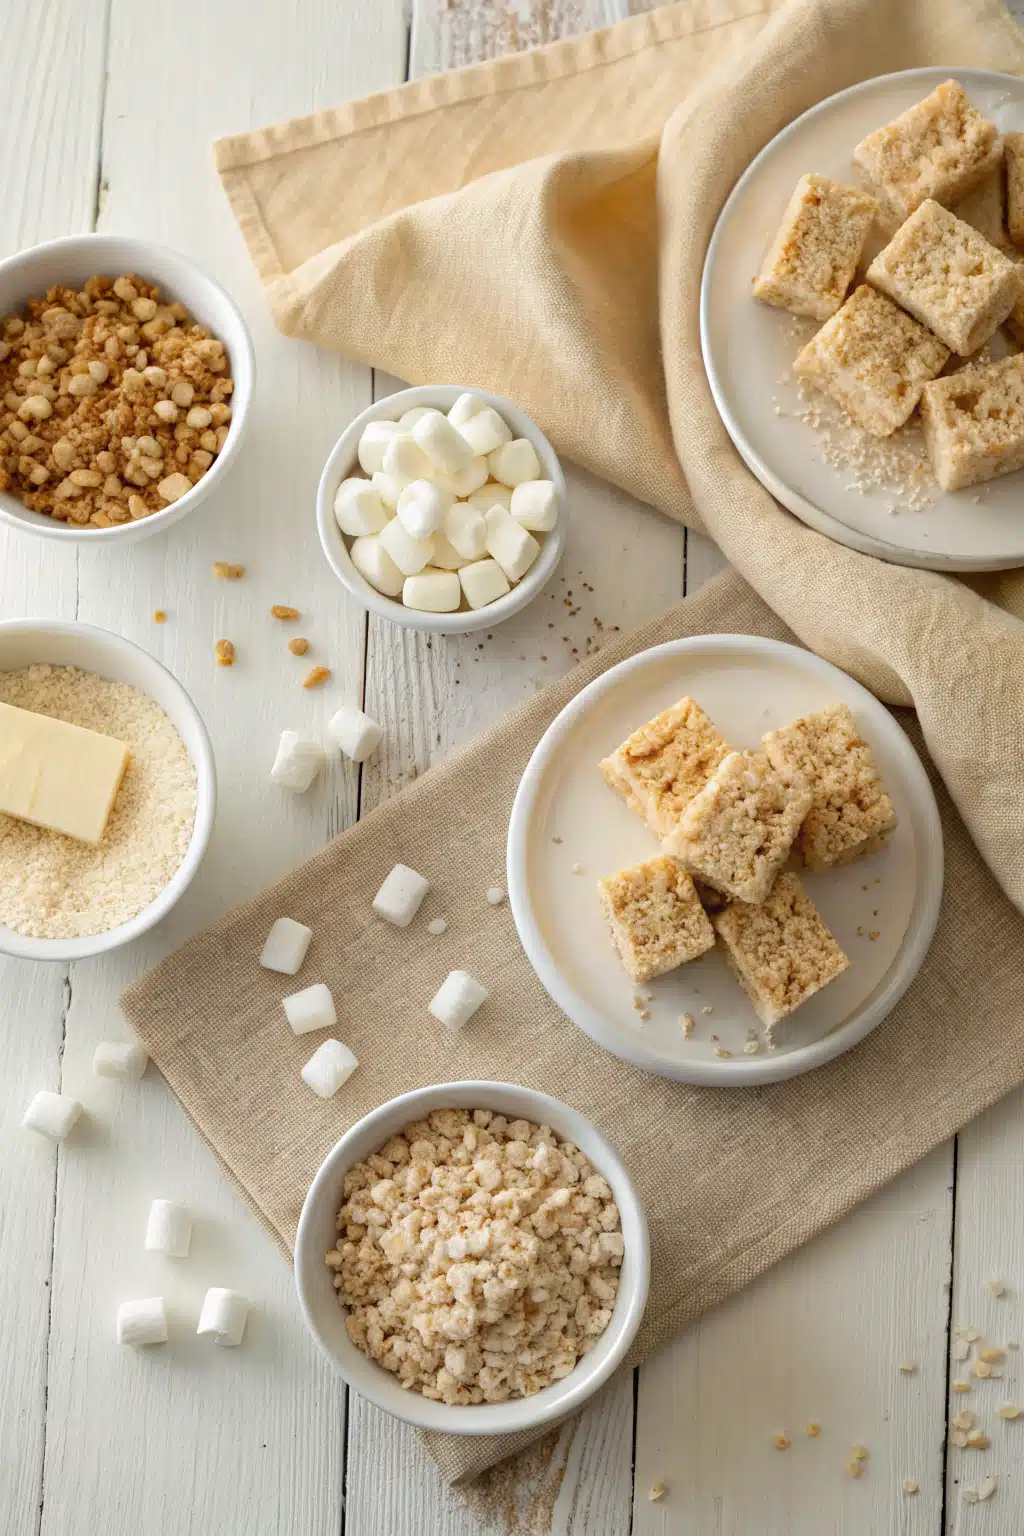
What Is Rice Krispie Treats?
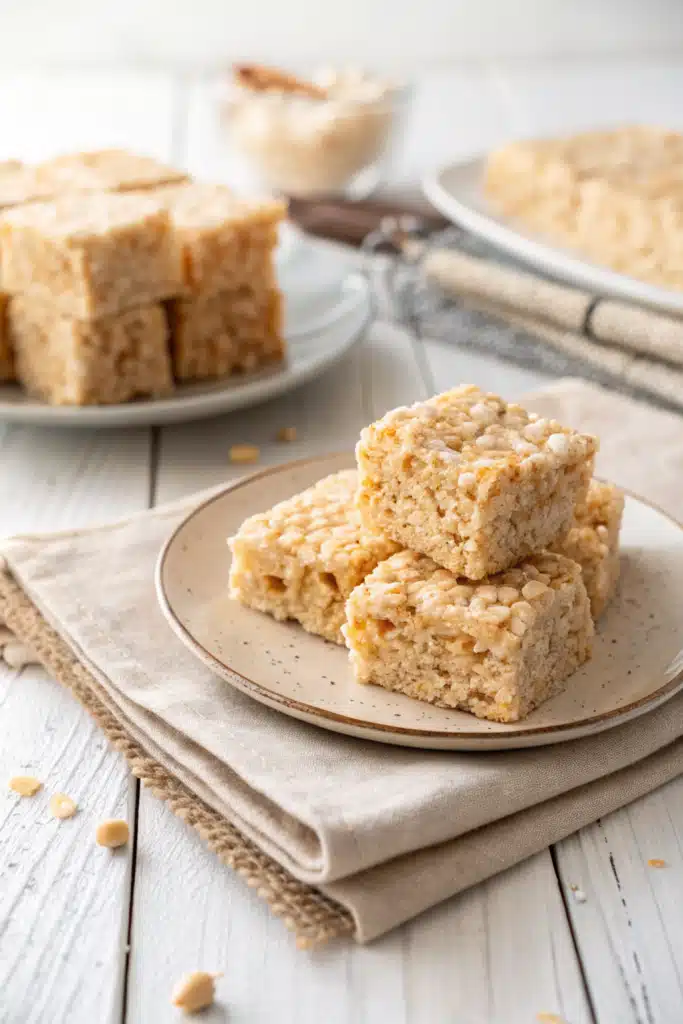
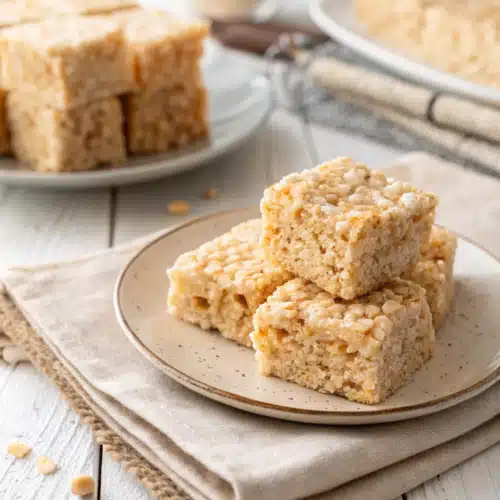
Rice Krispie Treats are a beloved no-bake snack made primarily from puffed rice cereal, marshmallows (or marshmallow crème), and butter. When melted together, they create a soft, chewy texture that melts in your mouth with every bite. They’re not too sweet, hold their shape well, and can be customized with sprinkles, chocolate drizzle, or even nuts. Originating in the mid-20th century, this treat has become a staple at family gatherings, classroom parties, and dessert tables across America. It’s the kind of recipe that feels both nostalgic and timeless—simple ingredients, maximum flavor, zero complicated steps.
Why You’ll Love This Recipe
If you’ve ever been skeptical about how such a simple combination could taste so good, let me change your mind. First off—this recipe is incredibly easy. There’s no oven required, no precise baking temps, and cleanup is a breeze. You just melt butter and marshmallows on the stove, stir in your cereal, press into a pan, and chill. In under 30 minutes from start to finish, you’ll have golden-brown, cloud-like treats ready to enjoy.
Another reason to fall in love with this recipe? Customization! Want festive holiday treats? Add red and green sprinkles. Going for something richer? Stir in Mini Chocolate chips. Craving a nutty twist? Toast some chopped almonds before folding them in. And if you’re feeling fancy, layer it with frosting or dip half in melted chocolate for serious dessert status.
But beyond all the practical perks, there’s an emotional connection here. These treats remind us of simpler times—of helping Grandma in the kitchen, of sharing snacks with friends after school, of moments when life felt sweet and uncomplicated. Plus, they travel well, keep nicely at room temperature, and never, ever last long once served.
How to Make Rice Krispie Treats
Quick Overview
This recipe yields about 24 generous squares and takes just 15 minutes of active prep time. All you need are basic pantry staples: puffed rice cereal, large marshmallows (or marshmallow creme for extra chew), butter, and optional mix-ins like sprinkles or chocolate. No mixer, no special tools—just a big saucepan and a sturdy spatula.
Ingredients
- 3 tablespoons unsalted butter
- 1 package (about 10 oz) large marshmallows (or 10 cups mini marshmallows)
- 1 teaspoon vanilla extract (optional but recommended)
- 6 cups Rice Krispies cereal
- Optional add-ins: ½ cup sprinkles, ¾ cup chocolate chips, ½ cup chopped nuts
“New family favorite! This Rice Krispie Treats was so flavorful and ridiculously easy. Crowd-pleaser for sure.”
Step-by-Step Instructions
Step 1: Preheat & Prep Pan
Lightly grease a 9×13-inch baking dish with nonstick spray or line it with parchment paper for easy removal later. Set aside—this will save you from a sticky mess!
Step 2: Melt Butter and Marshmallows
In a large, heavy-bottomed saucepan over low heat, melt the butter. Once melted, add all the marshmallows and stir constantly until completely smooth and glossy. If using regular marshmallows, it may take 5–7 minutes; if you opt for mini ones, they’ll melt faster. Be patient—low and slow prevents burning.
Step 3: Add Vanilla and Mix-Ins
Remove the pan from heat and stir in vanilla extract. If you’re adding sprinkles, chocolate chips, or nuts, fold them in now while the mixture is still warm—they’ll stick better.
Step 4: Fold in Cereal
Working quickly, gently stir in the Rice Krispies cereal until every piece is evenly coated. The mixture will be thick and sticky—that’s exactly what we want!
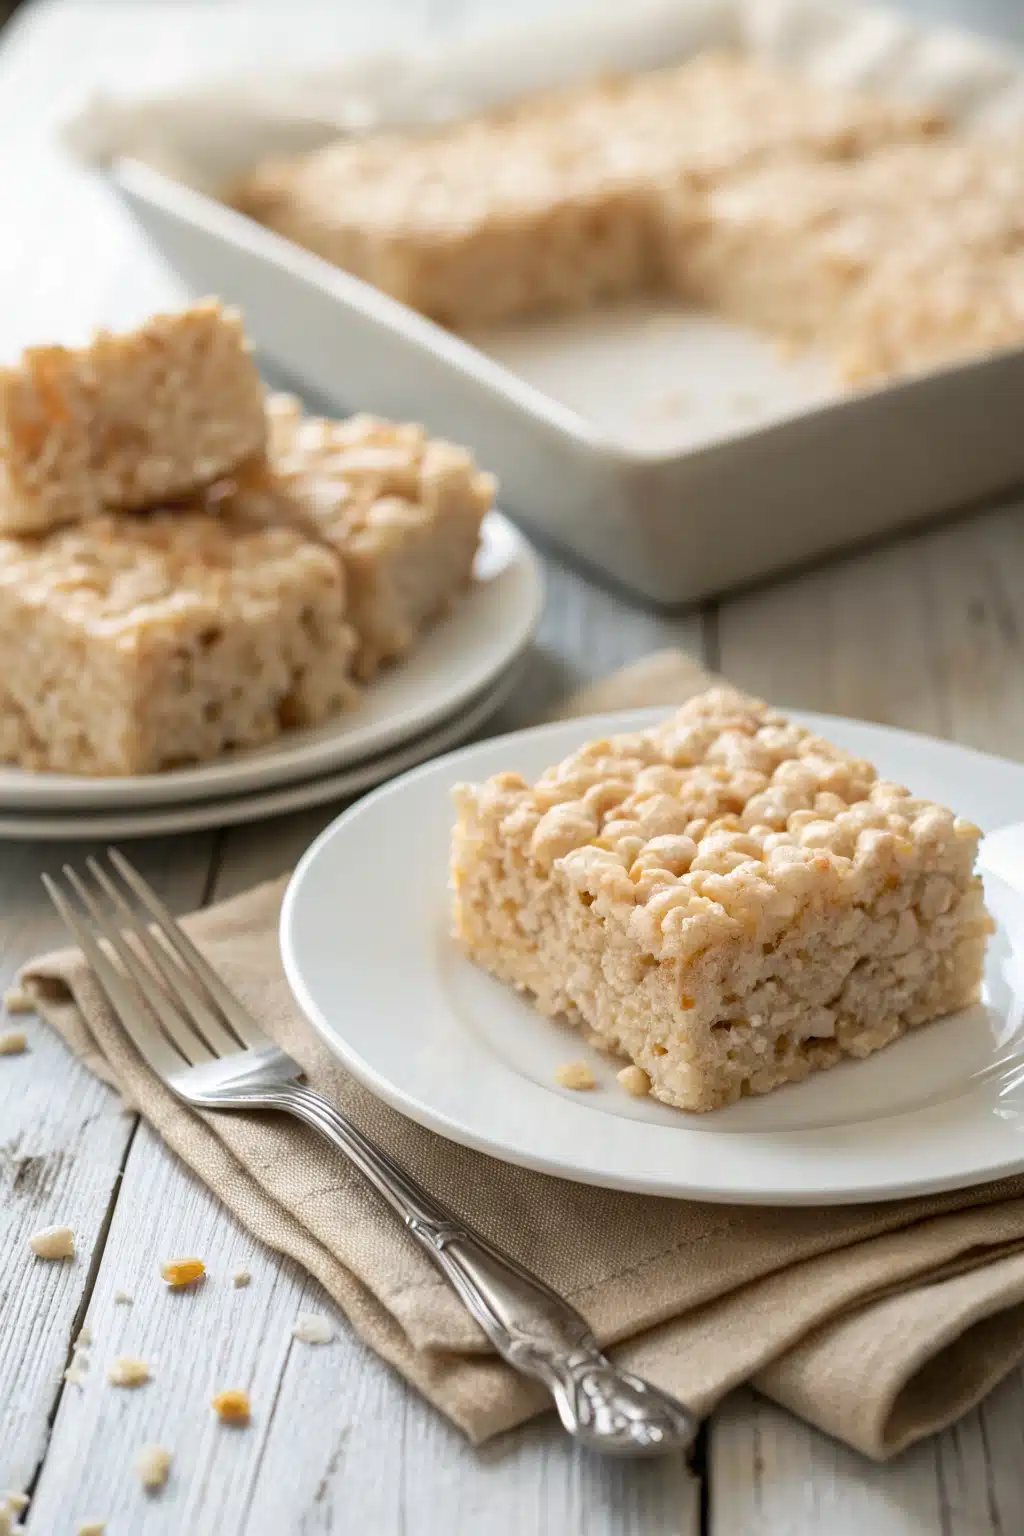
Step 5: Press Into Pan
Transfer the mixture to your prepared baking dish. Use a lightly greased spatula or your hands (dipped in butter or sprayed with cooking spray) to press it down firmly and evenly. Smooth the top as much as possible for uniform slices later.
Step 6: Cool and Cut
Let the treats cool at room temperature for at least 30 minutes before cutting. For cleaner edges, wipe your knife clean between cuts. Store leftovers covered at room temperature for up to 5 days.
What to Serve It With
Rice Krispie Treats shine as standalone desserts, but pairing them with other classics elevates the experience. Try serving them alongside a tall glass of cold milk—it’s almost like childhood all over again! For a grown-up version, pair with a scoop of vanilla Ice Cream or a dollop of whipped cream. They also make excellent additions to picnic baskets, lunchboxes, or dessert platters at celebrations.
Top Tips for Perfecting Your Rice Krispie Treats
Want your treats to be absolutely perfect? Here are my pro secrets:
- Use room-temperature ingredients—especially marshmallows—for easier melting.
- Don’t rush the cooling process—cutting too soon leads to crumbling.
- Grease your tools—whether it’s your hands or spatula—to prevent sticking.
- Experiment with textures—try crushed graham crackers instead of cereal for added crunch.
- Make it colorful—use gel food coloring to tint the marshmallow mixture before adding cereal.
Storing and Reheating Tips
These treats are best enjoyed within 2–3 days for optimal texture. Keep them in an airtight container at room temperature—never refrigerate unless necessary, as refrigeration can dry them out. If you do find yourself needing to revive slightly stale treats, place them in a sealed bag with a slice of apple overnight; the moisture helps restore freshness. Microwave a single square for 10 seconds if you prefer them warm and gooey.
“The Rice Krispie Treats turned out amazing. My kids asked for seconds. Saving this one!”
Frequently Asked Questions
Final Thoughts
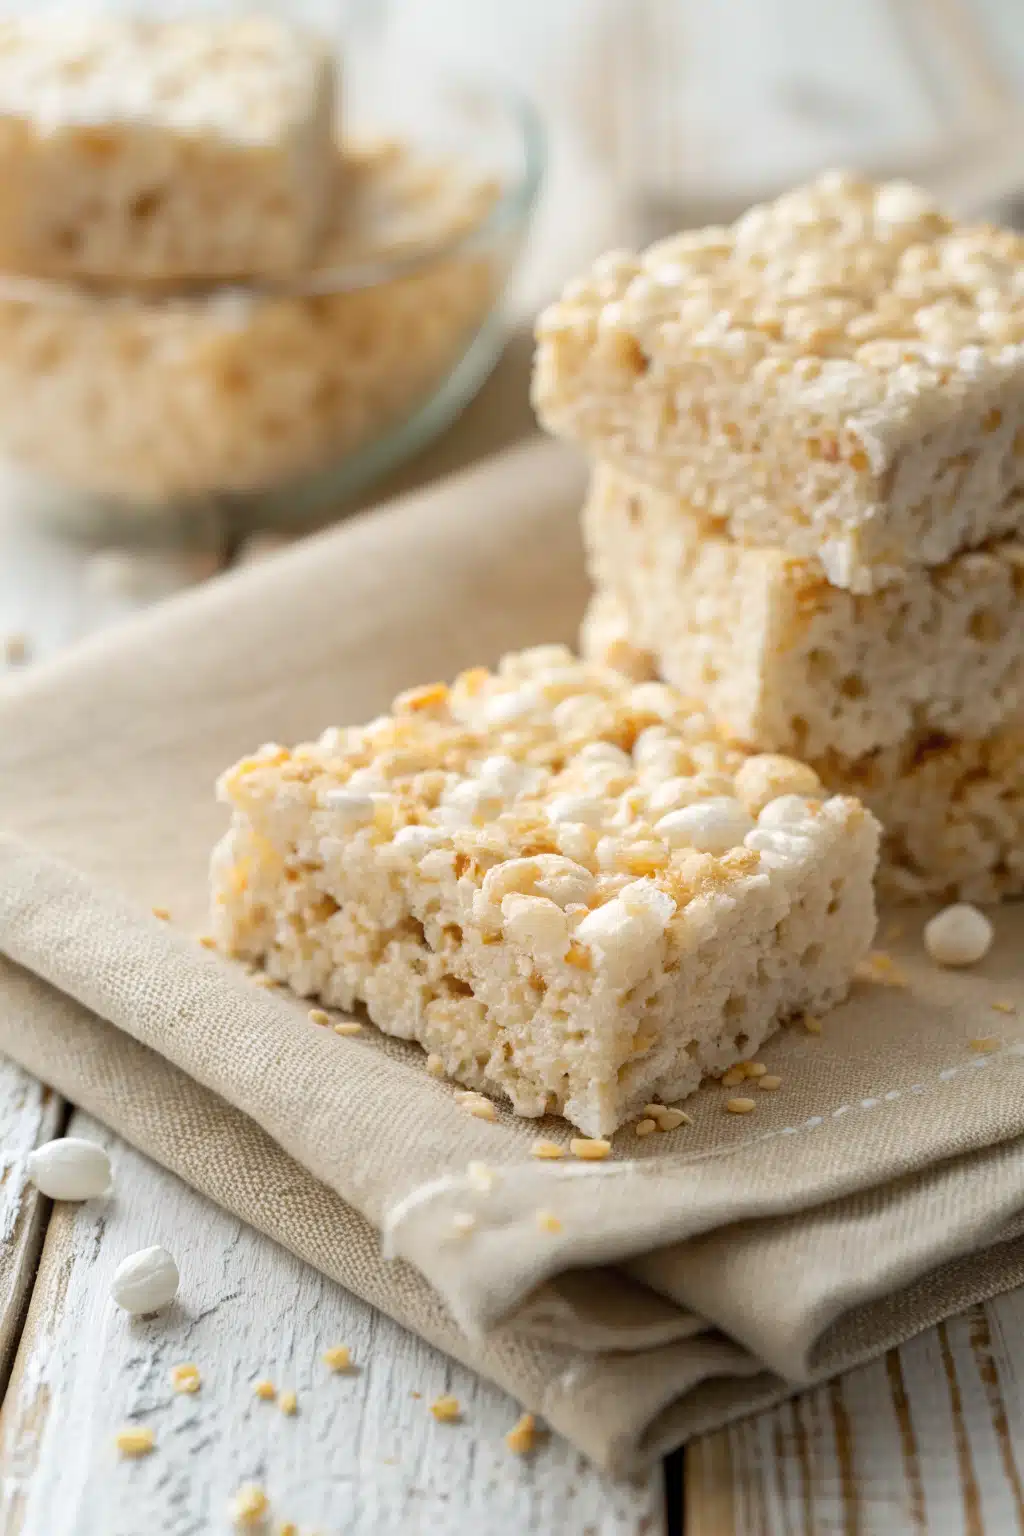
There’s a reason Rice Krispie Treats have stood the test of time—they’re simple, delicious, and bring pure happiness in every bite. Whether you’re making them for a loved one or treating yourself, this recipe is guaranteed to hit the spot. So grab those marshmallows, fire up the stove, and get ready to create something truly magical. After all, the best recipes aren’t just about taste—they’re about memory, love, and the joy of sharing.
Classic Rice Krispie Treats
Ingredients
Main Ingredients
- 3 tablespoons unsalted butter
- 10 oz marshmallows
- 1 teaspoon vanilla extract
- 6 cups Rice Krispies Cereal
Instructions
Preparation Steps
- Line a 9x13-inch baking dish with parchment paper or lightly grease it.
- In a large saucepan over low heat, melt the butter.
- Add the marshmallows and stir constantly until completely melted and smooth.
- Remove from heat and stir in the vanilla extract.
- Pour the mixture into a large bowl and fold in the Rice Krispies Cereal until evenly coated.
- Press the mixture firmly into the prepared baking dish using a spatula or your hands.
- Let cool for about 30 minutes before cutting into squares.


