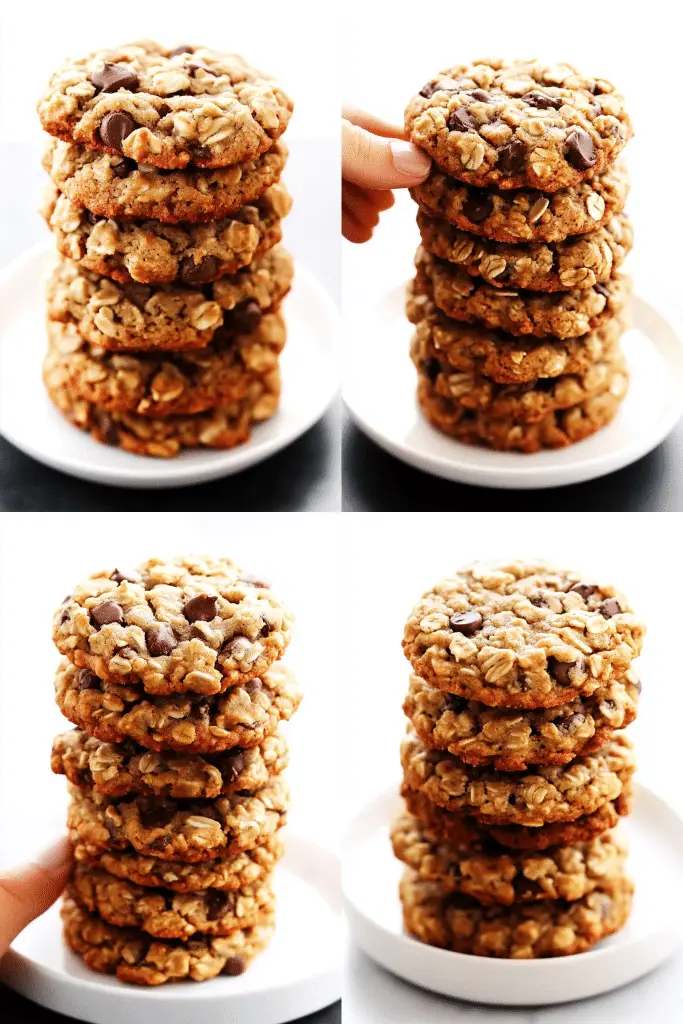
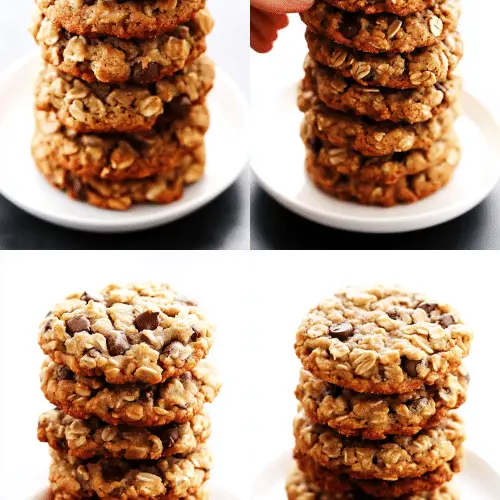
Oh, where do I even begin with these cookies? They’re not just any cookies, you know? They’re the kind that fill your kitchen with the most heavenly scent, the kind that make your entire family stop what they’re doing and gather around the oven, practically vibrating with anticipation. These are my go-to, my absolute favorite, the chewy oatmeal cookies that have seen me through countless bake sales, last-minute playdate snacks, and late-night cravings. I’ve tried so many oatmeal cookie recipes over the years, searching for that perfect balance of soft, chewy centers and slightly crisp edges, and let me tell you, this one? This one is IT. Forget those dry, crumbly disasters; these oatmeal cookies are pure magic in every bite. They’re like a warm hug on a chilly day, and honestly, they’ve become a staple in our home. I’m so excited to share this recipe with you because, let’s be real, who doesn’t need an unbelievably good oatmeal cookie recipe in their life?
Thank you for reading this post, don't forget to subscribe!What are Chewy Oatmeal Cookies?
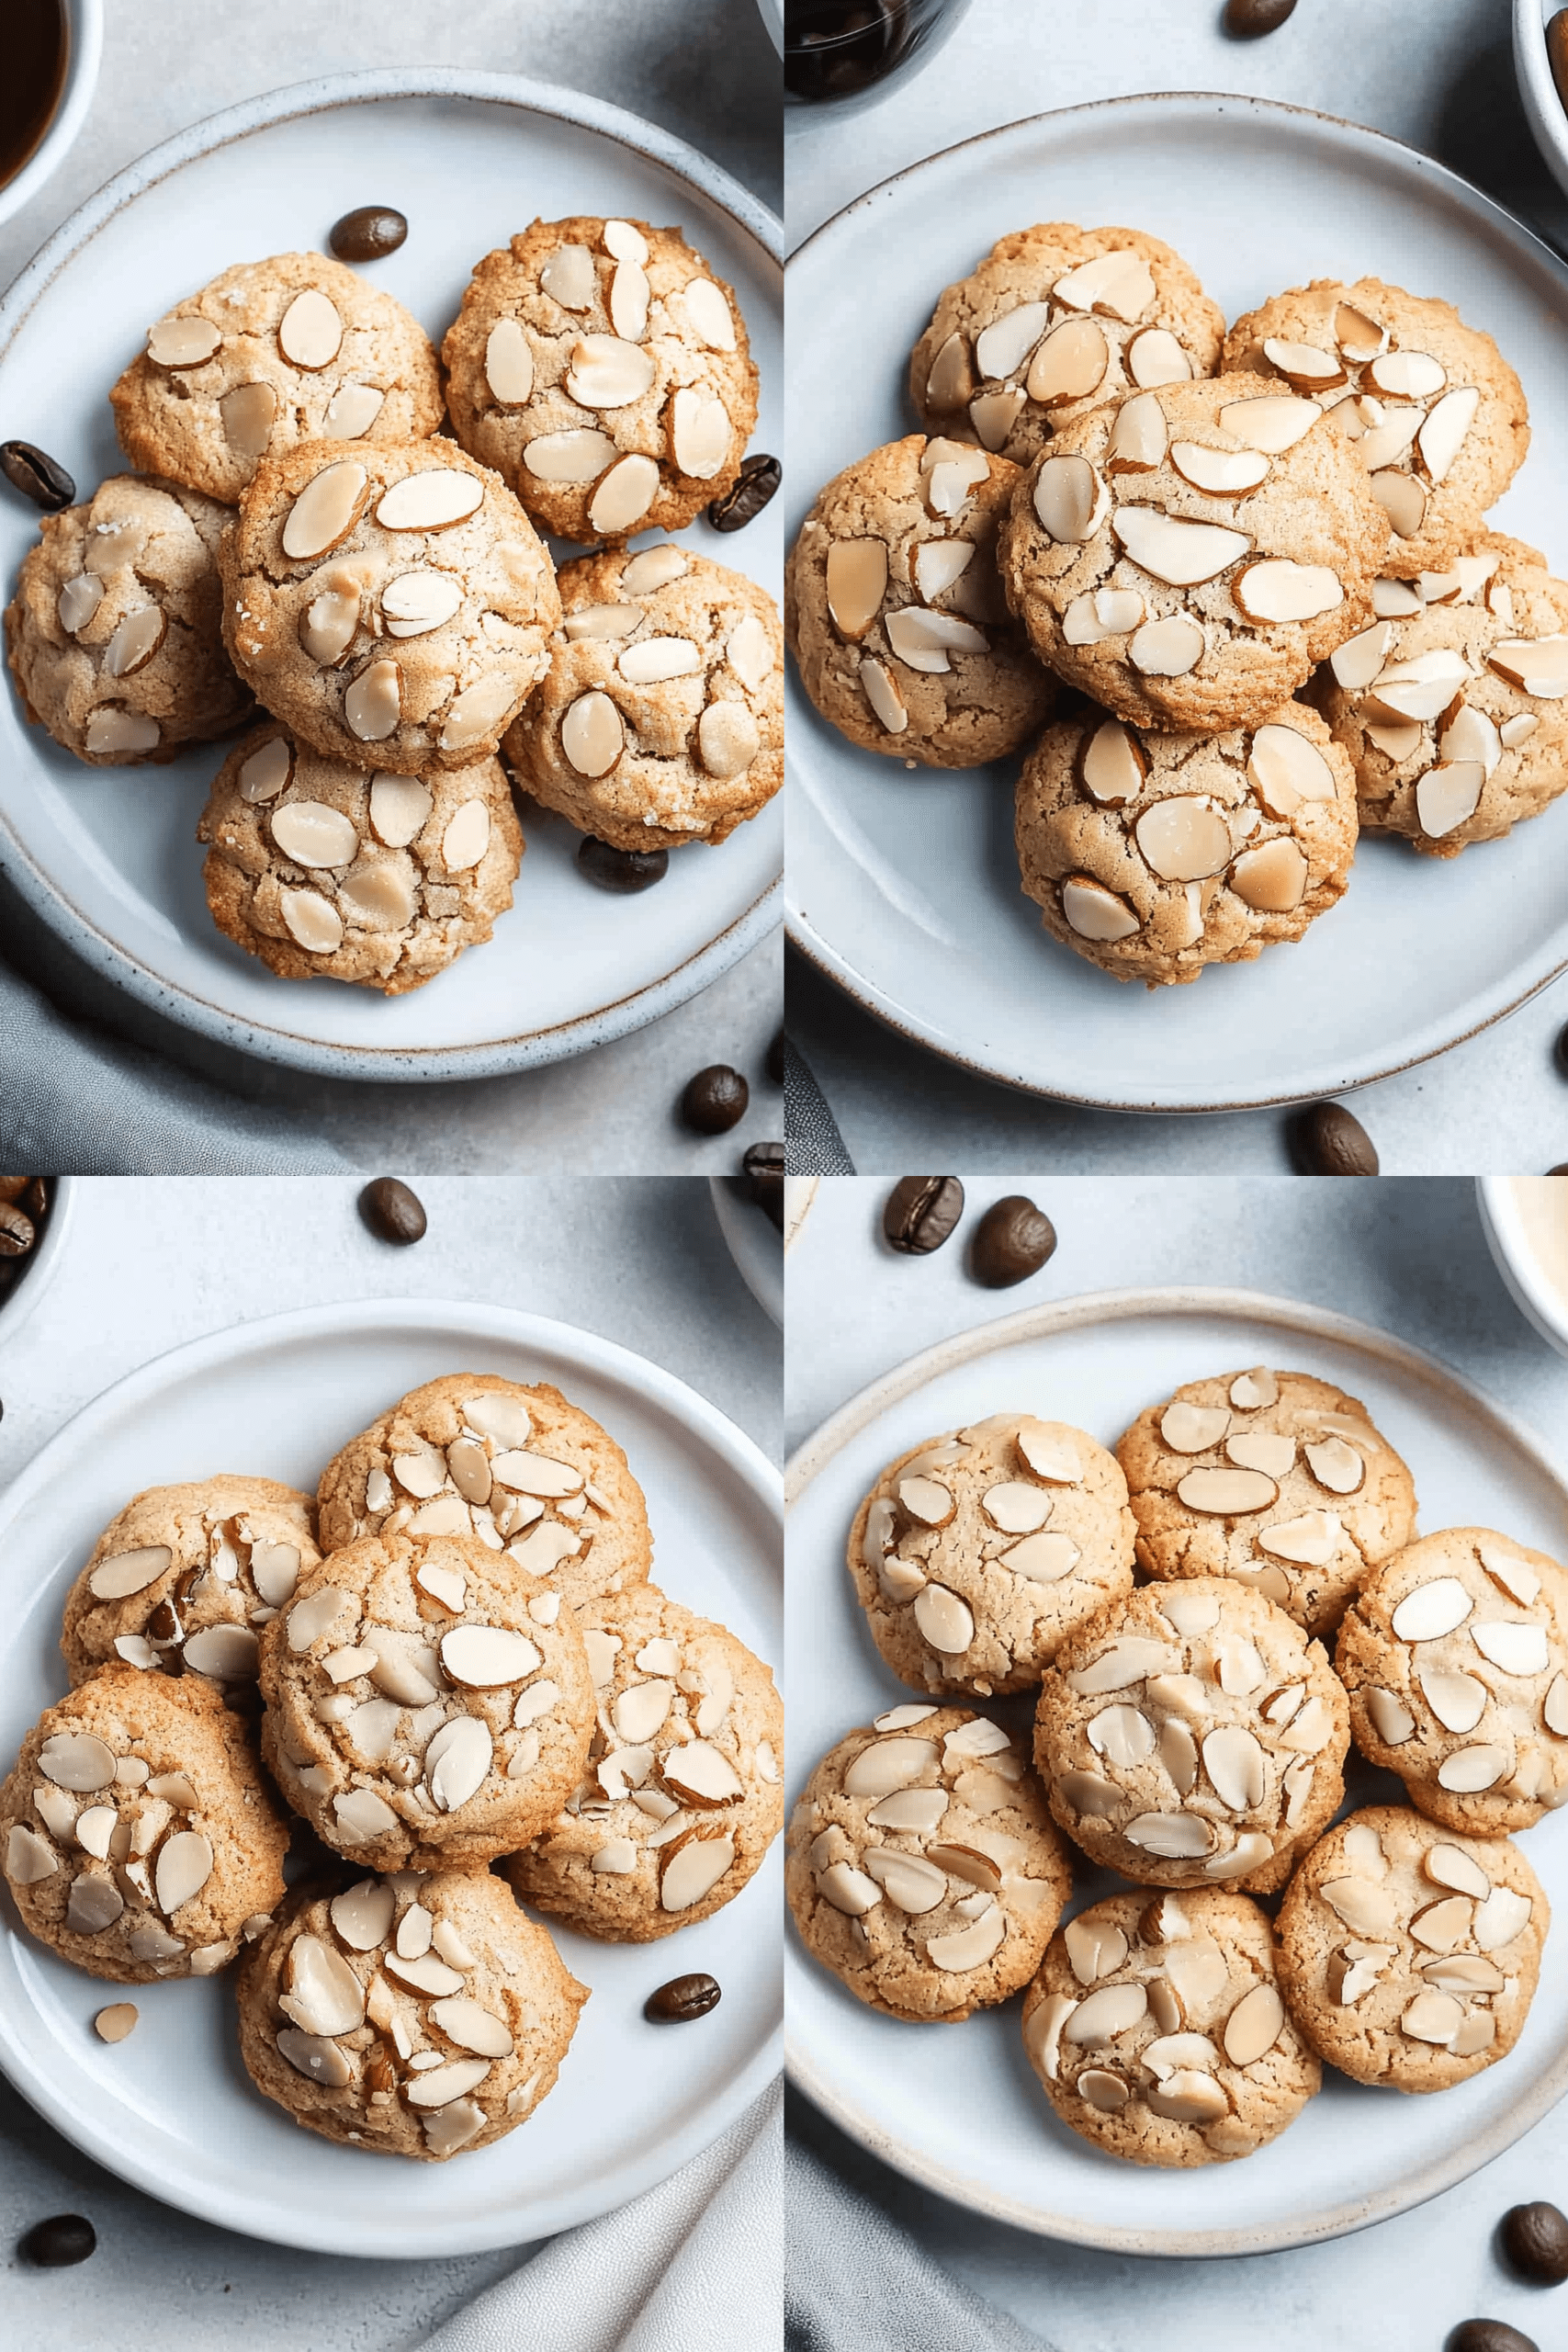
So, what exactly makes these *chewy* oatmeal cookies so special? Think of them as the ultimate comfort food in cookie form. They’re built on a foundation of wholesome rolled oats, which give them that wonderful texture and slightly nutty flavor, but they’re balanced with the richness of butter, the sweetness of brown sugar (which is key for chewiness, by the way!), and a hint of vanilla. They’re not cakey, and they’re definitely not crispy thin like a lace cookie. The goal here is a cookie that has a delightful chewiness that you can really sink your teeth into, with edges that offer just the slightest bit of resistance before you hit that soft, gooey center. It’s essentially a carefully crafted symphony of simple ingredients designed to create maximum deliciousness. They’re the kind of cookie that’s perfect for dunking in a cold glass of milk or a hot cup of coffee, and they’re always a crowd-pleaser. It’s comfort, pure and simple, baked into a perfect little circle.
Why you’ll love this recipe?
Honestly, there are so many reasons why I think you’re going to fall head over heels for these chewy oatmeal cookies, just like I have. First and foremost, the **flavor** is just out of this world. That perfect marriage of sweet, buttery dough with the wholesome, slightly toasty flavor of oats is something truly special. And don’t even get me started on the smell that wafts through your house while they’re baking – it’s pure bliss! Secondly, and this is a big one for me, the **simplicity** is incredible. Even if you’re not a seasoned baker, you can whip these up with confidence. The steps are straightforward, and there aren’t any fancy techniques required. I’ve made these on busy weeknights when the cookie craving hits hard, and they’ve been ready before you can even finish your dinner. They’re also incredibly **cost-effective**. The ingredients are pantry staples for most of us, making these a budget-friendly indulgence. You don’t need exotic items to make something this delicious. And finally, their **versatility** is a huge plus. While they’re fantastic on their own, you can easily customize them by adding chocolate chips, nuts, dried fruit, or even a sprinkle of cinnamon or nutmeg for an extra flavor boost. They’re perfect as is, but they also play so well with other flavors. What I love most about this recipe is that it delivers that satisfying, homemade cookie experience every single time, without a fuss. It’s a guaranteed win for any occasion, or no occasion at all!
How do I make Chewy Oatmeal Cookies?
Quick Overview
Making these incredible chewy oatmeal cookies is surprisingly simple. We’ll cream together butter and sugars until fluffy, add in eggs and vanilla, then gently combine our dry ingredients. The key to that amazing chewiness comes from how we mix everything and the magic of rolled oats. We’ll then form dough balls, bake them until they’re golden around the edges but still soft in the center, and let them cool slightly before enjoying. It’s a straightforward process that guarantees a delicious result with minimal effort. You’ll be amazed at how quickly you can go from basic ingredients to a batch of warm, gooey cookies.
Ingredients
For the Main Cookie Dough: For the Main Cookie Dough: For the Main Cookie Dough: For the Main Cookie Dough: For the Main
1 cup (2 sticks) unsalted butter, softened – Make sure it’s truly softened, not melted! This is crucial for creaming properly. I usually leave mine out on the counter for an hour or two before I start. Using good quality butter really does make a difference in flavor.
1 cup packed light brown sugar – This is your secret weapon for chewiness! The molasses in brown sugar adds moisture and depth.
1/2 cup granulated sugar – This helps with structure and provides a touch of crispness to the edges.
2 large eggs – Room temperature eggs incorporate better. Just pop them in a bowl of warm water for about 5 minutes if you forget to take them out.
1 teaspoon pure vanilla extract – Don’t skimp on the vanilla! It adds a lovely warmth and enhances all the other flavors.
1 1/2 cups all-purpose flour – Spooned and leveled, not scooped directly from the bag, which can lead to too much flour.
1 teaspoon baking soda – This helps the cookies spread and become tender.
1/2 teaspoon salt – Balances the sweetness and brings out the flavors.
3 cups old-fashioned rolled oats – This is non-negotiable! Quick oats will make them too cakey. Rolled oats give you that signature chew and texture. Make sure they’re not steel-cut oats; we want the whole rolled ones.
Optional Add-ins (Because variety is the spice of life!):
1 cup chocolate chips (semi-sweet, milk, or dark, your choice!) – A classic for a reason.
1/2 cup chopped walnuts or pecans – For a delightful crunch and nutty flavor.
1/2 cup raisins or dried cranberries – For a chewy, slightly tart contrast.
Step-by-Step Instructions
Step 1: Preheat & Prep Pan
First things first, let’s get our oven preheated to 375°F (190°C). While the oven is warming up, grab a couple of baking sheets and line them with parchment paper or silicone baking mats. This is a lifesaver for easy cleanup and ensures your cookies won’t stick. Trust me, I’ve learned this one the hard way after scraping burnt cookie bottoms! Make sure your baking sheets are completely cool before you start placing cookie dough balls on them; a warm sheet can start the melting process too soon.
“The oatmeal cookies turned out amazing. My kids asked for seconds. Saving this one!”
Step 2: Mix Dry Ingredients
In a medium-sized bowl, whisk together the all-purpose flour, baking soda, and salt. Give it a good whisk until everything is well combined. This ensures that the leavening agent (baking soda) and salt are evenly distributed throughout the flour, which is super important for consistent cookie texture and flavor. If you skip this step, you might end up with pockets of saltiness or areas that don’t rise properly. We’re not looking for anything fancy here, just a good, thorough mix. Set this bowl aside for now.
Step 3: Mix Wet Ingredients
Now for the heart of the cookie! In a large bowl (or the bowl of your stand mixer), cream together the softened butter, light brown sugar, and granulated sugar. Beat them together on medium speed until the mixture is light, fluffy, and pale in color – this usually takes about 3-5 minutes. This creaming process is essential; it incorporates air into the dough, which contributes to the cookie’s texture. Next, add the eggs, one at a time, beating well after each addition. Then, stir in the vanilla extract. You want everything to be nicely emulsified and smooth.
Step 4: Combine
Gradually add the dry ingredients (the flour mixture from Step 2) to the wet ingredients. Mix on low speed until just combined. Be careful not to overmix at this stage! Overmixing can develop the gluten in the flour too much, resulting in tougher cookies. We want them tender and chewy, remember? Once the flour is mostly incorporated, it’s time to add those glorious rolled oats. If you’re using any optional add-ins like chocolate chips or nuts, stir them in now as well, mixing until they’re evenly distributed throughout the dough. The dough will be thick and a little sticky.
Step 5: Prepare Filling
Since this is a classic oatmeal cookie, there isn’t a separate “filling” in the traditional sense. The “filling” is essentially the entire cookie dough itself, which is what makes it so wonderfully chewy and satisfying. The rolled oats are the star here, providing that irresistible texture and hearty flavor that makes these cookies so beloved. We’re focusing on creating a perfectly balanced dough that bakes up beautifully without needing any extra components.
Step 6: Layer & Swirl
For these classic oatmeal cookies, we aren’t layering or swirling anything. The beauty of this recipe lies in its simplicity and the delightful texture of the cookie dough itself. Instead of layering, we’ll be portioning the dough evenly to create consistently sized cookies that bake uniformly. This ensures that each bite delivers that perfect chewy texture we’re aiming for. We’ll focus on shaping them into nice, round balls before they hit the baking sheet.
Step 7: Bake
Drop rounded tablespoons of the cookie dough onto the prepared baking sheets, leaving about 2 inches between each cookie to allow for spreading. I like to use a cookie scoop for uniformity, but two spoons work just fine too. You can gently press down on the tops of the dough balls if you prefer a flatter cookie. Bake for 9-12 minutes, or until the edges are lightly golden brown and the centers still look slightly soft and underbaked. They will continue to set up as they cool. Don’t overbake them if you want that chewy texture!
Step 8: Cool & Glaze
Once baked, let the cookies cool on the baking sheets for about 5 minutes. This is crucial! They are very delicate right out of the oven and need that little bit of time to firm up. After 5 minutes, carefully transfer the cookies to a wire rack to cool completely. If you’re adding a glaze (which is optional but delicious!), make sure the cookies are completely cool before drizzling. For a simple glaze, whisk together about 1 cup of powdered sugar with 1-2 tablespoons of milk or lemon juice until it reaches your desired drizzling consistency. You can also add a little vanilla or a pinch of salt to the glaze for extra flavor. Drizzle it over the cooled cookies and let the glaze set.
Step 9: Slice & Serve
Once the cookies are cooled and any glaze has set, they are ready to be devoured! They’re best served at room temperature, but honestly, I’ve eaten them warm straight off the cooling rack more times than I can count – and they’re still amazing! You can serve them whole or break them in half to admire that beautiful chewy interior. They slice beautifully if you want to pack them for gifts or bake sales. Enjoy every single chewy bite!
“New family favorite! This oatmeal cookies was so flavorful and ridiculously easy. Crowd-pleaser for sure.”
What to Serve It With
These chewy oatmeal cookies are so wonderfully versatile; they really fit in anywhere! For **Breakfast**, I love having one (or two!) with a strong cup of black coffee. The slight sweetness and texture are the perfect start to the day, especially on a weekend morning when you can actually sit down and savor it. They’re also fantastic with a glass of cold milk – a timeless pairing that never disappoints. For **Brunch**, they can be a delightful addition to a sweet spread. I like to arrange them on a tiered stand with other pastries and fruit. They pair beautifully with mimosas or a nice sparkling cider. As **Dessert**, they’re a winner on their own, but imagine them served warm with a scoop of vanilla bean ice cream! Or, for a more elegant touch, a light drizzle of chocolate sauce or caramel. For **Cozy Snacks**, these are your best friend. They’re perfect with a mug of hot chocolate or a soothing herbal tea when you just need a little comfort. My kids always ask for them when they get home from school, and I usually have a batch ready to go. Another favorite family tradition is making a “cookie sandwich” with a smear of peanut butter or cream cheese frosting between two cookies – pure decadence!
Top Tips for Perfecting Your Chewy Oatmeal Cookies
I’ve baked enough batches of these chewy oatmeal cookies to fill a small bakery, and over the years, I’ve picked up a few tricks that really elevate them. Let’s talk about getting that texture just right. First, when it comes to the **oats**, you absolutely must use old-fashioned rolled oats. They’re thicker and hold their shape better, giving you that satisfying chew. Quick oats get mushy and turn the cookies cake-like, which is not what we’re going for here. For **mixing advice**, the biggest rule is to avoid overmixing the dough once you add the flour. Mix until just combined. Overworking the flour develops gluten, and gluten equals toughness. We want tender, chewy cookies, so gentle mixing is key. Also, make sure your butter and eggs are at room temperature; they emulsify much better, leading to a more cohesive and well-textured dough. When it comes to **baking tips**, pay attention to your oven. Ovens can vary, so watch the cookies closely during the last few minutes of baking. You want the edges to be lightly golden brown, but the centers should still look a little soft and slightly underbaked. They will firm up as they cool. I usually rotate my baking sheets halfway through the baking time to ensure even browning. And a little personal lesson learned: resist the urge to flatten them too much before baking if you want a chewier, slightly thicker cookie. For **ingredient swaps**, I’ve experimented with using half whole wheat flour and half all-purpose flour, and it gives a nice nutty undertone without compromising chewiness too much, though they might be slightly less tender. If you’re out of eggs, you can try a flax egg (1 tablespoon flaxseed meal + 3 tablespoons water, let sit for 5 minutes), but the texture might be a bit denser. As for **glaze variations**, if you find your glaze too thick, just add a tiny bit more liquid. If it’s too thin, add a little more powdered sugar. A pinch of cinnamon in the glaze is also lovely, or a tiny bit of lemon zest for brightness. And if you’re not a fan of glaze, a simple dusting of powdered sugar is also a beautiful and delicious option!
Storing and Reheating Tips
One of the best things about these chewy oatmeal cookies is how well they keep! If you have any leftovers, which I highly doubt, storing them is a breeze. For **room temperature storage**, keep them in an airtight container or a cookie tin. They’ll stay delightfully chewy for about 3-4 days. Make sure they’re completely cool before sealing them up, otherwise, condensation can make them soggy. If you plan to add a glaze, it’s best to wait until they’re completely cool and the glaze has set before storing them. For **refrigerator storage**, while I rarely find it necessary for cookies, if you live in a very warm or humid climate, you can store them in an airtight container in the fridge for up to a week. Be aware that refrigeration can sometimes make cookies a bit harder, so they might need a few minutes to come back to room temperature before eating. For **freezer instructions**, these cookies freeze exceptionally well, either baked or as unbaked dough balls. For baked cookies, wrap them tightly in plastic wrap, then place them in a freezer-safe bag or container for up to 2-3 months. To thaw, simply leave them at room temperature. If you want to freeze the unbaked dough, scoop them into balls, place them on a baking sheet in the freezer until firm, then transfer them to a freezer bag. You can bake them directly from frozen, just add a couple of extra minutes to the baking time. For **glaze timing advice**, if you know you’ll be storing them for a while, it’s often best to store the cookies unfrosted and add the glaze just before serving. This prevents the glaze from becoming sticky or clumpy during storage. However, if you’ve already glazed them, ensure they’re completely dry before sealing them in an airtight container.
Frequently Asked Questions
Final Thoughts
I really hope you give these chewy oatmeal cookies a try! They’re more than just a recipe to me; they’re a piece of home, a guarantee of a happy moment, and a simple way to bring a little extra joy into your day. The combination of textures – that perfect chew, the slight crisp edge, the hearty oats – and the comforting, warm flavor is truly something special. They’re proof that sometimes, the most beloved treats come from the simplest ingredients. They’re incredibly forgiving, wonderfully adaptable, and always, always delicious. If you love these, you might also enjoy my Soft Gingerbread Cookies for a bit of spice, or my Classic Chocolate Chip Cookies for another guaranteed winner. I can’t wait to hear what you think, and I’d absolutely love for you to share your own cookie creations and any fun variations you come up with in the comments below! Happy baking, and enjoy every single bite!
Classic Oatmeal Cookies
Ingredients
Main Ingredients
- 1 cup unsalted butter softened
- 1 cup packed light brown sugar
- 0.5 cup granulated sugar
- 2 large eggs
- 1 teaspoon vanilla extract
- 1.5 cup all-purpose flour
- 1 teaspoon baking soda
- 0.5 teaspoon salt
- 3 cup rolled oats
- 0.5 cup chopped walnuts or pecans optional
Instructions
Preparation Steps
- Preheat oven to 350°F (175°C). Line baking sheets with parchment paper.
- In a large bowl, cream together the softened butter, brown sugar, and granulated sugar until light and fluffy.
- Beat in the eggs one at a time, then stir in the vanilla extract.
- In a separate medium bowl, whisk together the flour, baking soda, and salt.
- Gradually add the dry ingredients to the wet ingredients, mixing until just combined.
- Stir in the rolled oats and any optional nuts.
- Drop rounded tablespoons of dough onto the prepared baking sheets, about 2 inches apart.
- Bake for 10-12 minutes, or until the edges are golden brown and the centers are still slightly soft.
- Let the cookies cool on the baking sheets for a few minutes before transferring them to a wire rack to cool completely.