Oh, where do I even begin with Nuns Puffs? This recipe holds such a special place in my heart. It’s one of those dishes that instantly transports me back to my grandmother’s kitchen, the air thick with the sweet, warm aroma of baking. She used to make these for every family gathering, and as soon as the oven door would crack open, we’d all be hovering, eagerly waiting for our turn to snag a warm, pillowy puff. It’s like a hug in dessert form, you know? Sometimes, when I’m craving something truly comforting but don’t have hours to spend, this is my absolute lifesaver. It’s surprisingly easy to whip up, and honestly, it rivals any fancy bakery treat. If you love a good Cinnamon Roll or a soft, sweet bread, you are going to adore these Nuns Puffs.
Thank you for reading this post, don't forget to subscribe!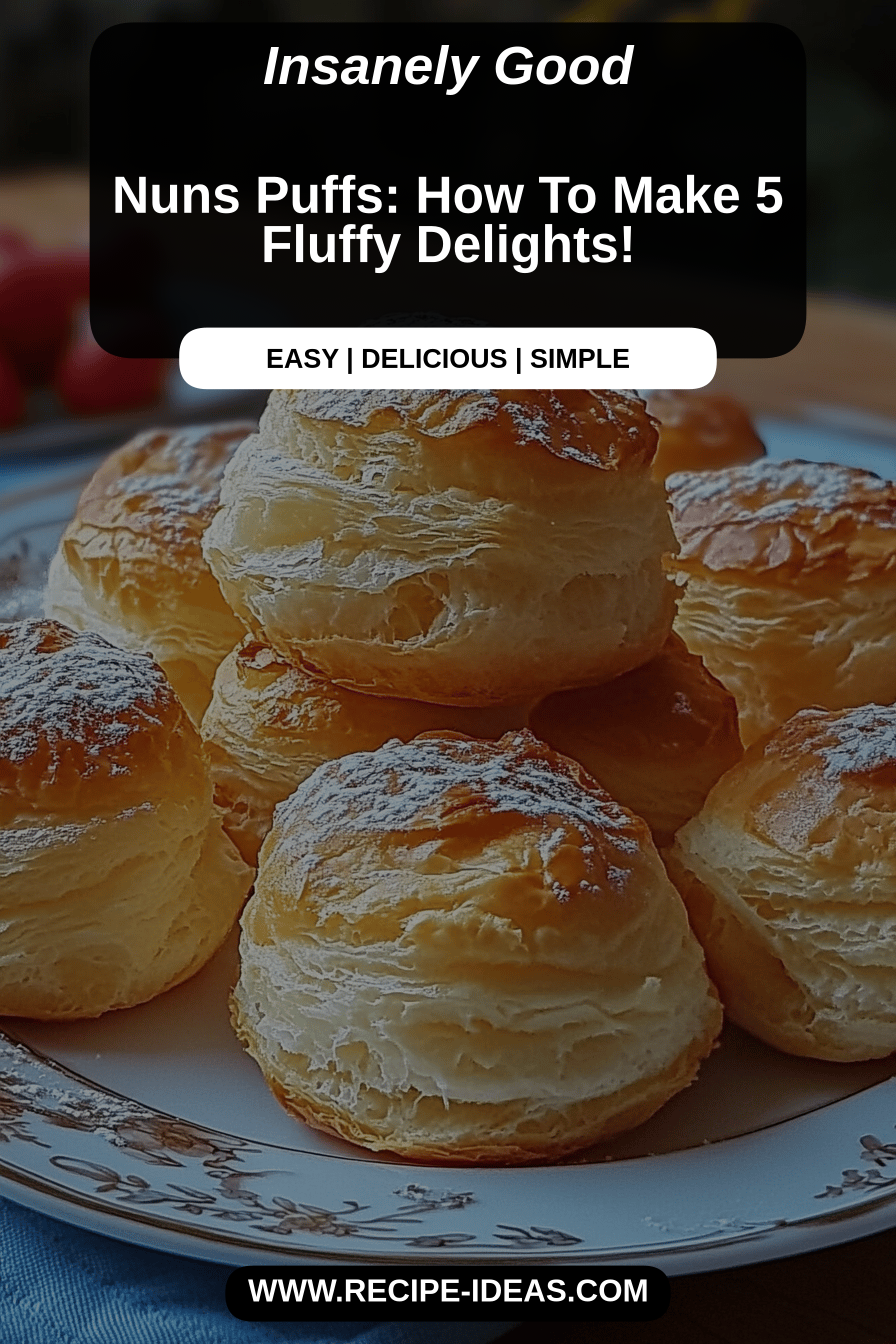
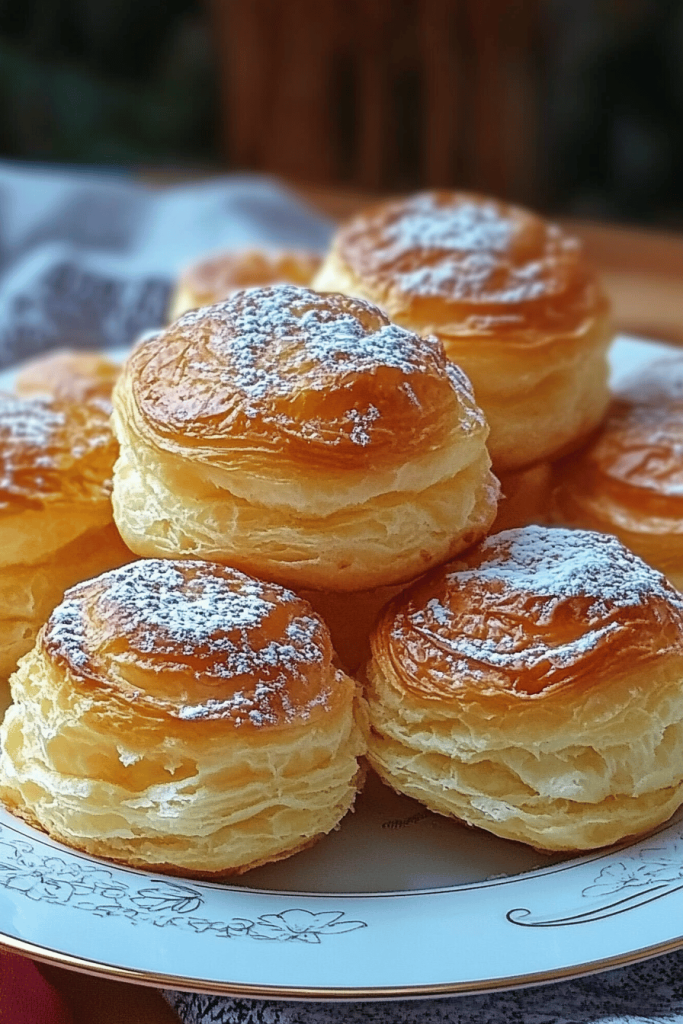
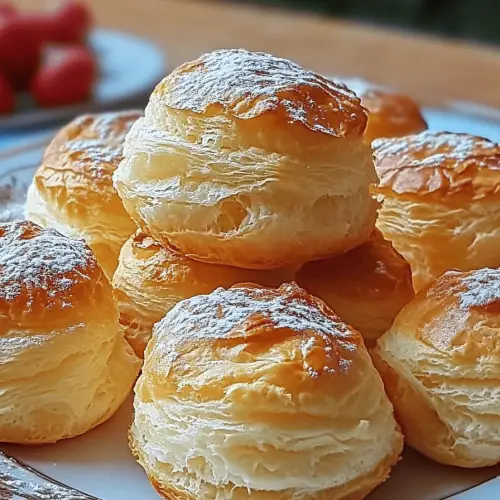
What are Nuns puffs?
So, what exactly are these magical little things called Nuns Puffs? Think of them as the most delightful hybrid between a soft, slightly sweet bread and a decadent Cinnamon Roll, but without all the fuss of rolling and cutting. They’re basically a tender, fluffy batter studded with a sweet, cinnamon-sugar mixture, baked in a pan until golden and irresistible. The name itself is a bit of a mystery, with various origin stories floating around, but for me, it just evokes a sense of pure, simple goodness. They aren’t overly complicated; it’s more of a “dump and bake” kind of situation, but with an incredibly rewarding result. They’re essentially a comforting baked treat that’s easy enough for a weeknight but special enough for company. It’s the kind of thing that makes your kitchen smell incredible and brings smiles to everyone’s faces.
Why you’ll love this recipe?
What are some of the reasons why I love Nuns Puffs?flavorImagine a soft, slightly moist interior with pockets of warm, Gooey Cinnamon-sugar goodness throughout. It’s notsimplicity. I’m all about recipes that don’t require a culinary degree or a full day in the kitchen, and this is definitely one of them. You mix a few things, swirl it, and bake. That’s it! It’s genuinely straightforward, and I’ve even had my kids help me with parts of it. Plus, it’s wonderfully cost-efficient. The ingredients are all pantry staples, so you don’t need to buy anything fancy. It’s perfect for when you want a treat without breaking the bank. And the versatility! This recipe is fantastic served warm with a cup of coffee for breakfast, as a sweet ending to a meal, or even just as a comforting snack on a chilly afternoon. What I love most about this Nuns Puffs recipe is how it feels both familiar and excitingly new with every bite. It’s a bit like a cinnamon coffee cake but in individual, puff-like portions, making it super fun to eat.
How to Make Nuns Puffs
Quick Overview
Making Nuns Puffs is surprisingly easy! You’ll whisk together a simple batter, then swirl in a delicious cinnamon-sugar mixture. The magic happens in the oven as these ingredients combine to create soft, tender pockets of pure comfort. It’s a straightforward process that yields incredibly delicious results, making it a perfect bake for beginners and experienced bakers alike. You’ll be amazed at how quickly you can have a warm, delightful treat ready to enjoy.
Ingredients
For the Main Batter:
For the Filling:
For the Glaze:
“New family favorite! This Nuns Puffs recipe was so flavorful and ridiculously easy. Crowd-pleaser for sure.”
Step-by-Step Instructions
Step 1: Preheat & Prep Pan
First things first, let’s get your oven preheated to 350°F (175°C). This is super important for an even bake. While it’s heating up, grab a 9×13 inch baking pan. You can grease it really well with butter or cooking spray, or even line it with parchment paper, leaving some overhang on the sides. I personally love using parchment paper because it makes lifting the finished Nuns Puffs out a breeze. Make sure the entire bottom and sides are covered so nothing sticks!
Step 2: Mix Dry Ingredients
In a large bowl, whisk together the flour, baking soda, salt, and granulated sugar. Give it a good whisk until everything is well combined and there are no lumps. This step might seem simple, but it ensures your leavening agents are evenly distributed, which is key for light and fluffy Nuns Puffs. I always do this first to make sure everything is perfectly mixed before adding any wet ingredients.
Step 3: Mix Wet Ingredients
In a separate medium bowl, cream together the softened butter and eggs until light and fluffy. You can use a stand mixer or a hand mixer for this, or even a whisk if you’re feeling energetic! Beat in the vanilla extract. Then, gradually add in the buttermilk, mixing until just combined. Don’t worry if it looks a little curdled; that’s totally normal with buttermilk.
Step 4: Combine
Now, it’s time to bring those wet and dry ingredients together. Pour the wet ingredients into the bowl with the dry ingredients. Using a spatula or a wooden spoon, mix until *just* combined. Seriously, do not overmix! A few lumps are perfectly fine. Overmixing can lead to tough Nuns Puffs, and we want them to be as tender as possible. Stop mixing as soon as you don’t see any dry streaks of flour.
Step 5: Prepare Filling
In a small bowl, combine the packed light Brown Sugar and ground cinnamon. Stir them together well. You’ll also want to have your 1/4 cup of butter melted and ready for drizzling. This cinnamon-sugar mixture is what creates those heavenly pockets of flavor!
Step 6: Layer & Swirl
Now for the fun part! Pour about half of the batter into your prepared baking pan and spread it out evenly. Sprinkle about half of the cinnamon-sugar mixture over the batter. Drizzle about half of the melted butter over the Cinnamon Sugar. Then, dollop the remaining batter over the top and spread it as best you can to cover. Sprinkle the rest of the cinnamon-sugar mixture and drizzle the remaining melted butter. Now, using a butter knife or a skewer, gently swirl the cinnamon-sugar mixture into the batter. Don’t overdo it; you want distinct swirls, not a muddy mess. A few passes back and forth is usually enough!
Step 7: Bake
Pop that pan into your preheated oven. Bake for 30-40 minutes, or until a toothpick inserted into the center comes out clean and the tops are golden brown. Oven temperatures can vary, so keep an eye on them, especially towards the end. If the tops start to brown too quickly, you can loosely tent the pan with foil.
Step 8: Cool & Glaze
Once they’re done, let the Nuns Puffs cool in the pan for about 10-15 minutes. While they’re cooling, whisk together the powdered sugar, 2 tablespoons of milk, and vanilla extract in a small bowl. Add more milk a teaspoon at a time until you reach your desired drizzling consistency. It should be thick enough to coat but thin enough to drizzle easily. Once slightly cooled, generously drizzle the glaze over the warm Nuns Puffs. The warmth will help the glaze melt slightly and create a beautiful finish.
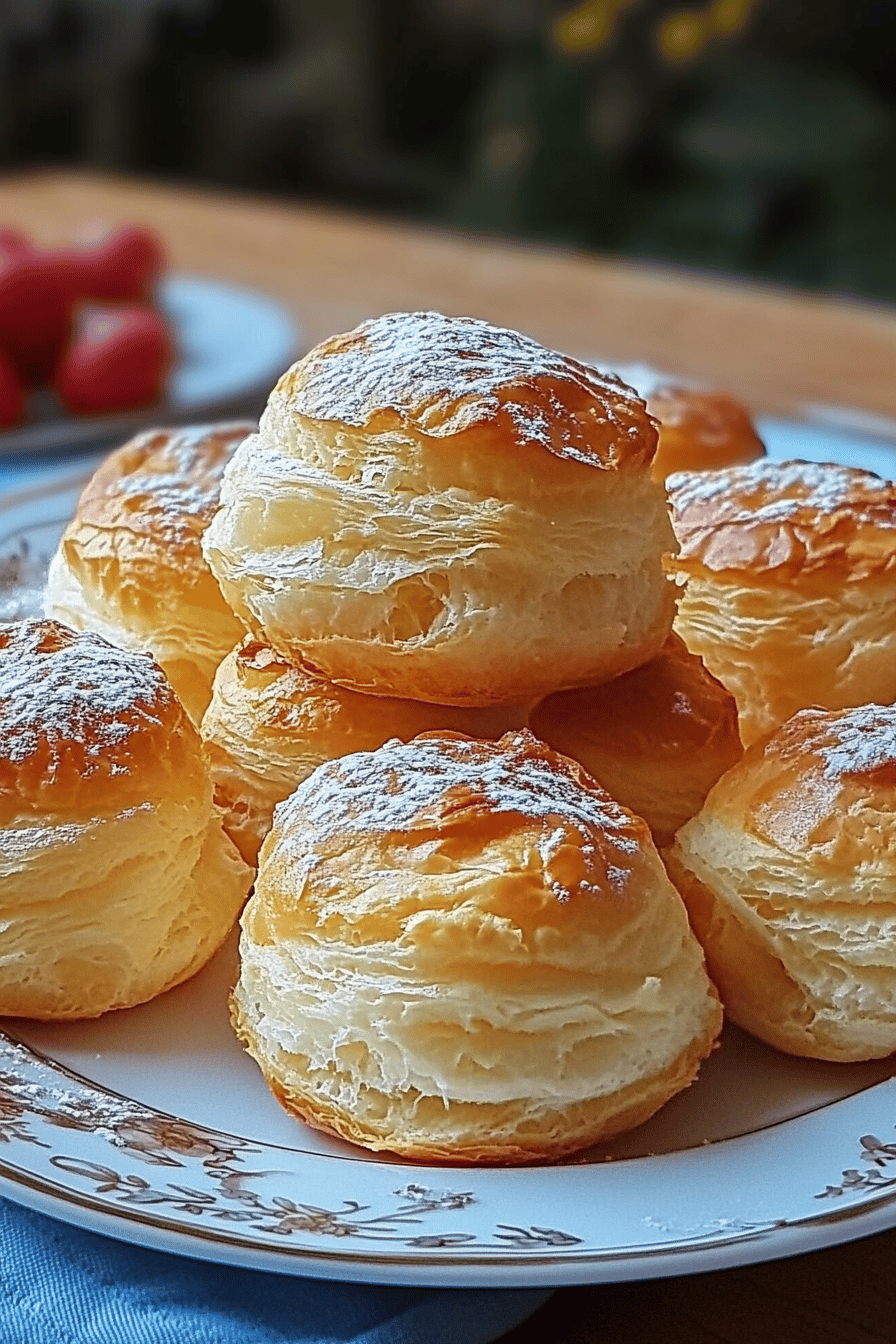
Step 9: Slice & Serve
After the glaze has set a bit, you can cut them into squares or rectangles and serve them warm. They are absolutely divine when they’re still a little warm and the glaze is soft. Enjoy the incredible aroma and the amazing texture!
“Packed with flavor and so simple. Exactly what I wanted from this Nuns Puffs recipe!”
What to Serve It With
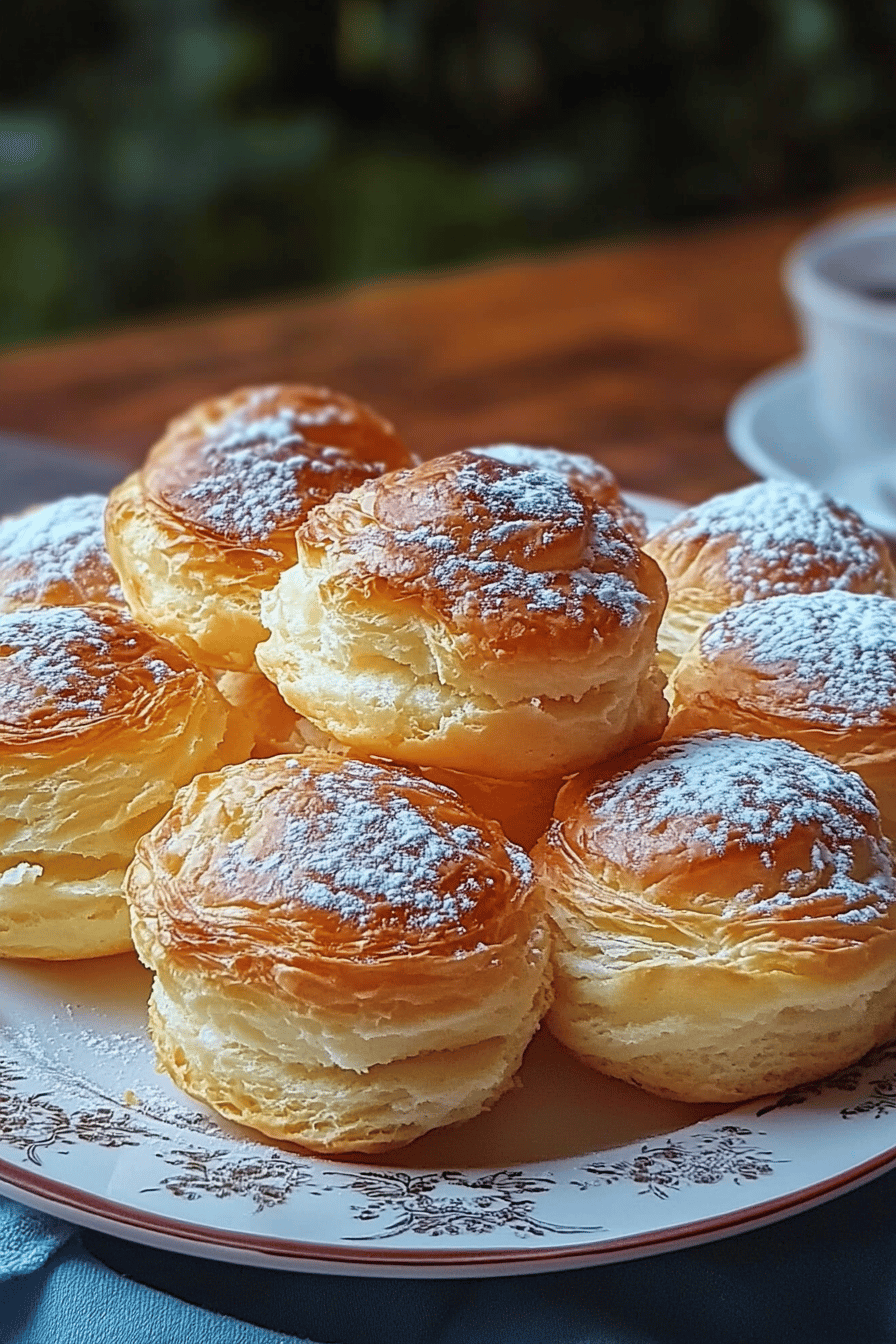
These Nuns Puffs are so versatile, you can enjoy them with practically anything! For a cozy breakfast, I love serving them warm with a strong cup of coffee or a creamy latte. The sweetness of the puffs is the perfect complement to a bitter brew. For a more elegant brunch setting, I’ll often arrange them on a pretty platter and serve them alongside fresh fruit like berries or melon. A mimosa or a sparkling cider pairs wonderfully here. As a delightful dessert, these are a winner. They’re fantastic on their own, but a scoop of vanilla bean Ice Cream or a dollop of whipped cream takes them to another level. And for those cozy snack moments, there’s nothing better than a warm Nuns Puff with a glass of milk or a mug of hot chocolate. My kids always request these when we have movie nights, and they disappear faster than you can say “seconds, please!” It’s truly a treat that fits any part of the day.
Top Tips for Perfecting Your Nuns Puffs
I’ve made this Nuns Puffs recipe countless times, and along the way, I’ve picked up a few tricks that I think really make a difference. First, for the zucchini prep, while this recipe doesn’t call for zucchini, I find that if you’re thinking of making a similar baked good, ensuring your ingredients are at the right temperature is key. For these Nuns Puffs, make sure your butter for the batter is truly softened, not melted. This helps create that light and airy texture. For the mixing advice, I cannot stress enough how important it is not to overmix the batter. A few lumps are your friend! Overmixing develops the gluten too much, leading to a tougher pastry. Stop as soon as you don’t see any dry flour. When it comes to the swirl customization, don’t be afraid to get a little creative! You can add a pinch of cardamom or nutmeg to the cinnamon-sugar mixture for an extra layer of flavor. For the ingredient swaps, I’ve successfully used oat milk in place of buttermilk in a pinch, and it worked wonderfully. You can also experiment with different types of sugar; a mix of granulated and Brown Sugar in the batter can add even more depth. For baking tips, always trust your oven’s accuracy. If you know your oven runs hot, reduce the temperature slightly or keep a closer eye on it. If you want an even more golden-brown top, you can pop them under the broiler for just a minute at the very end, but watch them like a hawk to prevent burning! Lastly, for glaze variations, if you’re not a fan of the traditional vanilla glaze, try adding a little lemon zest for a bright, fresh note, or even a touch of almond extract for a nutty undertone. And for a richer glaze, use heavy cream instead of milk!
Storing and Reheating Tips
One of the best things about Nuns Puffs is how well they store, making them perfect for leftovers (if there are any!). For room temperature storage, keep them in an airtight container or covered loosely with plastic wrap for up to 2 days. They tend to be best when eaten within the first 24 hours, as they can lose a little of their tenderness over time. If you need to store them longer, refrigerator storage is your best bet. Place them in an airtight container; they should stay good for about 4-5 days. When you’re ready to enjoy them from the fridge, you can gently reheat them in a low oven (around 300°F or 150°C) for about 5-10 minutes to bring back that fresh-baked warmth. For freezer instructions, these Nuns Puffs freeze beautifully! Let them cool completely, then wrap them tightly in plastic wrap, followed by a layer of aluminum foil or place them in a freezer-safe bag. They can be frozen for up to 2-3 months. To thaw, simply remove them from the freezer and let them come to room temperature, or reheat them gently in the oven. For the glaze timing advice, I usually glaze them once they’ve cooled slightly but are still warm. If you plan to freeze them unglazed, that’s absolutely fine! You can make the glaze fresh when you’re ready to serve them after thawing and reheating.
Frequently Asked Questions
Final Thoughts
So there you have it – my beloved Nuns Puffs recipe! This dish truly embodies Comfort Food for me. It’s more than just a sweet treat; it’s a bowlful of memories and warmth. I genuinely believe that everyone needs a recipe like this in their back pocket, one that’s reliable, delicious, and brings joy with every bite. Whether you’re looking for a new breakfast favorite, a simple dessert, or just a way to make your kitchen smell amazing, I really hope you give these Nuns Puffs a try. I can’t wait to hear what you think of them, and if you make any fun variations, please share them in the comments below! Happy baking, everyone!
Nuns Puffs recipe
Ingredients
Choux Pastry
- 1 cup water
- 0.5 cup butter unsalted, cut into pieces
- 0.25 teaspoon salt
- cup all-purpose flour
- 4 large eggs
Filling (Optional - e.g., Pastry Cream)
- 2 cup milk
- 0.5 cup granulated sugar
- 0.25 cup cornstarch
- 4 large egg yolks
- 1 teaspoon vanilla extract
Instructions
Preparation Steps
- Preheat oven to 400°F (200°C). Line a baking sheet with parchment paper.
- In a medium saucepan, combine water, butter, and salt. Bring to a boil over medium heat.
- Remove from heat and quickly stir in the flour until a dough forms and pulls away from the sides of the pan.
- Return the pan to low heat and cook, stirring constantly, for 1-2 minutes to dry out the dough.
- Transfer the dough to a bowl of a stand mixer fitted with the paddle attachment (or use a hand mixer). Let cool for 5 minutes.
- Add eggs one at a time, beating well after each addition until the dough is smooth and glossy. The dough should be thick enough to hold its shape.
- Drop rounded tablespoons of dough onto the prepared baking sheet, about 2 inches apart.
- Bake for 15 minutes at 400°F (200°C). Then, reduce oven temperature to 350°F (175°C) and bake for another 15-20 minutes, or until golden brown and puffed.
- Remove from oven and prick each puff with a small knife to release steam. Cool completely on a wire rack.
- Prepare filling: In a saucepan, whisk together sugar, cornstarch, and egg yolks. Gradually whisk in milk. Cook over medium heat, stirring constantly, until thickened. Remove from heat, stir in vanilla extract. Cool completely.
- Once cooled, fill the puffs with pastry cream using a piping bag or a spoon.


